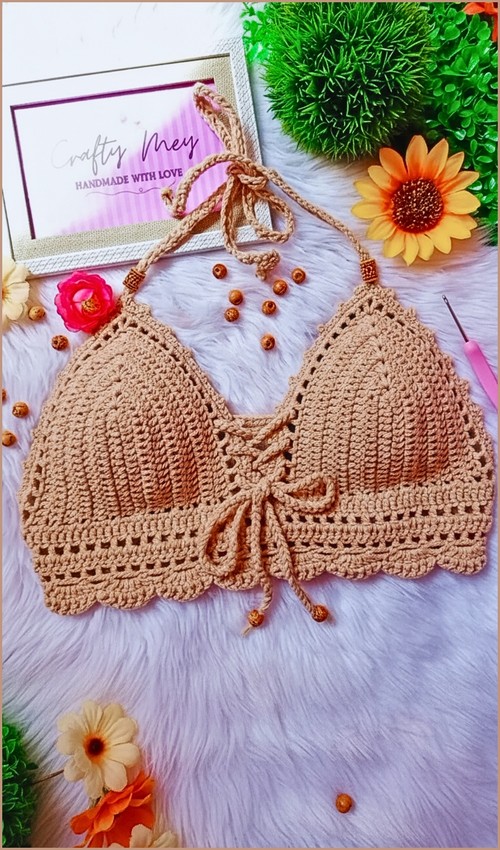
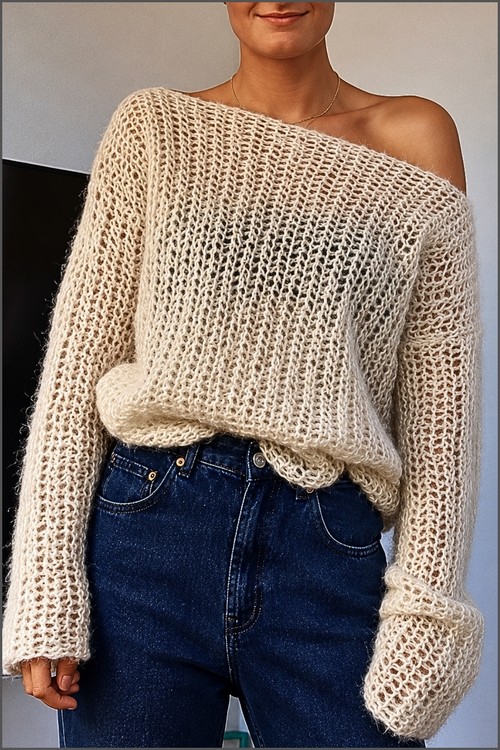
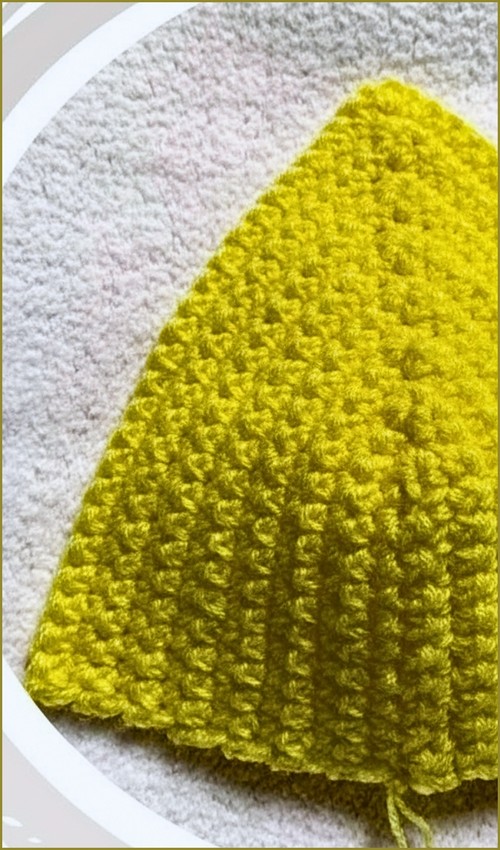
Once you get the repeat locked in, the rows build quickly — it’s rhythmic in the way that keeps you picking up the hook again after dinner. For a slightly different open construction, the fan stitch triangle top pairs nicely with this one if you want options in your queue, or check out the open shell lace stitch tutorial for a related technique with a slightly denser drape.
Materials
- 100% combed cotton yarn approximately 280 meters per 100 grams
- 3.5 mm crochet hook

Tip: Cotton gives this top its structure and clean stitch definition. If you substitute yarn, aim for something with similar weight and low stretch so the triangles keep their shape.
Stitch Pattern Overview
This pattern is built almost entirely from:
- Double crochet stitches along the edges
- Fan stitches worked into chain spaces
Fan stitch used in this pattern: 2 double crochets, 2 chains, 2 double crochets (with variations in the center as the triangle expands)
Understanding that fans always go into chain spaces will prevent most mistakes in this pattern.
Shoulder and Initial Triangle

This section creates the first small triangle that sits on the shoulder. It establishes the growth logic used throughout the top.
- Start with a slip knot and chain 7, then add 2 turning chains
- Work 1 double crochet in the 7th chain from the hook
- At this point, your turning chains plus the double crochet form a clean edge. This edge is important because it will stay straight as the triangle grows.
- Skip 2 chains and work a fan stitch of 2 double crochets, 2 chains, and 2 double crochets in the next space
- Finish the row with 1 double crochet in the last chain
- This first fan is the heart of the triangle. Everything will expand outward from this point.
- Reading crochet patterns can be tricky when you’re just starting out, feel free to follow the video tutorial below instead!
- Chain 2 and turn, work 1 double crochet in the first stitch
- Work a fan stitch in the center chain space
- Finish the row with 1 double crochet in the last stitch
- You are now stacking a fan directly above the previous fan. Always aim for the chain space, not the stitches themselves.
- Chain 2 and turn, work 1 double crochet in the first stitch
- In the center space work 2 double crochets, 2 chains, 2 double crochets, 2 chains, and 2 double crochets
- Finish the row with 1 double crochet in the last stitch
This row introduces additional growth in the center. The extra chain and double crochet group creates room for future fan sections.
Expanding the Triangle

This section controls the size and fit of the shoulder triangles.
- Continue working double crochets along the edges
- Work a full fan stitch in each fan space created in the previous row
- The edges should stay straight. If they start to curve inward or outward, count your edge double crochets carefully.
- Repeat the growth sequence by adding new fan sections in the center
- Continue until the piece reaches from your shoulder to just under your arm
- This measurement matters more than row count. The triangle should comfortably span from shoulder point to underarm without pulling.
Cut the yarn once the desired size is reached
Second Triangle and Joining
This step creates symmetry and prepares the top for working in the round.
- Reattach the yarn at the shoulder and repeat the same steps to create the back triangle
- Make two identical double triangle pieces, one for each shoulder
Fit note: Check that both triangles match in width and depth before joining. Even small differences can affect how the neckline sits.
- Keep the yarn attached on the final piece
- Align the front and back triangles on both shoulders
- Join the sides and center using double crochets or slip stitches
- Use double crochets for a sturdier seam
- Use slip stitches for a flatter, more invisible join
Begin working in the round after joining

- Once joined, the structure shifts from flat shaping to vertical length.
Body and Edging
This section stabilizes the shape and adds length without changing width.
- Work in continuous rounds without increasing
- Repeat the fan stitch pattern in each existing fan space
- Separate each fan section with 2 chains
- Because there are no increases here, the top will fall straight from the underarm.
- Continue until the top reaches your desired length
- Work a round of single crochet around the neckline and armholes
- This round cleans the edges and prevents stretching, especially important with cotton yarn.
- Sew the neckline slightly at the center if extra coverage is needed
- This adjustment allows you to customize modesty and fit without altering the structure.

Fit and Sizing Guidance
- This top is measurement driven, not size labeled
- Shoulder to underarm length determines triangle size
- Body length is fully customizable
If the top feels loose at the neckline, a tighter single crochet edging or slight center seam usually fixes it.
Stitch and Shaping Clarity
- Fans always go into chain spaces
- Edges are always double crochet only
- Growth happens at the center, not the sides
- No increases are worked once the body begins
If your triangle starts to ripple, you may be adding fans too close together or missing chain spaces.
Beginner Notes
- Use stitch markers in center fan spaces if you lose track
- Count fan sections instead of stitches
- Lay the triangle flat every few rows to check symmetry
This pattern rewards slow, visual checking rather than strict row counting.
Troubleshooting
- Triangle curling: Check that edge double crochets are not skipped.
- Uneven neckline: Confirm both triangles are identical before joining.
- Fans leaning: Make sure you are working into chain spaces, not between stitches.
Finishing Notes
- Block lightly if needed, especially along the neckline.
- Cotton relaxes after washing, so aim for a slightly snug fit before wear.