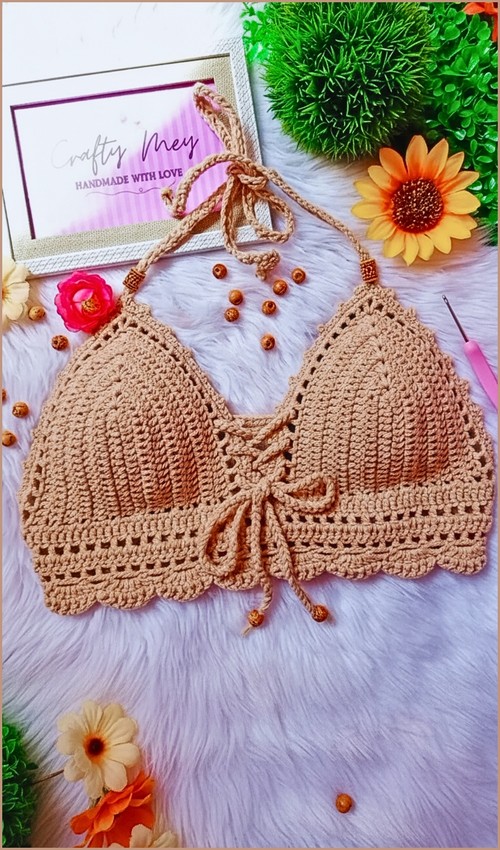
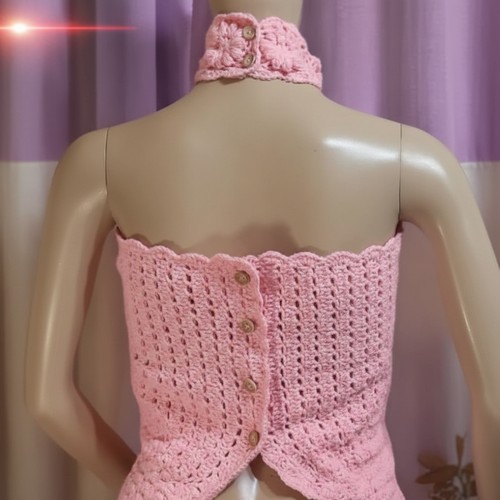
Long sleeves and an open back is a combination that shouldn’t work as well as it does — this one pulls it off because the fitted body keeps everything balanced rather than letting it read as a mistake. The magenta yarn and solid stitch give it enough visual weight to hold the dramatic back opening. For a backless top that’s more summer-weight, the backless halter top trades the sleeves for a lace-up back detail.
Backless Crochet Top Long Sleeve

The construction is straightforward — solid half double crochet rows throughout the body and sleeves, with the open back created by working the front and back panels separately and leaving the back open. No stitch switching means you can focus entirely on shaping. The backless top with bow is a good contrast make if you want a peplum silhouette with a more textured stitch.
Materials
- 5 mm crochet hook
- Medium weight yarn (approximately 100 g per 180 m)
- Wool-acrylic blend yarn recommended
- Scissors
- Stitch markers
- Yarn needle
Finished Fit
- Adjustable sizing based on the number of collar rows and bodice length.
- Pattern is worked from the neckline downward.
- Open-back construction creates a relaxed and flattering fit.
- Shoulder shaping is increased gradually to fit comfortably beneath the arms.
Crochet Abbreviations
- Ch – Chain
- Sc – Single Crochet
- Dc – Double Crochet
- Sl St – Slip Stitch
Essential Crochet Stitches
Ribbed Collar

Row 1
- Create a slip knot.
- Chain 9.
- Skip the first chain from the hook.
- Work 1 single crochet into each of the remaining 8 chains.
- Chain 1 and turn.
- Never read a crochet pattern before? No problem! The video tutorial below is perfect for beginners, or give the written pattern below a try!
Row 2
- Work 1 single crochet through both loops of the first stitch.
- Work 1 single crochet through the back loop only of each of the next 6 stitches.
- Work 1 single crochet through both loops of the final stitch.
- Chain 1 and turn.
Rows 3–60
- Repeat Row 2 until you have completed a total of 60 rows.
Joining the Collar
- Fold the ribbed strip in half, bringing both short ends together.
- Slip stitch the final row to the foundation chain edge.
- Fasten off.
- Weave in all yarn ends.
Front and Shoulder Setup
Turn the collar so you can work into the row ends around the neckline.
Place stitch markers as follows:
- Mark 12 row ends for the first shoulder section.
- Mark the next 18 row ends for the front neckline section.
- Mark the next 12 row ends for the second shoulder section.
- Leave the remaining 18 row ends unworked to form the open back.
Bodice Shaping
Foundation Bodice Row
- Attach yarn to the first shoulder section.
- Chain 1.
- Work 1 double crochet into the same space.
- Work 2 double crochet stitches into the next space to begin increasing.
- Continue working double crochet stitches across until reaching the first marker.
First Shoulder Corner
Into the marked corner space work:
- 1 double crochet
- Chain 2
- 1 double crochet
Front Section
- Work 1 double crochet into each space across the 18 front stitches.
Second Shoulder Corner
Into the next corner space work:
- 1 double crochet
- Chain 2
- 1 double crochet
Second Shoulder
- Work double crochet stitches across the second shoulder section.
- Work 2 double crochet stitches into the second-to-last space to create an increase.
End of Row
- Chain 1 and turn.
Increase Row
- Work 1 double crochet into the first stitch.
- Work 2 double crochet stitches into the second stitch.
- Continue working double crochet stitches across until reaching the first chain-2 corner space.
Into the corner space work:
- 1 double crochet
- Chain 2
- 1 double crochet
Continue across the front section.
At the second corner space work:
- 1 double crochet
- Chain 2
- 1 double crochet
Continue across the second shoulder.
At the end of the row:
- Work 2 double crochet stitches into the second-to-last stitch.
- Work 1 double crochet into the final stitch.
- Chain 1 and turn.
Continue Shoulder Shaping
- Repeat the Increase Row.
- Continue adding stitches at both shoulder edges and maintaining the chain-2 corner increases.
- Try the piece on periodically to check the fit.
Continue until:
- Each shoulder section comfortably reaches beneath the arms.
- Each shoulder contains approximately 37–38 stitches.
Joining Under the Arms
Once the bodice reaches the desired depth:
- Join the front and back sections beneath each arm.
- Ensure the garment sits comfortably without pulling.
- Continue working in joined rounds or rows as preferred.
Working the Body
- Continue crocheting downward using your preferred stitch pattern.
- Work until the top reaches your desired length.
- Maintain consistent stitch tension throughout the garment.

Finishing
- Fasten off.
- Weave in all remaining yarn tails.
- Block lightly if desired for a smoother finish and professional appearance.
Technique Explainer: Back Loop Only Ribbing
Working single crochet stitches through the back loop only creates raised ridges that resemble knitted ribbing. This technique gives the collar excellent stretch and helps it sit comfortably around the neck.
Technique Explainer: Corner Increase
The combination of:
- 1 Double Crochet
- Chain 2
- 1 Double Crochet
worked into the same space creates a turning corner while adding width. These corner increases shape the shoulders and front neckline as the garment grows.
Pro Tips
Use Stitch Markers Generously
Place markers at every shoulder and front section boundary. This makes it much easier to identify where increases should occur.
Check Fit Often
Since body measurements vary, try the piece on every few rows during the shaping section. This ensures the shoulders reach comfortably beneath the arms before joining.
Maintain Consistent Tension
Even tension is especially important when working the ribbed collar. Consistent stitches create a cleaner and more professional-looking neckline.
Block Before Wearing
A light block helps even out stitches, improve drape, and enhance the overall fit of your finished Backless Crochet Top Long Sleeve.