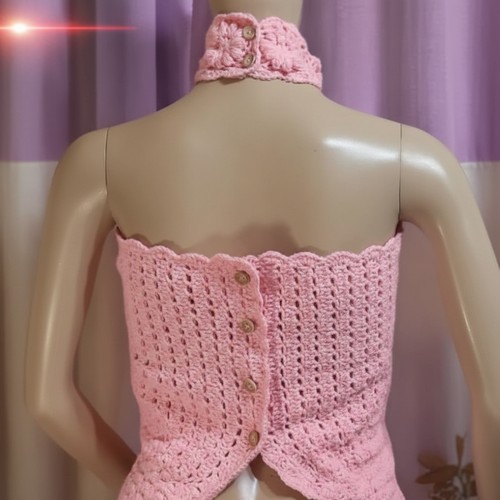
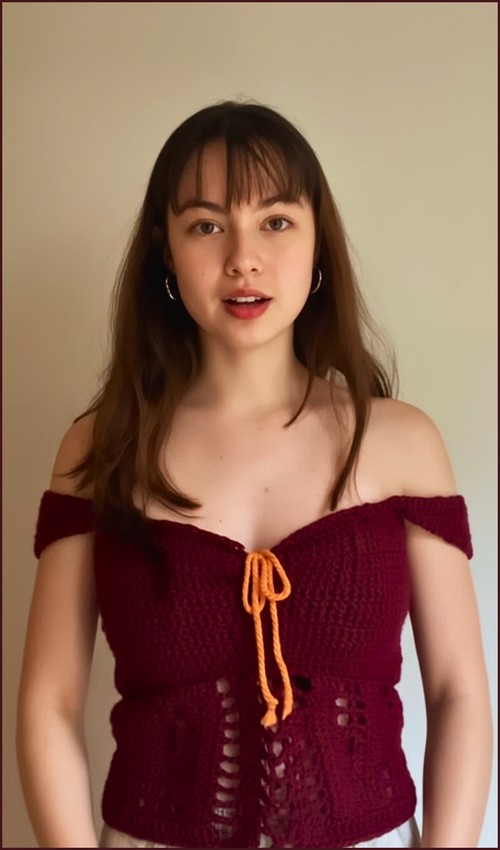
A spider web across the entire back panel is the kind of detail that makes people stop and ask where you bought it — the answer being nowhere, because you made it. The black mesh body and long sleeves frame the open back perfectly, keeping the focus on the web without competing with it. For another backless top with sleeves that goes in a completely different direction, the backless long sleeve top uses a solid fitted body instead.
Backless Crochet Top With Sleeves

The front and sleeves work up in a consistent mesh grid straightforward enough that you can move quickly through those sections before tackling the spider web back, which is the real feature of the pattern. The web is worked in rounds from a centre ring outward, so the construction is more intuitive than it looks finished. If you want a backless top without the sleeve commitment, the backless top with bow is a sleeveless version worth comparing.
Skill Level
- Intermediate
The construction of this top is straightforward, but the spiderweb back section requires attention to stitch placement and shaping. Adventurous beginners can complete this project with the help of the technique notes included below.
Materials
- Weight 3 yarn
- 4 mm crochet hook
- Stitch markers
- Scissors
- Yarn needle
Your Pattern Stitch List
Sizing & Measurements
This pattern is highly customizable.
Front Panel Width
- Chain an even number of stitches that comfortably covers the front of your body from side to side.
Front Panel Length
- Work rows until the panel reaches your preferred torso length.
Sleeve Width
- Chain a foundation that matches your desired sleeve circumference.
- If you’re new to reading crochet patterns, don’t worry, just follow along with the video tutorial below and use the written pattern as a reference!
Sleeve Length
- Continue working rows until each sleeve reaches your desired length.
Spiderweb Back Size
- Increase the web until it comfortably fills the entire back opening without pulling or sagging.
Stitch Guide
Spider Stitch
The spider stitch is created by working:
- 1 Single Crochet
- Chain 1
- 1 Single Crochet
all into the same space.
This creates a beautiful open texture that is lightweight and breathable.
Magic Circle
A magic circle creates an adjustable center ring, allowing you to pull the opening completely closed for a neat finish.
Treble Crochet
To make a treble crochet:
- Yarn over twice.
- Insert hook into stitch.
- Yarn over and pull up a loop.
- Yarn over and pull through 2 loops four times until one loop remains.
Front Panel

Foundation Row
- Chain an even number of stitches that matches your front width.
Row 1
- Work 1 Single Crochet, Chain 1, and 1 Single Crochet into the second chain from the hook.
- Skip the next chain.
- Repeat the spider stitch across the row.
Row 2 and Beyond
- Turn your work without making a turning chain.
- Work 1 Single Crochet, Chain 1, and 1 Single Crochet into each Chain-1 space across the row.
Continue Panel
- Repeat the spider stitch pattern until the panel reaches your desired torso length.
Shoulder Shaping
To gradually widen the upper portion:
- Work 1 Single Crochet, Chain 1, Single Crochet, Chain 1, and Single Crochet into the first Chain-1 space of selected rows.
- Repeat the same increase in the last Chain-1 space of the row.
Continue increasing evenly until the panel provides the amount of shoulder coverage you prefer.
Pro Tip
Place stitch markers at both side edges after every increase row to help keep shaping symmetrical.
Sleeve Panels (Make 2)

Foundation
- Chain a length that matches your preferred sleeve width.
Sleeve Rows
- Work the spider stitch across the row.
- Turn without a turning chain.
- Continue working the spider stitch into each Chain-1 space.
Continue Working
- Repeat until each sleeve reaches the desired sleeve length.
Assembly
Step 1: Fold Sleeves
- Fold each sleeve panel in half lengthwise.
Step 2: Attach Sleeves
- Slip stitch the folded sleeves to the sides of the front panel.
- Join from the shoulder area down toward the underarm.
Step 3: Create Neckline Support
- Crochet a separate strip using the spider stitch pattern.
- Make the strip long enough to extend from one shoulder to the other across the back.
Step 4: Attach Neckline Strip
- Seam the strip securely across the back shoulder area to create a supportive collar base.
Spiderweb Back

Round 1
- Begin with a Magic Circle.
- Chain 5 to count as a Treble Crochet and Chain 1.
- Work Treble Crochets separated by Chain-1 spaces around the circle.
- Slip Stitch to join.
Round 2
- Work Treble Crochets into the Chain-1 spaces.
- Increase evenly to double the number of web branches.
Following Rounds
- Continue working Treble Crochets only.
- Gradually increase the number of chains between Treble Crochets on each round.
This creates the expanding spiderweb effect.
Continue Growing the Web
- Repeat the process until the spiderweb is large enough to fill the back opening.
Pro Tip
Lay the web flat frequently while crocheting. If it begins to curl, add additional spacing chains. If it becomes wavy, reduce the spacing slightly.
Attaching the Spiderweb
Positioning
- Lay the garment flat with the back facing upward.
- Center the completed spiderweb inside the back opening.
Upper Attachment
- Use chains and Slip Stitches to connect the outer edges of the web to the neckline support strip.
Side Attachment
- Continue attaching the web evenly along both side edges.
Lower Attachment
- Secure the bottom portion of the web to the lower back edge of the garment.
Final Check
- Ensure the web is evenly tensioned.
- Adjust attachment points if necessary before securing permanently.

Finishing
- Weave in all yarn ends securely using a yarn needle.
- Trim excess yarn.
- Lightly block the garment if desired.
- Try on the top and make any final fit adjustments.

Technique Explainer: Working Without a Turning Chain
This pattern uses rows without a turning chain to maintain a cleaner edge. After turning your work, immediately begin the next spider stitch in the first Chain-1 space. This creates straighter edges and a more polished appearance.
Styling Ideas
This backless crochet top pairs beautifully with:
- High-waisted jeans
- Denim shorts
- Maxi skirts
- Beach cover-up outfits
- Festival-inspired looks
- Layered camisoles and bralettes
The striking spiderweb back transforms a simple crochet garment into a bold statement piece while maintaining comfort and wearability.