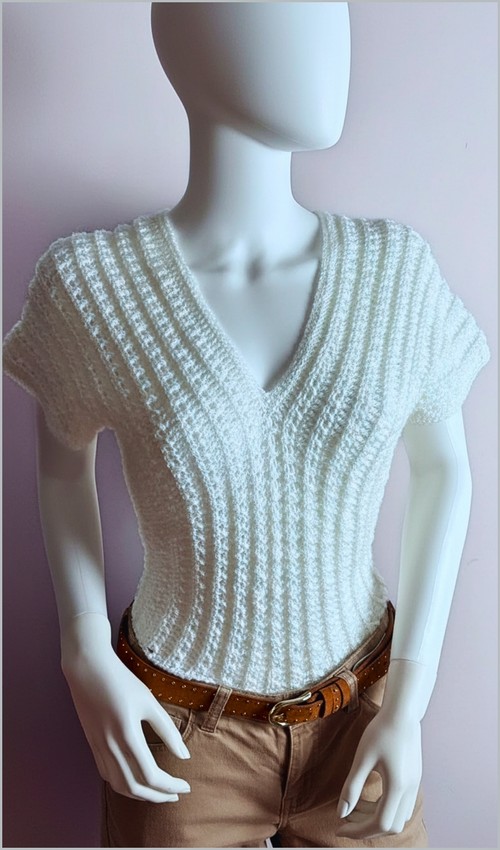
Sleeveless granny-stitch halter is one of those makes that looks far more involved than it is all those little clusters read as intricate lacework, when really you’re repeating one simple three-stitch group over and over. This one works up in a soft variegated sage that shifts through pink and cream on its own, so the color does half the styling for you. If the halter-and-granny combo is your thing, you’ll want to compare it with this granny stitch halter top.
Crochet Summer Top Without Sleeves

The top is essentially a granny triangle worked to fit, with a halter tie at the neck and a tie or seam at the back no armhole shaping to fuss over, which is exactly why it lands as beginner-friendly. The open cluster fabric keeps it cool and a little peek-through, ideal for layering over a bralette or bikini. Adjust where you stop for length and how tight you tie for fit, the same easy-to-customize approach as this granny square crop top.
What This Top Is and How It Wears
- This is a lightweight, sleeveless summer top built from a triangular body.
- The open stitch pattern keeps it breathable, while the solid edging and reinforced lower edge prevent sagging.
- The neckline shaping flattens the top edge so it sits comfortably against the chest rather than pulling upward at the center.
The finished piece works well as:
- A casual summer top layered over a bandeau
- A beach or resort-style top
- A lightweight festival or warm-climate garment
Stitch Guide Before You Start
Materials
- Medium weight yarn approximately 115 grams
- 4.0 mm crochet hook
- Stitch markers
- Scissors

Foundation and First Round
- Create a slip knot and chain 5
- Join with a slip stitch to form a ring
- Chain 3 to count as the first double crochet
- Chain 1 as a separation chain
- Work 3 double crochets into the ring
- Chain 2
- Work 3 double crochets into the ring
- Chain 1
- Work 1 double crochet into the ring
- Just starting out with crochet? The video tutorial below is a great place to begin, or challenge yourself with the written pattern below!
Why this round matters
- This round establishes the center point and the symmetry of the triangle.
- The chain spaces are just as important as the stitches themselves, since future rounds are built into those spaces rather than into individual stitches.

Growing the Triangle Main Body
- Chain 3 and chain 1 at the start of each round
- Work 3 double crochets into the first space
- Chain 1
- Work 3 double crochets into the next space
- In the center space work 3 double crochets, chain 2, and 3 double crochets
- Continue working 3 double crochets and chain 1 in each space after the center
- Finish each round with chain 1 and 1 double crochet into the top of the previous starting chain
- Repeat for approximately 16 rounds or until the triangle reaches your desired width
Stitch and shaping clarity
- The center space is the key growth point. The chain 2 creates the angle of the triangle.
- Every round adds width evenly to both sides.
- Stopping earlier or later here directly changes bust coverage and overall size.
If you are unsure about width, pause after several rounds and hold the piece against your body. This is the easiest stage to adjust size.

Shaping the Neckline
- Work the pattern normally until reaching the space before the center
- Replace the center cluster with 1 double crochet only
- Turn your work to continue shaping one side
- Slip stitch or chain up to continue the next row
- Continue decreasing this way to flatten the top edge
- Repeat for 8 rows on each side to form the neckline
Why the neckline flattens
- Without this step, the triangle would continue rising at the center and pull upward when worn.
- Replacing the center cluster with a single double crochet removes height gradually, creating a straight top edge that sits comfortably against the chest.
- Using stitch markers on each side of the center can help you stay consistent during these rows.
Edging
- Work single crochet evenly around the entire edge of the top
- At the bottom edge work 2 single crochets into each space for structure
Edging tips
- Keep your single crochet tension even to avoid curling.
- The extra stitches at the bottom edge add weight and stability, helping the top hang smoothly.
Cord Elastic Double Chain
- Chain 2
Insert the hook into the first chain and pull up a loop - Drop the left loop off the hook and hold it
- Yarn over and pull through the remaining loop
- Insert the hook back into the dropped loop
- Yarn over and pull through
- Repeat until the cord is long enough to lace through the back
How this cord behaves
This technique creates a firm, slightly elastic cord that resists stretching out over time. It works well for adjustable lacing and provides more durability than a simple chain.

Optional Lining Tip
- Cut a triangular piece of fabric from an old t shirt in a matching color
- Match the shape of the crochet top
- Hand sew the fabric lining inside using small invisible stitches
When to add a lining
A lining is useful if:
- You want more coverage
- Your yarn has a lot of drape
- You plan to wear the top without layers underneath
Stretchy t-shirt fabric moves with the crochet fabric and keeps the top comfortable.

Fit and Sizing Guidance
- Width is controlled by the number of triangle growth rounds.
- Neckline depth is controlled by how many shaping rows you work.
- For a closer fit, stop growth earlier and keep edging tension firm.
- For more coverage, add one or two extra triangle rounds before neckline shaping.
Because this is a top-down triangle, it is easy to try on as you go.
Beginner Notes
- This pattern assumes comfort with double crochet and working into spaces.
- Count spaces, not stitches, during the main body.
- Use stitch markers to mark the center space and neckline edges.
Troubleshooting
- Top curls at the edges: Loosen your edging tension or add one extra single crochet in problem areas.
- Neckline rises too high: Add one more decrease row or reduce the height of the center stitch further.
- Bottom feels floppy: Make sure you are placing 2 single crochets into each space at the bottom edge as written.
Finishing Notes
- Weave in all ends securely, especially at the neckline and lacing areas.
- Light blocking can help even out stitches, but avoid stretching the cord.
- Once finished, lace the cord through the back and adjust for comfort.