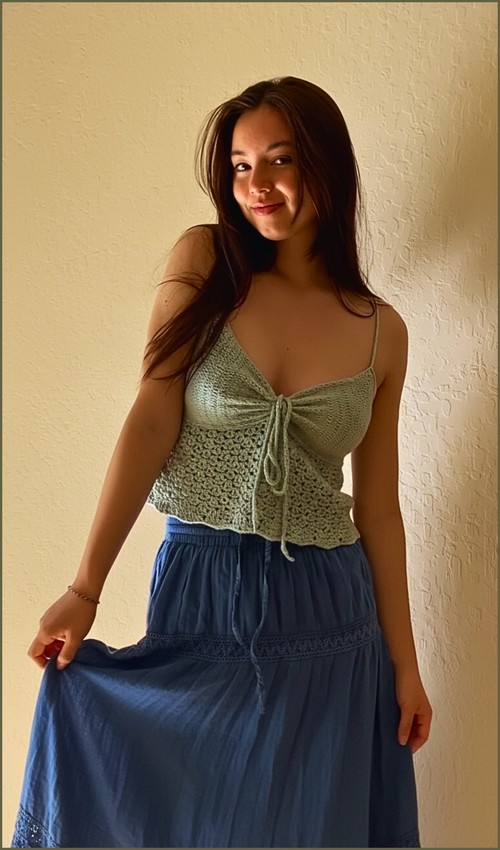
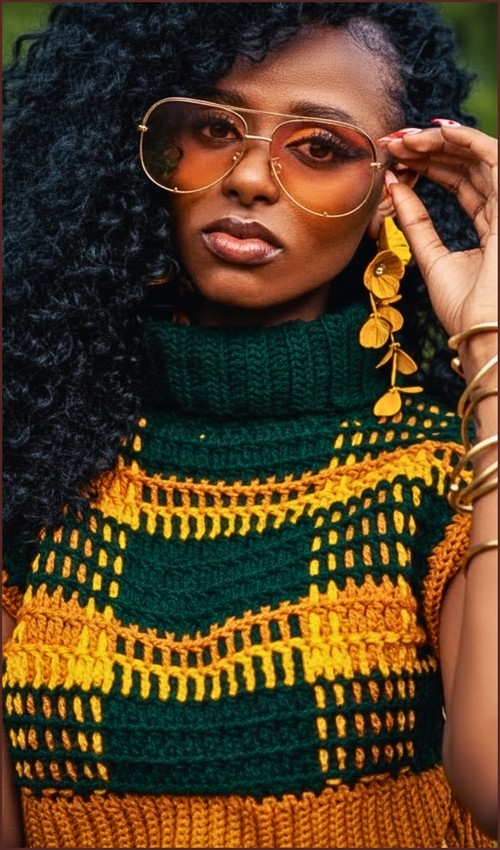
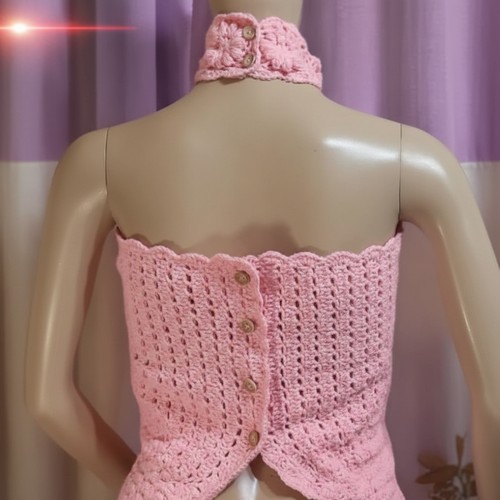
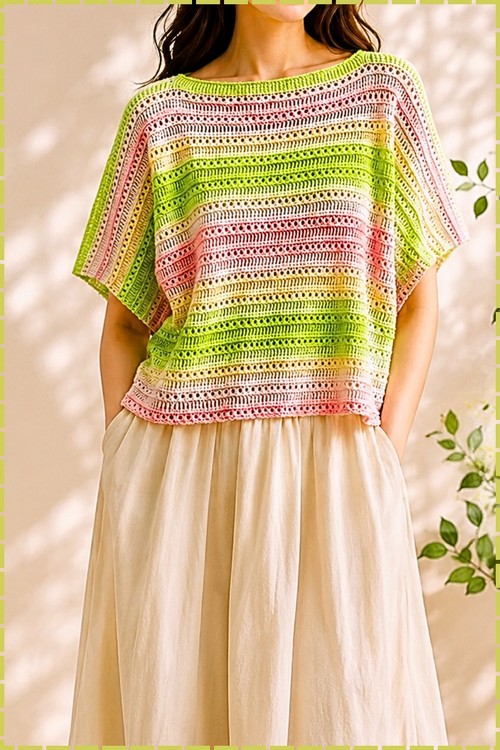
Black lace crochet has a way of looking far more complex than it actually is this cropped sweater uses a repeating diamond motif with a puffed center cluster that, once you’ve worked the first repeat, becomes a reliable rhythm for the rest of the body. The long sleeves with gathered cuffs add structure without adding difficulty, and the scalloped hem finishes naturally from the lace repeat. If you’re drawn to open-stitch garments with sleeves, the free crochet sheer crop top takes a different lace approach worth comparing.
Crochet Black Top

The body panels work up flat before seaming, which keeps the motif alignment easy to manage across the width. Working in black yarn means checking your stitch count carefully under good light a stitch marker in the first and last stitch of each row saves time. For a lace top without sleeves to pair with this, the free crochet lace mesh V-stitch tunic is a natural companion.
Materials
- Materials
- DK weight yarn
- 3.5 mm crochet hook
- Measuring tape
- Scissors
- Stitch markers

Helpful notes on materials
- DK yarn gives a soft drape that suits lace. If your yarn is firmer or heavier, your panel may feel stiffer and slightly wider.
- Stitch markers matter here because lace can make edge stitches and chain spaces harder to spot.
Crochet Skills You’ll Practice
Sizing and Foundation Chain
- Sizing and Foundation Chain
- Measure shoulder to shoulder and add 4 inches for a relaxed fit
- Chain a number that is a multiple of 13
- For an extra small example, chain 78
- Chain 2 more
- Skip 2 chains
- Work half double crochet in every stitch across
Clarity for this section
- The first row of half double crochet creates a stable base so the lace doesn’t distort the lower edge.
- When you “chain 2 more,” treat that as turning height. Try not to pull those chains tight, or your edge can start to pinch.
Main Lace Pattern
This pattern is worked as a repeating two row sequence.

How to read the repeat
You will alternate:
- Lace Mesh Row (creates the open chain spaces)
- Lace Fill Row (fills those spaces with half double crochet)
- Never read a crochet pattern before? No problem! The video tutorial below is perfect for beginners, or give the written pattern below a try!
The key is learning to recognize the difference between large chain spaces and small chain spaces as you go. If you can identify those spaces, the fill row becomes much easier.
Lace Mesh Row
- Chain 3 and turn
- Skip the first stitch
- Chain 3, skip 2 stitches, double crochet in the third stitch
- Chain 3, skip 1 stitch, double crochet in the second stitch
- Repeat the previous step one more time
- Chain 3, skip 2 stitches, double crochet in the third stitch
- Double crochet in the next stitch with no skipping
- Repeat this sequence across the row
- End with a double crochet in the final stitch
Clarity for the Lace Mesh Row
- That “double crochet in the next stitch with no skipping” acts like a small anchor point in the repeat. It helps the row keep its shape and gives the next row a clear place to build.
- Lace rows are where many crocheters accidentally lose edge stitches. If you often miss the last stitch, place a marker in the final stitch of each row so you can find it again after turning.
- Your chain-3 spaces create the spots you’ll work into on the fill row, so keeping those chain-3s consistent (not too tight, not too loose) makes the fabric look smoother.
Lace Fill Row
- Chain 2 and turn
- Work 3 half double crochet into each large chain space
- Work 4 half double crochet into each small chain space
- Repeat the sequence of 3 half double crochet, 4 half double crochet, 4 half double crochet, 3 half double crochet across
- End with one single crochet in the top of the last stitch
Repeat the lace mesh row and lace fill row until the panel reaches your desired length
Clarity for the Lace Fill Row
- The fill row is what makes the lace feel like fabric instead of netting. It balances the openness of the mesh with enough stitches to give coverage and drape.
- The reason the stitch counts change (3 in large spaces, 4 in small spaces) is to keep the row from waving or pulling. If you put the same number into every space, the lace can ripple.
- That final single crochet tightens the edge slightly. This helps with straighter side seams later.
Length tips
- Because this is a panel, you can stop at any length without changing the width.
- Measure your panel laid flat and relaxed. Lace can look shorter while it is on the hook, then lengthen once it settles.
Panel Construction
Make two identical panels for the front and back
Helpful notes
- “Identical” matters. Even a small difference in row count can cause the shoulder seams to sit unevenly.
- If your panels look a bit uneven, a gentle block before seaming can help the lace open and the edges straighten.
Shoulder Seams
- Place panels together with right sides facing
- Leave an opening in the center for the neckline
- Slip stitch the remaining sections on both sides to form the shoulder seams
Neckline guidance
- The size of the center opening controls how wide the neckline feels.
- Keep both shoulder seams the same length so the neckline stays centered.
Sleeves
- Chain a multiple of 13 to fit your upper arm circumference plus 4 inches
- Join with a slip stitch to form a circle
- Work the same lace mesh and lace fill rows in rounds
- Continue until the sleeve reaches your desired length
Sleeve clarity
- The “plus 4 inches” is ease again, so the sleeve doesn’t bind at the upper arm.
- When joining to form a circle, make sure your chain isn’t twisted. A twist will make the lace spiral strangely and is very hard to fix later.
- Working the lace pattern in rounds means you’ll still alternate mesh and fill, but you won’t have side edges to worry about — the join is the main place to keep neat.
Sleeve Cuffs
- Work a reduction round by making 2 half double crochet in each chain space
- Work alternating front post double crochet and back post double crochet around
- Repeat the ribbing rows until the cuff reaches the desired height

Why this works
- The reduction round pulls the sleeve in so the cuff can sit closer to the arm.
- Post stitches create true ribbing because they form raised columns that stretch and spring back.
Finishing
- Turn the garment inside out
- Leave openings for armholes
- Single crochet the side seams of the body closed
- Insert sleeves into the armholes with right sides facing
- Single crochet around to attach the sleeves
- Optionally single crochet around the back neckline, adding small decreases to tighten the fit

Finishing notes
- Single crochet seams are sturdy and keep the lace from pulling apart at stress points.
- When attaching sleeves, match key points first (underarm area, shoulder area, and a couple of lace sections) with markers before you crochet the seam. This prevents the sleeve from creeping or stretching as you attach.
- For neckline decreases, keep them small and spaced out. The goal is a gentle snugness, not puckering.
Beginner Notes and Confidence Boosters
- Lace often looks messy for the first few repeats. It usually evens out after several rows and looks best after light blocking.
- Use stitch markers at the ends of rows and at the start of rounds until the pattern feels automatic.
- If something looks off, check your chain multiple first. A single missing stitch early can throw off the mesh alignment later.
Troubleshooting
My lace is rippling
- Most often caused by uneven chain tension in the mesh row or putting the wrong number of half double crochet into chain spaces. Re-check “3 into large spaces” and “4 into small spaces.”
My edges are wavy or shrinking
- Wavy edges can come from loose turning chains. Shrinking edges can come from tight turning chains or missing the last stitch.
My sleeve join looks bulky
- Make sure you’re attaching with right sides facing and using markers to distribute the sleeve evenly before you single crochet around.