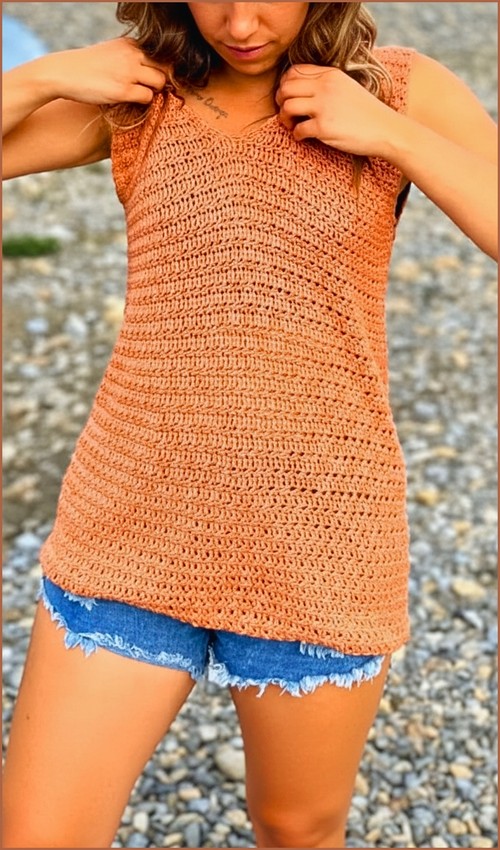
A solid bodice that gathers at the front tie, then opens into a shell stitch skirt the contrast between the two sections is what makes this top look more complex than a single-stitch make. The drawstring pulls the bodice in at the center front, giving it shape without any fitted construction. For another top that mixes a solid bodice with an open lower panel, the peplum shell stitch top uses the same contrast logic in a different silhouette.
Sheer Crochet Babydoll Halter Top

The “3-in-1” format from the source tutorial means the pattern covers multiple length and style variations from the same base construction worth noting in body copy if your post covers more than the babydoll version. For a halter top with a different bodice approach, the cut-out halter top is a quick contrast.
Measurement and Prep
Accurate measurements are what make this style work without complex shaping.
- Measure your rib cage directly under the bust. This number determines the width of the back panel and controls how securely the top sits on your body.
- Measure the bust height from where you want the top to sit to the fullest part of the bust. This measurement tells you when to stop crocheting the back panel.
- Use cotton yarn and a 3.75 mm crochet hook for the main body of the top.

Cotton is important here because it provides structure without stretching out over time. A slippery or elastic yarn will change how the mesh behaves and can affect support.
Crochet Methods You’ll Use
Mesh Back Panel
The back panel provides the anchor for the entire top, so even tension matters more here than speed.
- Chain a length equal to half of your rib cage measurement, ensuring the chain count is a multiple of 2 plus 1.
The stitch multiple allows the mesh pattern to stack evenly without drifting. If your chain count is off, the mesh rows will not line up cleanly later.
- Work single crochet into the second chain from the hook and into every chain across.
This solid base row stabilizes the foundation chain and prevents the mesh from flaring or twisting.
- Chain 4 to begin the mesh row, skip two stitches, and double crochet into the third stitch.
- Continue across by chaining 1, skipping 1 stitch, and double crocheting into the next stitch.
This creates an open but controlled mesh. The skipped stitches are what give the fabric airflow without making it fragile.

- Chain 1 and single crochet into every stitch and chain space across for the next row.
This row locks the mesh in place. It also creates clean side edges, which is important when you later attach the bust panels.
- Repeat the mesh row and single crochet row until the panel reaches your measured bust height.
- Finish the back panel with a full single crochet row.
Ending with single crochet gives you a firm edge that will not stretch when the front panels and straps are added.
- Don’t let crochet patterns intimidate you! If you’re a beginner, the video tutorial below makes it super easy to follow along!
Bust Panels Front
The front panels are intentionally worked from the sides inward. This allows the drawstring to control shaping rather than relying on aggressive increases or decreases.
- Attach yarn to one side edge of the back panel.
- Work single crochets evenly along the edge, placing approximately three single crochets per double crochet row and one per single crochet row.
This spacing keeps the edge smooth and prevents rippling. If you place too many stitches, the panel will flare. Too few stitches will cause pulling.
- Crochet back and forth until the panel reaches half the width of the back panel.
- Repeat the same process on the opposite side for the second bust panel.

At this stage, the front will look wide and flat. This is expected. The shaping happens later when the drawstring is threaded.
Knit crochet hybrid option
- For the knit crochet hybrid option, pick up loops along the side edge and work stockinette stitch rows to the same width.
- Leave the front edge loops unbound so they remain live for the drawstring.
Leaving the loops live allows the drawstring to slide smoothly and create adjustable ruching without distorting the fabric.
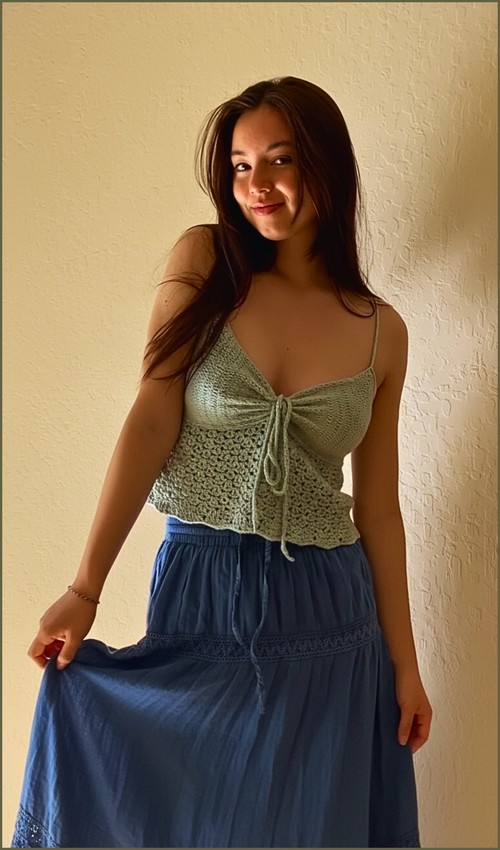
Drawstring and Assembly
This step transforms the flat front into a shaped bust.
- Create a sturdy cord using a wingspan length of yarn by making an I cord or long chain.
- Thread the cord through the live loops of both front panels.
- Adjust the drawstring to create the desired ruching and center tie.
Tightening the drawstring gathers the fabric toward the center, shaping the bust without hard edges. Take time here to adjust the tension evenly on both sides before tying.
Lace Bodice
The bodice is worked after the top section is fully assembled so the lace can flow naturally around the body.
- Turn the piece and begin working along the bottom edge of the bust and back panels.
- Work a shell of three double crochets, chain 1, skip 1 stitch, single crochet, chain 1, skip 1 stitch and repeat around.

This first lace row establishes rhythm and spacing. If your stitch count does not divide evenly, adjust by skipping or adding a stitch discreetly near the side seams.
- Single crochet into the center of each shell, chain 1, and work a double crochet chain 1 double crochet into the single crochet below.
- Work three double crochets into the V stitch space, chain 1, and single crochet into the single crochet below.
These alternating rows build vertical texture while keeping the fabric flexible and lightweight.
- Continue alternating these lace rows until the bodice reaches your desired length.
Try the piece on as you go if possible. Lace stretches slightly when worn, so stopping a bit shorter than your target length often gives the best result.
Finishing Touches
- Create a wave stitch ruffle along the bottom edge by working increases for peaks and skipping stitches for valleys.
The ruffle adds movement without weight. Keep your tension relaxed so the edge drapes instead of standing stiff.
- Attach yarn at the strap points and make straps using a Romanian cord or simple chain.
- Secure the straps firmly to the back panel.
Romanian cord adds strength and reduces stretching, which is helpful for long-term wear.
- Optionally slip stitch elastic thread along the top edge of the bust for added support and a tube top fit.
This is especially useful if you plan to wear the top without a tie or want extra security during movement.
Fit and Sizing Notes
- The back panel controls overall snugness. If the top feels loose, reduce the starting chain slightly rather than tightening the drawstring too much.
- The drawstring allows flexible bust shaping, making this design adaptable across cup sizes.
- If you are between sizes, size the back panel smaller and let the lace bodice provide ease.
Stitch and Shaping Clarity
- Single crochet rows act as stabilizers throughout the design.
- Mesh rows create airflow but rely on those solid rows to maintain structure.
- The drawstring replaces traditional shaping and should be adjusted while the top is worn for best results.
Beginner Notes
- Use stitch markers at the side edges of the back panel to keep your bust panels even.
- Count rows rather than relying only on length when making both front panels.
- Block lightly if needed, but avoid aggressive stretching.
Troubleshooting
- Back panel flares: Too many stitches placed along the edge when attaching the bust panels.
- Bust panels pull inward: Too few edge stitches or drawstring tightened unevenly.
- Lace twists: Stitch count drifted during the first lace round. Adjust early rather than later.
Final Thoughts
- This design relies on thoughtful construction rather than complicated shaping.
- When each section is worked with intention and even tension, the finished top feels secure, adjustable, and wearable.
- Take your time with the measurements and early rows, and the rest of the piece will come together naturally.