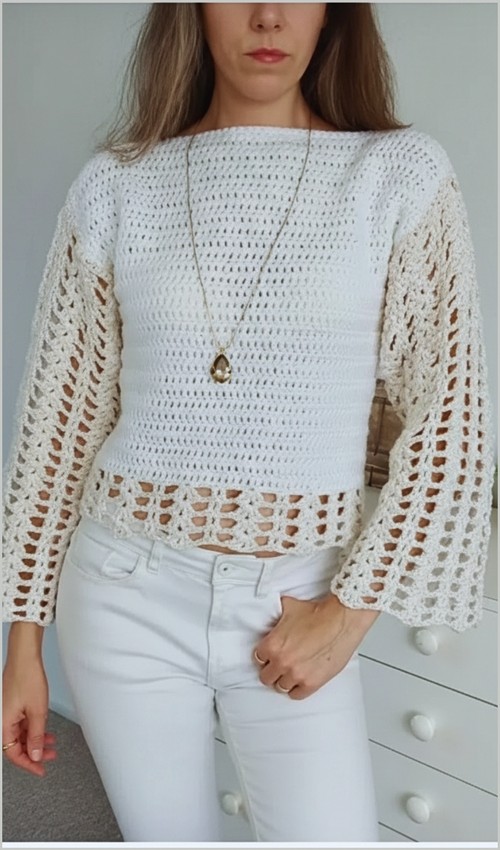
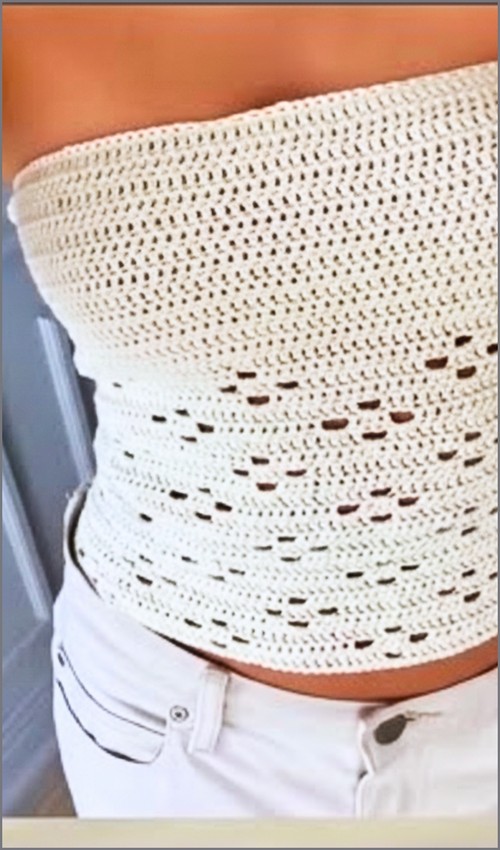
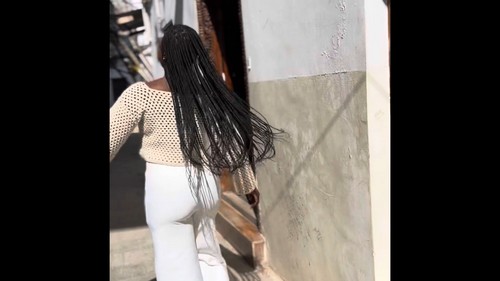
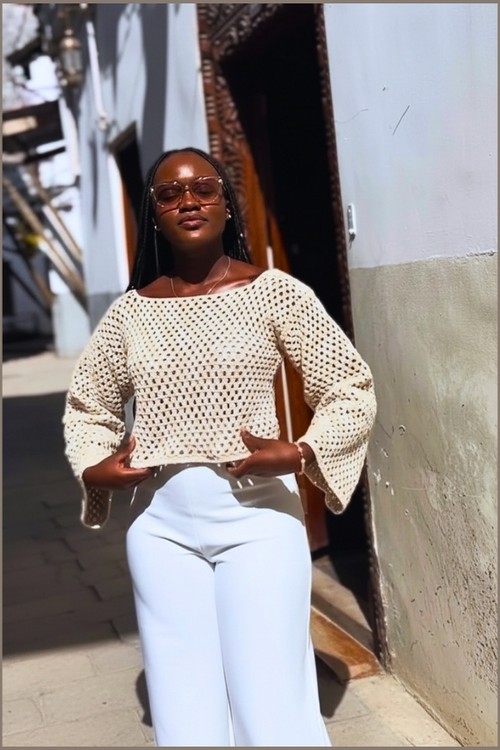
The bell sleeves are the standout here a dramatic flare from elbow to wrist that most cropped summer tops on the site skip in favor of short sleeves or none at all. Underneath, it’s the same small, even mesh grid used across a lot of the sheer pieces, so the drama comes from the silhouette rather than a more complex stitch. For long sleeves without the flare, the mesh top with triple crochet sleeves keeps the coverage but sets a straighter cuff.
Crochet Summer Top With Sleeves
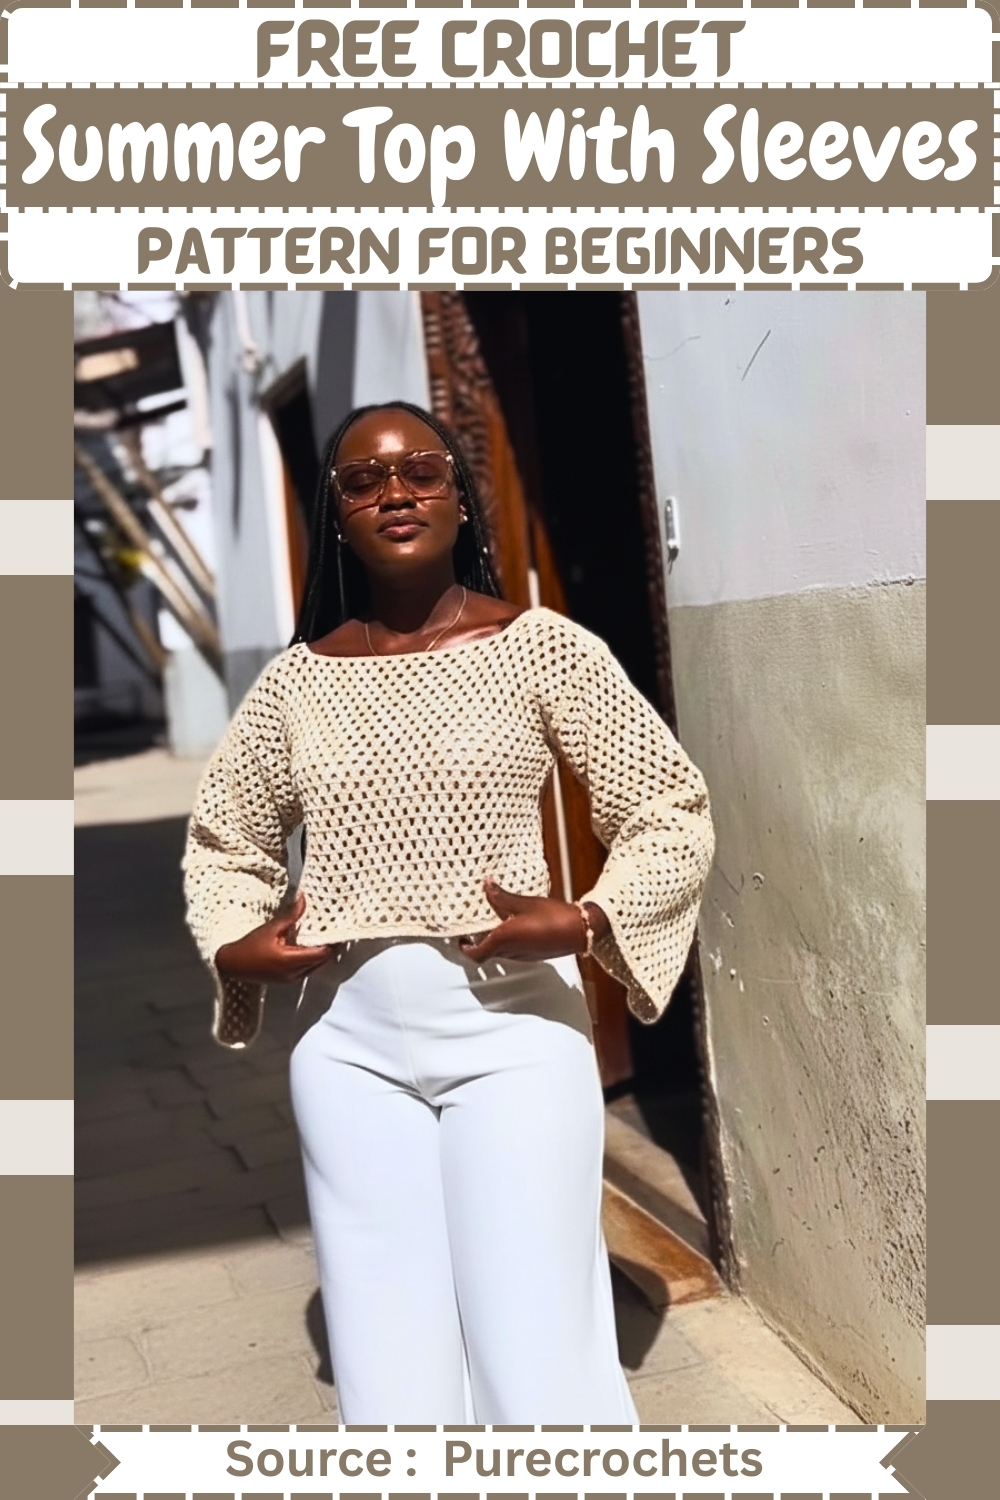
The wide, off-shoulder neckline keeps the fit forgiving through the shoulders even though the mesh itself doesn’t stretch much. Worked in a natural cream, it’s an easy piece to dress up or down the raglan crochet top with long sleeves is a good next make if you want the same sleeve length with a set-in raglan shape instead of this dropped, flared cut.
Materials
- Yarn 100 percent milk cotton approximately 250g
- Crochet hook 5.0 mm for main body
- Crochet hook 3.0 mm for joining
- Measuring tape
- Scissors
- Stitch markers
- Darning needle
Stitch Pattern Overview
- This top uses a V stitch variation made by placing two double crochets into a chain one space.
- The chain one creates spacing, which keeps the fabric breathable and lightweight, while the paired double crochets give enough structure for sleeves and seams.
- If your fabric feels stiff, your tension may be tight. If it feels too loose and floppy, consider tightening your tension slightly rather than changing hook size, since the stitch pattern relies on open spaces for drape.
Back Panel
- Take your shoulder to shoulder measurement
- Chain to match your measurement
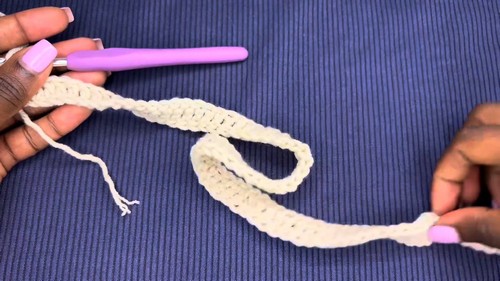
- Work double crochet in the third chain from the hook and in every chain across
- Chain three turn and double crochet in the first stitch
- Chain one skip two stitches and place two double crochets in the next stitch
- Repeat the V stitch pattern across the row
- Place one double crochet in the last stitch to keep edges straight
- Continue working two double crochets into each chain one space from the previous row
- Repeat until the panel reaches your desired length
Back Panel Notes
- The first double crochet row creates a stable base so the V stitch rows stay even.
- The single double crochet at the edge prevents the sides from pulling inward.
- Measure length from the top of the shoulder downward, not from the foundation chain alone.
- Don’t let crochet patterns intimidate you! If you’re a beginner, the video tutorial below makes it super easy to follow along!
Front Panels
- Repeat the same steps as the back panel to the same height
- Fold the panel in half and then in half again to locate the shoulder sections
- Mark the inner and outer shoulder edges with stitch markers
- Work the V stitch pattern only across the marked shoulder section
- Repeat for three rows to form the neckline opening
- Make two identical front panels
Neckline Shaping Clarity
- Folding the panel twice helps you find balanced shoulder placement.
- Only working the marked section creates a natural opening without cutting yarn or complicated shaping.
- Keeping both front panels identical ensures the neckline sits evenly when joined.
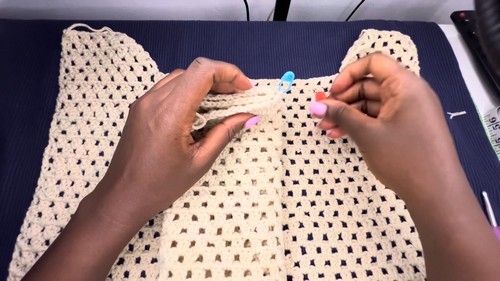
Joining the Panels
- Align the front and back panels at the shoulders
- Join the shoulder seams using single crochet with a smaller hook or a needle
Joining Tips
- Use the smaller hook to keep seams neat and supportive.
- Do not pull tightly when joining; relaxed seams help the neckline sit comfortably.
- Check shoulder width before fastening off in case minor adjustments are needed.
Sleeves
- Measure the widest part of your arm
- Chain to match this measurement
- Work double crochet across the foundation chain
- Continue using the same V stitch pattern as the body
- Crochet until the sleeve reaches your desired length
Sleeve Fit Notes
- Measuring the widest part of the arm ensures comfortable movement.
- If you prefer looser sleeves, add a few extra chains before starting.
- Keep sleeve length slightly longer than needed; you can shorten during finishing.
Final Assembly
- Lay the body flat and fold the sleeve in half to find the center
- Align the sleeve center with the shoulder seam
- Attach the sleeve to the body using single crochet
- Sew or crochet from the wrist down the sleeve and along the sides of the body
- Fasten off and weave in all ends
Assembly Guidance
- Attaching sleeves at the shoulder seam keeps them balanced.
- Sewing or crocheting from wrist to hem in one continuous seam improves durability.
- Try the top on before weaving in ends to confirm sleeve depth and side fit.
Fit and Sizing Guidance
- Width is controlled by your shoulder measurement and arm circumference.
- Length is fully adjustable on both the body and sleeves.
- The open stitch pattern allows some natural stretch, so aim for a close but comfortable fit.
Beginner Notes
- Place stitch markers at the first and last stitch of each row to keep edges straight.
- Count V stitches instead of chains to avoid missed spaces.
- Work on a flat surface often to ensure panels stay even.
Troubleshooting
- Edges curling: Check that you are placing the final double crochet at the end of each row.
- Neck opening too small: Add one more row across the shoulder section before joining panels.
- Sleeves feel tight: Add chains to the foundation rather than increasing stitch height.
Finishing Notes
- Milk cotton softens after washing.
- Lightly block the top or steam it gently to open the stitch pattern and even the seams.
- Store folded rather than hung to maintain shoulder shape.