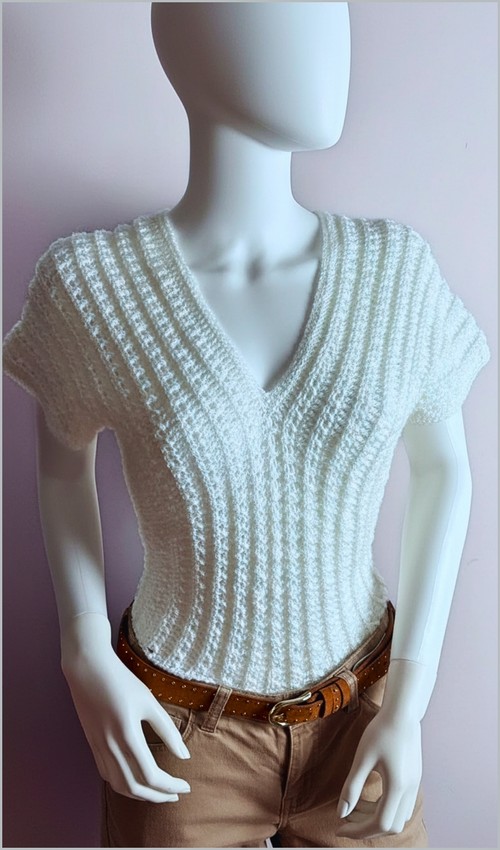
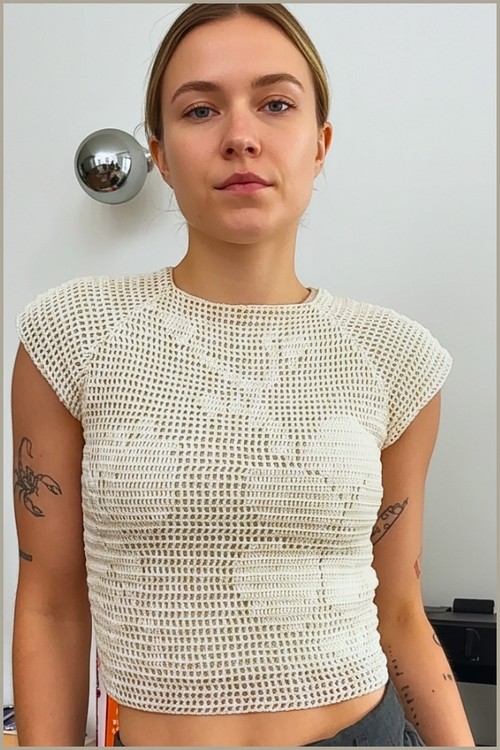
Flower motif tops have a way of looking far more intricate than the individual rounds that make them each daisy square is worked in sequence, and once you have your first one finished, the rest follow the same rhythm. Joined together, four or six of these motifs create a panel with natural open spaces between them that gives the top its airy, lacy feel without any separate lace stitch work. For another motif-based top that uses a very different joining structure, this patchwork granny square crop top is a useful contrast simpler motifs, same construction logic.
Crochet Daisy Sunflower Fringe Summer Top
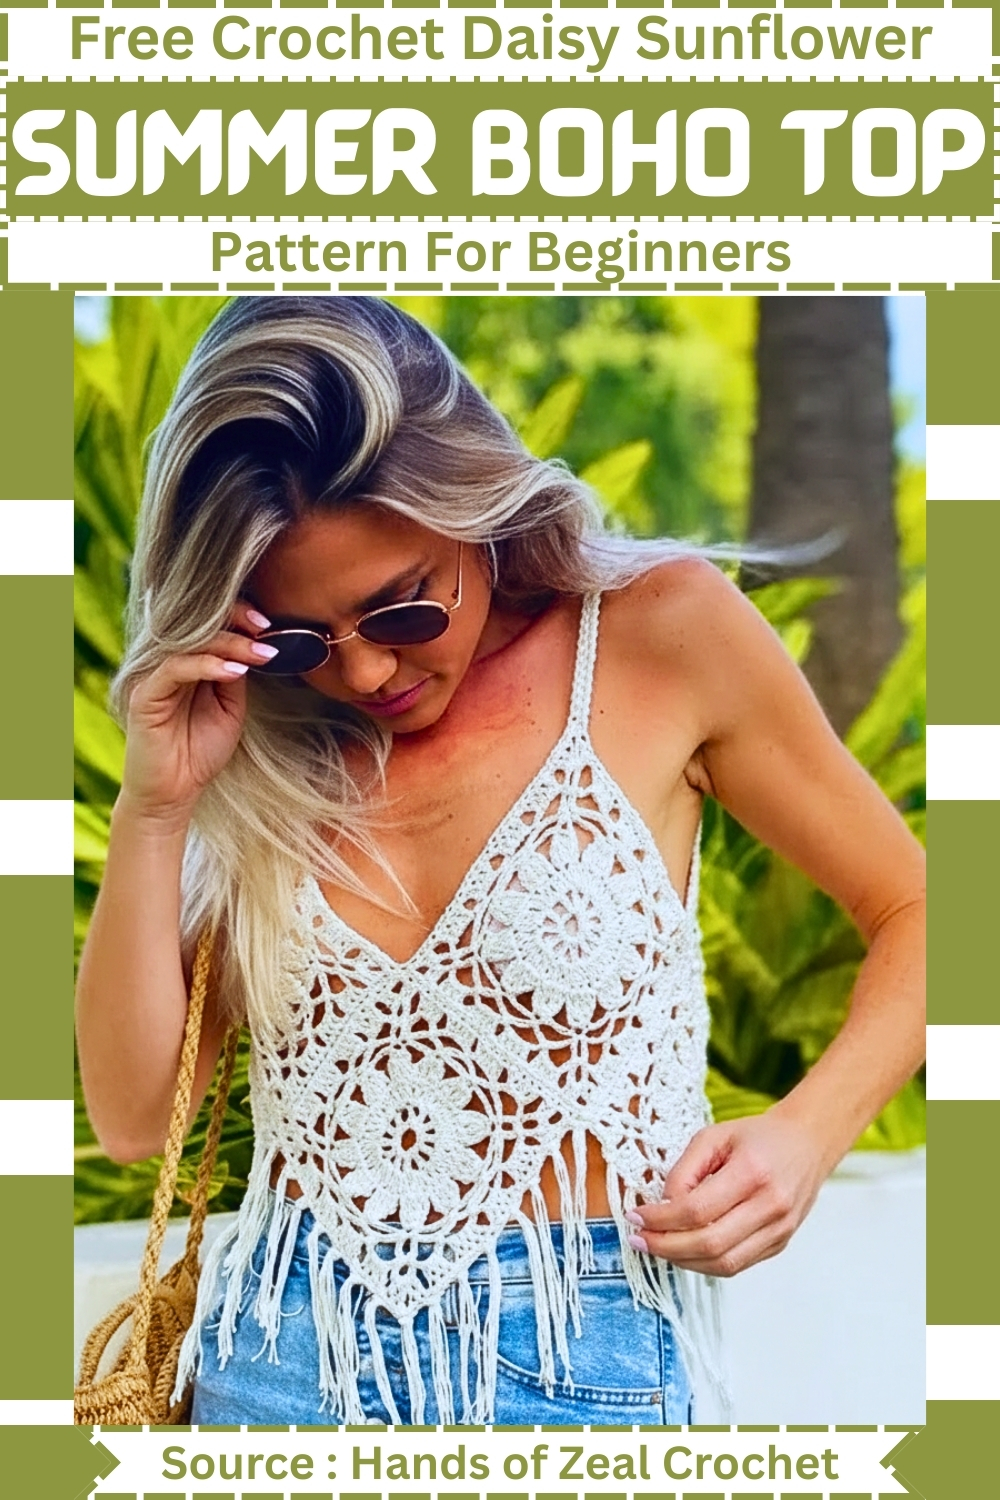
The fringe hem on this one is long enough to move, which is what makes it read festival-ready rather than just summery. Cream or off-white cotton is the classic choice for flower motif work it lets the stitch definition show clearly and photographs beautifully in outdoor light. If you want to try the flower motif construction on a smaller scale first, this flower motif top with puff stitch petals works the same idea with a slightly more structured approach.
Before You Start
- This pattern assumes you are comfortable with basic crochet stitches, joining rounds, and reading stitch placement visually.
- That said, the square includes clustered stitches and chain spaces that can feel unclear the first time through, so it helps to slow down and treat the first square as a practice piece.
- Make all squares the same size before assembly.
- Even small differences in tension will show once they are joined.
Granny Square Instructions
Make 8

Important: The instructions below are kept exactly as written. All explanations appear after the pattern.
Round 1
- Chain 7 and join with a slip stitch to form a ring
- Chain 3
- Double crochet into the ring, chain 1
- Repeat until you have 12 double crochets
- Join with a slip stitch
- Never read a crochet pattern before? No problem! The video tutorial below is perfect for beginners, or give the written pattern below a try!
Round 2
- Chain 2
- Two double crochets into the chain space
- One double crochet into the next stitch
- Repeat around
- Join with a slip stitch
Round 3 Petals
- Chain 4
- Work treble crochet four together across three stitches
- Chain 4
- Repeat to form 12 petals
Round 4 Squaring Off
- Chain 5 and slip stitch into the top of the cluster for the corner
- Chain 5 and slip stitch into the next cluster
- Repeat side stitches three times
- Repeat corners to complete the square

Round 5
- Slip stitch up to the top of the chain loop
- Chain 5 and slip stitch into each loop
- At corners work chain 5, slip stitch, chain 5
Round 6 Final Border
- Attach yarn to any side loop
- Work four double crochets into each loop
- Chain 1 between groups
- At corners work two double crochets, chain 3, two double crochets
Stitch and Shaping Clarity

Round 1 structure
- The chain-3 at the start functions as a double crochet.
- When counting your 12 double crochets, include that starting chain-3 as one stitch.
- All stitches are worked directly into the ring, not into chains.
Round 2 placement
- “Chain space” refers to the chain-1 spaces created in Round 1.
- Each repeat alternates between filling a space and placing a stitch into the top of a double crochet.
- This is what gently increases the square without distorting it.
Petal round explanation
- The treble crochet four together is the focal point of the square.
- You are pulling loops through four partial trebles and closing them together into one cluster.
- The instruction “across three stitches” means the cluster spans three adjacent stitches from the previous round.
- The chain-4 before and after each cluster creates the petal shape and spacing.
Squaring off
- Corners are formed by chaining 5 and anchoring into the top of a petal cluster.
- Each side has three chain-5 loops between corners.
- These loops are what make the square shape possible after a round of circular petals.
Fit and Sizing Guidance
- This design relies on square size rather than row count for fit.
- Before making all eight squares, complete one full square through Round 6 and measure it flat.

The finished garment size depends on:
- Your square size
- How tightly or loosely you seam
- Strap length
If your square is larger than expected, the finished top will be wider and longer. If it is smaller, consider using a larger hook or looser tension rather than adding extra rounds.
Assembly
- Lay out all eight squares in a diamond or cross arrangement
- Use a whip stitch to join the squares together
- Fold the joined piece and seam the final edges to form the body
Assembly notes
- Lay the squares out completely before seaming to confirm orientation.
- The petal texture should flow consistently across squares.
- When whip stitching, work through the outer loops only to keep seams flexible and less visible.
Straps and Edging
- Attach yarn to a front corner and chain to desired strap length
- Slip stitch to the back corner
- Repeat for the second strap
- Single crochet evenly around the top opening including straps
- Single crochet around the bottom edge
- Place three single crochets at the bottom point for a smooth turn
Strap stability
- When chaining straps, avoid pulling too tightly.
- A slightly relaxed chain prevents the straps from shrinking upward after edging.
- The single crochet edging around the straps helps lock them into place and reduce stretching over time.

Fringe Optional
- Cut yarn strands approximately 10 inches long
- Group two to three strands together and fold in half
- Pull the loop through the bottom edge
- Pull the ends through the loop to secure
- Space fringe evenly along the bottom edge
Beginner Notes
- Use stitch markers in the first and last petal of Round 3 to keep count at 12 petals
- Slip stitch joins should stay loose so the square lies flat
- If the square curls, block lightly before assembly
Troubleshooting
- Square ruffles: Too many chains worked tightly. Try loosening chain tension.
- Square cups: Stitches are too tight. Move up a hook size.
- Petals uneven: Make sure each treble cluster is pulled up to the same height before closing.
Finishing Notes
Weave in ends along the direction of stitches to hide them within texture.
- Light blocking helps define petals and corners before wear.
- This piece benefits from gentle handling and hand washing to maintain shape.