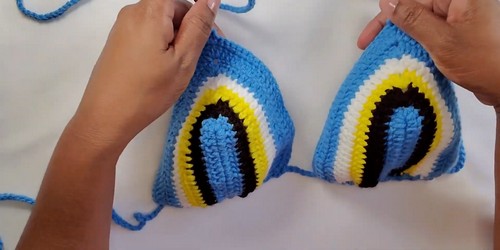
Crochet Bathing Suit Outfit
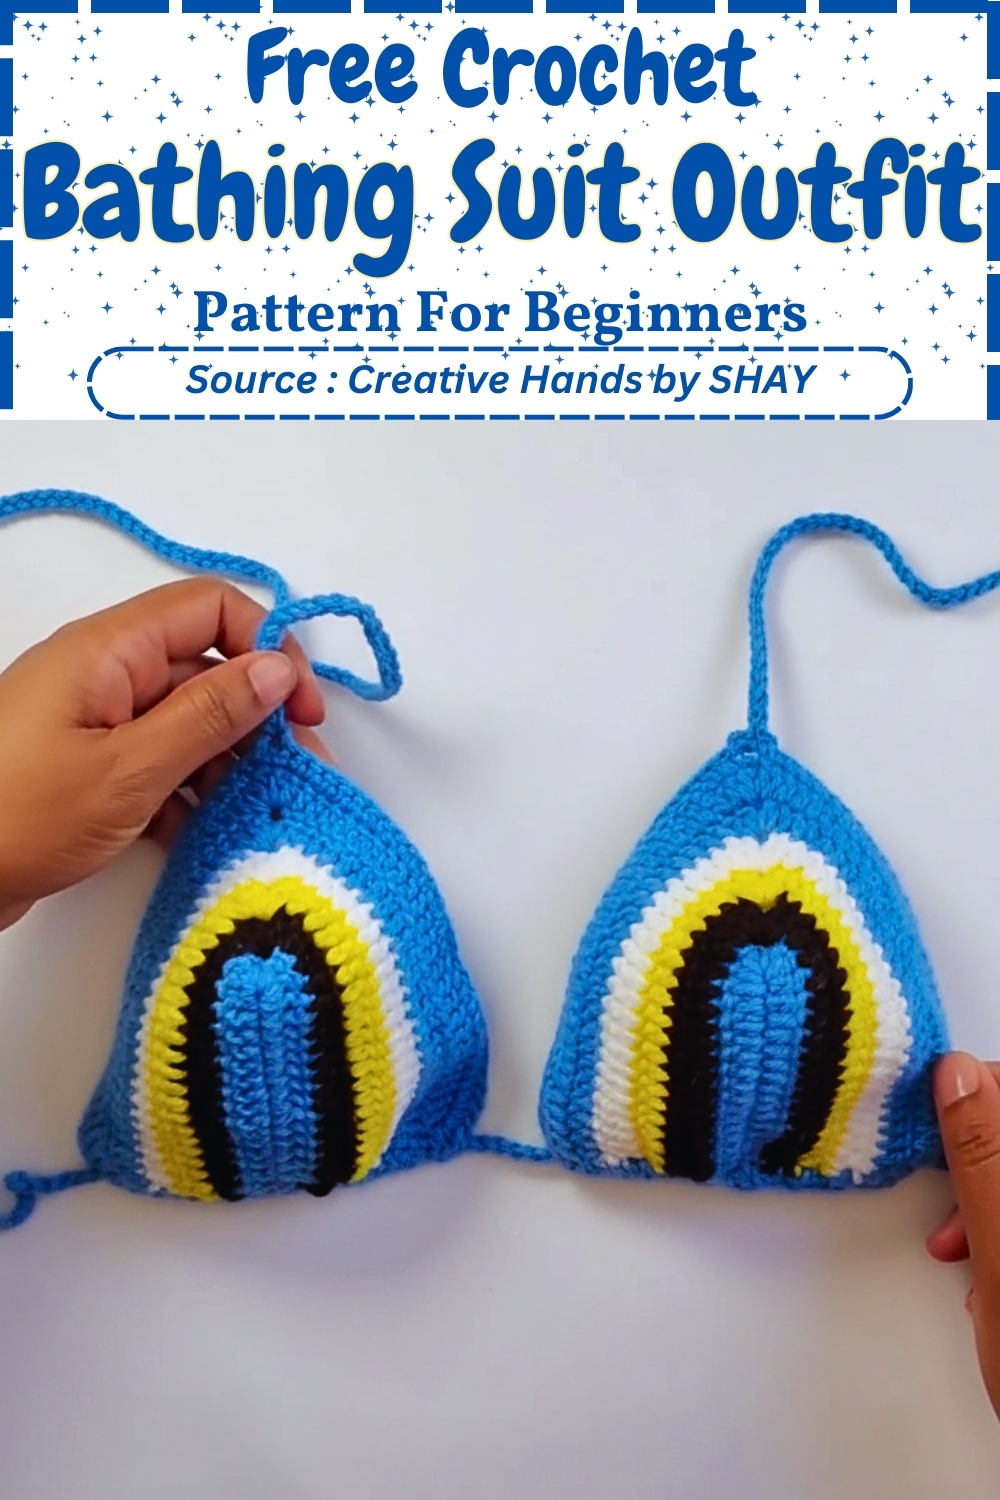
This bathing suit top is built outward from a single foundation chain, forming a flat oval that becomes a structured cup through controlled increases at the center. Each row adds width and depth in a predictable way, so the shaping never feels random. Once both cups are complete, they are joined and stabilized with a bottom band that also doubles as a drawstring channel, giving you adjustability without complicated construction.
Materials
- 3.5 mm crochet hook
- Size 4 acrylic yarn
- Darning needle
- Scissors
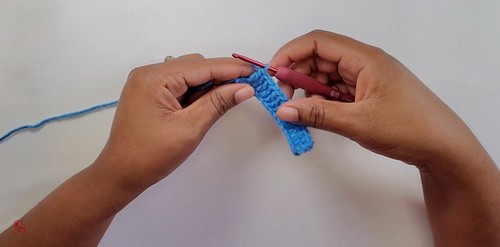
Cup Base
- Create a slip knot and chain 18
- Skip 3 chains and work 1 double crochet into each chain until the last chain
- In the last chain work 3 double crochet, chain 1, 3 double crochet
- Continue with 1 double crochet in each stitch down the other side of the foundation chain
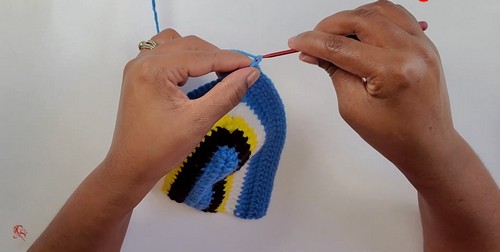
Building the Cup
- Chain 2 and turn
- Work 1 double crochet in each stitch until you reach the chain 1 space at the peak
- In the chain 1 space work 2 double crochet, chain 1, 2 double crochet
- Continue 1 double crochet in each stitch to the end
- Repeat this row until you have a total of 6 double crochet rows
- Change colors by pulling the new yarn through the last two loops of the previous stitch if desired
Border and Neck Strap
- Chain 1 and turn
- Work 1 single crochet in each stitch
- In the chain 1 space at the peak work 1 single crochet, chain 3, 1 single crochet
- At the peak chain 100 to form the neck strap
Second Cup
- Repeat all steps to create the second cup
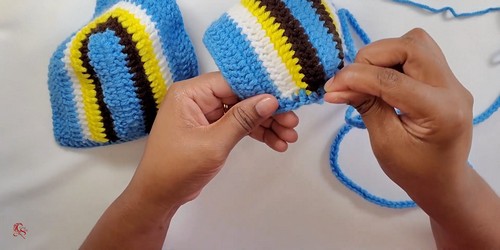
Assembly and Bottom Band
- Join the two cups together at the bottom edges
- Attach yarn to one bottom corner
- Work half double crochets evenly across the bottom of both cups to create the band
- Chain approximately 200 for the back strap or adjust to your preferred length
- Weave the long chain in and out of the half double crochet stitches along the bottom band using a darning needle
Customization Tips
- Add extra rows to increase cup size
- Use a larger hook for more coverage
- Adjust strap lengths for a personalized fit
How the Cup Shaping Works
- The cup begins as an oval worked around a foundation chain.
- The center increase happens only at the chain 1 space, which acts as the peak of the cup. By placing all increases in that single spot, the fabric curves forward instead of flaring outward.
- Every repeat row adds height and projection without changing the overall structure.
- If your cup starts to ripple, it usually means the tension around the peak is too loose.
- If the cup feels stiff or shallow, adding one more double crochet row will give extra depth without changing width.
Fit and Sizing Guidance
This pattern is designed to be adjustable rather than size-specific.
- Cup width is controlled by the starting chain and number of rows
- Cup depth increases with each double crochet row
- Neck and back straps are fully adjustable through chain length
For fuller coverage, add rows before moving to the single crochet border. For lighter coverage, stop one row earlier and proceed directly to the border.
Stitch and Technique Clarity
- The chain 2 at the start of rows does not count as a stitch
- All shaping happens at the chain 1 space, which should remain clearly visible
- Color changes are done mid-stitch to keep the transition clean
Keeping your peak stitches neat is key. If that center chain space tightens, gently pull it open before working into it on the next row.

Beginner Notes
- If you are newer to garment shaping, take a moment to count stitches after each row. Both sides of the cup should remain symmetrical.
- Using a stitch marker at the peak can help prevent accidentally skipping the chain 1 space.
- Working the bottom band evenly matters more than stitch count.
- Aim for consistent spacing rather than forcing an exact number of half double crochets.
Troubleshooting Common Issues
- Cup curls inward: Add one more double crochet row or loosen your tension slightly.
- Cup flares outward: Check that increases are only worked at the chain 1 space and nowhere else.
- Straps feel too thin: Chain more stitches or use a slightly larger hook just for the straps.
- Bottom band feels loose: Weave the back strap tighter through the half double crochet stitches to cinch the fit.
Finishing Notes
- Weave in all ends securely, especially at the peak and strap joins where tension is highest.
- Before wearing, gently stretch the straps and band to test strength.
- This helps settle the stitches and ensures the fit stays comfortable during use.