Crochet patterns designed specifically for men are rarer than they should be this granny stitch vest fills that gap with a clean, colorblock design that works up quickly in rows of 3dc clusters. The structured stripe layout in white, grey, and blue keeps it versatile enough to wear casually or layer over a t-shirt. If you’re building out a summer makes list, the free crochet boxy top pattern with granny stitch uses the same stitch family and is a natural companion project.
Crochet Sleeveless Top For Men
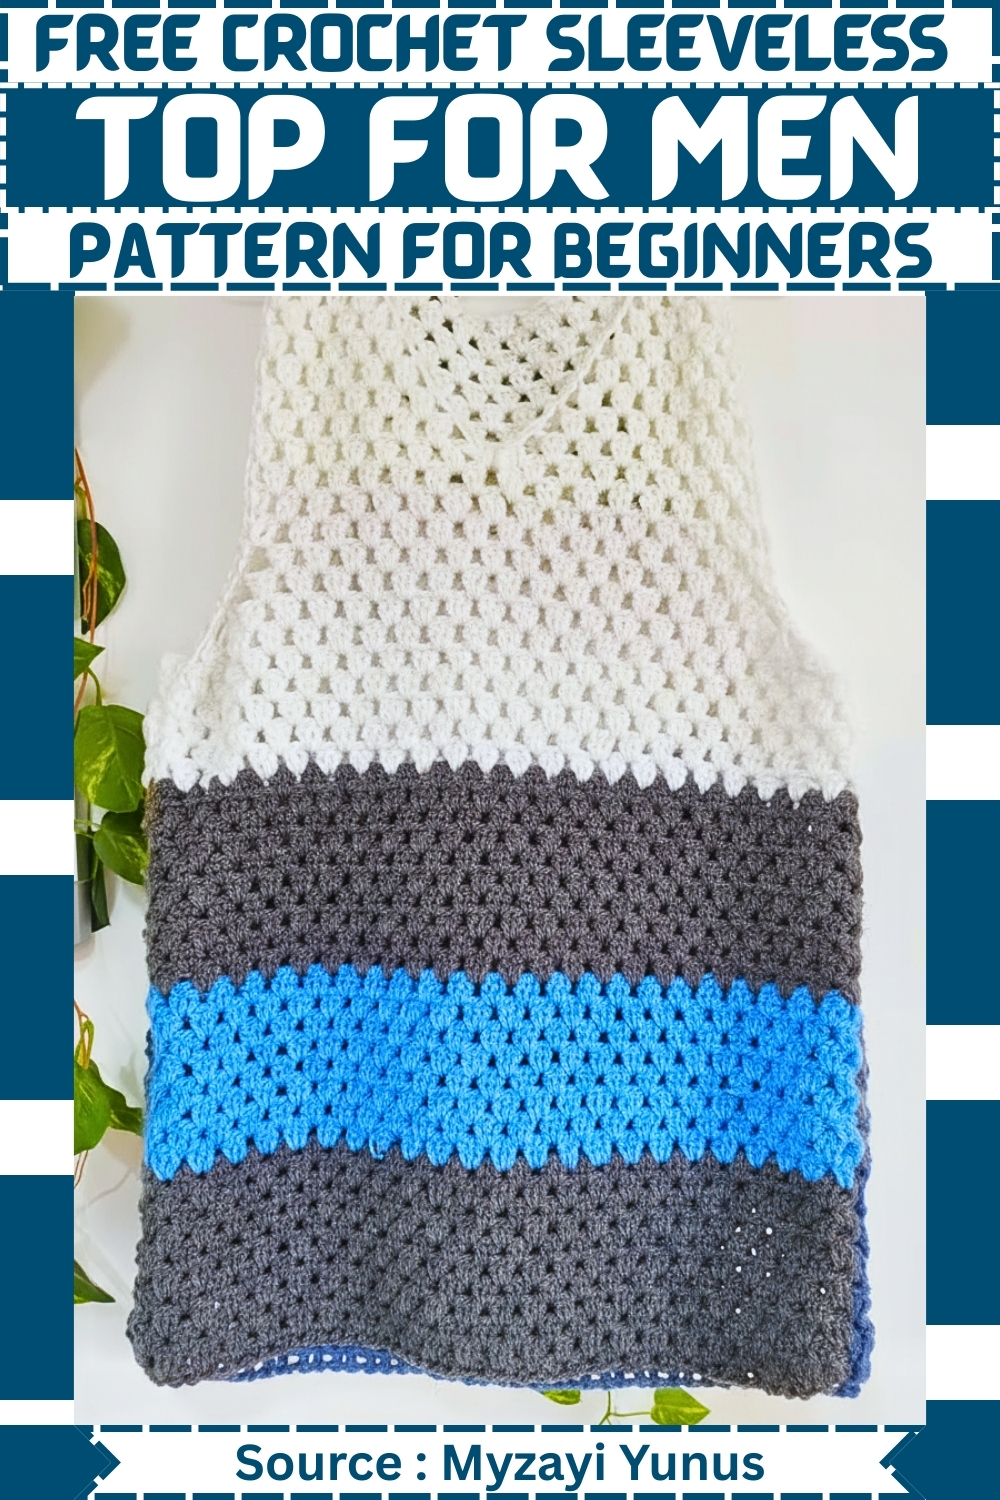
The construction is straightforward granny stitch rows worked flat and seamed, with armhole shaping handled by simply leaving sections unworked. Color changes happen at row joins, so there’s no complicated colorwork mid-row. For a different granny stitch silhouette to make alongside this one, the free crochet granny square top halter pattern gives you a contrast in neckline and drape using the same core stitch.
Materials
- Acrylic yarn in multiple colors
- 4 mm crochet hook
- Darning needle
- Measuring tape
- Stitch markers
Foundation and Sizing
- This top is worked flat from the bottom up.
- The starting chain determines the overall width of the garment, so this is where fit matters most.
- Make a slip knot and chain to match the desired width.
- Chain 19 to 20 inches for small
- Chain 21 to 22 inches for medium to large
- Chain 22 to 23 inches for extra large
Once your width is correct:
- Chain 3 to count as the first double crochet
- Skip 3 chains and place one double crochet in the fourth chain
- Chain 1 skip 1 chain and place one double crochet in the next chain
- Repeat across the foundation chain
Why this matters: This setup creates the chain spaces that the granny stitch will later be worked into. Keeping the spacing even here ensures the body rows stack neatly and stay aligned.
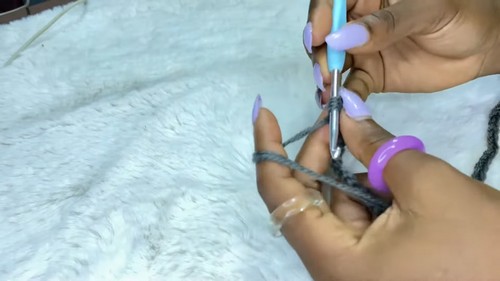
Body Granny Stitch Rows
- These rows form the main fabric of the top.
- Chain 2 turn and work three double crochets into the first chain one space
- Chain 1 skip the next cluster and work three double crochets into the next chain one space
- Repeat across the row
Next row:
- Chain 3 turn and work two double crochets into the first space to form the first cluster
- Chain 1 and work three double crochets into each space across
- Repeat this row pattern to build height.
- New to crochet and not sure how to read a pattern yet? The video tutorial below will guide you through it step by step, you’ve got this!
Color sections:
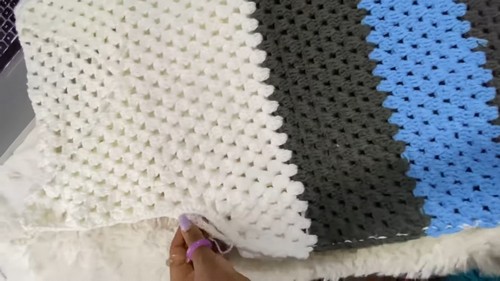
- Work approximately 10 rows for the first color or adjust for size
- Attach the second color and work approximately 8 rows or adjust for size
- Attach the third color and work approximately 5 rows or adjust for size
Stitch clarity: The granny stitch always alternates between full clusters and chain spaces. If your edges start to lean or ripple, check that your first and last clusters are placed consistently on every row.
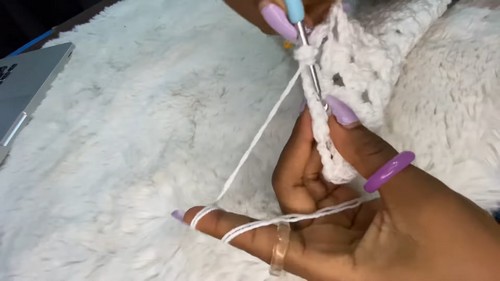
Armpit Decreases
- This section shapes the armholes without cutting sharply into the fabric.
- Chain 4 turn and skip the first space
- Work three double crochets into the next space
- Continue the granny stitch pattern across
- At the end of the row chain 1 and work one double crochet in the last space
- Repeat this decrease row for three rows.
- Chain 4 and work one double crochet into the first space to soften the decrease
- Continue with normal granny stitch rows for a total of twelve rows in this section
Why the decrease works: Skipping the first space gradually narrows the panel while maintaining the rhythm of the stitch. The softening row prevents a harsh step at the armhole edge.
V Neck Shaping Front Panel
- Place a stitch marker at the center of the row.
- Work granny stitches until reaching the center marker
- Turn and continue working only one side of the panel
- Repeat this neckline shaping for eight rows.
- Narrow the shoulder by skipping spaces over the next few rows
- Fasten off and repeat the same process for the other side
Shaping guidance: Working one side at a time allows the V neckline to form clean, straight edges. Keep both sides symmetrical by counting rows carefully.
Back Panel
- Work the back panel the same as the front for foundation and color sections
- Complete the armpit decreases in the same way
- Do not split for a neckline.
- Work fourteen straight rows with no decreases to match the front height
Fit note: The back is intentionally kept higher for coverage and structure, balancing the V neckline on the front.
Assembly and Finishing
- Place the front and back panels together with wrong sides facing out
- Join the shoulders and sides using slip stitches or a darning needle
- Attach yarn at the armpit and work half double crochets evenly around each armhole
- Optional add a half double crochet border around the V neckline for a clean finish
Finishing tips: Work the armhole stitches evenly without pulling tight to avoid puckering. Blocking lightly after assembly can help the granny stitch relax and sit flat.

Beginner Notes
- Use stitch markers at the start and end of rows to track decreases
- Measure the panel width against a well-fitting sleeveless shirt for accuracy
- Acrylic yarn benefits from consistent tension to avoid stiffness
Troubleshooting
- Armholes feel too tight: Add one fewer decrease row or switch to a larger hook for the finishing rounds.
- Neckline uneven: Recount rows on both sides of the V neck and ensure the same number of skipped spaces were used.
- Fabric curling at edges: This usually resolves after the armhole and neckline borders are added.
Fit and Wear Guidance
- This top is designed for a relaxed, breathable fit.
- The granny stitch creates natural airflow, making it suitable for layering or warm weather wear.
- Adjust the total row count if you prefer a longer or shorter body length.