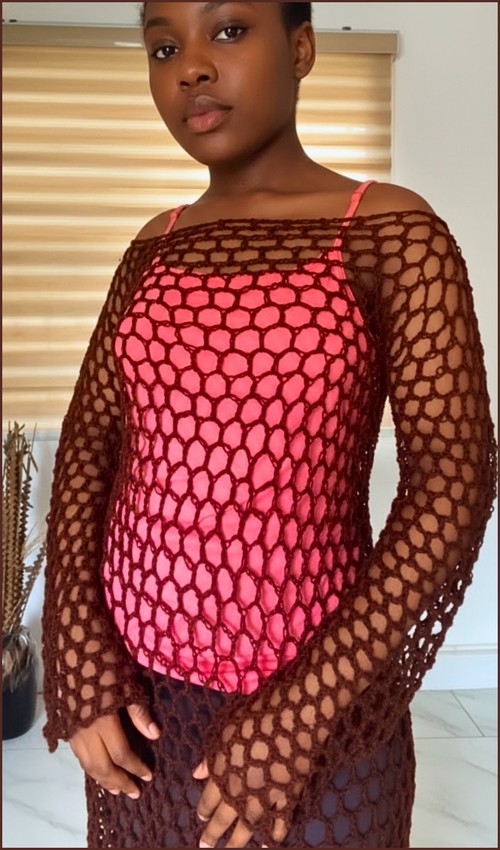
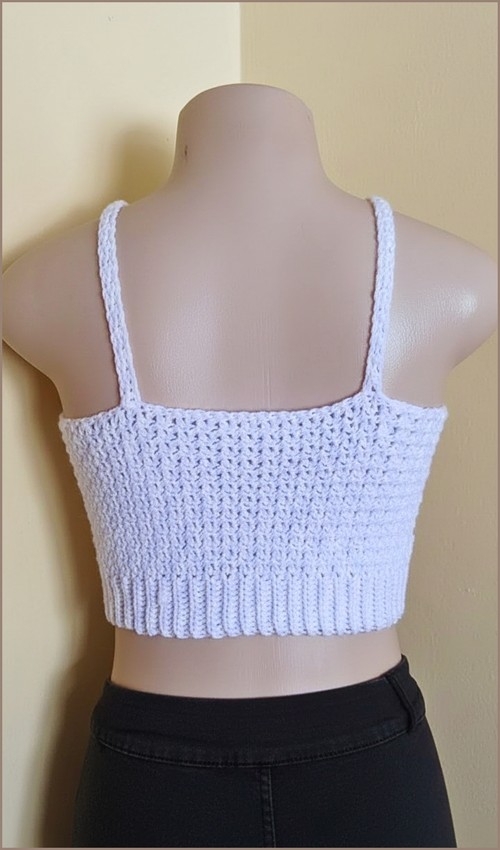
A solid-fabric camisole that reads as full coverage and structured is the foundation piece most wardrobes are missing and working it in half double crochet means you get the right amount of drape and give without the top feeling flimsy or stiff. The lavender colorway shown here is a natural pairing with so many things, though the construction translates across any yarn weight and color choice. For a camisole option with a different neckline treatment and more shaping detail, the crochet camisole mock neck top takes the same bralette silhouette with a folded collar instead.
Crochet Lace Cami Top
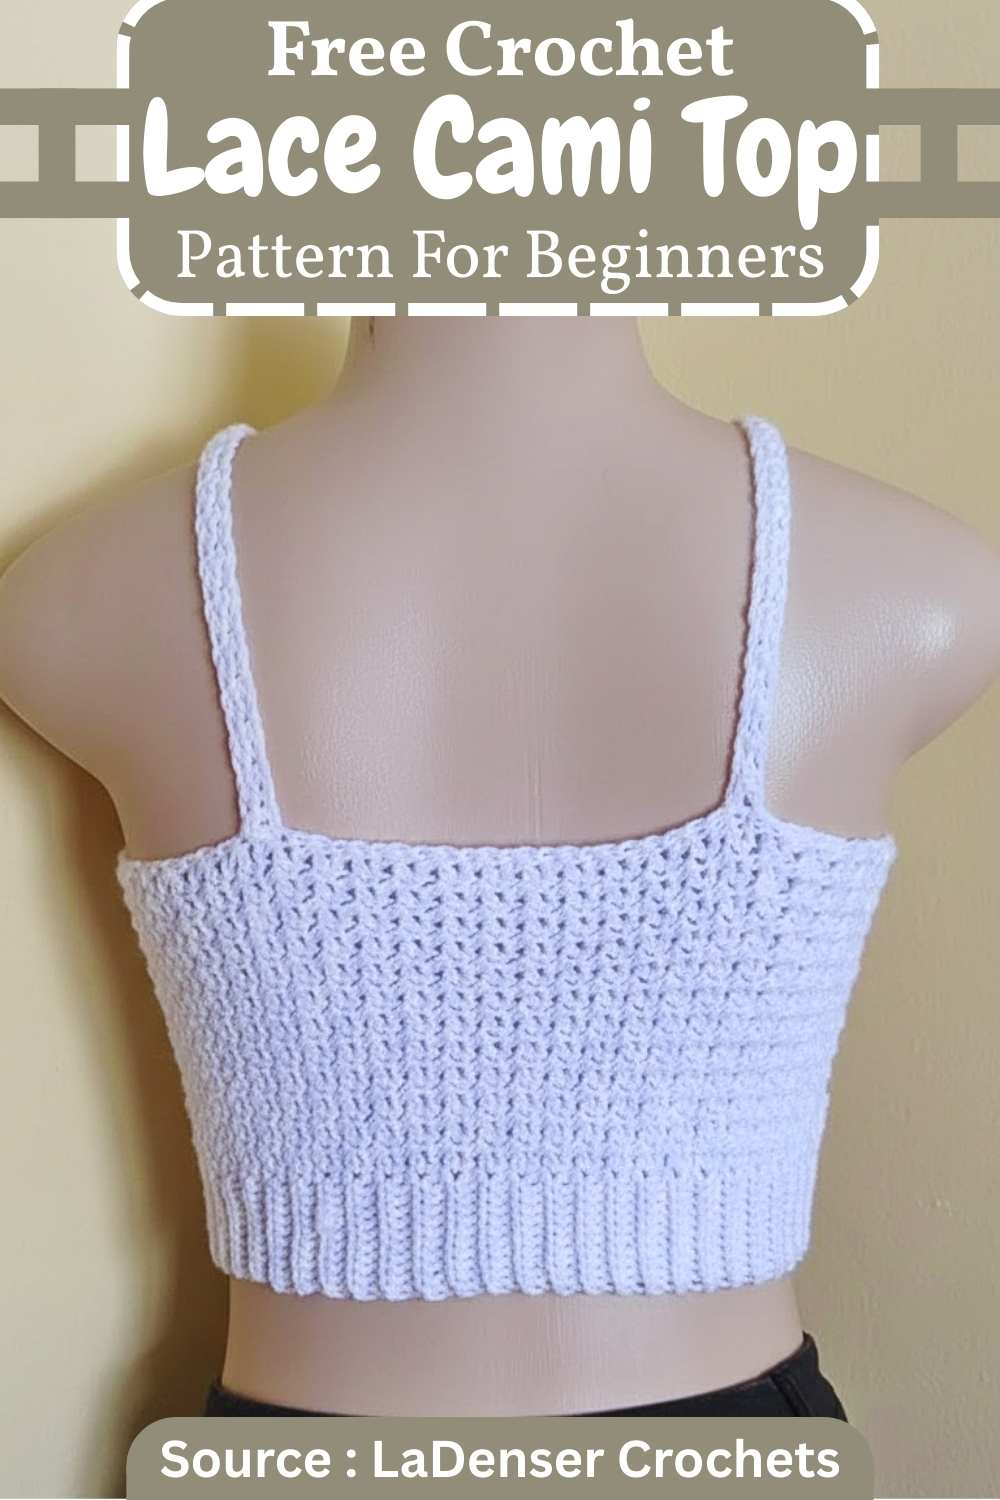
The top is a single flat panel worked to width, then seamed into a tube and finished with a ribbed band at the bottom so you get adjustable sizing just by measuring your flat piece before you close the seam. The straps are worked separately and attached at the sides, which keeps the construction simple and the neckline adjustable. For another beginner-friendly camisole that uses a similar panel-and-seam method in a textured stitch, the crochet lace cami top (despite its name) covers a comparable solid-top approach.
Materials
- Medium weight yarn suitable for a 4.5 mm hook
- 4.5 mm crochet hook
- Yarn needle
- Scissors
- Measuring tape
Crochet Skills Needed for This Pattern
Measurements and Preparation
Before you start crocheting, take a moment to set yourself up for a good fit.
- Take your bust measurement and divide it by two. This number is the target width for both the back panel and the finished front once assembled.
- Start with an odd number of foundation chains. This is essential for moss stitch to work correctly and stay balanced across the rows.
- Adjust the length of the foundation chain to control how cropped the top is. More chains will give you a longer crop, while fewer chains create a shorter, more fitted look.
Taking time here prevents most sizing issues later, especially since the top relies on stretch rather than exact stitch counts.
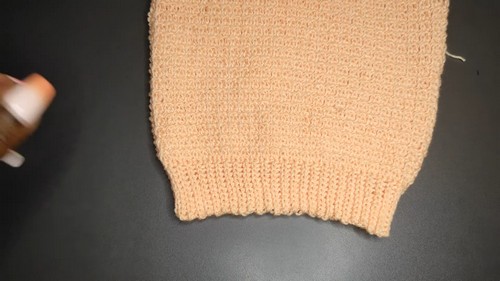
Back Panel
The back panel is worked as a rectangle and sets the foundation for the entire garment. It combines two elements:
- Slip stitch ribbing for stretch and structure
- Moss stitch for texture and flexibility
- If you’re new to reading crochet patterns, don’t worry, just follow along with the video tutorial below and use the written pattern as a reference!
Back Panel Construction
- Row 1: Work 10 slip stitches, place one single crochet in the next stitch, chain 1, skip 1, single crochet in the next stitch and repeat across, ending with a single crochet
- Row 2: Chain 1 and turn, work moss stitch across until reaching the ribbing section, then work 10 slip stitches through the back loop only
- Row 3: Chain 1 and turn, work 10 slip stitches through the back loop only, then continue moss stitch to the end
Repeat Rows 2 and 3 until the panel stretches to half your bust measurement
Make sure the total number of rows is divisible by four
Stitch and Structure Notes
- The 10 slip stitches act as a built-in ribbed edge. Working them through the back loop only creates elasticity, helping the top hug the body without feeling tight.
- Moss stitch is forgiving and stretches slightly when worn, so measure the panel gently stretched, not pulled tight.
- Keeping the total row count divisible by four is important because the front panel shaping relies on evenly divided sections.
Front Panel V Shape
The front panel uses the same width as the back but introduces shaping to form the V neckline.
Shaping Setup
- Divide the total back panel rows into four equal sections.
- These sections guide where increases and decreases happen so both sides of the V remain symmetrical.
Section 1 Increase
- Work upward from the bottom and increase at the top edge every other row by placing two single crochets in the last stitch
- This creates the first upward slope of the V and gradually adds height without widening the whole piece too quickly.
Section 2 Decrease
- Skip the first single crochet and chain at the start of every other row to create the downward slope
- This reduction pulls the edge inward, forming the center dip of the V neckline.
Section 3 Increase
- Repeat the increase method to form the second side of the V
- This mirrors Section 1 and brings the height back up evenly.
Section 4 Decrease
- Repeat the decrease method to return to the original height
- By the end of this section, the front panel should match the height of the back panel again.
Shaping Clarity
- All shaping happens at the top edge only, not the sides.
- Increases and decreases are worked every other row, which keeps the slope smooth instead of jagged.
- Counting rows carefully here is more important than counting stitches.
Assembly and Straps
- Turn the top inside out and sew the side seams together using a yarn needle, matching stitches evenly
- Seaming inside out keeps the joins neat and less visible on the right side of the fabric.
- Attach yarn to the peak of one V, chain to your desired strap length, and attach it to the back panel at an even position
- Try the top on or hold it against your body before fastening the strap to make sure the placement feels balanced and comfortable.
- Work two to three rows of moss stitch along the strap to add thickness and stability
- This reinforces the straps so they do not stretch out with wear.
- Repeat the same steps for the second strap
Fit and Sizing Guidance
- The slip stitch ribbing allows the top to stretch, so aim for a snug but not tight fit at the back.
- If you are between sizes, adjusting the number of rows is more effective than changing hook size.
- Strap length can dramatically change how the neckline sits, so take time to test before securing them.
Beginner Notes
- Moss stitch depends on consistent tension. Loose chains can make the fabric uneven, especially along the V shape.
- Use stitch markers to mark increase and decrease rows if you tend to lose track.
- Slip stitches can feel tight at first. Keep your hook relaxed and avoid pulling the yarn too snug.
Troubleshooting
- The V neckline looks uneven: Check that each section has the same number of rows and that increases and decreases are worked on the correct rows.
- The back feels too loose or too tight: Re-measure the panel while gently stretched. Add or remove rows rather than stitches for a cleaner adjustment.
- Straps stretch after wearing: Add an extra moss stitch row or work the straps with slightly tighter tension.
Finishing
- Weave in all remaining yarn ends securely
- Lightly block if needed to smooth the fabric and define the V shape
- Blocking helps the moss stitch relax and allows the neckline shaping to settle into its intended form.