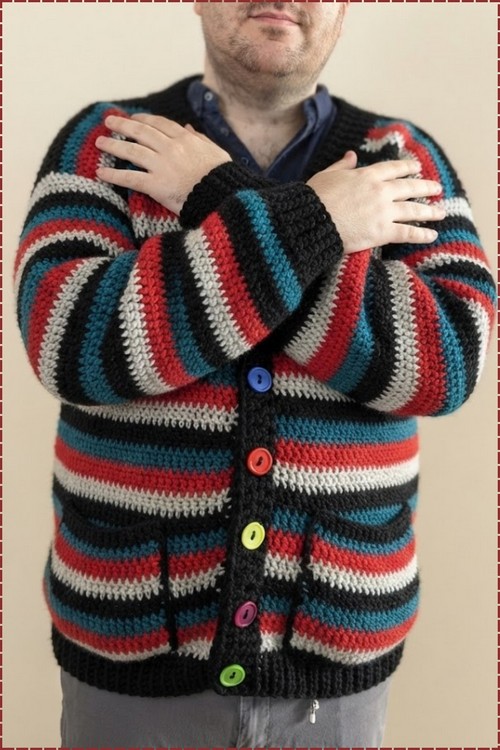
Men who love grunge layering can throw the Y2K crochet sweater over a dark collared shirt and let red, teal, cream and black stripes carry the look. Rainbow buttons run down the black front band and give the crochet cardigan for men a playful streetwear edge for winter weekends.
Bold color and an unapologetic stripe sequence are exactly what made 90s and Y2k menswear so memorable, and this button-front cardigan from Loves Crochet and Knitting captures that energy without overcomplicating the stitch. The multicolor stripe construction and relaxed fit make it a strong pairing with the men’s baggy sweater if you are building out the menswear side of your pattern library.
Crochet Sweater Y2k Men
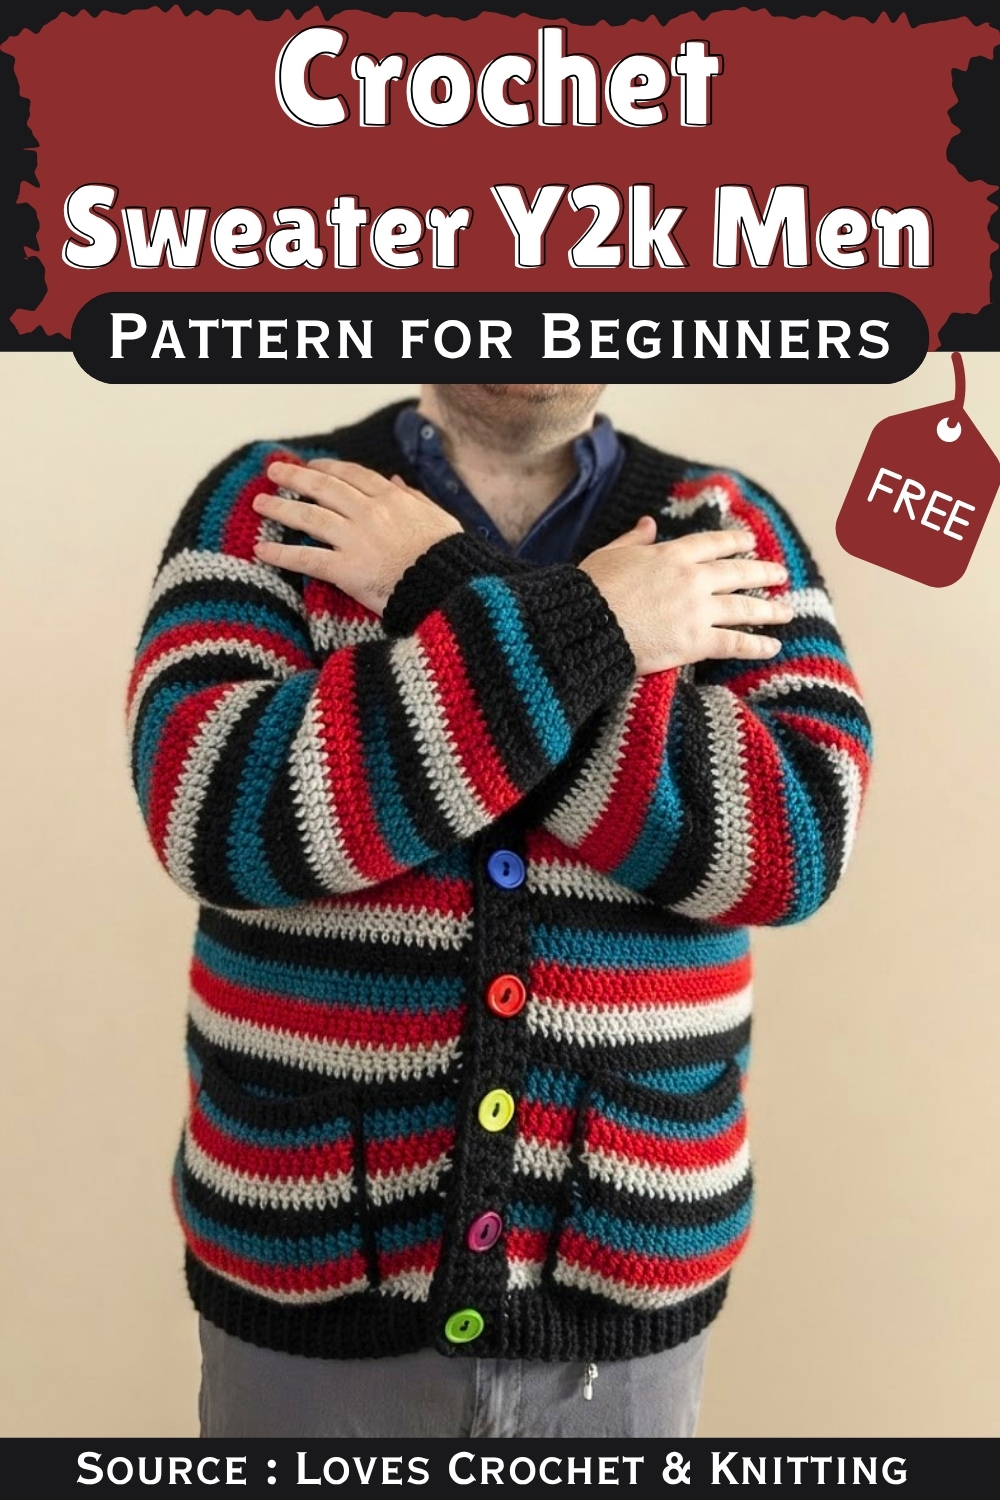
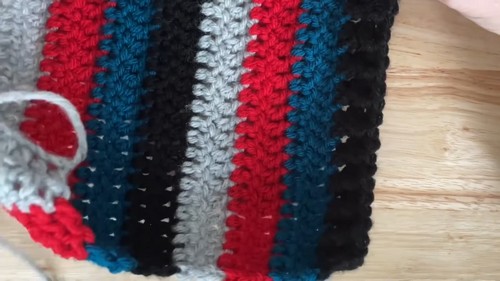
Each stripe is worked in horizontal rows with color changes at the row edges, keeping the construction clean and predictable even for a first color-change project. Mismatched plastic buttons down the front placket are the finishing detail that makes the whole piece feel intentional rather than accidental.
Quick Facts
- Skill level: Intermediate. You need to be comfortable with treble crochet, back loop only stitches, front and back post stitches, V-neck shaping, and flat panel construction with seaming.
- Construction method: Flat panels worked separately (back, two fronts, two sleeves), then seamed and finished with a continuous front band.
- Time to make: Allow 3 to 5 weeks for steady evening stitching. The ribbing rows are fast, but the treble crochet stripe body panels accumulate length quickly and each requires its own session.
- Sizing note: The pattern is sized by row count rather than a fixed chart. The creator worked to a size 44 chest. All panels are measured against your own body or a garment you already own.
Materials and Tools
- Chunky weight yarn in two colors for the stripe body. The original uses black and grey, but any two high-contrast chunky yarns will produce the same effect.
- 5.0 mm crochet hook for all ribbing sections.
- 5.5 mm crochet hook for the main body, sleeves, and border.
- Tapestry needle for seaming and weaving in ends.
- Stitch markers or pins for assembly.
- Buttons to suit the front band buttonholes.
Learn Before You Begin
Abbreviations Used
- ch = chain
- dc = double crochet
- tr = treble crochet
- BLO = back loop only
- FPtr = front post treble crochet
- BPtr = back post treble crochet
- sl st = slip stitch
Customization Ideas
- The stripe colorway is the single biggest visual decision in this cardigan. Black and grey is the Y2K original — cool, slightly athletic, very wearable. But the same construction reads completely differently in rust and cream, or navy and oatmeal, or a single solid color with a contrasting trim. Two rows per stripe is the pattern default, and it gives a tight, graphic stripe that reads as intentional. Wider stripes of four or six rows shift the aesthetic toward something more retro sportswear. A tonal colorway using two shades of the same color, such as charcoal and medium grey, produces a quieter piece that works as a layering staple over a plain shirt.
- Body length is freely adjustable since you simply work more or fewer rows before seaming. A hip-length version is the default, but adding rows to each panel gives you a longer duster silhouette that reads very differently and suits taller proportions. The V-neck depth is also adjustable: beginning the neck shaping earlier gives a deeper, more open V, while starting it later produces a shallower V that sits higher on the chest. The pockets are listed as optional, but on a cardigan this size they are genuinely useful and worth the extra session.
The Pattern
Section 1: Back Panel
Ribbing base — use the 5.0 mm hook
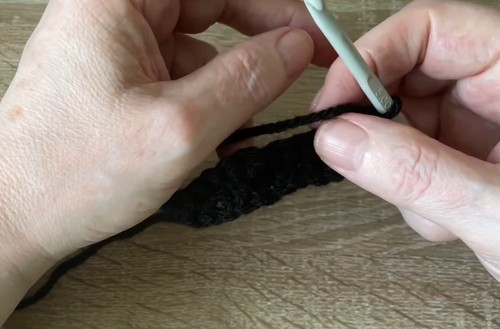
- Ch 11.
- Row 1: Work 1 dc in the 2nd ch from the hook, then 1 dc in each remaining ch across. Ch 1 and turn.
- Row 2 and all following ribbing rows: Work 1 dc in the BLO of every stitch to the end of the row. Finish the row with 1 dc in the turning chain. Ch 1 and turn.
- Continue working in BLO until the ribbing strip reaches your desired back width. For a size 44 chest, this is 72 rows.
Main body — switch to the 5.5 mm hook and two-color stripes
- Join your first stripe color.
- Transition row: Ch 2, then work 1 tr into the top of each rib ridge and into each space between ridges across the full width of the ribbing strip.
- Switch to the 5.5 mm hook. Ch 3 and turn.
- Continue working in tr, switching colors every 2 rows, until the back panel reaches your desired length from hip to shoulder.
Just starting out with crochet? The video tutorial below is a great place to begin, or challenge yourself with the written pattern below!
Section 2: Left Front Panel
Ribbing base — use the 5.0 mm hook
- Ch 11.
- Work BLO dc rows using the same method as the back panel ribbing for a total of 38 rows.
Main body and V-neck shaping — switch to the 5.5 mm hook
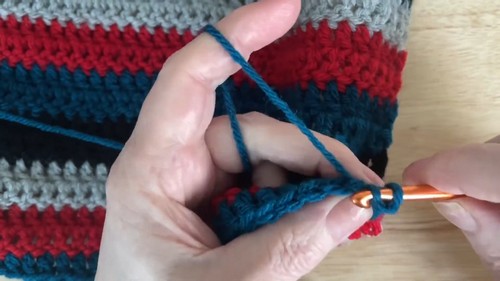
- Continue in 2-row color stripes as established.
- Work until the front panel is 18 fewer rows than the completed back panel. This is the point where the V-neck shaping begins.
- On the wrong side, sl st across the first 5 stitches, then tr across to the end of the row.
- Continue working stripe rows while decreasing at the neck edge. On alternating rows, work the final 3 stitches together as a combined decrease near the neck edge.
- Repeat until the V-neck shaping is complete and the panel height matches the back panel at the shoulder.
Section 3: Right Front Panel
- Work identically to the left front panel in all respects.
- Mirror the neck shaping so that the V-neck decreases fall on the opposite edge from the left panel.
Section 4: Sleeves (Make 2)
Ribbing base — use the 5.0 mm hook
- Ch 11.
- Work BLO dc rows using the same method as the back panel ribbing for a total of 42 rows.
Main sleeve — switch to the 5.5 mm hook and color stripes
- Transition into tr and 2-row color stripes as established.
- Increases: Increase by 1 stitch at the beginning and end of the second row. Continue increasing at each edge on every alternate row until you have 58 total stitches.
- Work straight in pattern without further increases until the sleeve measures 19 inches from the cuff edge.
- Repeat for the second sleeve.
Section 5: Border, Front Band, and Buttonholes
These steps are worked after the shoulder seams are joined.
Base border row — use the 5.0 mm hook
- Rejoin yarn at the lower corner of the right front panel.
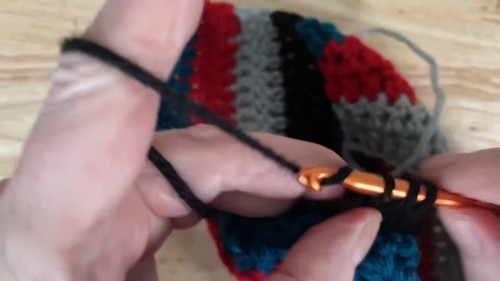
- Ch 2, then work a continuous row of tr up the entire right front edge, across the back of the neck, and down the full left front edge.
- At each sharp V-neck corner, work 3 tr into the corner point to keep the band lying flat without puckering.
Mock rib border rows
- Ch 2, then work a mock post-ribbing pattern by alternating BPtr and FPtr stitches around the posts of the previous row all the way along the band.
- Work a second row in the same post-stitch alternating pattern.
- The natural gaps in the post-stitch ribbing create ready-made buttonhole openings without requiring cut holes.
Section 6: Pockets (Optional, Make 2)
- Ch 27.
- Work 1 tr in the 3rd ch from the hook, then tr across the full foundation chain.
- Continue in the 2-row color stripe tr pattern for approximately 5 to 6 rows to build the pocket body.
- Switch to the main contrasting color and work one row of mock post-ribbing across the top of the pocket.
- Finish with a border row of dc across the top edge, placing 3 dc in each corner for a neat, flat finish.
- Sew the completed pockets onto the front panels at your preferred placement.
Section 7: Assembly and Finishing
- Shoulder seams: Sew the front panels to the back panel at the shoulders.
- Sleeves: Fold each sleeve in half lengthwise to find the center point of the sleeve cap. Pin that center point to the shoulder seam, then sew the sleeve evenly into the armhole opening on each side.
- Side and underarm seams: Sew down the underside of each sleeve, then continue the same seam down the corresponding body side to close the cardigan.
- Buttons: Sew buttons onto the left front band opposite the natural buttonhole gaps in the ribbing so the two fronts close evenly.
- Weave in all remaining yarn ends securely and trim close.
Tips and Troubleshooting
- Measure your ribbing strip against the actual body before transitioning to the main panel. The ribbing forms the entire foundation of each piece, and a strip that is a few rows short or long will throw off every measurement that follows. Lay the strip flat and hold it against your measurements or a garment you own before making the transition to treble crochet.
- Keep a row count log for the stripe pattern across all panels. Because you are working five separate pieces, it is easy to lose track of which color a panel ended on. Keeping a simple tally on paper so each piece begins and ends on the same color in the same stripe position makes assembly far cleaner, particularly at the shoulder seams where the stripes should align.
- Sew the sleeve cap in from the center outward, not from one end to the other. Pinning the center of the sleeve cap to the shoulder seam first and then working outward in both directions distributes the ease evenly and prevents the sleeve from twisting or drifting toward the front or back of the armhole.
Yarn Substitution
- Chunky weight yarn is non-negotiable here. The scale of the stitches, the drape of the stripe body, and the width of the ribbing are all calibrated for chunky weight, and substituting a worsted or bulky yarn will shift the proportions significantly. Within the chunky weight category, there is meaningful room to choose. A smooth machine washable acrylic will produce the crispest stripe definition and the most durable finish, which matters for a garment worn as a layer over other clothes. A wool or wool acrylic blend gives you more warmth and a softer hand but requires more careful washing. Avoid very hairy or textured novelty yarns for this pattern: the post-stitch ribbing on the border and the treble crochet body both depend on visible stitch definition to look intentional.
- If you substitute, buy at least one extra skein of each color. Stripe cardigans consume yarn unevenly depending on how the row counts fall, and running out of one color mid-panel creates a visible join line in the stripe that is difficult to hide.
FAQ
- Do I need to block the panels before seaming? Blocking before seaming is worth the step, especially for the ribbing sections, which can curl slightly before they are attached. A light steam block or a wet block laid flat on a towel overnight will settle the edges and make seaming significantly easier. The treble crochet body panels tend to lie flatter naturally but benefit from the same treatment if the edges feel uneven.
- Can I make this pattern longer, like a duster length? Yes. Because the body length is determined by how many rows you work rather than a fixed stitch count, extending all three body panels by the same number of rows gives you a duster silhouette without any change to the construction. Keep the stripe counts identical across the back and both fronts so the stripes align at the side seams.
- The V-neck on my left and right front panels does not match. What went wrong? The most common cause is working the neck shaping on the same edge for both panels rather than mirroring it. The left front decreases on the right edge of the panel; the right front decreases on the left edge. If you worked the same direction for both, one panel will need to be reoriented or reworked. Laying both panels flat together before seaming so the neck edges face each other is a good check before you commit to assembly.
- How do I know where to place the buttons? Once the front band is complete, lay the cardigan flat and close the two fronts together so the edges align. The natural gaps in the post-stitch ribbing will fall at the same horizontal positions on both sides. Mark the gaps on the left front band, then sew a button at each marked point on the right front band so they line up with the buttonholes when the cardigan is worn.