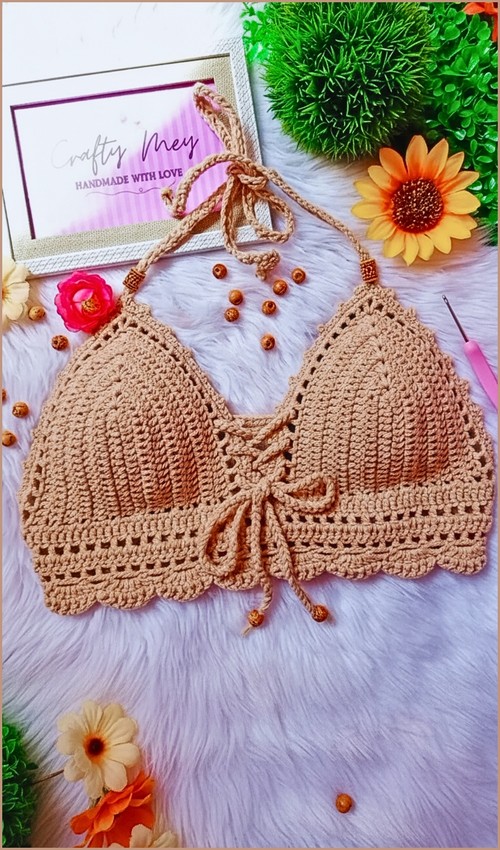
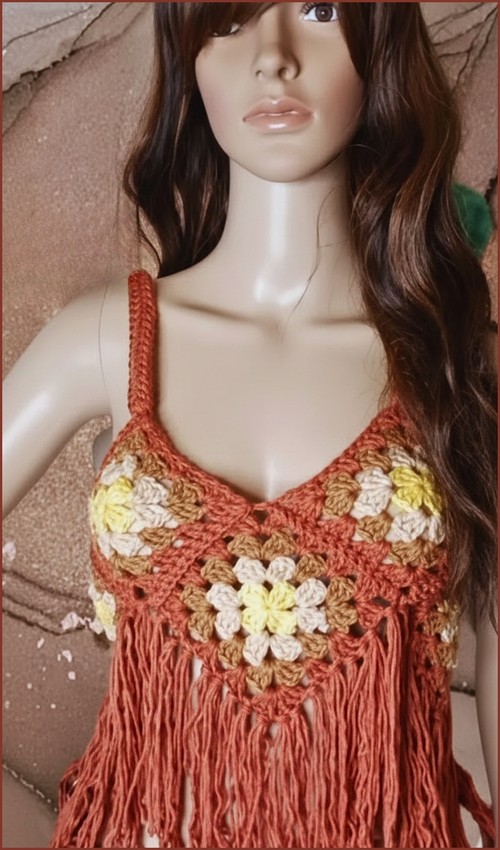
An off-shoulder neckline usually means something flowy and lace-heavy, this one goes the opposite direction with a dense single crochet body that actually holds its shape on the shoulders. The ruffle sits right at the neckline edge and adds movement without changing the clean, fitted silhouette underneath. It’s a good pick if you prefer solid fabric over open-weave, and pairs naturally with the ribbed spaghetti strap tank for a similar structured approach.
Crochet Off-Shoulder Top With Ruffles
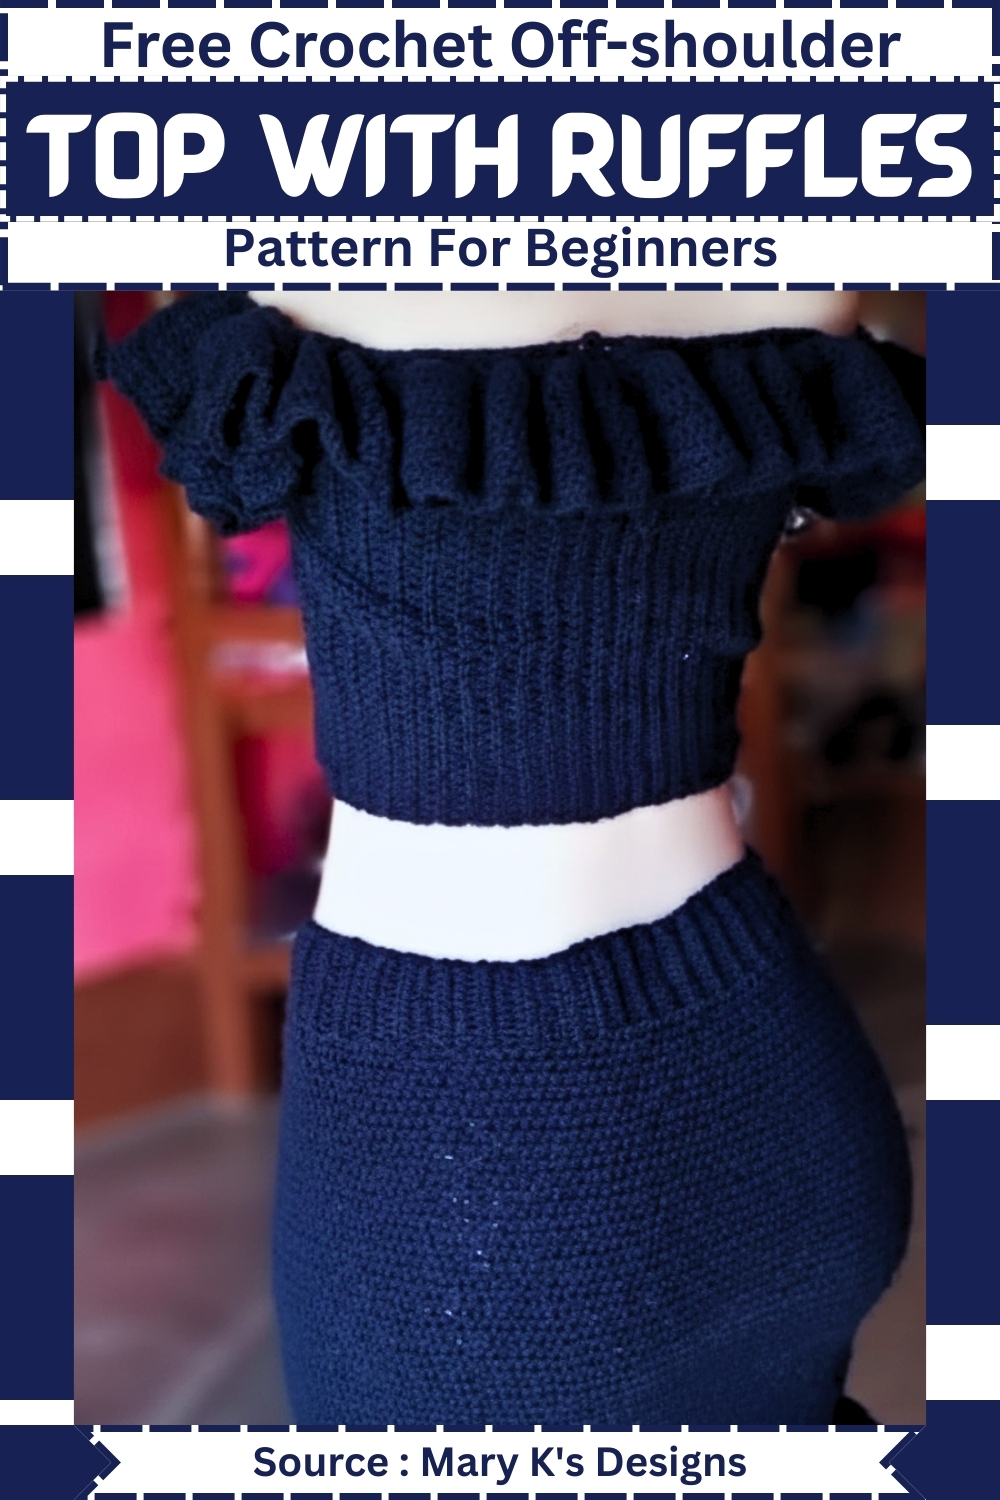
The body is worked in rows of single crochet straightforward and consistent, which makes it easy to adjust length or sizing as you go. Ribbed bands at the neckline and waist add stretch where it matters, and the ruffle is picked up and worked directly from the neckline edge once the main piece is done. If you want to dig into the single crochet basics before starting, the single crochet tutorial covers everything you need.
Materials & Tools
Yarn: Weight 3 (Light/DK) or Weight 4 (Medium/Worsted) cotton or cotton-blend yarn for the best drape and breathability.
Foundation Stitch for This Pattern
Hooks:
3.5 mm (US E/4) crochet hook (for the main body)
3.0 mm (US C/2 or D/3) crochet hook (for the tighter brim)
Notions: Tapestry needle, scissors, and at least 4 stitch markers.
Sizing & Measurements
This pattern is completely made-to-measure, allowing you to customize it to your unique body shape.
Height/Length: The standard design features a 9-inch total body length (7 inches for the main body and 2 inches for the bottom waist brim). You can easily add more rows to the main body if you prefer a full-length top instead of a crop.
Width: Row repeats will continue until the panel comfortably stretches and wraps around the fullest part of your chest.
The Pattern
1. Main Body Panel
Using the 3.5 mm crochet hook.
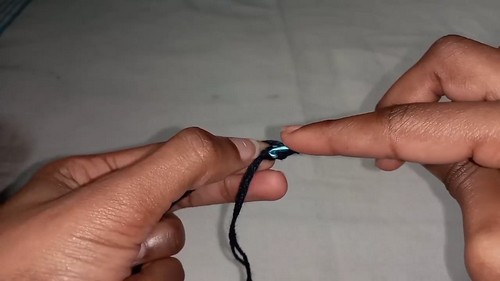
Row 1: Make a slip knot and chain 3. Yarn over, insert your hook into the first chain made, and pull up a loop. Yarn over and pull through the first loop on your hook (this creates your foundation base chain). Yarn over and pull through all three loops on your hook to complete your first foundation half double crochet. Repeat this process, working into the base chain of the previous stitch, until your foundation row measures approximately 7 inches (or your desired body length minus 2 inches for the brim).
Pro-Tip: Mastering the Foundation Half Double Crochet (FHDC)
Starting with an FHDC instead of a standard chain row is a total game-changer for garments. It creates a stretchy, flexible bottom edge that won’t dig into your skin. Just remember to pull up your first loop generously so your stitches don’t become too tight!
- Still getting the hang of reading crochet patterns? That’s completely okay, the video tutorial below breaks everything down in a simple, beginner-friendly way!
- Row 2: Chain 2 (does not count as a stitch here and throughout) and turn your work. Half double crochet into both loops of the first stitch and into every stitch across the row.
- Rows 3 and Beyond: Repeat Row 2 until the main body section is wide enough to wrap comfortably around your chest.
- The Brim: Switch to the 3.0 mm crochet hook. Continue repeating the Row 2 instructions for an additional 2 inches. The smaller hook will naturally create a tighter, ribbed-style brim to hold the top securely at your waist.
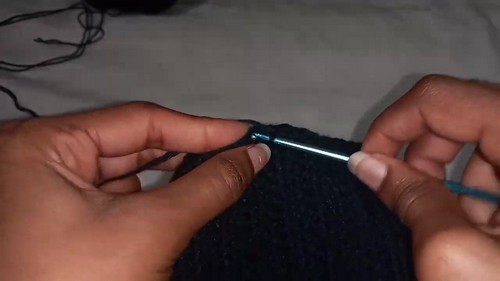
Assembly: Fold the completed panel in half so the short ends meet. Using your tapestry needle and a length of matching yarn, sew the short ends together using an invisible mattress stitch to form a seamless tube. Turn the tube right-side out.
2. Armholes & Top Border
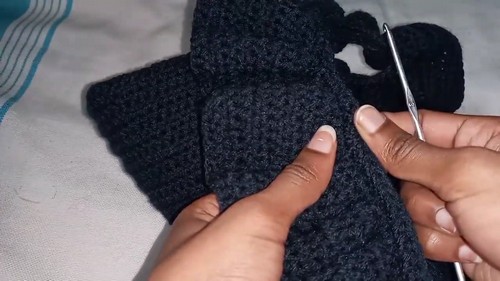
Using the 3.5 mm crochet hook.
- Step 1: Lay your tube flat with the seam either at the back or the side. Find the exact center of the tube on both the front and back layers. From the outer edges, measure 1 inch inward on both sides to form a 2-inch underarm gap. Mark these exact spots with your stitch markers.
- Step 2: Attach your yarn at the top edge of the tube. Work single crochet stitches evenly around the opening. Because you are working into the sides of your rows, place exactly two single crochets into the side of each horizontal half double crochet row.
- Step 3 (Creating the Straps): When you reach a stitch marker, do not skip across. Instead, begin working foundation single crochet stitches outward to create your first arm strap. Continue creating foundation single crochets until the strap reaches your desired length to loop comfortably over your shoulder.
- Step 4: Reattach the strap to the next corresponding stitch marker on the opposite side of the tube. Continue working single crochet stitches evenly around the remaining top edge until you reach the next armhole, repeating the foundation single crochet process for the second strap.
3. The Ruffles
Using the 3.5 mm hook. The ruffles are worked in rounds along the top border and straps.
Round 1: Slip stitch to join the round, chain 2, and turn your work. Working in the back loops only (BLO), place two half double crochets into every single crochet stitch completely around the entire upper edge and straps. Slip stitch to the first stitch to join.
Technique Explainer: Working in Back Loops Only (BLO)
To do this, look at the top of your stitch. Instead of inserting your hook under both strands of the “V”, insert it directly down the center of the “V” and out the back, catching only the loop furthest away from you. This leaves a clean horizontal ridge on the front of your work, which we will use later!

- Round 2: Chain 2 and turn your work. Working through both loops, place two half double crochets in the first stitch, two half double crochets in the second stitch, and one half double crochet in the third stitch. Repeat this specific sequence (2, 2, 1) all the way around the row to create a dramatic flare. Slip stitch to join.
- Round 3 and Beyond: Chain 2 and turn. Work one half double crochet into every single stitch around. Repeat this simple round until your ruffle reaches your preferred length and drapes beautifully over your arms.
4. Finishing Touches
Double the Flounce: To give this top extra volume, attach your yarn to the unused front loops left behind from Round 1 of the ruffle section. Work one clean round of half double crochet evenly around this ridge to create a gorgeous, layered tiered effect.
- Fasten Off: Cut your yarn, pull it through the final loop to secure, and weave in all loose ends using your tapestry needle. Turn your top right-side out, give the ruffles a gentle steam block if necessary, and enjoy your beautiful new handmade top!