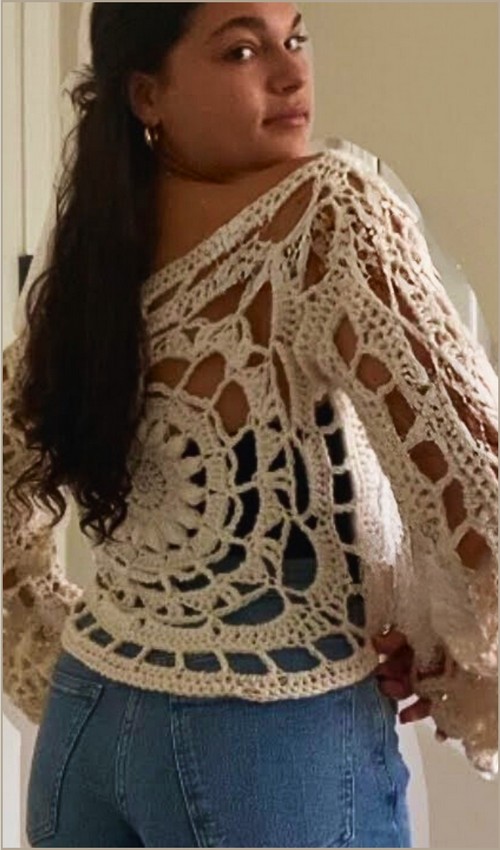
One-shoulder tops look like they require complex shaping, but this one keeps the construction simple the diagonal neckline comes from the angle you finish the top edge, not from any complicated increases or short rows. The ribbed fabric does all the work of holding the shape, and the result is clean and modern without much fuss. It pairs well with the ribbed tube top if you like this stretchy, structured look.
Red Crochet Off The Shoulder Top

The body is worked in rows of hdc in the third loop, which gives the fabric that knit-like vertical rib without any post stitches. It’s one of the most satisfying stitches to work with once you get the rhythm, each row locks in and the piece grows quickly. The hdc third loop tutorial walks through the technique if you haven’t tried it before.
Materials
Yarn: Light worsted weight (Category 3) or sport weight (Category 2) cotton or bamboo blend yarn for a breathable garment with beautiful drape.
Hook: A 4.0mm (G/6) crochet hook (or size needed to meet your preferred gauge).
Notions: Tape measure, scissors, yarn needle, and at least 2 stitch markers.
Basic Stitches You’ll Need
Sizing & Measurements
This pattern is worked sideways and is completely made-to-measure, meaning it will fit any body type perfectly.
Length: Determined by your initial foundation row (measured from the top of your shoulder down to your desired hemline).
Width: Determined by the number of rows you complete. You will work rows until the piece can wrap snugly around your bust.
Pro-Tip: The Stretch Factor
Crochet fabric stretches significantly horizontally. When checking the width against your bust measurement, stretch the fabric slightly. Aim for the panel width to be about 1 to 2 inches smaller than your actual bust measurement for a flattering, secure fit.
Step-by-Step Pattern Instructions
Section 1: Base Foundation & First Rows
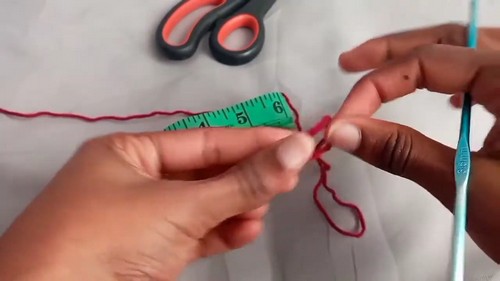
This pattern utilizes a Foundation Half Double Crochet (FHDC). This technique creates the chain and the first row of stitches simultaneously, allowing the bottom and top edges of your garment to remain stretchy.
Step 1: Begin by making a slip knot and chaining 3. Yarn over.
Step 2: Insert your hook into the very first chain made. Yarn over and pull up a loop. You will have three loops on your hook.
Step 3: Yarn over and pull through the first loop only. This action creates the “chain” space for the bottom of the row. You still have three loops on your hook.
Step 4: Yarn over and pull through all remaining three loops on your hook. This completes your first foundation half double crochet stitch.
Step 5: To start the next stitch, yarn over and insert your hook into the “chain” space you created in Step 3 (look for the two loops at the bottom/edge of the stitch). Yarn over and pull up a loop.
Step 6: Yarn over and pull through the first loop only (creating the next chain), then yarn over and pull through all three loops on your hook.
Step 7: Repeat Steps 5 and 6 until your foundation chain is long enough to reach from the top of your shoulder down to your desired bottom edge of the top.
- Don’t let crochet patterns intimidate you! If you’re a beginner, the video tutorial below makes it super easy to follow along!
Section 2: Building the Body Panel

Now we will work back and forth in rows to create the main body of the top.
Row 2: Chain 2 (this does not count as a stitch here or throughout) and turn your work. Work one half double crochet stitch into both loops of the very first stitch and into every stitch across the row.
Row 3 and Beyond: Chain 2, turn your work, and work one half double crochet stitch across the entire row.
Completion: Repeat this row sequence until the width of your panel is slightly smaller than your actual bust measurement when lightly stretched.
Section 3: Measuring & Marking for the Armhole
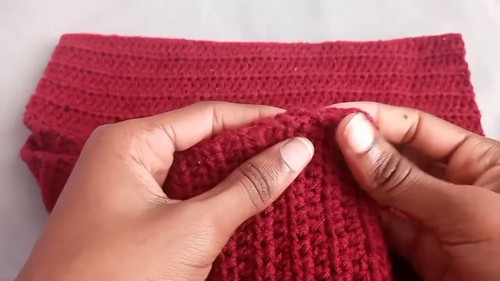
Before seaming, we need to create an opening for your arm.
Step 1: Lay your panel flat. Using your tape measure, measure your arm depth by placing the tape at the top edge of the panel and measuring downward to where your underarm naturally sits comfortably.
Step 2: Count the stitches that span that measured distance from the top edge downward.
Step 3: Place a stitch marker into the stitch where the underarm will end. This un-seamed upper section will become your armhole.
Section 4: Joining the Side Panels
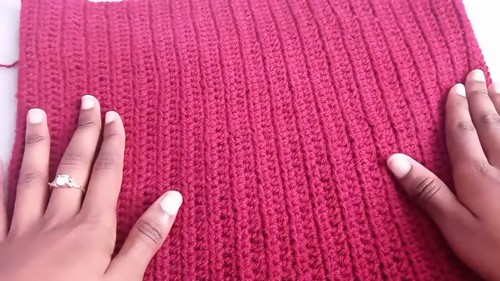
We will now transform the flat panel into a tube by seaming the side using a slip stitch join.
Step 1: Do not cut your yarn after completing your final row. Pull the working loop slightly to extend it so it doesn’t unravel.
Step 2: Bring the two short ends of your panel together, aligning the stitches of the first row with the stitches of the last row.
Step 3: Insert your hook through the first stitch of the opposite side (the foundation row side) and then drop it back through the stretched working loop. Pull the loop taut.
Step 4: Chain 2 and turn.
Step 5: To seam, insert your hook through both loops of the stitch on the front layer AND both loops of the corresponding stitch on the back layer at the same time. Work a half double crochet stitch through both layers to join them.
Step 6: Continue working half double crochet stitches through both layers down the side of the garment until you reach your stitch marker. Fasten off your yarn, leaving the rest of the row unjoined for the armhole.
Section 5: Creating the One-Shoulder Section

To give this top its signature off-the-shoulder look, we will seam a small portion of the top edges together on one side.
Step 1: Try on the tube structure or lay it flat to decide how wide you want your single shoulder strap to be.
Step 2: Attach your yarn at the top outer edge opposite the armhole side.
Step 3: Working through both the front and back panels simultaneously, work half double crochet stitches across your selected width to create a secure shoulder seam.
Step 4: Fasten off your yarn and weave in all loose ends using your yarn needle. Turn the garment right-side out. Your beautiful, custom red off-the-shoulder top is ready to wear!
Technique Explainer: Foundation Half Double Crochet (FHDC)
If you are struggling with the base row, think of the FHDC as a two-step process built into one stitch. Every time you pull through just one loop, you are preparing the “foundation chain” for the next stitch. Every time you pull through all three loops, you are completing the actual half double crochet for the current row.
Why use it? Standard starting chains have zero elasticity, which can cause the bottom or top hem of your garment to dig into your skin. The FHDC mimics the natural stretch of your rows, ensuring your top is comfortable and easy to pull on!