Worn loose over a tee, the yellow crochet batwing sweater drapes wide through the arms thanks to increases worked inside its 4 row shell repeat. Two identical flat panels form the whole long sleeve body, and a narrow ribbed hem finishes the open mesh look.
Light enough for early autumn, solid enough that nobody would call it a cover up. The shell stitch keeps it open while the batwing shape gives it real body, so it layers over a tee without looking like an afterthought. If you’ve worked the peplum shell stitch top, your hands already know this rhythm; it’s the same repeat scaled up. Shell repeats run in diagonal arches across the body and sleeves as one continuous fabric, so there’s no shoulder seam and no sleeve cap to shape. The trade off is row count. Once the batwing widens out you’re working very long rows, so mark each repeat unless you enjoy recounting.
Crochet Batwing Sweater Long Sleeve
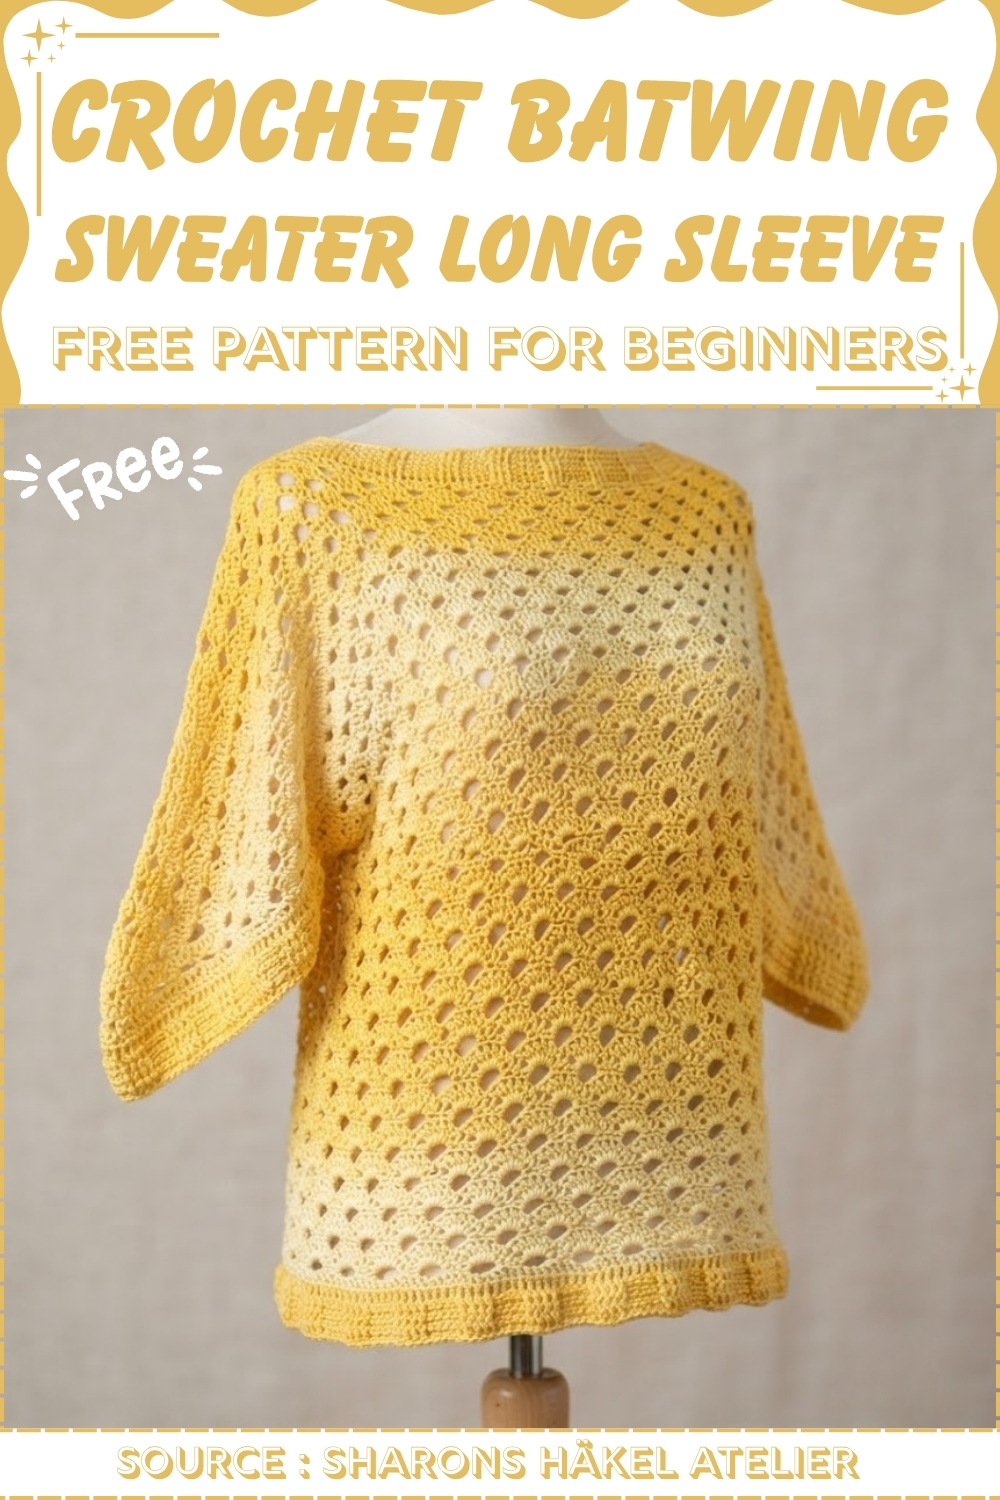
The batwing silhouette comes from the way the rectangular body panel drapes when the underarm is seamed rather than from any deliberate shaping row. That means the whole sweater is essentially one large lace rectangle folded and joined at the sides, which makes it one of the more beginner accessible constructions in this batch despite the intricate looking fabric. The narrow ribbed hem is the only dense section and it anchors the shell lace cleanly at the bottom edge.
Quick Facts
- Skill Level: Intermediate
- Construction: Two identical flat panels seamed at the shoulders and sides; batwing sleeves shaped through increases within the existing stitch pattern
- Main Stitch: 4-row fan/shell repeat (sc, chain spaces, dc fans)
- Sizing: Hip-circumference-based; stitch count must be divisible by 6 + 1
- Finished dimensions (size M example): Approximately 1 meter total width · 52 cm length
- Hook: Sized to your yarn
Customization Ideas
Before you chain your foundation, think through these choices:
- Length above the hip: The pattern works straight for approximately 20 cm before increases begin. Work more straight rows for a longer body; fewer for a more cropped silhouette.
- Sleeve length and width: The increases run for approximately 22 fan rows to create the full batwing shape. Stop earlier for a shorter, less dramatic wing; continue further for a wider, more exaggerated sleeve.
- Neckline width: The example uses a 25 cm neck opening. Narrow it for a higher collar; widen it for a more open boat neck. Mark your neckline with pins before seaming so you can adjust before committing.
- Arm opening size: Approximately 20 cm (10 fans) is left open for the arm on each side. Adjust by leaving more or fewer fans open when seaming the sides — try the seamed shoulder piece against your body before closing the sides.
- Ribbing depth: The post stitch ribbing at the cuffs, hem, and collar is optional and adjustable. More rows of ribbing gives a firmer, more fitted edge; fewer rows gives a lighter finish. Finish with or without the crab stitch edge based on your preference.
Materials & Tools
- Yarn in your preferred color and weight (the pattern is sized by body measurement, so choose yarn that works at a firm, clean tension on your hook)
- Crochet hook sized to your yarn (consider going up one size for the foundation chain to keep the cast-on edge from pulling tight, then switching back)
- Stitch markers
- Scissors
- Tapestry needle
Abbreviations used in this pattern: ch = chain · sc = single crochet · dc = double crochet · sl st = slip stitch · FPdc = front post double crochet · BPdc = back post double crochet · st(s) = stitch(es) · sp = space · rep = repeat
Get Familiar with the Stitch
The Pattern
Preparation and Sizing
- Measure your hip circumference and divide by 2 — chain a foundation chain to match that length.
- Count your stitches. They must be divisible by 6 + 1. (For size M, the pattern uses 96 + 1 = 97 stitches total — adjust up or down in multiples of 6 to match your measurement.)
- Foundation method: Instead of a traditional chain, use a direct foundation single crochet to start (this builds the foundation and first row together for a stretchier edge). Alternatively, work a standard chain with a hook one size up, then switch back down to your main hook for Row 1.
- Make two identical pieces — one front, one back.
The 4-Row Stitch Pattern
This 4-row repeat forms the full body. Work it straight for approximately 20 cm before beginning the sleeve increases.
Row 1:
- Ch 1, sc in the first st.
- Ch 3, skip 3 sts, sc in each of the next 3 sts.
- Repeat [ch 3, skip 3, sc in next 3] across, ending with sc in each of the last 2 sts.
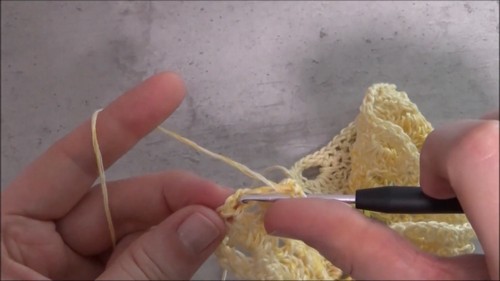
If you’re still learning how to read crochet patterns, no stress! Follow the video tutorial below and use the written pattern below as you get more comfortable!
Youtube
Row 2:
- Ch 1, sc in the first st.
- Work 5 dc into the ch-3 sp (around the loop) — this is the fan.
- Sc into the middle sc of the previous 3-sc group.
- Repeat [5 dc into ch-3 sp, sc in middle sc] across, ending with sc in the last st.

Row 3:
- Ch 3 (counts as first dc), work 1 dc in the first st.
- Ch 1. Work 1 sc in each of the 3 middle dc sts of the fan, then ch 3.
- Repeat [ch 1, sc in each of 3 middle dc, ch 3] across.
- End with ch 1, dc in the second-to-last st, dc in the last st.
Row 4:
- Ch 3, dc in the first st.
- Work 3 dc into the small ch-1 sp.
- Sc into the middle sc of the previous row.
- Work 5 dc into the large ch-3 sp.
- Repeat [3 dc in small sp, sc in middle sc, 5 dc in large sp] across.
- End with 3 dc in the small sp, dc in the second-to-last st, dc in the side turning ch.
Repeat Rows 1–4 until the straight body section measures approximately 20 cm.
Shaping the Batwing Sleeves (Increases)
- On rows that feature the small chain spaces (formatted like Row 4), begin increasing at the side edges.
- Instead of working 3 dc into the small side chain spaces at the beginning and end of the row, work 5 dc into those side spaces.
- Continue alternating the 4-row pattern with this side increase on every Row 4 equivalent.
- Work approximately 22 fan rows of increases (about 32 cm of increase section), reaching approximately 1 meter total panel width and 52 cm total length. (Adjust the number of increase rows to your preferred sleeve length and wingspan.)
Assembly and Seaming
Shoulder seams:
- Lay the front and back panels together face to face.
- Mark your neckline opening — approximately 25 cm wide at center.
- Seam the shoulders from the outer edges inward toward the neckline markers on each side, matching up the fan arches as you go.
Arm openings:
- Leave an opening on each side for the arms — approximately 20 cm (around 10 fans) per side. (Try the seamed piece on before closing the sides to confirm the arm opening feels right for your body.)

Side seams:
- Seam the sides closed from the bottom hem upward to the base of the arm opening on each side, using a flat invisible stitch method for a seamless join.
Cuffs, Hem, and Collar (Optional)
Base round:
- Attach yarn and crochet one round of regular dc evenly around the opening (cuffs, bottom hem, or collar).
Post stitch ribbing:
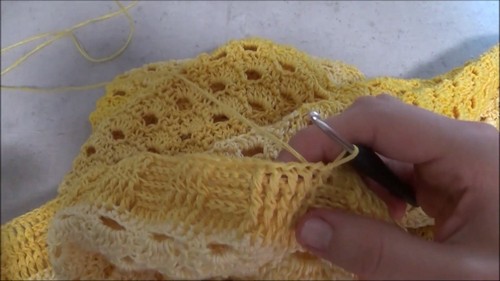
- Work several rows of alternating front post dc (FPdc) and back post dc (BPdc) to create a stretchy ribbed band.
Edge finishing:
- Finish the very outer edge with a backward sc (crab stitch) for a firm, neat border.

Tips
- Count your foundation stitches before you start Row 1. The divisible-by-6-plus-1 requirement is non-negotiable for the 4-row pattern to work out at both edges. Recount before your first row, not after you’ve worked 10 rows and the pattern is off.
- Match the fan arches when seaming the shoulders. The 3D texture of the fan stitch means a misaligned seam shows clearly on the finished piece. Hold both panels up together before seaming and shift until the arches on the front and back sit directly over each other.
- Mark the arm opening before closing the side seams. Try the shoulder-seamed piece on (or hold it to your body) and pin the arm opening size at a comfortable point on each side. Seam below the pin, not to a fixed measurement — arm proportions vary more than body width.
FAQ
- How is the batwing shape made without a separate sleeve piece? The sleeve is built into the body by increasing the number of dc stitches worked into the small side chain spaces on Row 4-equivalent rows. Where 3 dc would normally hold the pattern width steady, working 5 dc instead pushes the fabric outward. Repeated over 22 fan rows, this grows the panel from hip width to about 1 meter total — the extra width becomes the sleeve when the shoulders are seamed.
- Why must the stitch count be divisible by 6 + 1? The 4-row repeat uses groups of 6 stitches per pattern unit (3 skipped + 3 worked in Row 1, then fans in Rows 2–4). The extra +1 stitch balances the edges of the panel so the pattern ends symmetrically on both sides. If your count is off, you’ll find yourself short at the end of Row 1 or with an incomplete fan at the edge.
- Can I make this in a different yarn weight? Yes — the pattern adjusts by measurement rather than a fixed stitch count, so the proportions work at any weight. Use a lighter yarn for an open, drapey shawl-like batwing; go heavier and chunkier for a warmer, more structured jumper. Swatch and measure your chain against your hip measurement before starting.
- The side increases are making my edges look ragged — what’s happening? The increase from 3 dc to 5 dc at the side adds width in a step rather than a gradual ramp, which can look abrupt for the first row or two. Make sure you’re placing the increase in the small ch-1 sp at the very edge of the row, not in the body of the last fan. After 3–4 increase rows the edge settles and the batwing curve reads smoothly.