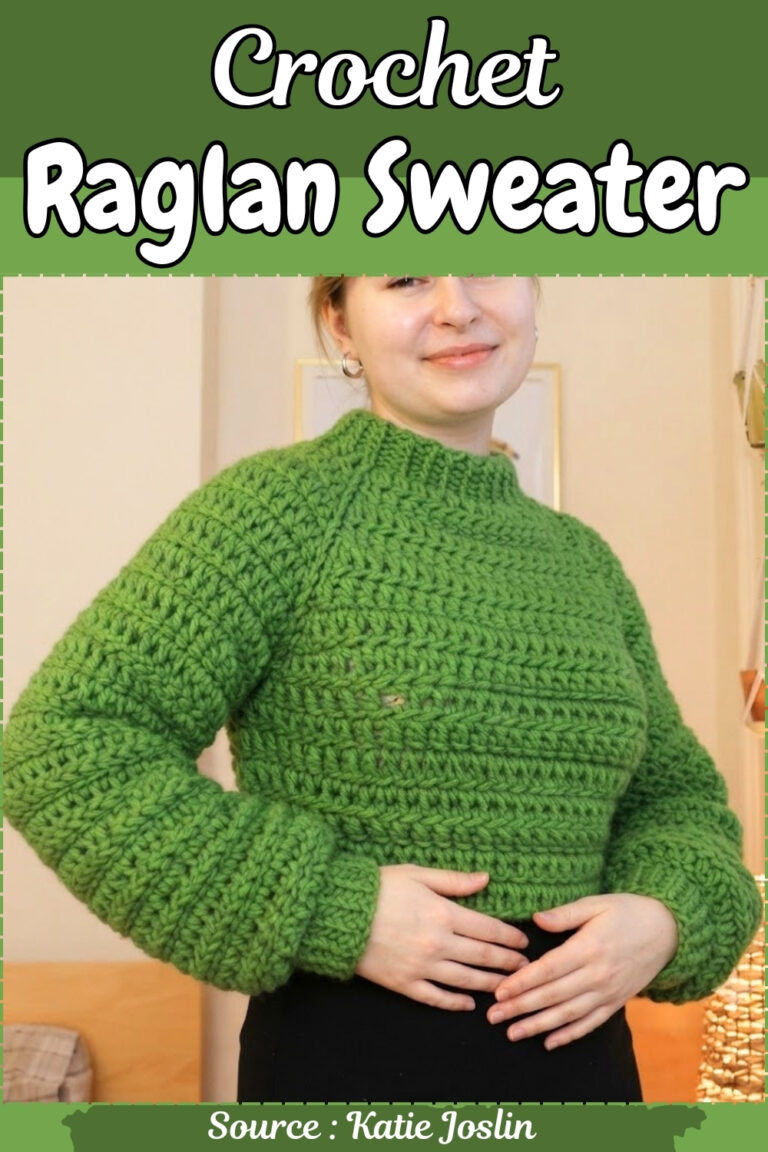
Hot summer afternoons suit a crochet mesh sweater with a V neck, since the open fishnet grid lets every breeze through the fabric. Beach days and market runs pair well with the lightweight V neck crochet sweater pulled over a white tank or tucked into denim shorts.
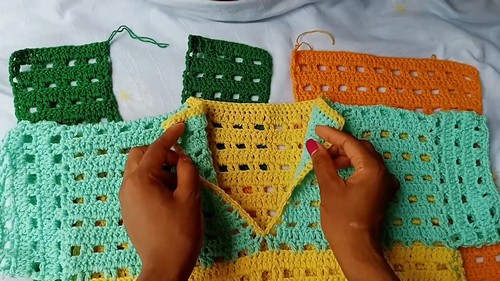
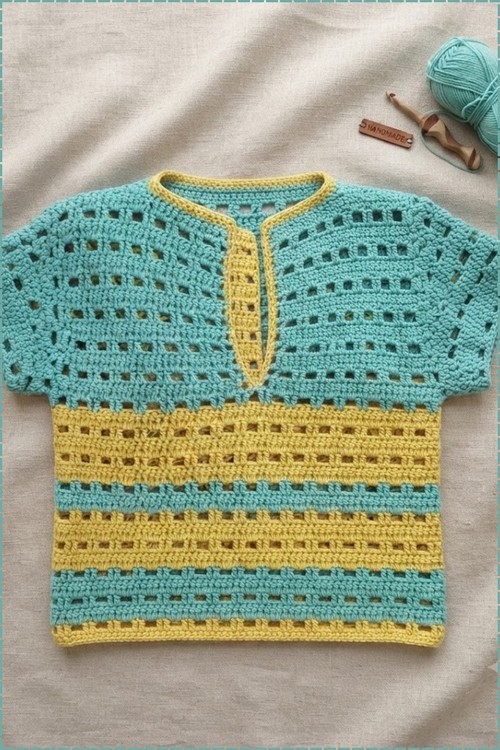
Summery without shouting about it. Teal and yellow could easily go loud, but the horizontal stripe placement holds the two in balance so neither one takes over. A V neck slit runs down the centre front, trimmed in yellow to echo the lower body, and the cap sleeves come off the shoulder panels as extensions rather than being set in separately. Pin that trim before working it, because a slit like this gapes if the edging pulls even slightly tight. Over on the mesh top for men with V neckline, it’s the same open grid worked in a single colour if two-tone isn’t your thing.
Crochet Mesh Sweater With V Neck
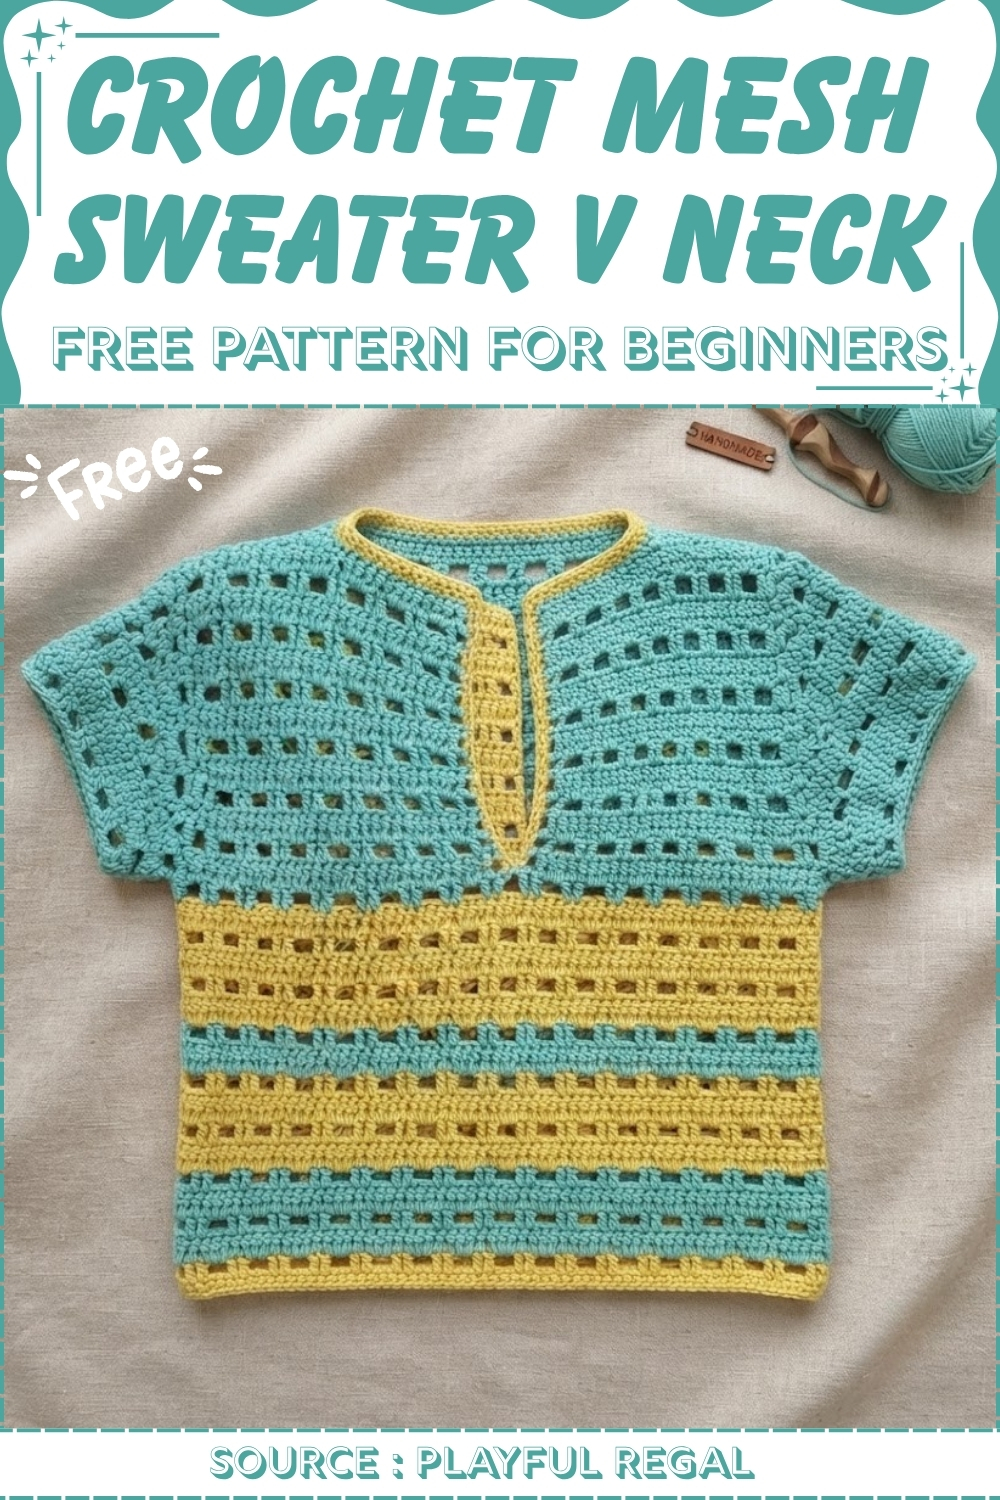
The sweater is built from four flat panels, two for the front divided by the V neck insert and two for the back, joined at the shoulders and sides. Image 5 shows how the yellow V panel slots into the teal front panels before the neckline edging is worked, which is the trickiest assembly step and worth reading slowly before you start. The stripe changes happen at the row level in the lower body section, which keeps the colour management straightforward since you are only ever working one colour per row.
Materials & Tools
- Size 3 acrylic yarn in one or two colors (main color for the back/body; second color for the front panel upper section and neckline edging — or one continuous color throughout)
- 4.5 mm crochet hook (main body and sleeves)
- 3.5 mm crochet hook (neckline edging)
- Measuring tape
- Stitch markers
- Tapestry needle
Chain multiple: Foundation chain must be a multiple of 4.
Armhole depth by size:
- Extra Small: 6 inches
- Small/Medium: 7 inches
- Large: 8 inches

Abbreviations used in this pattern: ch = chain · dc = double crochet · sc = single crochet · sl st = slip stitch · sp = space · st(s) = stitch(es) · rep = repeat
Master the Stitch Before Beginning
Difficulty & Time
Easy-intermediate. The stitch pattern alternates between two rows — a mesh row and a solid dc row — and once you’ve worked through the first four rows you’ll have the full pattern memorized. The V-neck split and the color change are the two moments requiring close attention; everything else runs on autopilot. Budget a comfortable weekend for both panels plus an evening for seaming and finishing.
Beginner Technique Notes
- The mesh stitch repeat: The mesh row works 2 dc, then ch 2, skip 2, and 2 dc repeatedly. The solid dc row fills those ch-2 spaces by placing 2 dc directly into each space. Together the two rows create a grid of alternating open and closed squares — that’s the mesh.
- The color change: At the last stitch of Row 5, work the dc until 2 loops remain on the hook, then drop the old color and yarn over with the new color to finish that final pull-through. The new color begins with the ch-3 turn of Row 6. Weave the old color tail in along the top of the last row before continuing.
- The V-neck split: The split is made by finding the center of the front panel and working each side separately — one side first, fastened off, then the second side joined and mirrored. The key is that neither side decreases — you simply stop at center and work back to the outer edge, so the V opens naturally from the center gap.
- Armhole markers: The stitch markers placed on the back panel indicate where the side seams stop, leaving the section above as the armhole opening. The front panel markers should be placed at the same row level, counting down from the top of the V-split.
- Neckline V detail: When working the sc edging around the neckline, the V-point receives a single sl st at the very center stitch — this pulls the V together cleanly rather than leaving it rounded or gapped.
The Pattern
Part 1: Back Panel
Foundation chain:
- Using the 4.5 mm hook, chain a multiple of 4 equal in length to half your bust measurement. (Example: 72 chains for a 33-inch bust / Small-Medium.)
Row 1 (mesh row):
- Dc in the 3rd ch from the hook.
- Dc in the next ch.
- [Ch 2, skip 2 ch, dc in each of the next 2 ch] repeat across to the last 4 ch.
- Ch 2, skip 2, dc in each of the last 2 ch.

Row 2 (solid dc row):
- Ch 3, turn.
- Dc in the next st.
- [2 dc in the next ch-2 sp, dc in each of the next 2 sts] repeat across.
- End with 2 dc in the final ch-2 sp, dc in the remaining sts.
Row 3 (mesh row):
- Ch 3, turn.
- Dc in the next st.
- [Ch 2, skip 2 sts, dc in each of the next 2 sts] repeat across.
Row 4: Repeat Row 2.
Continuing the body:
- Alternate Row 3 (mesh) and Row 2 (solid dc) until the panel reaches your desired length from shoulder to hem.
- The final row must be a solid dc row — not a mesh row.
- Ch 1 and fasten off. (The pattern uses 26 rows / approximately 15 inches total.)
Part 2: Marking the Armholes (Back Panel)
- Measure down from the top shoulder edge of the back panel:
- Extra Small: 6 inches
- Small/Medium: 7 inches
- Large: 8 inches
- Place a stitch marker at this measurement on both side edges of the back panel, making sure each marker falls on a solid dc row.
If you’re a beginner and crochet patterns feel confusing, start with the video tutorial below, it’s the easiest way to learn as you go!
Part 3: Front Panel — Lower Section and Color Change
Foundation chain:
- Chain the same number of chains as the back panel (same multiple of 4).
Rows 1–5: Work the same mesh/solid dc alternating pattern as the back panel.
Color change (Row 6):
- On the final dc of Row 5, work until 2 loops remain on the hook. Drop the old color, pick up the new color, yarn over and pull through to complete the stitch with the new color. Fasten off the old color, leaving a long tail to weave in.
- Continue in the new color.
Continuing the front panel:
- Work alternating mesh and solid dc rows until you reach 13 rows total, or until the panel rows align with your armhole stitch markers. The last row before splitting for the V-neck should be in the second color.
Part 4: Front Panel V-Neck Split
Finding center:
- Count the 2-dc groups across the top row of the front panel and locate the middle. Place a stitch marker at the center point.
First side of the V:
- Work across the row normally until the stitches just before center.
- Skip the center stitches and place 2 dc directly into the ch-2 space immediately before the center marker — this shapes the V point.
- Ch 3, turn. Work the mesh row back toward the outer edge.
- Alternate mesh and solid dc rows on this side until you have the same number of rows as the back panel’s armhole section (13 rows from the start of the split).
- Ch 1 and fasten off.
Second side of the V:
- Attach yarn at the center edge of the unworked side.
- Ch 3 and work matching rows to mirror the first side, alternating mesh and solid dc.
- Ch 1 and fasten off.
Armhole markers — front panel:
- Place stitch markers on the front panel counting down 13 rows from the top edge on each side, matching the back panel marker positions.
Part 5: Seaming — Shoulders and Sides
Shoulder seams:
- Lay the front panel on top of the back panel with right sides facing.
- Measure 3 inches in from the outer edge on each shoulder and place a stitch marker — this defines the neckline opening.
- Using a tapestry needle, whip stitch the shoulder seam from the outer edge inward only to the marker. Do not sew past it.
- Repeat for the other shoulder.
Side seams:
- Align the side edges of both panels.
- Sew from the bottom hem upward to the armhole stitch markers on each side.
- Fasten off and secure ends.
- Turn the vest inside out so all seams face inward.

Part 6: Sleeves (Make Two)
- Attach yarn at the underarm seam area of the back panel using the 4.5 mm hook.
Round 1:
- Ch 3, dc in the same sp.
- [Ch 2, skip 1 sp, 2 dc in the next sp] repeat all the way around the armhole opening, incorporating the shoulder seam and underarm.
- Join with a sl st to the 3rd ch.
Round 2 (solid dc):
- Ch 3, dc in each st and 2 dc in each ch-2 sp around.
- Join with a sl st.
Round 3 (mesh):
- Ch 3, dc in the next st.
- [Ch 2, skip 2 sts, dc in each of the next 2 sts] repeat around.
Continuing:
- Alternate solid dc and mesh rounds until the sleeve reaches your desired length. (The pattern uses 5 rounds total, ending on a mesh round.)
Sleeve cuff edging:
- Work 1 sc in each st and 2 sc in each ch-2 sp around the sleeve edge.
- Join, ch 1, and fasten off.
Repeat for the second sleeve.
Part 7: Bottom Hem and Neckline Edging
Bottom hem:
- Attach yarn to the bottom right side.
- Round 1: Ch 1, work 1 sc in each st and 2 sc in each ch-2 sp around the entire hem. Sl st to join.
- Round 2: Ch 1, sc in every st around. Sl st to join. Ch 1, fasten off.
Neckline edging (switch to 3.5 mm hook):
- Attach accent yarn on the left side of the neckline.
- Round 1: Ch 1. Work 1 sc in each st along the back and front neckline, skipping over shoulder seams. When you reach the V-neck, work 2 sc per space down the first V side, sl st in the single center stitch at the bottom of the V, then 2 sc per space back up the other V side. Continue around.
- Round 2: Turn work, ch 1. Work 1 sc in every st around the entire neckline perimeter. Sl st to join, ch 1, and fasten off.
Tips & Troubleshooting
- Count your foundation chain before Row 1. At 72+ chains, a miscounted starting chain isn’t obvious until you’re several rows in and the pattern isn’t working out at the edges. Count twice, place a marker every 20 chains, and recount before turning.
- Make sure your final body row is solid dc, not mesh. The seaming and sleeve pickup both work more cleanly off a solid dc row. If you finish a mesh row and you’re at your target length, work one more solid dc row before fastening off.
- Match your armhole markers on both panels before seaming. The stitch markers on the back panel (measured from the top) and the markers on the front panel (counted down 13 rows from the split) need to sit at the same height. Lay both panels flat side by side and compare before picking up the needle.
- For the V-neck edging sl st, go into the actual center stitch — not the chain space. The sl st at the V-point is what keeps the V crisp. If you sl st into a chain space instead of a dc stitch, the center will round out or gap. Count carefully and place the sl st in the very bottom stitch of the V.
- Try the top on (or hold it against yourself) before seaming the sides. The mesh fabric has more stretch than it looks like on the flat panel. Check that the total width feels right against your body before the side seams are permanent.
- On the sleeve pickup round, distribute the 2-dc groups evenly across the armhole. The armhole opening is made of both row-end edges and stitch tops at different heights — work into spaces rather than stitches where possible to keep the Round 1 distribution consistent.
Yarn Substitution
Size 3 acrylic is a solid choice here — it’s crisp enough to hold the mesh structure open, lightweight enough not to drag the fabric down, and easy to care for. If you substitute cotton at the same weight, the mesh will look slightly denser and have a cooler, heavier drape — good for summer but the holes will read smaller. Avoid anything with significant halo or texture (mohair, slubbed yarns) as it closes the mesh gaps and makes the open-grid pattern disappear. Whatever you choose, keep both colors at exactly the same weight so the mesh squares stay consistent across the color change.
Customization Ideas
- Single color: Skip the color change entirely and work the full front panel in one color. The construction stays identical.
- Longer sleeves: Continue the alternating sleeve rounds beyond 5 for elbow length or longer.
- No sleeves: Skip Part 6 entirely and add the sc cuff edging directly around the armhole opening for a clean vest edge.
- Wider V-neck: Skip more stitches at center before splitting — skipping a wider center gap deepens and widens the V.
- Adjust length: Add or remove body rows in sets of 2 (one mesh row plus one solid dc row) to keep the pattern repeat consistent.
FAQ
1. Why does the foundation chain have to be a multiple of 4? The mesh repeat uses 4 stitches per unit: 2 dc, then ch-2 skip-2. If your chain count isn’t divisible by 4, the pattern won’t end symmetrically at the edges and you’ll have a partial repeat left over at the row end. Round up or down to the nearest multiple of 4 before you start.
2. How do I make sure the two V-neck sides match in row count? Count and record the exact number of rows you work on the first side before fastening off. Then work the second side to exactly the same row count, using the same alternating mesh/solid sequence. The two sides are mirrors — same stitch pattern, same row count, opposite direction.
3. My neckline edging is pulling the V-point out of shape — what’s wrong? Either the sl st at the V-point is too tight, or you’ve placed it in a chain space rather than a stitch. Redo the Round 1 edging with a slightly looser tension at the V-point, and make sure the sl st sits in the actual dc stitch at the very bottom of the V rather than in an adjacent space.
4. The sleeve pickup Round 1 looks uneven — some sections are tighter than others. This is common when the armhole is made up of different row heights (dc rows vs mesh rows along the edge). Work into spaces generously — 2 dc in larger spaces, 1 dc in tighter areas — and the Round 2 solid dc row will even things out. The key is that the total stitch count around the armhole stays consistent enough for Round 3’s mesh pattern to work out.
5. Can I make this in a heavier yarn for a warmer version? Yes — move up to a size 4 worsted weight and adjust your hook to 5.5 mm or whatever gives a firm, open mesh texture. The construction stays identical; your finished piece will be slightly larger in all dimensions for the same stitch count, so check your panel width against your body measurement more frequently.