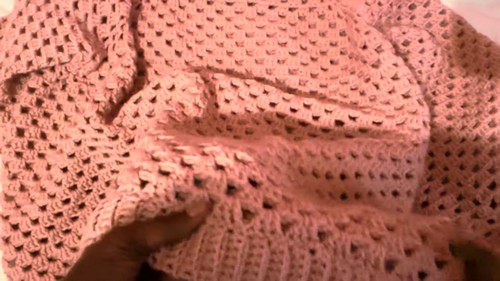
Give Grandma a blush pink granny stitch sweater for her birthday, and the snug ribbed crew neck keeps her warm on chilly porch mornings. Openwork lets a cami or tee peek through and makes the crochet sweater for grandma an easy everyday layer for family dinners and weekend visits.
Oversized and cozy with just enough drape to feel effortless, this blush pink pullover from Dress It Up Debra is the kind of granny stitch sweater that works across every season. The balloon sleeves and generous fit make it a comfortable companion to the oversized sweater if you are building out a collection of relaxed pullovers.
Crochet Sweater For Grandmother
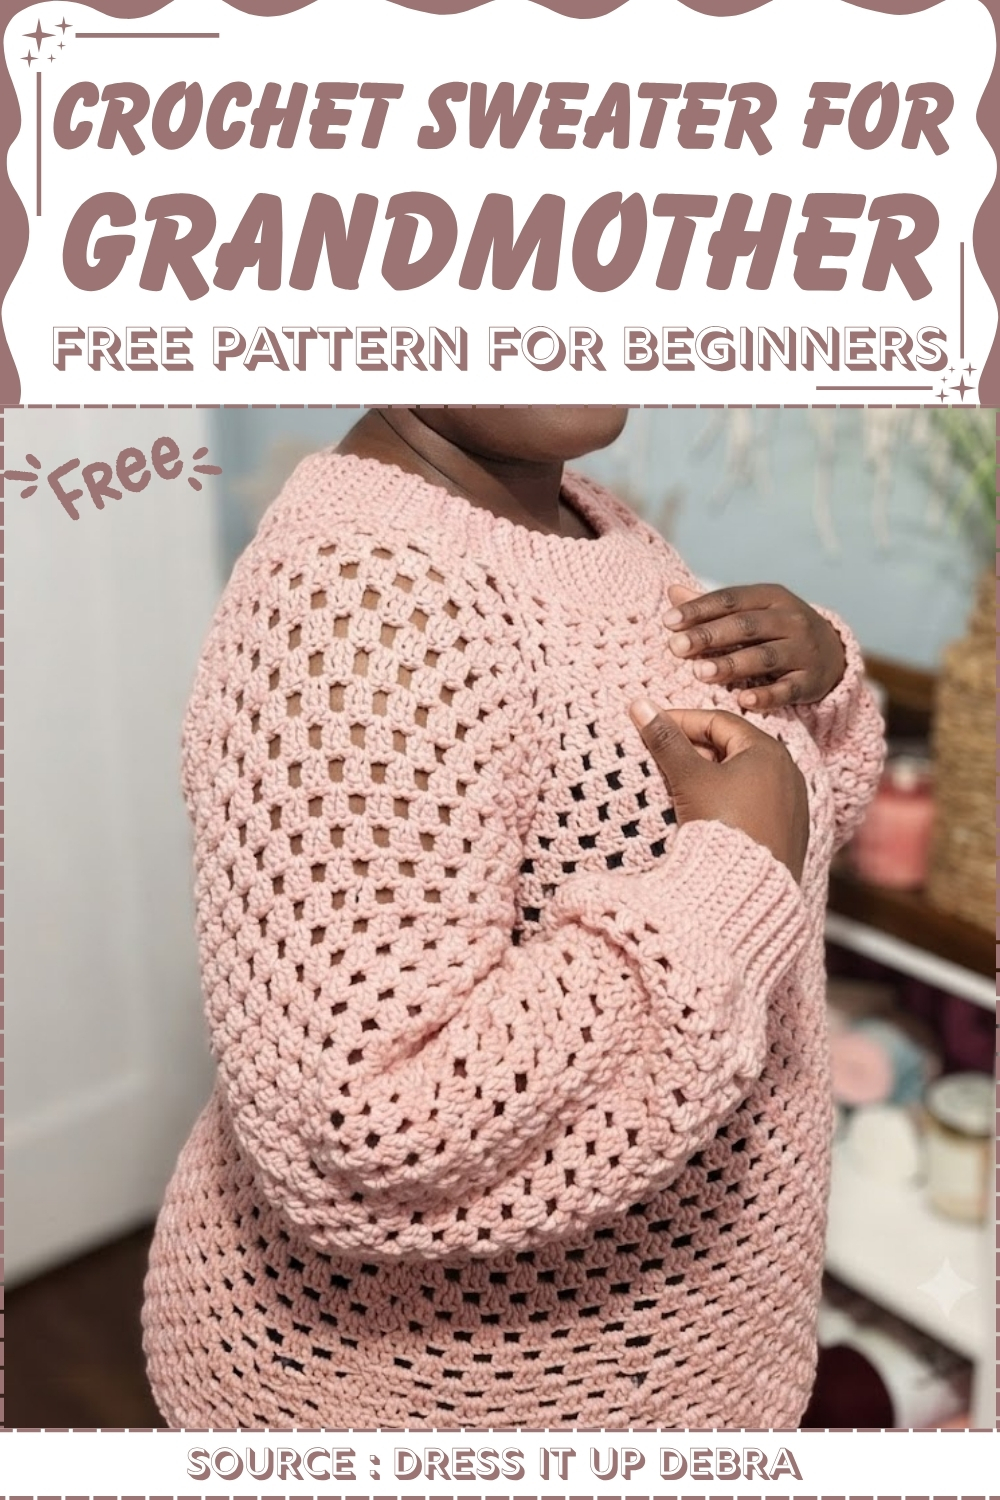
The granny stitch body works up in continuous rounds rather than joined squares, giving the fabric a seamless flow from hem to shoulder. Ribbed cuffs and a matching hem band add just enough structure to keep the silhouette from going shapeless.
Materials and Tools
- “I Love This Yarn” in the color Rosie Cheeks. Expect to need approximately 3 to 4 skeins depending on your size.
- 5 mm crochet hook.
- Stitch markers for tracking corners and armhole positions.
- Yarn needle for weaving in ends and attaching ribbing bands.
Practice the Basics First
Difficulty and Time
- Skill level: Intermediate. You need to be comfortable with double crochet, working in the round, back loop only stitches, and basic seaming. The granny cluster stitch itself is straightforward once the rhythm clicks.
- Time to make: Plan for a multi-week project. The yoke grows quickly, but the body, sleeves, and three separate ribbing bands each take a meaningful session. The ribbing rows are fast once the pattern is in your hands.
Abbreviations Used
- ch = chain
- sc = single crochet
- dc = double crochet
- sl st = slip stitch
- BLO = back loop only
- V-st = V-stitch: 1 dc, ch 1, 1 dc all in the same space
The Pattern
Step 1: Neckband Ribbing
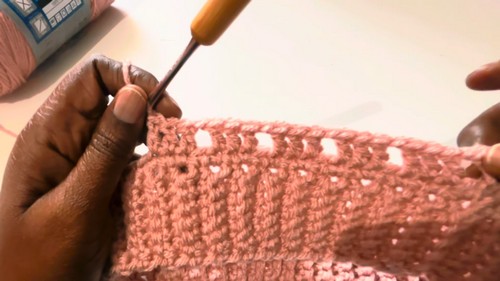
The sweater begins with a ribbed collar band worked flat, then joined into a ring.
- Ch 8.
- Row 1: Starting in the second ch from the hook, work 1 sc in each ch across for 7 sc total. Ch 1 and turn.
- Row 2 and all following rows: Work 1 sc through both loops in the very first stitch and 1 sc through both loops in the very last stitch of every row to keep the edges tidy. Work all 5 stitches in between in BLO only. Ch 1 and turn.
- Repeat this row until the band is long enough to fit comfortably around the full circumference of your neck and shoulders. For a 2X size this is 100 rows. Each raised hump along the long edge equals 2 rows, which makes counting easier.
- Once the band reaches the right length, bring both short ends together. Join them by working sc through both layers, one stitch per row end, for 7 sc total to close the collar into a ring.
- Turn the joined band inside out so the seam sits inside the ribbing ridges and disappears.
Technique note: Working through both loops on the edge stitches every row is the small detail that keeps the ribbing from curling or splaying at the sides. Do not skip it, even though the middle stitches are in BLO. If the band feels stiff, try loosening your tension slightly on the foundation chain.
Step 2: Neckline Base and Foundation Row
- Ch 1.
- Work sc evenly all the way around the inner edge of the collar band, placing 1 sc into the side of each rib row as you go.
- Sl st to join in the round.
Technique note: Working into the side of each row around the collar edge creates a smooth, even foundation for the yoke. Keep your tension relaxed here. A tight foundation row will pull the collar in and make the neck opening feel smaller than it should.
New to crochet and not sure how to read a pattern yet? The video tutorial below will guide you through it step by step, you’ve got this!
Step 3: Setting Up the Yoke
This round establishes the four corner V-stitches that define the front, back, and two shoulder sections, and begins the granny cluster pattern.
- Ch 3, then work 1 dc in the same space to form your first V-st corner.
- First shoulder section: Ch 1, skip 1 stitch, work 3 dc into the next stitch. Repeat this [ch 1, skip 1, 3 dc] sequence for a total of 5 clusters across the shoulder.
- First front corner: Ch 1, then work a V-st into the next stitch.
- Chest section: Ch 1, skip 1, work 3 dc across for 7 clusters.
- Second shoulder corner: Ch 1, then work a V-st into the next stitch. Work 5 clusters across the second shoulder.
- Back corner and section: Ch 1, work a V-st into the next stitch. Work 7 clusters across the back.
- Sl st to join at the top of the round, ch 3, and turn.
Technique note: The V-stitches are the growing corners of the yoke. They expand outward with every round and are what give the top-down sweater its shape. Placing a stitch marker in each V-st space when you set up this row makes them much easier to find on the following rounds, especially once the fabric starts to grow.
Step 4: Growing the Yoke
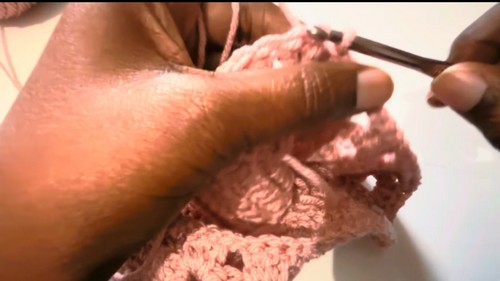
From here, every round is worked into the chain 1 spaces between clusters rather than into individual stitches.
- In every regular chain 1 space, work 3 dc separated by ch 1.
- In every V-st corner space, work a V-st of 1 dc, ch 1, 1 dc to continue expanding the corner.
- Turn your work at the end of each round and continue in the round.
- Repeat until the yoke is deep enough to sit comfortably under your armpits. For a 2X size this takes 14 total rounds.
Technique note: Turning your work at the end of each round rather than always crocheting in the same direction is what gives the granny stitch its tidy, symmetrical appearance. If you skip the turn the clusters begin to lean slightly and the fabric can look irregular. Keep this habit consistent from the very first round of the yoke.
Step 5: Closing the Armholes and Working the Body
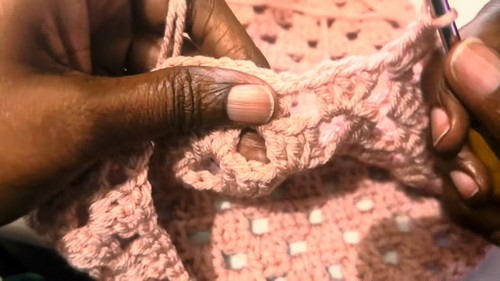
Once the yoke is deep enough, the arm openings are separated from the body and closed off.
- Bring the front and back V-st corner positions together to identify and close off the sleeve openings.
- From this point, stop making V-stitches entirely. You will work only standard granny clusters for the remainder of the body.
- Ch 3, then work granny clusters of 3 dc, ch 1 in each space around the torso section only, skipping over the arm openings as you pass them.
- Continue working in rounds, turning after each round, until the body reaches your desired length, such as hip length.
Technique note: When you skip the armhole openings, keep your skipped stitches marked so the hole stays clean and even on both sides. A sloppy skip at this stage creates an awkward join later when you come back to work the sleeves. Taking thirty seconds to pin the openings now saves a frustrating repair afterward.
Step 6: Sleeves (Make 2)
- If the armhole opening feels too wide, sl st a small section of the underarm closed up to a stitch marker before you begin the sleeve.
- Attach your yarn at the underarm, ch 3, and work granny clusters of 3 dc, ch 1 around the full arm opening in rounds.
- Turn at the end of each round and work straight rounds until you are close to the wrist. For a 2X size this is 27 straight rounds.
- Decrease round 1: Work a double crochet decrease cluster evenly on every 5th stitch.
- Decrease round 2: Work a double crochet decrease cluster evenly on every 6th stitch.
- Decrease round 3: Work a double crochet decrease cluster evenly on every 7th stitch to cinch the sleeve in toward the wrist.
- Optional: Work 3 rounds of plain sc around the cuff edge to create a clean base for attaching the ribbed cuff.
Technique note: The three decrease rounds are gradual by design. Working them on every 5th, then 6th, then 7th stitch spreads the reduction evenly so the sleeve tapers smoothly rather than pulling in at a single sharp point. If your sleeve feels too wide before the decreases begin, you can start them a round or two earlier without affecting the look of the finished piece.
Step 7: Adding the Ribbing
All three ribbing pieces, the two wrist cuffs and the bottom hem, are worked using the same method as the collar band.
Wrist Cuffs (Make 2)
- Ch 8, then work the same ribbing row pattern as the collar: sc across with both-loop stitches on the outer edges and BLO stitches in the middle, ch 1 and turn.
- Continue until the cuff band is long enough to wrap snugly around your wrist, approximately 31 rows.
- Sl st the two short ends together to join the cuff into a ring.
- Sew or crochet the finished cuff band onto the sleeve edge.
Bottom Hem Ribbing
- Work the same ribbing strip until it matches the full circumference of the sweater’s bottom edge. For a 2X size this is approximately 164 rows.
- Attach the finished band evenly around the bottom hem using sc, one stitch per row end around the strip.
Finishing
- Cut yarn and weave in every loose end securely with a yarn needle.
- Turn the sweater right side out.
- Check all ribbing seams and tack down any edges that feel slightly loose.

Yarn Substitution
- “I Love This Yarn” is an acrylic worsted weight that washes well and holds its shape over time, which makes it a practical choice for a garment that will be worn and laundered regularly. If you substitute, match the weight and the fiber behavior as closely as you can. A cotton or cotton blend will give you more drape and less stretch, which can work beautifully in the granny stitch but will make the ribbing feel softer and less bouncy than the original. A wool or wool acrylic blend tends to produce crisper stitch definition in the clusters and ribbing that recovers its shape nicely after washing.
- Whatever you choose, buy enough before you start. Running out mid-body and finding a dye lot mismatch is one of the more frustrating experiences in garment making. For a 2X size the original used 3 to 4 skeins; go to the higher end if your substitute yarn is lighter in weight or you are working a longer body.
Customization Ideas
The ribbing color is the easiest place to make this sweater feel distinctly yours. Working the collar, cuffs, and hem in a contrasting color ties all three bands together and frames the granny stitch body in a way that looks intentional and finished. A deep tonal contrast reads bold; a tone on tone combination reads refined. Body length is freely adjustable since you simply continue the torso rounds until the sweater hits where you want it. Cropped versions land just below the bust; longer versions fall at the thigh and feel more like a light sweater coat.
FAQ
- The granny clusters are twisting or leaning. What am I doing wrong? The most likely cause is skipping the turn at the end of each round. This pattern specifically asks you to turn your work after every round, not crochet continuously in the same direction. The turn is what keeps the clusters upright and symmetric. If you have been crocheting without turning, rip back to where the leaning started and work from there with the turn in place.
- How do I know when the yoke is deep enough to separate the sleeves? Hold the sweater up against yourself and check whether the depth of the yoke reaches your underarm. The fabric should sit comfortably below your armpit without pulling or gaping. Trying the piece on at this stage, even just slipping the opening over your head and checking in a mirror, is far more reliable than counting rows alone.
- My ribbing bands are curling when I lay them flat. Is that normal? Some curl before the band is joined and attached is expected, since the BLO rows are under tension. Once the band is seamed into a ring and sewn onto the sweater, the curl resolves and the ribbing lies flat against the fabric. Do not block the strips flat before attaching them; let the joining process do that work naturally.