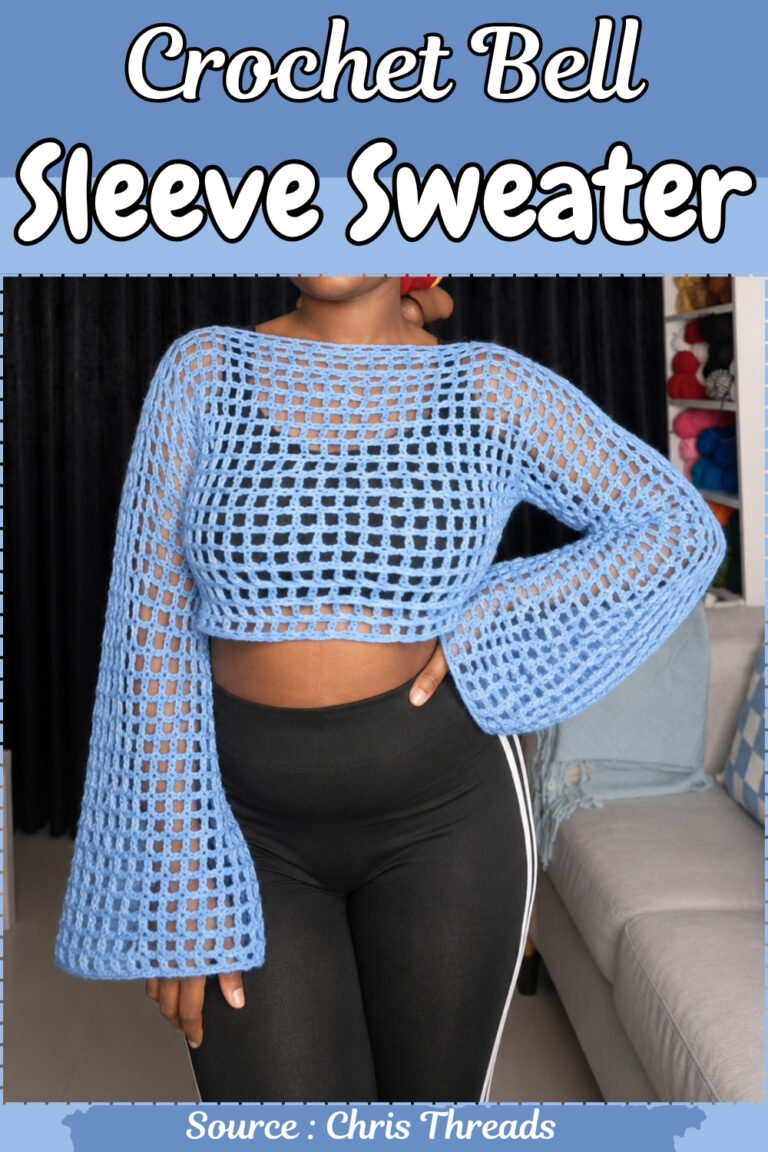
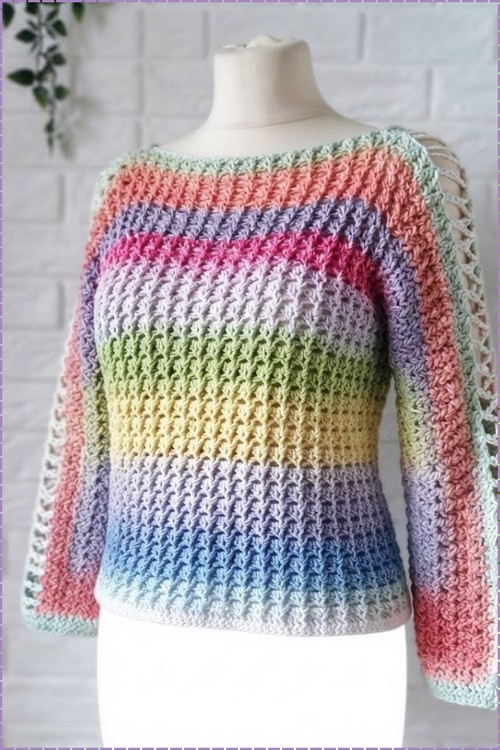
Coffee shops in early spring make the right backdrop for an easy crochet batwing sweater striped in coral, lilac, lime and sky blue. Soft mint trim outlines the boat neckline and cuffs of the crochet batwing top, a clean finish that suits white jeans on a bright weekend.
Looks like hours of colour changes. It isn’t. The pastel rainbow comes from a self-striping or gradient yarn shifting row by row, so you’re just crocheting straight through and letting the ball do the sequencing. Suzette stitch underneath stays consistent across every stripe, which is what keeps the fabric readable while the colour holds all the attention. Check where your yarn’s colour repeat lands before starting the second sleeve, or they’ll come out mismatched. The open chain seam at the sleeve edge is the structural detail here, and it’s what makes this lighter and airier than the drawstring cuff batwing sweater.
Batwing Crochet Sweater
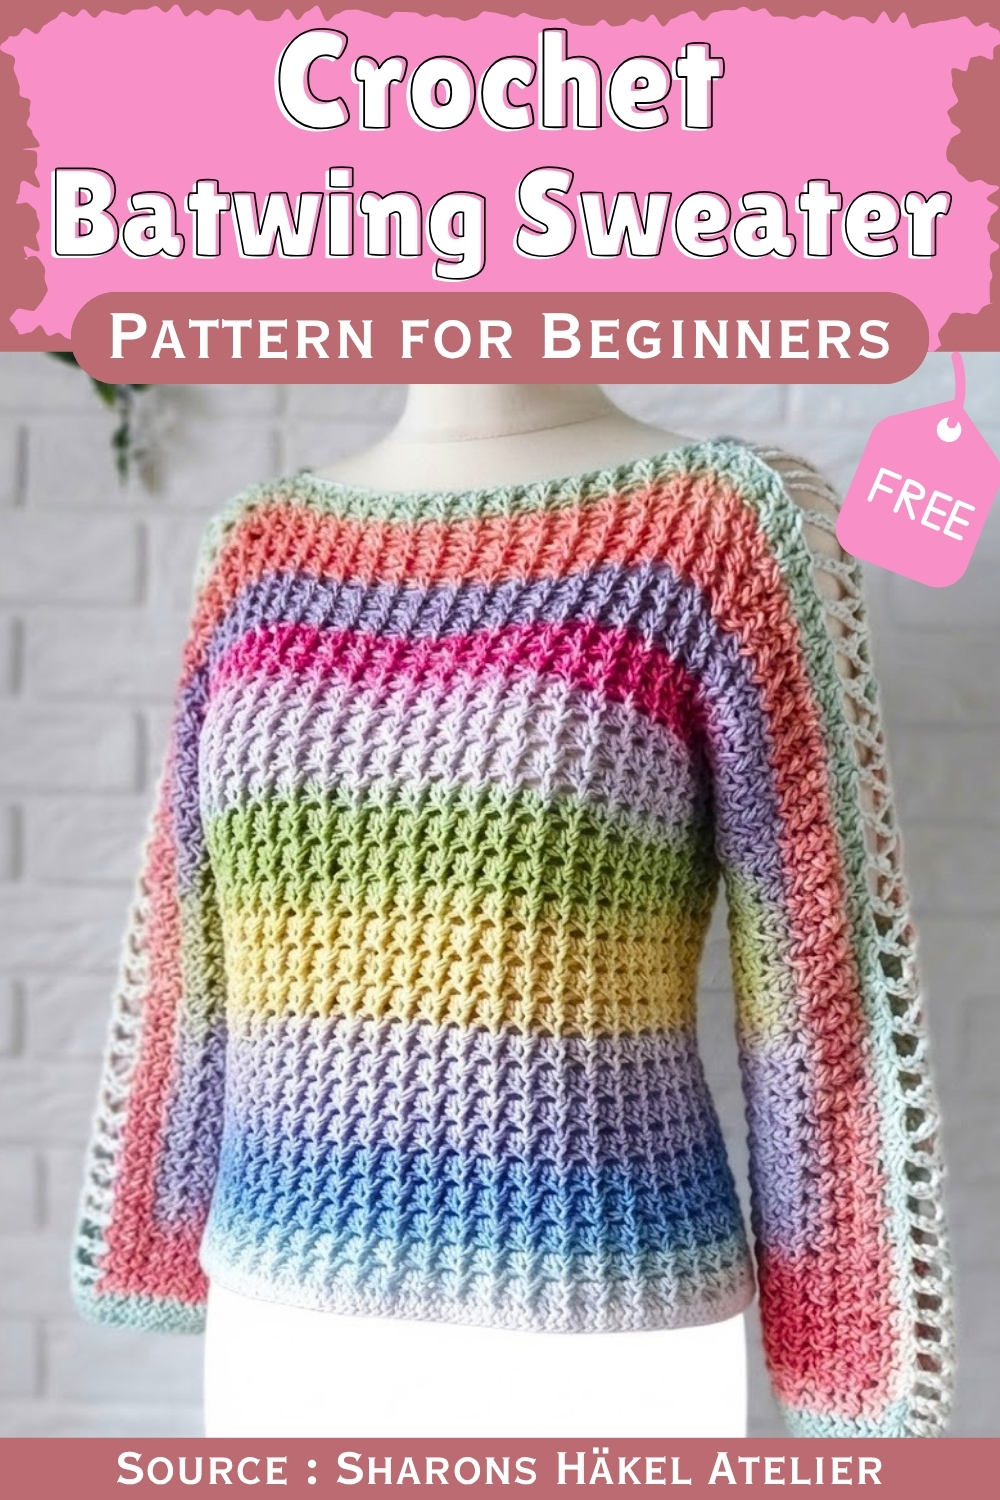
Open chain lace seam visible running down the outer sleeve in images 1 and 6 is not decorative — it is how the sleeve panel is joined to the body, and leaving it open rather than seaming it closed is what creates the intentional ladder effect. The wide boat neck sits low and can be worn off one shoulder the same way as the previous batwing, again from the construction rather than a cut neckline. Process shots use a white and silver metallic yarn which reads differently from the pastel finished piece, but the stitch structure is identical.
Materials
- Yarn in mini-bobbin or small-skein form — the original uses 2 bobins of one colorway and 2 of another. Any yarn that works firmly at 3 mm suits this pattern.
- 3.0 mm crochet hook (main body)
- 3.5 mm or 4.0 mm crochet hook (optional — for a looser foundation chain only)
- Stitch markers
- Scissors
- Yarn needle
Key measurement to take before starting: Hip circumference — divide by 2 to get your panel width target.
Stitch multiple: Foundation chain must be divisible by 4.
Abbreviations: ch = chain · hdc = half double crochet · dc = double crochet · sl st = slip stitch · FP = front post · BP = back post · st(s) = stitch(es) · sp = space
Master Before You Start
The Pattern
Phase 1: Foundation and Lower Body
Step 1 — Sizing:
- Measure your hip circumference. Divide by 2 — this is your target panel width (approximately 50 cm for a comfortable, loose fit on each panel).
Step 2 — Foundation chain:
- Chain stitches to match your panel width measurement. The total stitch count must be divisible by 4.
- (Optional: use a hook 0.5–1 mm larger just for the chain to prevent it pulling too tight, then switch to the 3.0 mm hook for the first row. Alternatively, work a direct stretchy foundation chain of hdc or dc from the start.)
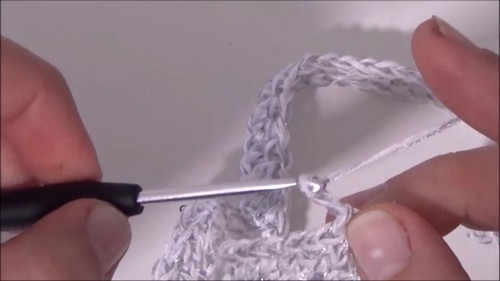
Step 3 — Row 2 (setup row):
- Ch 2 as a turning chain (does not count as a stitch).
- Work 1 hdc or dc in each of the first 3 sts.
- Ch 1, skip 1 st.
- Repeat [3 sts, ch 1, skip 1] across the row.
- Finish with a neat edge stitch at the side to keep the edge straight.
New to crochet and not sure how to read a pattern yet? The video tutorial below will guide you through it step by step, you’ve got this!
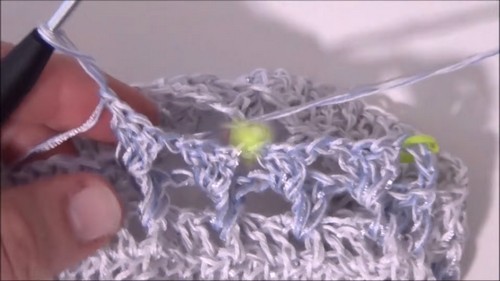
Step 4 — Row 3 (first 3D fan row):
- Work 1 front-post relief stitch around the last stitch of the previous 3-stitch group.
- Work 2 more regular stitches around that same post — 3-stitch fan made.
- Ch 1, skip to the last stitch of the next group.
- Repeat [1 FP relief st + 2 regular sts, ch 1] across.
- Finish with a straight edge stitch at the side.
Step 5 — Rows 4 and 5 (continuing the fan pattern):
- Alternate between front-post and back-post relief fans depending on which side of the work is facing you.
- When fans shift inward on turning, use ch 4 as the turning chain instead of ch 3 to accommodate the shift.
Step 6 — Lower body height:
- Continue repeating the fan pattern rows until the lower section measures approximately 25 cm. (Approximately 23 rows total.)
- End on a row where the front side of the work faces you.
Phase 2: Increasing for the Batwing Sleeves
Step 1 — First increase row (working on the back side):
- Ch 3 as turning chain.
- Work 4 sts directly into the very last stitch or edge of the row to create an expansion at that end.
- Ch 1, then continue the regular 3-stitch fan pattern across.
- At the opposite end, work 4 sts into the final edge stitch, plus ch 1.
Step 2 — Continuing increases:
- Alternate increase rows (adding 4 sts into each edge tip) with regular pattern rows throughout.
- Continue until the overall piece length reaches approximately 50 cm and the total width expands to approximately 90 cm. (Approximately 30 increase rows total.)
Phase 3: Assembly and Finishing
Step 1 — Neckline measurement:
- Lay front and back panels flat, matching point to point. Place a marker at the exact center of the top edge on each panel.
- Measure your head circumference plus 1 cm, then divide by 2. Mark the left and right boundaries of the neck opening from the center outward on each panel.
- Count the fan groups from the outer edge to the marker on each side to confirm both sides match.
Step 2 — Joining the shoulders:
- Place the inner sides of both panels facing each other.
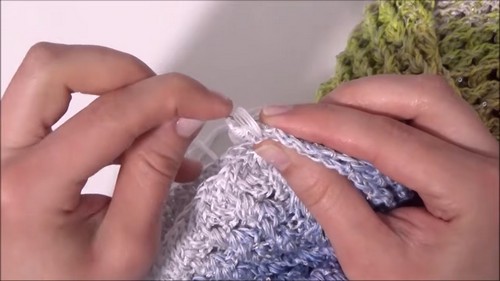
- Decorative zigzag chain method: Anchor yarn on the front piece, ch 5, sl st to the back piece. Work approximately 10 gathered chains before anchoring to the next group interval, creating a stylish zigzag bridge across the shoulder seam. (Alternatively, sew the shoulders together with a needle and yarn if you prefer a standard seam.)
Step 3 — Side seams and underarms:
- Measure your desired sleeve opening width from the outer edge downward — approximately 18–20 cm for a standard medium size. Place a marker at that point on each side.
- Sew or use the shorter zigzag chain method to close the side seams and underarm sections from the sleeve marker down to the bottom hem on both sides.

Notes
- The front-post and back-post fan alternation is what gives this sweater its raised 3D texture. On wrong-side rows the BP relief stitches create the same raised ridges from the outside — so even though you’re working from behind, the texture continues consistently. If your fans start looking flat, check that you’re wrapping around the post of the correct row.
- The edge increases in Phase 2 work into the very tip of the side edge — not into a chain space or stitch within the row, but into the outermost edge itself. This is different from working a standard increase mid-row and takes a moment to feel natural. The 4 stitches fanned into one edge point add a small cluster at the tip that then integrates into the pattern on the following row.
- The zigzag chain shoulder seam is decorative and intentional — the gathered chains create a loose, slightly lacy bridge that shows on the outside. If you want a cleaner, invisible shoulder join, whip stitch or sl st the shoulders together instead.
FAQ
1. How do I know when the panel is wide enough to stop increasing? The target is approximately 90 cm total panel width at around 50 cm total length. Measure across the widest point of the panel flat on a table. Once you reach your target width, stop the edge increases and work straight rows to finish the length if needed.
2. Can I make this with a standard yarn instead of mini-bobbins? Yes — the original uses small bobbin-wound yarn for portability and color convenience, but any yarn that works at a firm, clean tension on a 3 mm hook will produce the same stitch texture. The total amount needed will depend on your measurements — calculate based on your panel dimensions.
3. My foundation chain is pulling too tight at the edge — what do I do? Use a hook 0.5 to 1 size larger just for the foundation chain, then switch back to the 3 mm hook for Row 2 onwards. The slightly looser chain prevents the bottom edge from pulling in relative to the body rows. You can also work a direct foundation hdc or dc chain, which builds the chain and first row together for a stretchier start.