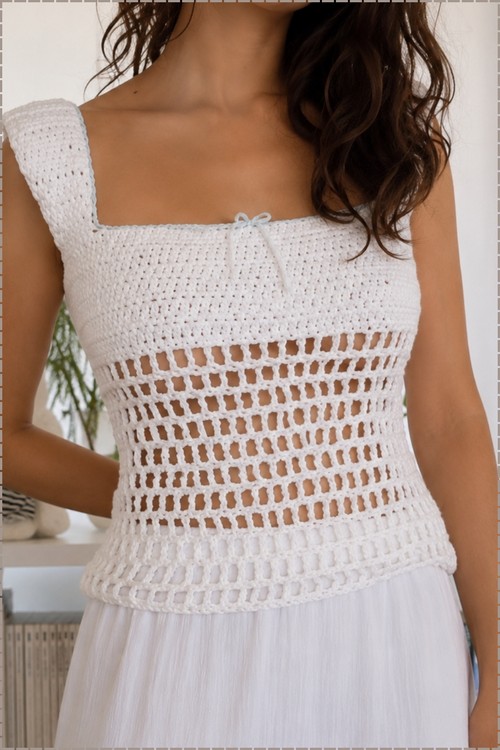
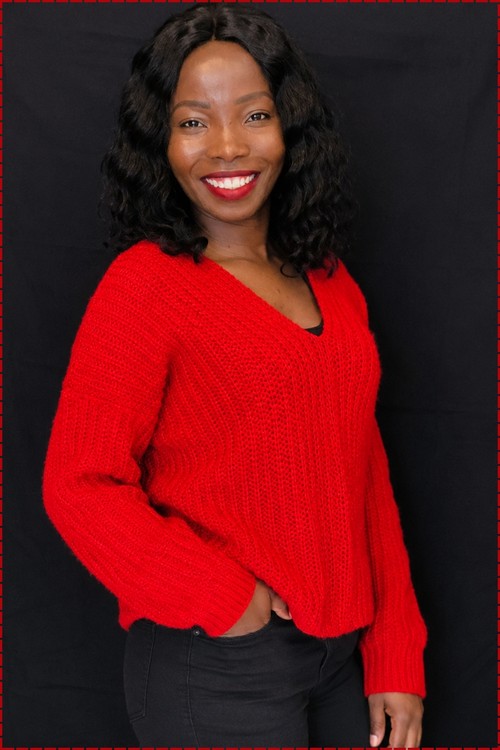
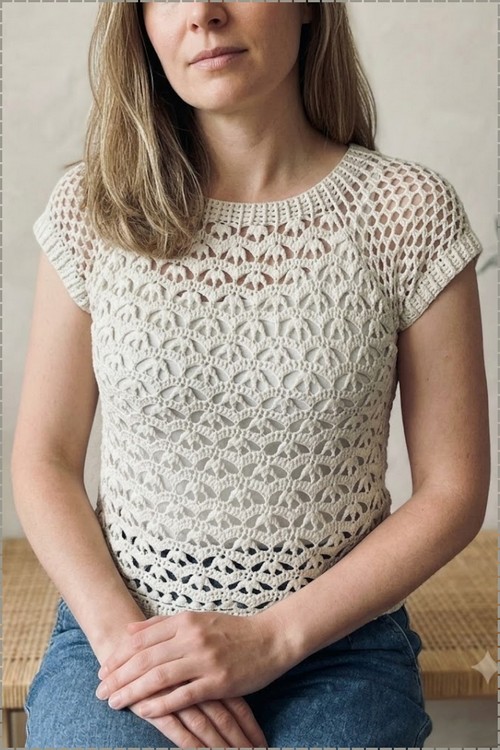
Warm afternoons suit a crochet tunic sweater in cotton that lets the air through while still covering your shoulders. The top down build means you try it on as you go, and a camisole underneath takes it from the garden to the office.
Starting at the neckline and working outward means the yoke shaping and the lace pattern establish themselves at the same time, so there are no separate pieces to seam and no armhole math to calculate afterward. The arch and shell repeat running through the body creates a layered texture that looks considerably more complex than a two row stitch repeat justifies. This lace shell stitch peplum top uses the same shell rhythm if you want a shorter version of the same aesthetic.
Crochet Tunic Sweater
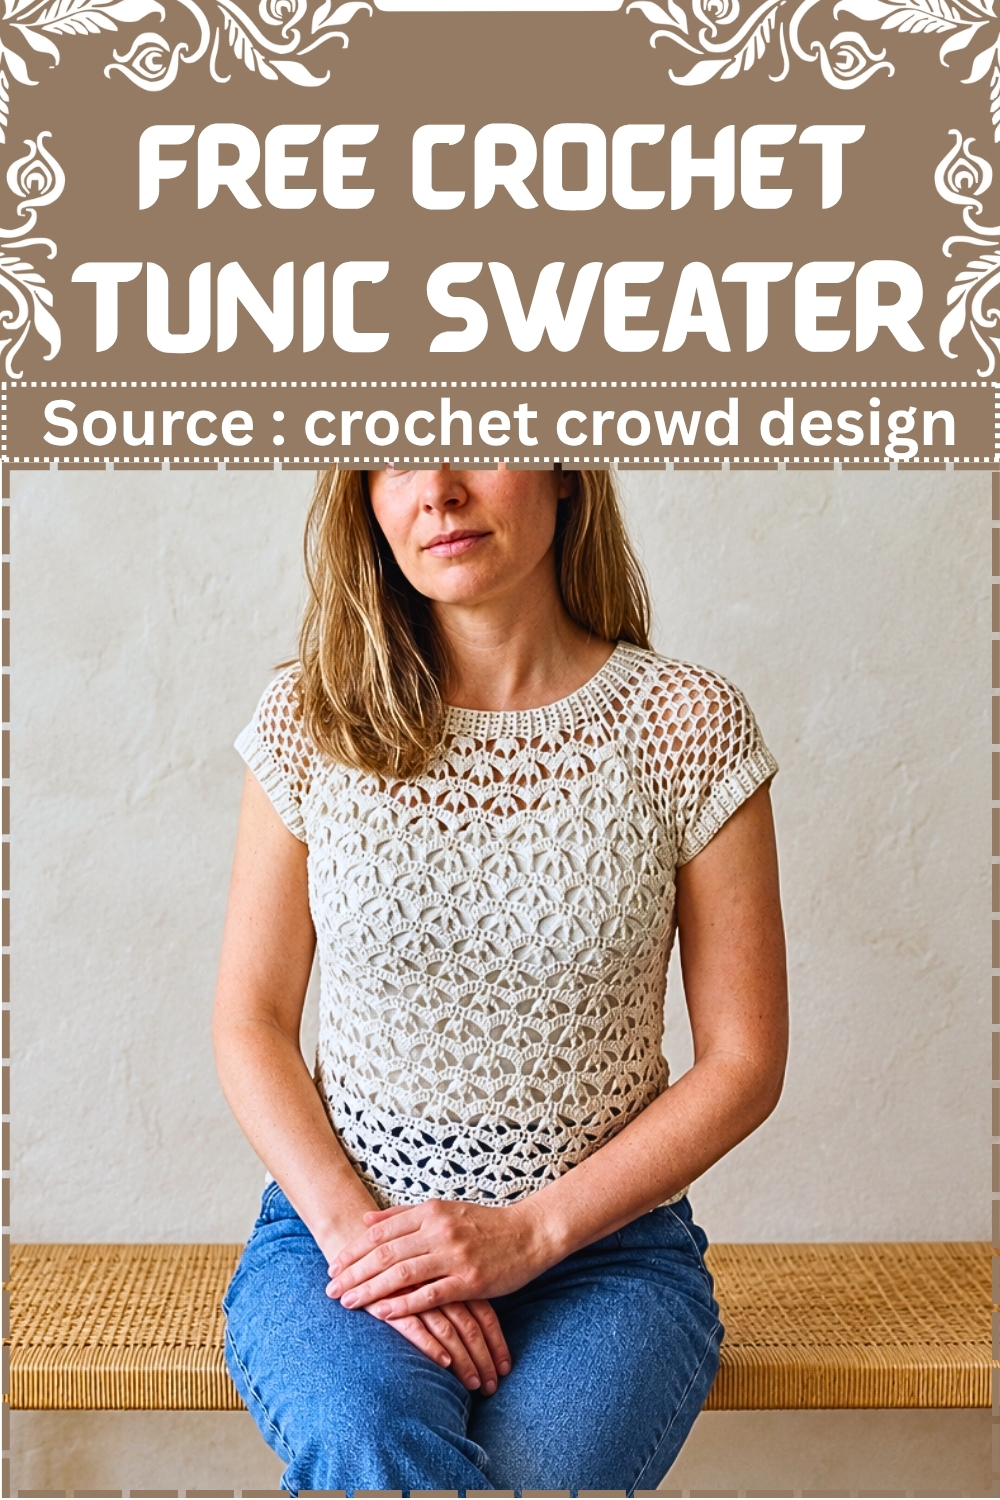
Cap sleeves are formed by the yoke construction rather than added on separately, which keeps the shoulder line clean and removes a finishing step entirely. The hem flares slightly with an open shell border that echoes the yoke edge and closes the piece symmetrically. Worked in a light natural cotton the finished top reads as a warm weather blouse rather than a sweater despite what the pin title says.
Materials
- Baby Bonus yarn or equivalent fine/sport weight yarn
- A 3.5 mm hook for the main body (medium-to-large size)
- A 3 mm hook for the ribbing
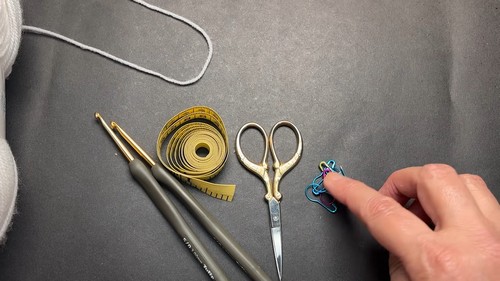
- Measuring tape, scissors, stitch markers, and a yarn needle
Stitch You Should Know
The Pattern
The blouse is worked top-down in rounds: a foundation chain forms the neck, two rounds of post-stitch ribbing create the neck border, and then the yoke expands outward through repeated increase rounds that also build the floral motif pattern on the front and back panels.
Step 1: Neckline Foundation and First Round
- Starting chain: Using the 3.5 mm hook, chain 108 stitches, measuring approximately 56 cm long.
- Working into the third loop: The starting chain counts as a double crochet. Rotate the chain to locate the third loop on the back of each stitch. Work the pattern into these back loops: 1 double crochet in the first stitch, then 2 double crochet in the second stitch. Repeat this across the entire chain until you have 160 stitches.
- Joining the round: Join the first and last stitch together using slip stitches to close the round into a circle, making sure the foundation is not twisted.
Step 2: Neck Border (Ribbing)
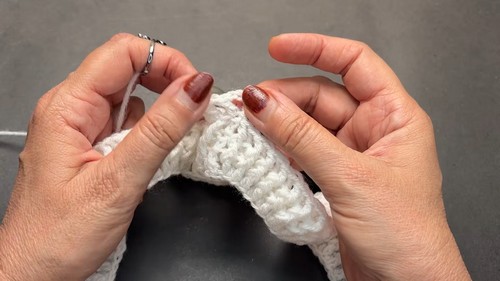
- Round 2: Chain 3 (counts as 1 double crochet). Work in a ribbing pattern alternating 1 front post double crochet and 1 back post double crochet all the way around. Close the round with a slip stitch.
- Round 3: Chain 1, then alternate 1 front post double crochet over the previous front post and 1 back post double crochet over the previous back post across the entire round. Close with a slip stitch.
If you’re still learning how to read crochet patterns, no stress! Follow the video tutorial below and use the written pattern below as you get more comfortable!
Step 3: Yoke Division and Marker Placement
- Divide the 160 total stitches into 4 sections: the front panel (45 stitches), the back panel (45 stitches), and each shoulder section (35 stitches each).
- Place 4 stitch markers at the division points to indicate where the corner V-stitch increases will happen.
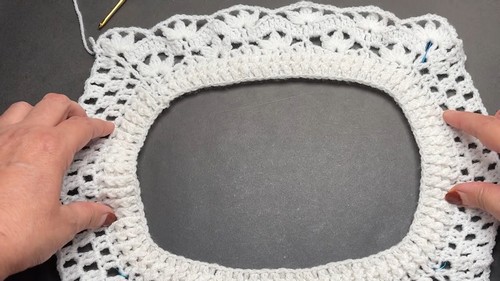
Step 4: Yoke Setup and Floral Motif Rows
- Shoulder sections: Work alternating double crochets separated by chains and skipped stitches across each shoulder section.
- Corner V-stitches: At each stitch marker, form a V-stitch consisting of 1 double crochet, chain 1, 1 double crochet in the same space. These V-stitches separate the sleeves from the body panels and create the raglan increase points.
- Floral motifs on front and back panels: Work 3-petal clusters using incomplete double or treble stitches worked into the same space, separated by 2-chain spaces. Anchor the motifs by skipping stitches and working single crochets into designated gaps (for example, into the 5th stitch). Begin with 5 floral motifs per panel and increase to 6 or more with each pattern repeat round as you work down toward the armpits.
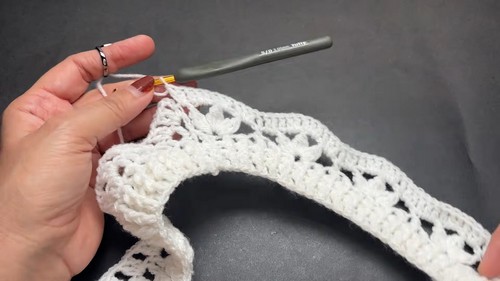
Step 5: Completing the Yoke
- Continue working in rounds, maintaining the shoulder increase lines at all 4 corner markers and expanding the floral pattern on the front and back panels with each round.
- Work the yoke structure for approximately 10 rounds, or until you reach your desired armpit depth — roughly 19 cm from the start of the yoke. Adjust the length to your preference.
A Few Tips
- Don’t twist the foundation round. Before joining in Step 1, lay the chain flat and confirm every stitch faces the same direction. A twist in a 108-stitch foundation is very hard to fix after the join.
- Track your stitch markers through the yoke. The 4 corner markers move with each round — transfer them into the new V-stitch chain-1 spaces at the end of each round so you can always find your increase points.
- Let the floral motifs set the spacing. The flowers on the front and back panels expand by one motif per major repeat. Count your flowers at the end of each round to confirm the count is growing and the placement is symmetrical.
Frequently Asked Questions
1. What does “working into the third loop” mean on the foundation chain? Standard foundation chains have two visible loops at the top. When you flip the chain over and look at the back, there’s a third loop running along the underside. Working into this back bump rather than the front loops creates a neater, more elastic starting edge — especially useful for a neckline that needs to stretch over the head.
2. Why does the stitch count jump from 108 to 160 in Round 1? The alternating pattern of 1 double crochet followed by 2 double crochet across the chain systematically adds stitches throughout the round. By the time you’ve worked across all 108 chains with this increase rhythm, the total comes out to 160 stitches — which is then the consistent working count for the yoke division.
3. This pattern only covers up to the yoke — where does the rest come from? This post covers Steps 1 through 5 of the original video tutorial, taking you through the complete yoke. The body panel, any hem treatment, and the sleeves are demonstrated in the remaining sections of the video, which you can watch directly for visual guidance on those steps.