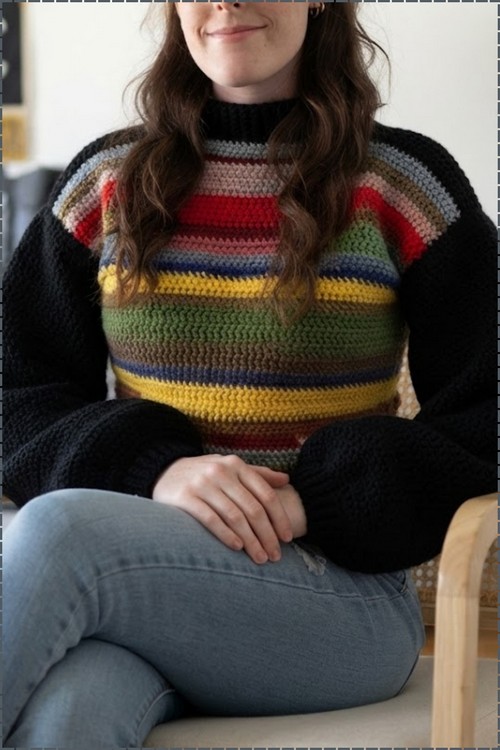
Bubble sleeves give this crochet crop top its shape, worked as separate black panels and joined to a flat rectangle body at the sides. A black mock neck finishes the crop pullover on a 6 mm hook, and the short length stretches small stash amounts further.
Scrap yarn, but nobody would guess. The stripes across the body are one or two rows each in whatever colour you’ve got left, and the solid black sleeves do the framing that makes those choices read as deliberate rather than accidental. Colour blocking like that covers a lot of sins. Worth carrying the yarn up the side instead of cutting at every change, otherwise the ends alone will take you an evening. For the same horizontal stripe logic in a softer, blended palette, there’s the ombre stripe sweater top.
Crochet Crop Top Sweater Long Sleeve
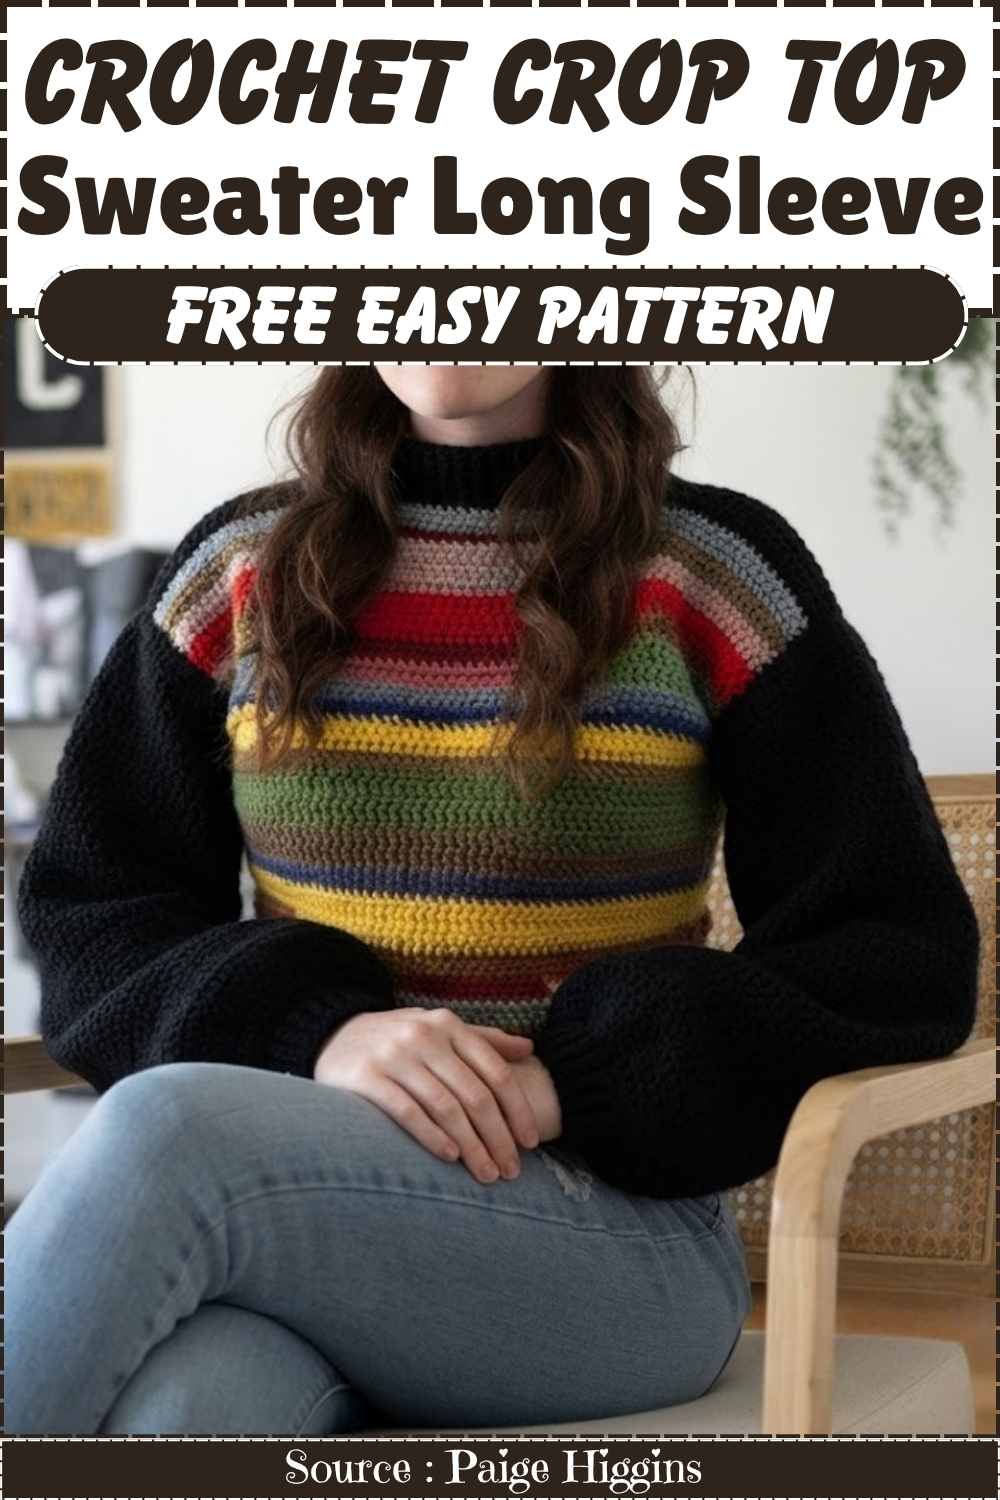
Body is worked as a flat rectangle and the black sleeves are separate panels joined at the sides, which keeps the two colour sections completely independent. The mock neck is worked last in black to tie the sleeves and body together at the neckline. Cropped length means the whole project uses significantly less yarn than a full length version, which makes this a practical use for smaller stash quantities across multiple colours.
Why I love this one: the bubble sleeve is visually more interesting than any standard sleeve, and the stitch count flexibility in this pattern means minor tension variations don’t matter — you just adjust on the fly.
Materials & Tools
- Scrappy or variegated yarn — acrylic works well, but cotton is worth considering for breathability in warmer weather
- 6 mm crochet hook
- Safety pins or stitch markers
- Yarn needle
- Scissors
Abbreviations used in this pattern: ch = chain · sc = single crochet · dc = double crochet · sl st = slip stitch · BLO = back loops only · inc = increase (2 dc in same st) · dec = decrease (skip 1 st, dc in next) · st(s) = stitch(es) · sp = space · rep = repeat
Learn Stitch Before Starting
Difficulty & Time
Beginner-friendly. The dc body panels are as straightforward as crochet gets. The sleeves ask for a little more attention — you’re tracking increase and decrease rows and staggering placement round to round — but the row counts are short and the logic is clear. Budget an afternoon for the panels and another for the sleeves. The seaming goes quickly.
The Pattern
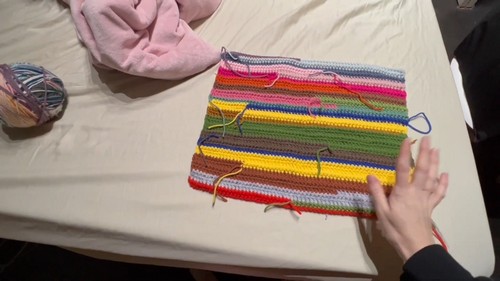
Front and Back Body Panels (Make Two)
[PLACEHOLDER — see gap check: the source pattern does not specify a chain count, row count, or finished panel dimensions for the body. Fill in from the video or your own measurements before publishing.]
- Chain enough stitches to span your desired shoulder width.
- Work dc back and forth in straight rows until the panel reaches your preferred cropped length.
- Repeat to make a second identical panel. (The width and height are fully adjustable — crop length, shoulder width, and how fitted you want the body are all maker choices.)
Neckline Construction
- Hold both panels up to yourself to decide where you want the neckline to sit on each side, then mark those spots with safety pins on both panels to create a rounded neck opening.
Neckline bib:
- Ch 15 to begin building the neck section.
- Work 1 row of sc, followed by 2 rows of dc.
- Sc all the way around the top shoulder section and attach the top shoulder seams.
Collar ribbing:
- Bring the neckline in slightly — approximately 1 inch on each side — to create space for the collar ribbing. (This inward tuck is what prevents the neckline from gaping open and gives the collar something firm to sit against.)
[PLACEHOLDER — collar ribbing stitch count and row count not specified in source. Fill in from video before publishing.]
Reading crochet patterns can be tricky when you’re just starting out, feel free to follow the video tutorial below instead!
Joining the Body
- Attach the top shoulder seams on both sides.
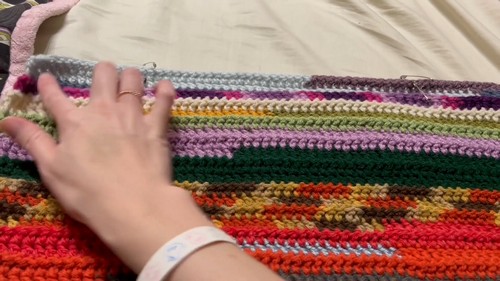
- Attach the side panels together, leaving an opening on each side for the armholes.
- Work with the garment inside out while seaming — this keeps all the join lines hidden on the wrong side of the finished sweater.
Bubble Sleeves (Make Two)
Wrist cuff ribbing:
- Make a slip knot with the long working yarn on top, go under with the piece, and pull it through.
- Ch 6.
- Ribbing row: Working in the BLO, sc in the next 5 sts, ch 1, turn.
- Repeat this row back and forth until the strip reaches the length of your wrist.
- Bring the two short ends of the strip together and sc through the BLO of both edges to join them into a circle. Turn the cuff inside out so the seam faces inward.
Sleeve body — increases:
- Place a stitch marker at the edge of the cuff.
- Work sc evenly all the way around the cuff edge.
- Rows 2–7 — increase rounds:
- Work 3 dc, then 1 inc (2 dc in the same st).
- Repeat [3 dc, 1 inc] all the way around.
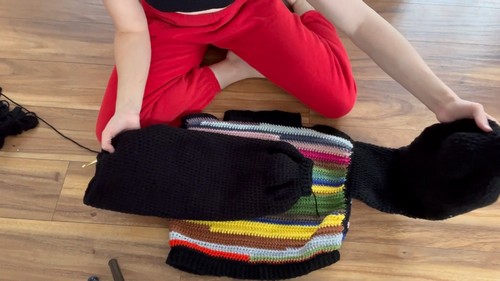
- Stagger your increase placements to different spots on each round — don’t stack them in the same column or the sleeve will develop a rigid hexagonal shape. Keep a tally of your rows as you go.

Sleeve body — straight and decrease rounds:
- Row 8: Work 1 straight round of dc with no increases.
- Row 9 — first decrease round: Work 3 dc, then 1 dec (skip the 4th st, dc in the 5th). Repeat all the way around. (This begins shaping the bubble — the sleeve starts to taper back in from its widest point.)
- Work 1 straight round of dc.
- Next decrease round: Work 2 dc, then 1 dec. Repeat around.
- Continue alternating straight dc rounds with decrease rounds until the sleeve reaches your desired arm length.
Repeat the entire sleeve process to make the second sleeve.
Attaching the Sleeves and Finishing
- Turn the sweater inside out.
- Line up the bottom seam of the sleeve with the armhole opening.
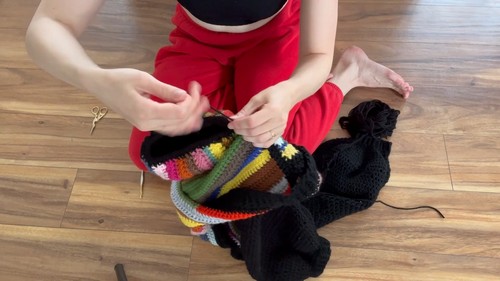
- Attach the sleeve by working sc all the way around the armhole opening. (Stitch counts between the sleeve and armhole may not match exactly — skip a stitch or work 2 sc in one spot as needed to ease the sleeve in smoothly.)
- Cut yarn, tie a secure knot, and weave in all loose ends with a yarn needle.
Tips & Troubleshooting
- Staggering your increases across different positions on each sleeve round sounds fiddly but the effect is significant — stacked increases on the same column every round create a visible ridge and an angular shape. Moving each increase 1 or 2 stitches along from where it was in the previous round is enough to keep the bubble smooth and rounded.
- When seaming the panels inside out, use safety pins to hold the two pieces in alignment before picking up your hook. Chunky dc fabric has a tendency to drift when you’re working along a long edge — a pin every few inches keeps the seam from twisting before you’ve secured it.
- The sc seam for attaching sleeves is more forgiving than it looks. Because you’re allowed to skip or add a stitch to compensate for count differences, you don’t need the sleeve and armhole to match exactly — just distribute any differences evenly around the join rather than correcting them all in one spot.
Yarn Substitution
Scrappy or variegated yarn is central to the look of this sweater — solid yarn produces a clean result but loses the color story that makes the pattern interesting. Any acrylic or cotton at a weight that works at firm-but-drapey tension on a 6 mm hook is suitable. Cotton gives a cooler, slightly crisper fabric and is worth using if this will be a warm-weather piece; acrylic has more spring and holds the bubble sleeve shape better. Avoid anything too fuzzy or textured — it obscures the stitch definition in the sleeve increases and makes the dc body look muddy rather than interesting.
FAQ
1. How do I decide how wide to make the body panels? Measure across your chest and divide by 2 — that’s the target width for each panel. Add a little ease (half an inch to an inch on each side) if you want a relaxed rather than fitted crop. Chain until your foundation matches that measurement flat on a table.
2. What does “staggering the increases” mean in practice? It means that if your increase in Round 2 fell after stitch 4, place Round 3’s increase after stitch 5 or 6 instead. You’re rotating the position of the increases around the sleeve so they never stack in the same vertical column. There’s no fixed formula — use your judgment and the sleeve will stay round.
3. My sleeve looks more like a hexagon than a bubble — what went wrong? The increases are too consistent in their placement — they’re stacking on top of each other round after round, creating flat panels between increase columns. The fix is to stagger as described above. If you’re mid-sleeve when you notice this, keep going but start staggering from that point forward; the bubble will still develop as you add more rounds.
4. Can I make the sleeves straight instead of bubble-shaped? Yes — simply skip the decrease rounds after the increase section, or skip both the increases and decreases entirely for a simple straight tube sleeve. Work a straight round of dc from the cuff upward to your desired arm length and attach as normal. The cuff ribbing stays the same.