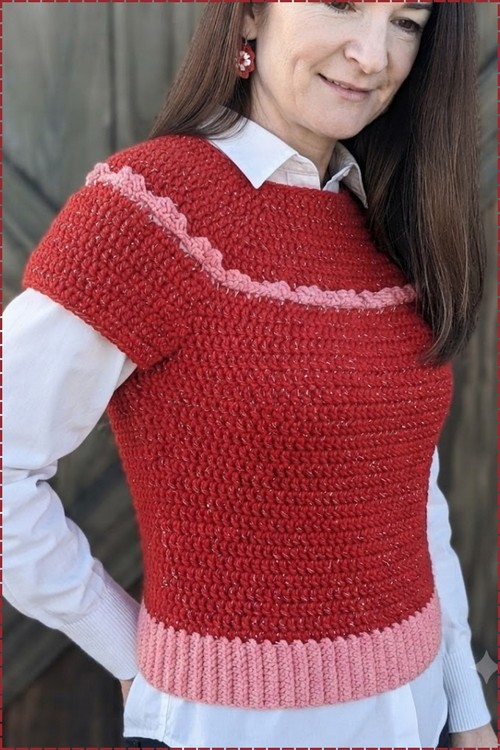
Sparkly red yarn and a pink contrast shape this free crochet short sleeve sweater pattern, worked top down from a round neck with a heart stitch row across the yoke and a ribbed pink hem. Its loose fit turns it into an easy summer sweater over a collared shirt.
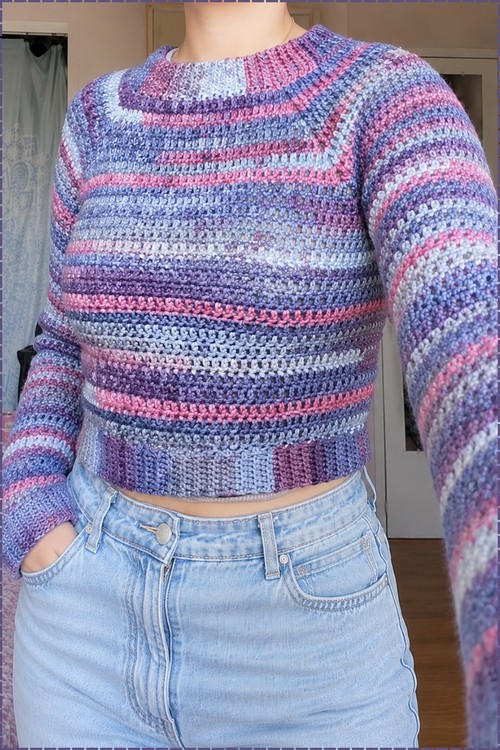
Red and pink shouldn’t work together and somehow do. The short sleeve sweater leans into it on purpose: a shell stitch row runs across the yoke in the lighter shade, and a pink band sits at the hem. Everything in between is the main stitch, dense enough to hold shape and warm for something with short sleeves. Neither accent interrupts the construction, which is the reason the colour blocking reads as deliberate instead of busy. The raglan pullover is the long sleeve, top-down version if you want the same shaping worked in one piece.
Crochet Short Sleeve Sweater
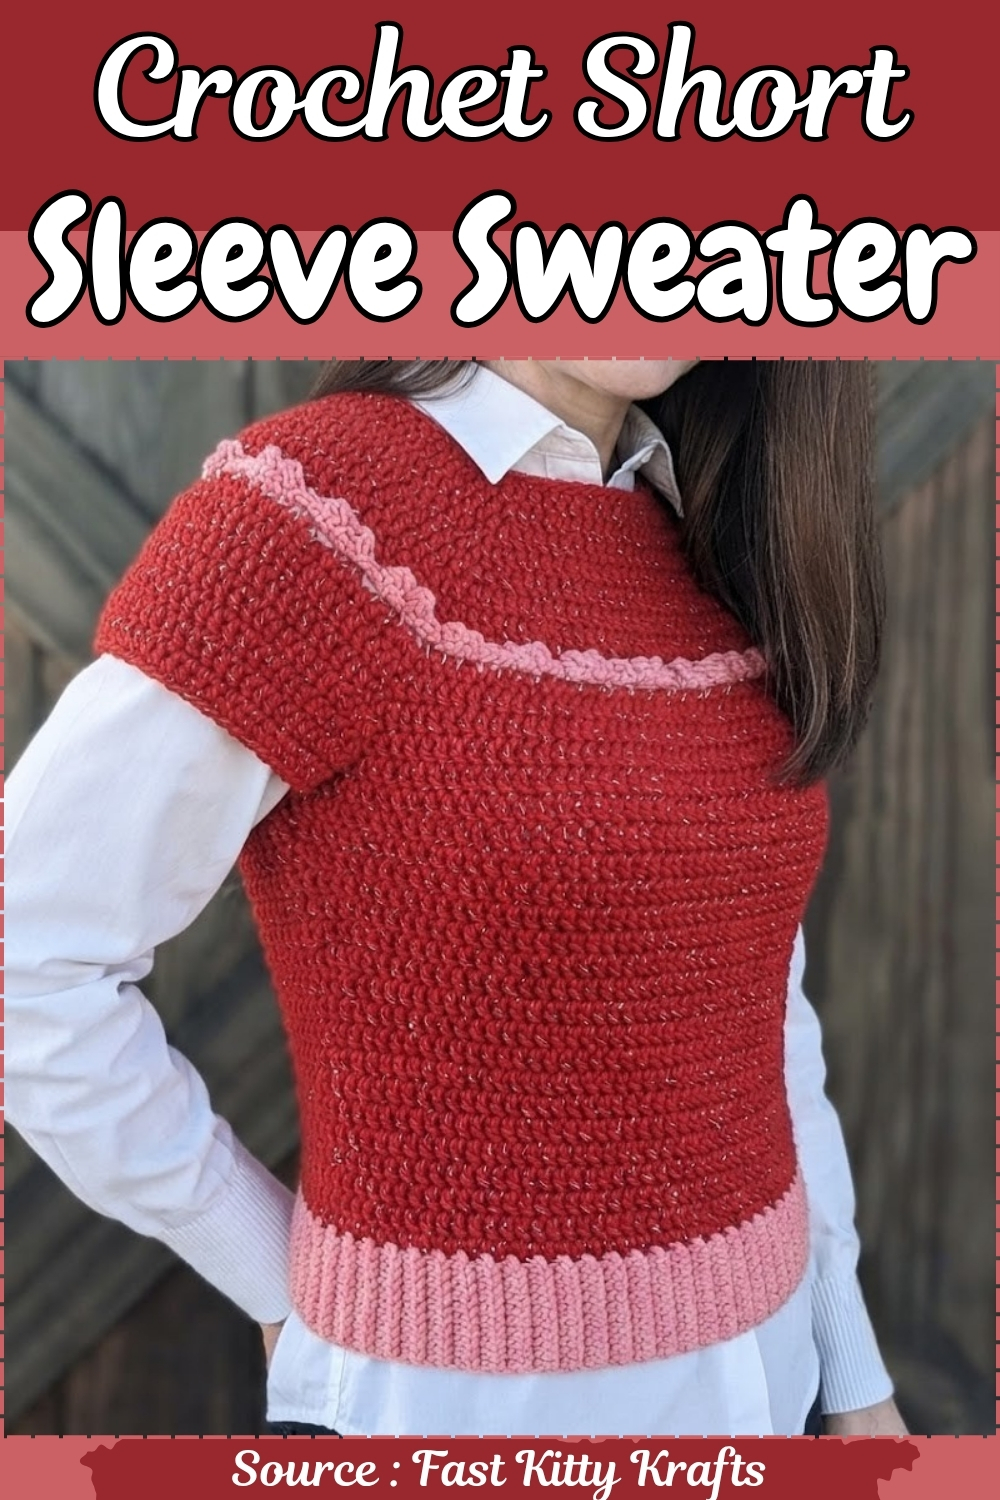
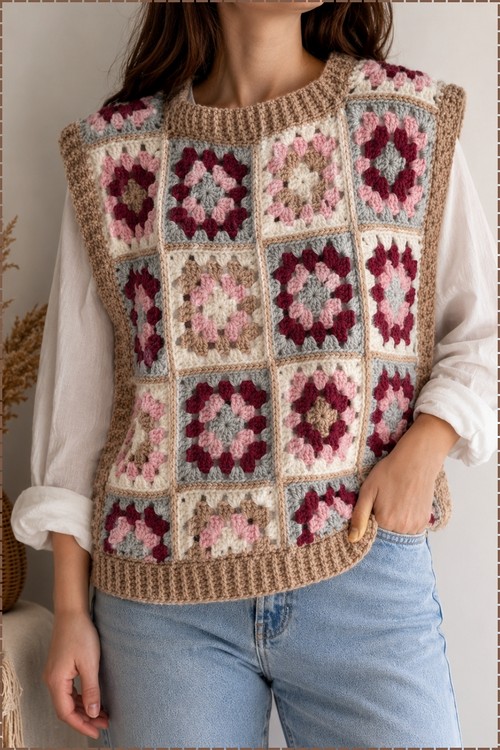
The yoke is worked top down and the sleeve cap grows off the same round as the body, so the shell accent row runs continuously from one sleeve edge across the front and back without any seaming at the shoulder. The ribbed hem band is worked sideways in a contrast pink and attached at the end, which is the same construction method as the crew neck vest from earlier in the batch and keeps the lower edge from rolling after wear.
Materials & Tools
- Main color (MC): approximately 2 balls of sparkly red yarn, size 4 weight (lighter side, closer to 3.5)
- Contrast color (CC): sparkly pink coordinating yarn, size 4 weight
- Size I / 5.5 mm crochet hook (main project)
- Size H / 5.0 mm crochet hook (optional, for sleeve cuffs)
- 4 stitch markers
- Yarn needle
Gauge: 14 dc × 7 rows = 4 inches
Abbreviations used in this pattern: ch = chain · sc = single crochet · hdc = half double crochet · dc = double crochet · sl st = slip stitch · FPhdc = front post half double crochet · BPhdc = back post half double crochet · FPdc = front post double crochet · BLO = back loops only · MC = main color · CC = contrast color · st(s) = stitch(es) · sp = space · rep = repeat
Perfect the Stitch Before Starting
The Pattern
Step 1: Collar Foundation and Ribbing
- Begin with a slip knot and ch 85.
- Foundation row: Turn the chain over. Work 1 hdc in the 2nd ch from the hook, then hdc in each ch to the end.
- Joining: Bring the beginning of the row around to form a circle, making sure there are no twists, and join with a sl st to the first stitch.
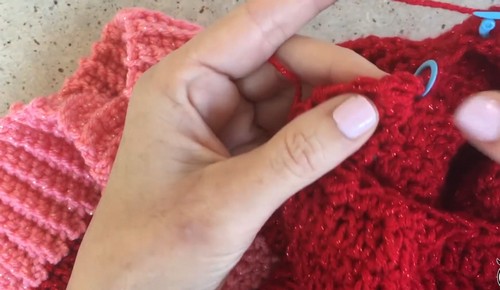
- Ribbing: Ch 1, turn. Work alternating FPhdc and BPhdc around the entire row to create the ribbed collar texture. Join with a sl st to the first stitch. Ch 1.
(Post stitches worked alternately create the stretchy rib — keep a consistent tension on the post stitches or the collar can pucker. If FPhdc feels tight, work it a touch looser than the BPhdc beside it.)
Step 2: Yoke Increase Rows (MC)
Row 1:
- Work a stacked sc (or your preferred starting dc method) in the joining stitch.
- Dc in the next 9 sts.
- First increase: Work 2 dc in the next st, then 2 dc in the st after that.
- Dc in the next 19 sts.
- Repeat [2 dc in next st, 2 dc in following st, dc in next 19 sts] two more times.
- End with the increase (2 dc in each of the next 2 sts), then dc in the final 9 sts.
- Join to the top of the starting stitch. Ch 1.
Still getting the hang of reading crochet patterns? That’s completely okay, the video tutorial below breaks everything down in a simple, beginner-friendly way!
Rows 2–7:
- Work a stacked sc, then dc in each stitch up to each corner increase group.
- Corner increase: Each corner group from the previous row is 4 stitches. Work 2 dc in both the 2nd and 3rd stitches of that group.
- Repeat the corner increase at all 4 corners on every row.
- Continue for 7 dc rows total. At the end of Row 7 you will have 140 stitches.
- Fasten off MC.
(The 4-stitch corner group resets on every row — find the 4-stitch cluster at each corner, count in to the 2nd and 3rd stitches, and place your increases there. Mark the corner groups with stitch markers in the first couple of rows until the placement becomes recognizable by sight.)
Step 3: Heart Stitch Row (CC)
- Join CC into the stitch directly next to your previous join point.
- Heart cluster sequence:
- Ch 3, then work your first cluster by working partial dc into the same stitch.
- Skip 2 sts, work a 3-dc cluster into the next stitch. Ch 5.
- Skip 1 st, begin the next heart cluster sequence.
- Repeat the heart cluster sequence across the row.
- Join to the top of the first heart stitch. Fasten off CC.
(See gap check note on the heart cluster — the exact partial dc construction within the cluster is not fully specified in the source.)

Step 4: Transition and Shaping Yoke (MC)
Placing markers:
- Place 4 stitch markers at the center of the corner heart motifs, leaving 6 hearts between each corner marker.
Rejoining MC:
- Join MC into a ch-5 sp at a marker. Ch 1, work a stacked sc and 1 dc in the same ch-5 sp.
Working around the hearts:
- Work a FPdc around the base of each heart, treating the base like a post.
- In the ch-5 spaces between hearts in standard sections: work 4 dc per space.
- In the ch-5 spaces between hearts at corner sections (where increases are needed): work 5 dc per space.
Corner increase rows:
- Work subsequent dc rows, placing a 3-dc increase into the center stitch of each corner marker on each row.
- Continue until you have completed 8 dc rows total past the heart stitch row. (Each additional row adds approximately 2 inches to the total circumference — add rows here for a larger size.)
Step 5: Separating Body and Sleeves
- Place stitch markers at all 4 corner pivot points to define the armhole positions.
- Body:
- Join MC at the front corner marker. Ch 1, work a stacked sc and dc across the front stitches to the next marker.
- Skip the sleeve stitches entirely and jump to the next marker on the back.
- Dc across the back stitches to the following marker.
- Skip the second sleeve section and join with a sl st to the first stitch.
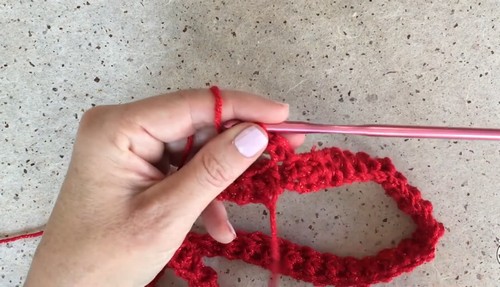
- Body length: Ch 1, work a stacked sc, then dc in each st around for approximately 8 inches from the underarm (or your preferred length). Fasten off MC.
Step 6: Bottom Ribbing (CC)
- Join CC to the bottom edge of the sweater body.
- Rib band:
- Ch 10. In the 2nd ch from the hook, work 1 sc, then sc in each remaining ch — 9 sc total.
- Sl st into the next 2 unworked body sts, turn.
- Skip the 2 sl sts and work sc in the BLO across the 9-stitch rib band.
- Turn without a turning chain. Work sc in the BLO back across.
- Repeat this back-and-forth process all the way around the bottom edge.
- Join the short ends of the rib band together with sl sts or a needle.
(The rib band is built sideways and attached simultaneously — the sl sts at each turn anchor it to the body edge as you go. Ease the band evenly around the hem so it doesn’t pull tighter on one section.)

Step 7: Sleeve Finishing
- Switch to the H / 5.0 mm hook if you want a snugger sleeve finish.
- Work on the wrong side of each sleeve opening.
Sleeve edge Row 1:
- Join yarn at the underarm marker. Ch 1.
- Work a hdc decrease over the first 2 sts, hdc in the next st, then repeat [hdc decrease, hdc in next st] around the armhole opening to cinch it. Join to the first stitch.
Sleeve Ribbing Row 2:
- Ch 1, turn.
- Work alternating FPhdc (around regular hdc sts) and BPhdc (around decrease sts) all the way around.
Repeat the sleeve process for the second arm.
Step 8: Collar Finishing Detail
- Using CC, work a decorative row of sl sts all the way around the neckline collar for a neat, contrasting border.
Technique Notes
FAQ
1. How do I size up from small? Each dc row added past the heart stitch section (Step 4) adds approximately 2 inches to the total circumference. For larger sizes, also extend the body length rows and check the shoulder width across the yoke. The collar chain (85) may also need adjusting for a larger neck opening — chain in increments until the collar fits over your head comfortably.
2. Can I skip the heart stitch row for a plainer version? Yes. After finishing the 7-row yoke in Step 2, rejoin MC and continue with the corner increase dc rows as described in Step 4, skipping the heart stitch sequence entirely. You’ll skip the FPdc around heart bases in Step 4 and simply continue dc across. The sweater construction stays the same.
3. My raglan corners look uneven — one side is wider than the others. What’s wrong? The most common cause is a miscount in the 4-stitch corner group. If you place your increases in the 1st and 2nd stitches instead of the 2nd and 3rd, the corner angle shifts. Re-mark your corners on the next row and count carefully into the group before placing your increases. Even one off-position row shows up across several subsequent rows.