
Summer festivals call for crochet ballet wrap tops with a soft bow tied at the waist. High waisted jeans show off that bow, and the free crochet ballet wrap pattern works up just as well in sage, blush or cream.
Diagonal bands of small eyelets sweep across both crossed front panels of this free crochet ballet wrap sweater pattern, a cropped teal top with short cap sleeves. The overlap shapes a deep V neckline, and a long tie circles the waist before knotting into a bow at the front. Solid ribbed rows separate each band of openings, so the fabric stays light without turning sheer. Measure the tie around your waist before finishing, since it needs enough length to circle you and still form a full bow.
Crochet Ballet Wrap Sweater
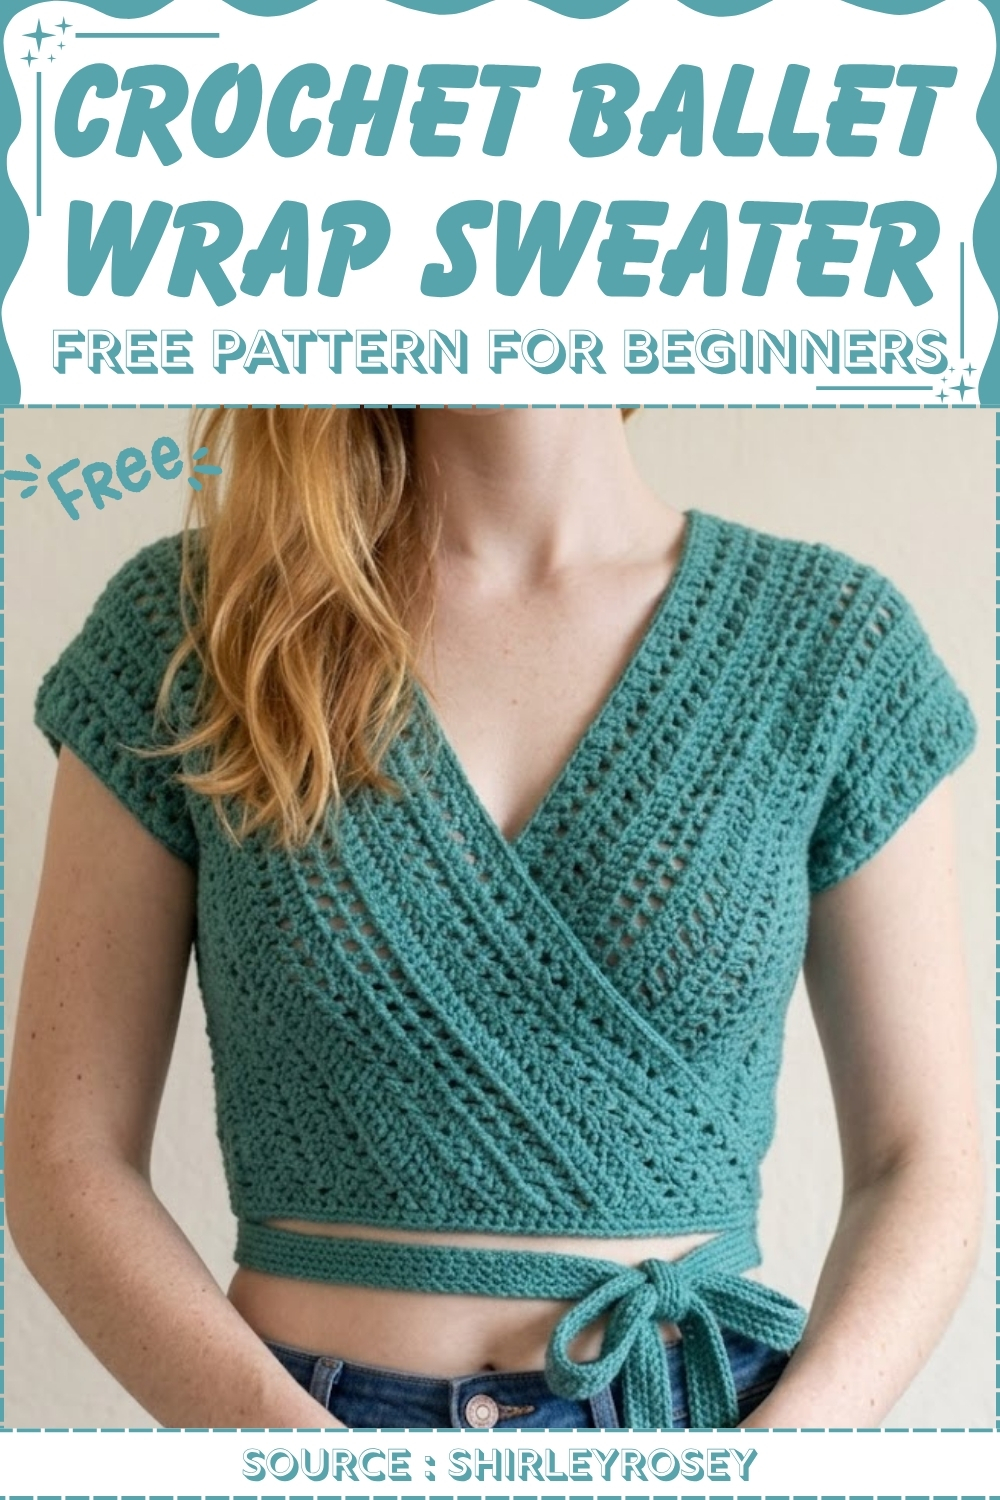
Four rectangles and a handful of seams is the entire construction method here, which is exactly the kind of make that delivers a polished result without any shaping rows or stitch count adjustments to track. The diagonal wrap front creates the V neckline automatically when the panels are assembled, so the shape comes from how the pieces are joined rather than from any decreases worked into the fabric. The summer wrap top takes the same open front approach in a lighter weight yarn if a less structured version appeals.
Cap sleeves emerge from the rectangle construction rather than being added on separately, keeping the shoulder line clean and the finishing minimal. Side ties wrap around and bow at the back or front depending on how you style it, which makes the fit adjustable across sizes without any modification to the pattern. The teal cotton yarn reads as a three season piece, warm enough for layering but not so heavy it belongs only in winter.
Quick Facts
- Skill level: Intermediate
- Construction: Four identical rectangles seamed at the shoulders and sides, back panels overlapped, front tied at the waist
- Main stitch: Alternating braided lace rows (2-row chain-5 pattern) and solid double crochet rows in a 3-row repeat
- Sizing: Fully customizable — chain length sets the panel height, row count sets the width
- Ties: Two waist chains (155 chains each) plus optional shoulder ties (chain 50 each)
- Estimated time: A multi-session make — four identical rectangles plus assembly and finishing
Customization Ideas (Before You Begin)
Since the whole pattern is built to your own body measurements, every proportion decision is yours before you cast on:
- Adjust the panel height. Your starting chain matches your shoulder-to-waist length — chain shorter for a cropped finish, longer for a hip-length top.
- Change the panel width. Row count sets the panel width. Fewer repeats give a narrower, more fitted panel; more give a wider, drapier one.
- Adjust the armhole depth. The creator counts 25 double crochets down from the shoulder to mark the armhole. More stitches give a shallower, more fitted armhole; fewer give a wider opening.
- Change the back overlap. Overlapping the two back panels by more than 2 inches closes the back further; less gives a more open, lower-back look.
- Skip the waist ties. The bottom edging single crochet round finishes the hem cleanly — the chain ties are a styling choice, not a structural requirement.
- Make it longer. Continue the 3-row repeat past 21 rows for a longer, more coverage-forward panel.
Materials and Tools
- Yarn of your choice
- Crochet hook sized to your yarn
- Measuring tape
- Stitch markers
- Scissors
- Yarn needle
Handy Stitch to Know
The Pattern
The pattern uses a 3-row repeat: Row 2 sets the chain-5 lace structure, Row 3 returns through the centers of those arches, and Row 4 is a solid double crochet that resets the row. Rows 2, 3, and 4 repeat in sequence until the panel is wide enough. Always end on a solid double crochet row. The starting chain and finished stitch count must both be odd numbers throughout.
Part 1: Make the Four Rectangles (Make 4)
Setting up your starting chain
- Measure the length from the top of your shoulder down to wherever you want the top to end.
- Chain that length, making sure you end up with an odd number of chains. Once you have an odd number, add 2 more chains for the turning chain.
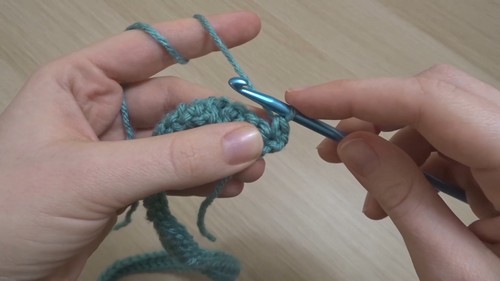
Row 1 — Solid double crochet foundation
- Yarn over and double crochet into the 3rd chain from the hook.
- Work 1 double crochet into every chain across the row. (You must finish with an odd number of double crochets.)
Row 2 — Braided lace (bottom half)
- Chain 1 and turn.
- Single crochet into the very first double crochet stitch, going under both sides of the V.
- Chain 5.
- Skip the next double crochet and single crochet into the stitch after that.
- Repeat — chain 5, skip 1 stitch, single crochet into the next — all the way across.
- Place the final single crochet into the very last double crochet stitch of the row.
If you’re new to reading crochet patterns, don’t worry, just follow along with the video tutorial below and use the written pattern as a reference!
Row 3 — Braided lace (top half)
- Chain 3 and turn.
- Work a single crochet into the 3rd chain (the exact middle chain) of the first chain-5 loop.
- Chain 1, then work a single crochet into the 3rd chain of the next chain-5 loop.
- Repeat — single crochet in the middle chain of the loop, chain 1 — across the row.
- After the last single crochet in the final loop, place 1 double crochet into the very last single crochet from the previous row to create a clean, straight edge.
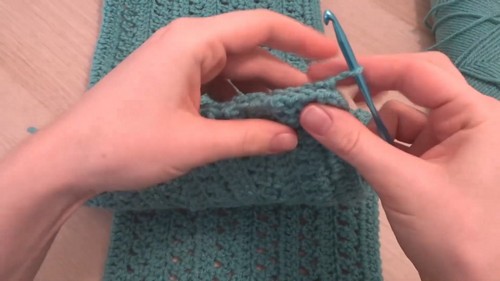
Row 4 — Solid double crochet
- Chain 2 and turn.
- Place a double crochet into the very first stitch (the last double crochet just made).
- Place a double crochet into the next stitch (a single crochet).
- Place a double crochet into the next chain-1 space.
- Repeat — alternating a double crochet in the single crochet stitch, then a double crochet in the chain-1 space — across the row.
- Finish by placing a double crochet in the last single crochet stitch, then a final double crochet into the 3rd chain of the starting chain from the previous row.
Repeat
- Repeat Rows 2, 3, and 4 in order until the rectangle reaches your desired width. (The creator works 21 rows total — 7 complete solid double crochet rows across the repeat.)
- Always end the rectangle on a solid double crochet row. Make 4 rectangles total.
Part 2: Assembly
Shoulder seams
- Take two panels and place them right sides together. The original starting chain and early double crochet rows will face the outer arms; the finishing sides form the V-neck opening in the center.
- Attach yarn and single crochet the two panels together across the top edge. Place approximately 2 single crochets into the side of each double crochet row and approximately 3 single crochets into the side of each lace row to distribute evenly.
- Repeat with the other two panels so you have two joined units — one for the left side and one for the right.
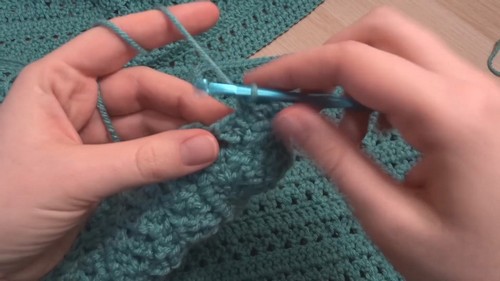
Side seams
- Try one unit on your shoulder and count how far down you want the armhole to reach. The creator counts 25 double crochets down from the shoulder seam and marks that point.
- Starting from the bottom corner, single crochet the front and back panels together by working through the tops of the double crochet stitches on both sides.
- Stop at the stitch marker, chain 1, and fasten off. Repeat on the other side.
Back overlap and bottom edging
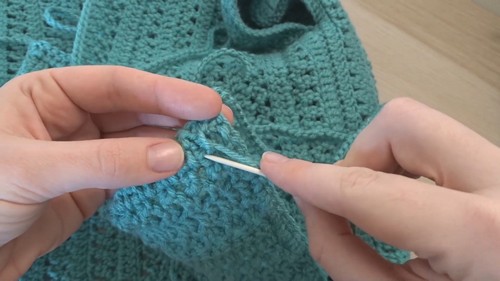
- Lay the top face down. Overlap the two back panels so they lay flat. (The creator overlaps them by 2 inches.)
- Attach yarn at one of the front bottom corners. Single crochet all the way around the entire bottom edge.
- When you reach the overlapping back panels, push your hook through both layers simultaneously and single crochet them together to lock the overlap in place. Continue around the rest of the bottom edge.
Part 3: Ties
Waist ties
- Attach yarn to one of the front bottom corners (or use the working yarn if you just finished the bottom edging).
- Chain 155 to create a long waist tie.
- Cut the yarn, pull it through, and knot tightly to secure.
- Repeat on the opposite front bottom corner.
Shoulder ties (optional)
- To prevent the shoulders from slipping, count 3 double crochets down from the shoulder seam on the back side of the armhole.
- Attach yarn and chain 50 (or your desired length). Knot off to secure.
- Repeat on the other shoulder. These ties cross at the upper back and can be tied into a bow to hold the top in place.
Tips and Troubleshooting
- Confirm your stitch count is odd before starting Row 2. The braided lace rows only work cleanly if the double crochet count from Row 1 is odd — an even number means you’ll arrive at the final stitch on the wrong beat of the repeat. Check the count at the end of Row 1 before continuing.
- Place roughly 2 single crochets per double crochet row and 3 per lace row on the shoulder seam. The height difference between the two row types means a flat 1-to-1 ratio will pull the seam in. Matching the stitch count to the row height keeps the shoulder seam lying flat.
- Mark the armhole point on your actual body, not on the flat panel. Counting 25 double crochets down and then trying the unit on your shoulder is the most reliable method for armhole depth — the same count looks different on different body proportions.

Frequently Asked Questions
1. Why does the stitch count need to stay odd throughout? The braided lace repeat in Row 2 works in a skip-1, single-crochet-in-the-next pattern. For the row to end correctly on the last stitch, you need an odd total so the final stitch is always a single crochet placement rather than a skip. An even total would have you finishing on a skip, which leaves the edge stitch unworked.
2. Why do the back panels overlap instead of seam together? The open back overlap is the styling detail that gives this top its ballet wrap character. A seamed back would close the neckline into a conventional crew or boat neck; the overlap creates a natural low-back opening that stays put during the bottom edging round.
3. Can I make the four rectangles different widths for a more shaped fit? Technically yes, though the pattern is designed for four identical panels for ease of construction. If you want shaping, two narrower front panels and two wider back panels (or vice versa) would adjust how the top fits across the chest and back — just keep all four panels at the same height (chain length).
4. Do the chain-155 waist ties actually stay tied during wear? They can slip if not knotted tightly when you tie them around the waist. The creator adds a firm knot at the attachment point to secure the chain to the garment. If you find them slipping at the waist during wear, tying a small knot in the chain near your back will anchor the bow position.


