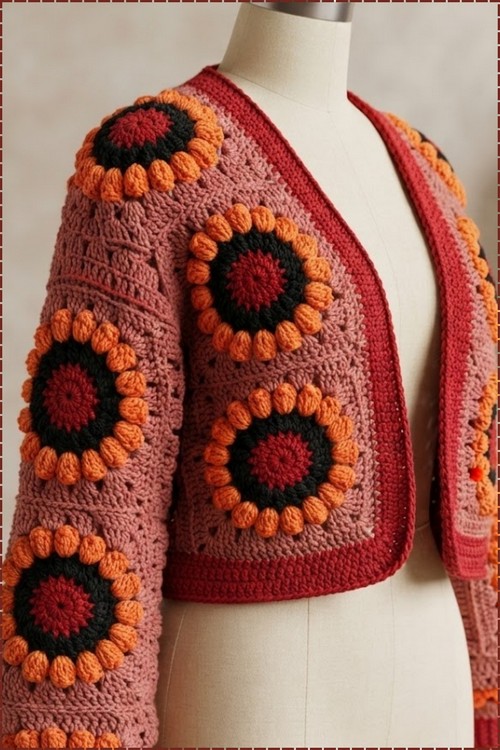
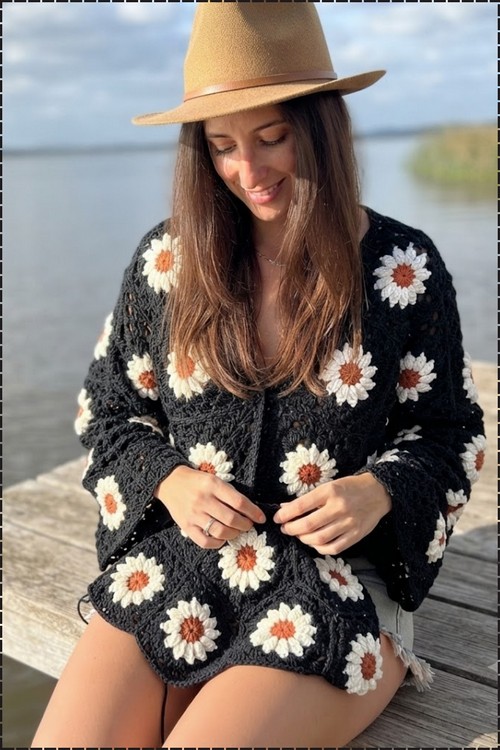
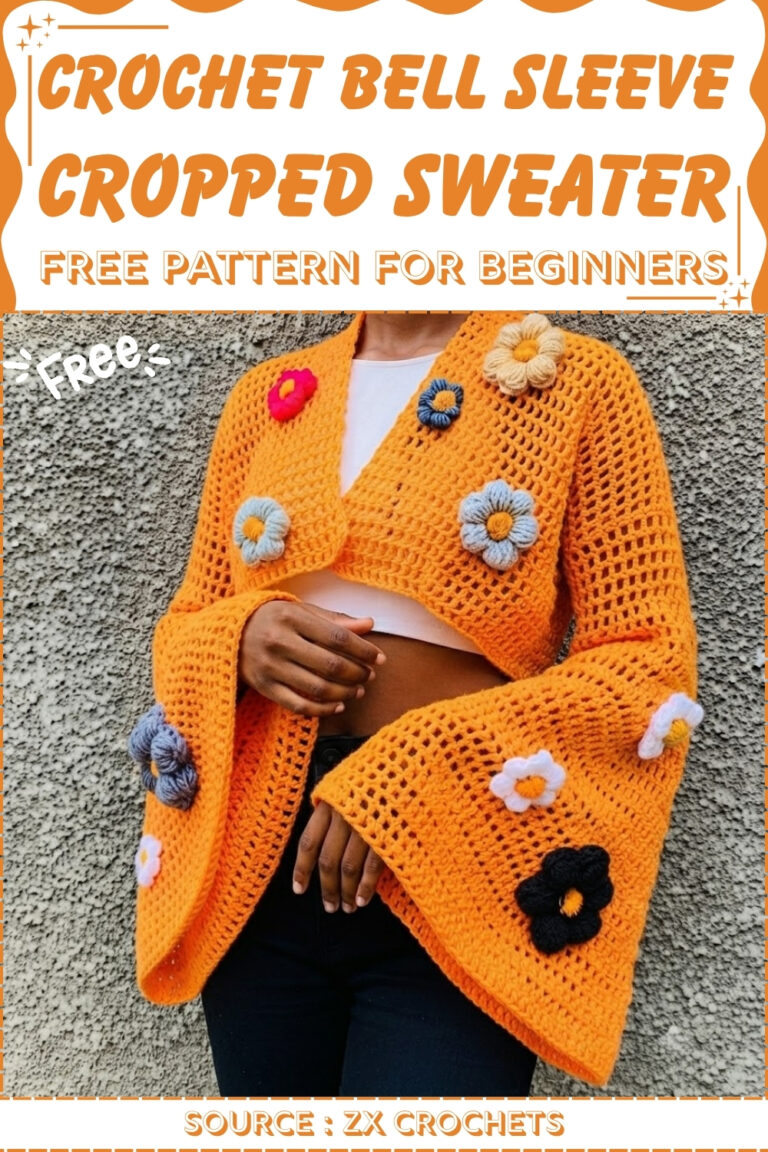
Campus walks and coffee runs get a bold layer from a hooded flower granny square cardigan in aqua teal with big black eight petal blooms. Statement dressers can zip the retro flower crochet sweater up over jeans, with black ribbed cuffs and hem framing the colourful patchwork.
Few sweater designs commit to a statement the way this teal and black flower cardigan from Samantha does, and the construction is more approachable than the finished piece suggests. Each square is built around a bold flower motif that uses the same granny square framework as the retro daisy cardigan from the same designer, so the two make a natural pair in your project queue.
Retro Flower Crochet Sweater
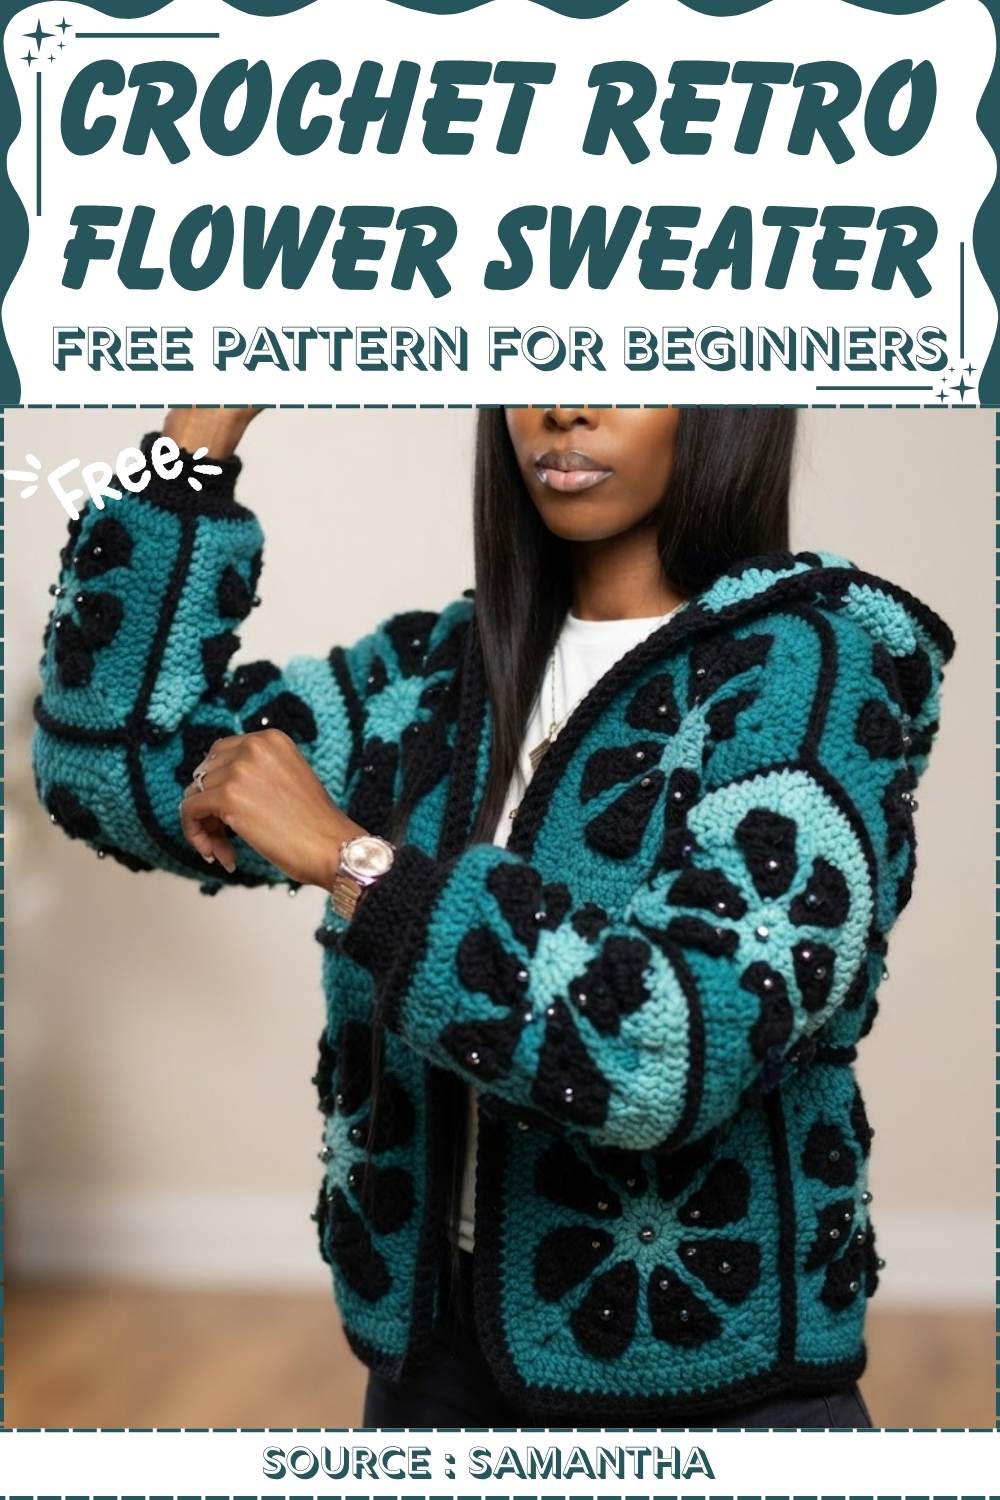
The squares are joined with black yarn and finished with a ribbed cuff band that grounds the sleeve edges cleanly. Black bead embellishments scattered across the motifs add the final retro detail that makes this one stand out from a standard granny square cardigan.
Materials
- Worsted or aran weight yarn in your chosen colors — enough for 20 granny squares at approximately 9 inches each
- 5 mm crochet hook
- Sewing clips or stitch markers for holding pieces during assembly
- Scissors
- Yarn needle for weaving in ends
Learn Before You Start
Square Count and Layout
Before starting assembly, confirm you have the right number of completed squares — each finished with one round of single crochets around the outer edge:
- Back panel: 8 squares
- Front panels (open-front style, split into two sides): 8 squares total
- Hood: 4 squares
Total: 20 squares.
Technique Notes
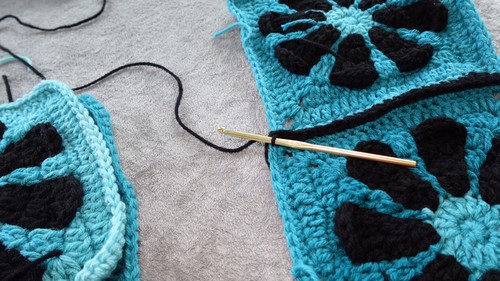
- Exposed seam joining: This pattern places squares wrong sides together so the single crochet joining seam sits on the outside of the garment. This is a deliberate design detail — the raised seam lines become part of the retro aesthetic. If you prefer hidden seams, place squares right sides together before joining. The construction method is the same either way.
- Single crochet join: Insert your hook through the corresponding stitch on both squares at once, pull up a loop, and complete a single crochet normally. Work across the full edge. Keep your joining tension consistent across every seam — a looser seam on one panel edge versus another will show as a visible size difference between panels once assembled.
- Panel edging: After all squares in a panel are joined, work one full round of single crochets around the entire outer edge of the completed panel. This creates a clean, even border and makes the panel easier to seam to adjacent panels. Do this for the back panel and both front panels before attempting any major assembly.
- Hood fold and seam: The 4 hood squares are connected first into a strip, then folded in half vertically. A single crochet seam worked across the top folded edge closes the top of the hood into a three-dimensional shape. Find and mark the center seam of the hood before attaching — aligning the center of the hood with the center back of the neckline is what keeps the hood sitting symmetrically.
- sc2tog (single crochet two together): Insert hook into the next stitch, pull up a loop. Without finishing, insert hook into the following stitch and pull up another loop (3 loops on hook). Yarn over and pull through all 3 loops at once. Two stitches reduced to one. Used in the wrist cuff decrease rounds — keep these snug but not so tight that the cuff cannot be pulled over the hand.
The Pattern
Part 1: Make the Squares
- Make 20 granny squares using your preferred granny square pattern.
- After completing each square, work one additional round of single crochets evenly around the entire outer edge of the square.
- Set squares aside in their groups: 8 for the back, 8 for the front panels, 4 for the hood.

Part 2: Assemble the Body and Sleeve Panels
- Place squares wrong sides together (for exposed seams) or right sides together (for hidden seams) according to your preference.
- Join squares using single crochets worked through both layers along each shared edge.
- Arrange and join the 8 back squares into one large rectangular back panel.
- Arrange and join the front squares and sleeve sections following the layout that places sleeves extending from the sides of the front panels.
- Chain 1 and fasten off between major sections if needed to keep joins clean.
If you’re a beginner and crochet patterns feel confusing, start with the video tutorial below, it’s the easiest way to learn as you go!
Part 3: Border Each Panel
- Once each major panel is fully joined, work one round of single crochets in every stitch around the entire outer edge of the panel.
- Repeat this border round for the back panel and both front panels before moving to assembly.
Part 4: Construct and Attach the Hood
- Join the 4 hood squares into a strip and fold the strip in half vertically.
- Single crochet across the top folded edge to close the top seam of the hood.
- Find the center seam of the hood and align it with the center back of the neckline opening between the front and back panels. Use sewing clips to hold everything in place.
- Insert your hook through both layers at one corner of the hood and neckline, and single crochet all the way across to the opposite corner to attach the hood.+

Part 5: Final Edging
- Work around the base of the hood, down both open front edges, and along the bottom hem of the sweater to create a finished border.
- Work 2 rounds of single crochet around all these edges. Half double crochet or double crochet can be substituted if you prefer a taller edge.
Part 6: Wrist Cuffs (Optional — for tapered sleeves)
Round 1 — first decrease round:
- Attach yarn with a slip stitch at any single crochet around the sleeve opening. Chain 1.
- Work 1 single crochet into the first stitch, then work a single crochet two together (sc2tog) over the next 2 stitches.
- Repeat this alternating sequence — 1 single crochet, then 1 sc2tog — all the way around the sleeve opening.

Round 2 — second decrease round:
- Work 1 single crochet in the first stitch, 1 single crochet in the second stitch, then 1 sc2tog over the following 2 stitches.
- Repeat this sequence — 2 single crochets, then 1 sc2tog — all the way around.
Round 3 and beyond — straight rounds:
- Chain 1 and work 1 single crochet in every stitch around with no decreases.
- Repeat Round 3 for as many rounds as desired to build the cuff length to your preference.
- Repeat the full cuff process on the second sleeve.

FAQ
- Does the granny square pattern matter for assembly? Any standard granny square that produces a consistent size works. What matters is that every square finishes at the same dimensions — measure a few after completing the border round and adjust tension if any are significantly different from the others. The border round of single crochets also helps even out small size variations between squares.
- What if I want hidden seams instead of exposed ones? Place squares right sides together before joining and work the single crochet seam the same way. Turn the panels right side out after joining. The seam construction is identical — only the orientation of the pieces changes.
- Can I skip the wrist cuffs and leave the sleeves as-is? Yes — the decrease cuffs are optional. The sleeves without them will be open and slightly flared at the wrist, which is a perfectly valid look. The final edging round applied to the sleeve opening gives a clean finish without any cuff shaping.