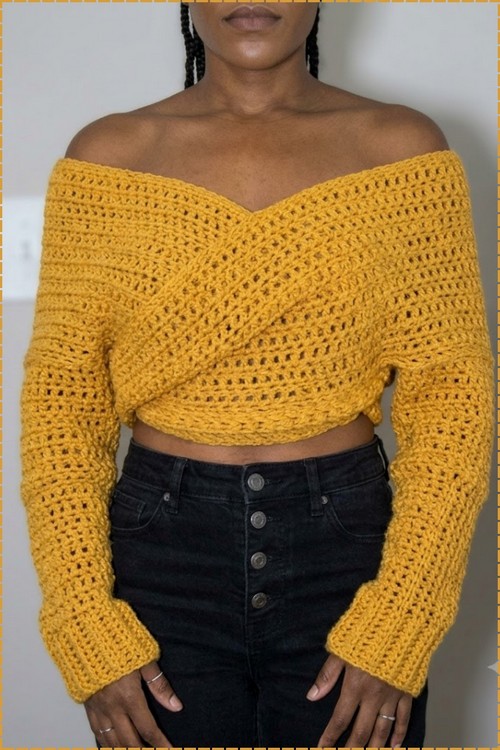
Anyone after a light warm weather layer can wear this modern crochet sweater with bare arms, since the white ribbed hem sits neatly at the waistband. Weekend errands, coffee runs and shopping trips suit a boxy crochet sweater pattern topped with a cute cartoon motif in white.
Caramel and white, a soft V neckline, and a single white pear sitting off center on the front. Everything about this modern crochet sweater is pared back, and the sweater vest shape makes it an easy layer over a shirt or on its own in warmer weather.
Modern Crochet Sweater
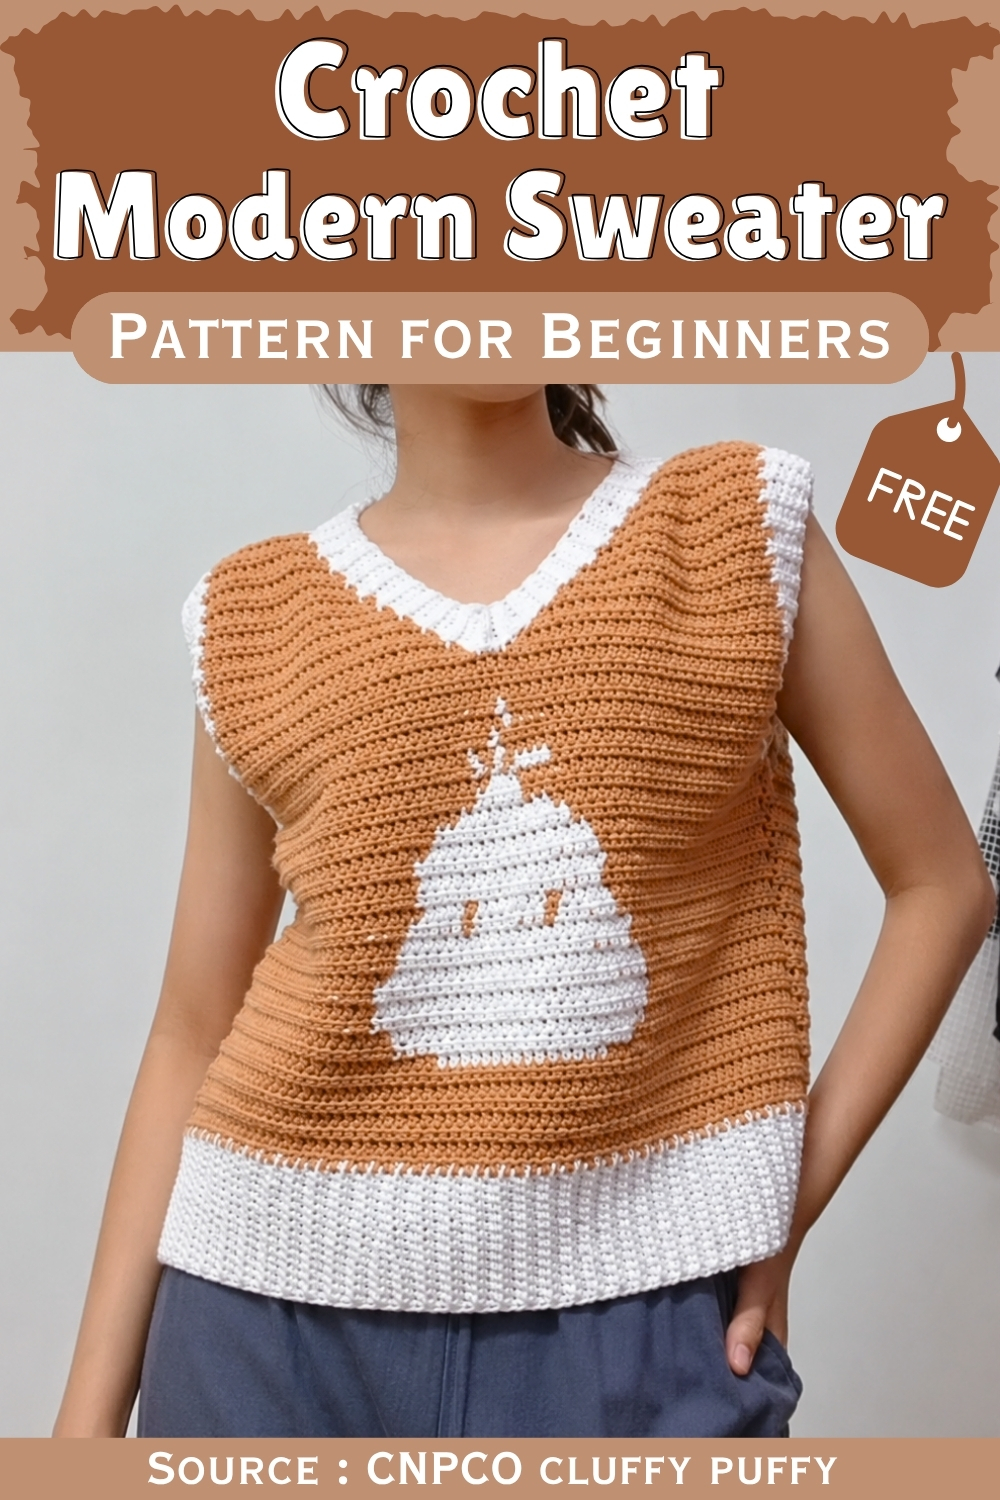
Colorwork does the design work while the stitch stays simple throughout. The pear is built by switching yarn colors within rows and carrying the unused strand along the back, which means no motifs to join and no intarsia charts to follow. Wide white bands at the hem, neckline and armholes frame the caramel body and give the flat panels a clean finished edge.
What I love most about this one is the way the ribbing frames the whole vest with a polished, intentional finish — it is not an afterthought edging but a structural element that is made separately and worked around the armholes and neckline with real care. The cartoon sits on the front panel only, and the back is completely plain, which means the vest reads quietly from most angles and lands its one delightful surprise from the front.
Materials and Tools
- Milk cotton yarn in kaki or beige as the main color
- Milk cotton yarn in white for the cartoon detail sections
- A 3 mm crochet hook for all body and ribbing sections
- A stitch marker for tracking bust shaping and panel splits
- A color chart drafted in Excel or on grid paper for the cartoon design rows
Milk cotton yarn is the right choice here because it has enough body to hold the color section edges cleanly without bleeding, and the surface smoothness means the cartoon face reads crisply rather than blurring at the color transitions. Draft your chart before you begin — having it printed and beside you while working the color rows removes the mental load of counting from the written instructions alone.
Get Comfortable with This Stitch
Difficulty and Time
This is an intermediate project with one specific skill that lifts it above a plain vest: colorwork following a pixel-style chart across rows 8 through 31 of the front panel. The color changes themselves are standard — carrying and dropping yarn at each section boundary — but keeping the chart position accurate across 24 rows of shifting counts requires focused attention. Budget a full session just for the cartoon rows. The ribbing panels and body shaping are straightforward by comparison, and the assembly is satisfying once both panels are complete.
The Pattern
Part 1: Waist Ribbing — Make 2
Make one ribbing panel for the front and one for the back, worked identically.
- Make a slip knot and chain 50.
- Row 1: Work single crochets beginning from the 2nd chain from the hook, all the way to the end of the chain. You must have 14 single crochets total.
- Row 2 and all following rows: Chain 1 and turn. Work single crochets in the back loops only across all 14 stitches.
- Repeat Row 2 for a total of 71 rows for each ribbing piece. Add more rows here if you want a larger size around the waist.
- Finish with chain 2 and fasten off.

Part 2: Front Panel — Base Rows and Cartoon Section
Base Rows 1 through 7
- Attach new yarn at the first row of the waist ribbing with a slip knot and chain 1.
- Work half double crochets across the ribbing rows. You must have 71 half double crochets per row.
- Repeat for 7 rows total.
Cartoon Picture Rows 8 through 31
These rows incorporate color changes following your drafted chart. Work each stitch count section in the color indicated, carrying the unused color on the wrong side or dropping and rejoining as preferred.
- Row 8: Work 25 stitches in kaki, 21 stitches in white, 25 stitches in kaki. Work Row 9 identical to Row 8.
- Row 10: Work 26 kaki, 5 white, 1 kaki for the eye, 7 white, 1 kaki for the eye, 5 white, 26 kaki.
- Row 11: Work 27 kaki, 4 white, 1 kaki for the eye, 7 white, 1 kaki for the eye, 4 white, 27 kaki.
- Rows 12 through 14: Work 27 kaki, 17 white, 27 kaki. Repeat the same count for all three rows.
- Row 15: Work 28 kaki, 15 white, 28 kaki.
- Row 16 — Armhole Decrease Begins: Decrease the first 2 and last 2 stitches of the row. Color sequence: 27 kaki, 13 white, 27 kaki.
- Row 17: Decrease on both sides. Work 28 kaki, 9 white, 28 kaki.
- Row 18: Decrease on both sides. Work 29 kaki, 5 white, 29 kaki.
- Row 19: Decrease on both sides. Work 29 kaki, 3 white, 29 kaki.
- Row 20: Decrease on both sides. Work 24 kaki, 4 white for hair, 1 kaki, 1 white for hair, 1 kaki, 1 white for hair, 27 kaki.
- Row 21: Decrease on both sides. Work 25 kaki, 1 white for hair, 2 kaki, 1 white for hair, 28 kaki.
- Row 22: Decrease on both sides. Work 29 kaki, 1 white for hair, 29 kaki.
- Row 23: Work 30 kaki, 1 white, 28 kaki.
- Row 24: Work 28 kaki, 1 white, 30 kaki.
- Rows 25 through 31: Continue working additional rows of half double crochets to reach the total length needed before the bust shaping, maintaining the stitch counts established in the final color rows.
Never read a crochet pattern before? No problem! The video tutorial below is perfect for beginners, or give the written pattern below a try!
Part 3: Front Panel — Bust and Neckline Shaping
The front panel is split into two sides at this point and worked separately.
Left Bust Side
- Count 29 stitches from the left edge and place a stitch marker. Chain 1 and turn.
- Work 27 half double crochets, then decrease the 28th and 29th stitches together for a total of 28 stitches in the row.
- Row 2 and all following rows: Decrease the first 2 stitches, then half double crochet across to the end.
- Continue this row-by-row shaping across 19 rows total for the bust section, until 10 half double crochets remain at the shoulder top.

Right Bust Side
- Count 29 stitches from the right edge, attach new yarn with a slip knot, and chain 1.
- Work a decrease on the first 2 stitches, then half double crochet across to the end.
- Mirror the shaping of the left side across 19 rows until 10 half double crochets remain at the shoulder top.
Part 4: Back Panel
Waist Base
- Attach new yarn to the second waist ribbing piece and work half double crochets across.
- Work a total of 22 rows of 71 half double crochets.
Underarm Shaping
- On the first decrease row, decrease the first 2 and last 2 stitches of the row.
- Repeat this decrease row across 6 rows total until 59 half double crochets remain.

Upper Back Body
- Work straight half double crochets across all 59 stitches for 21 rows without any shaping.
Neckline Shaping
- Count 14 stitches from the right edge and place a stitch marker. Chain 1 and turn.
- Work half double crochets across, decreasing at the neckline edge.
- Continue decreasing near the neckline on each subsequent row until 10 half double crochets remain at the shoulder top.
- Repeat the shaping symmetrically on the other side of the neckline.
Part 5: Assembly and Edging
Seaming the Panels
- Sew the front and back panels together along the side seams up to the underarm openings using a slip stitch method on the inside of the fabric.
- Flip the vest right side out once both side seams are complete.

Armhole Ribbing — Work the Same on Both Armholes
- Attach yarn at the bottom of the armhole opening.
- Chain 6, then work single crochets back down the chain for 5 stitches.
- Join the ribbing strip to the armhole edge using slip stitches into the next 2 rows, turn, and work 5 single crochets in the back loops only back up the strip.
- Repeat this sequence — joining to the armhole edge with slip stitches, turning, and working back in back loops only — all the way around the armhole opening.
- Slip stitch the beginning and end of the ribbing strip together to close the band.
- Repeat for the second armhole.
Neckline Ribbing
- Start at the center front or back of the neckline opening.
- Work a ribbing band using the same construction: chain 6 as the base, work back in single crochets, attach to the neckline edge with slip stitches into each row as you go, and work back in back loops only.
- Continue wrapping the ribbing band entirely around the full neckline opening.
- Slip stitch the beginning and end of the band together to close and finish.

Tips
- Before starting the cartoon rows, print your color chart and check it against the written stitch counts for each row. Any discrepancy between the chart and the text is your cue to resolve it before you begin — finding a miscount mid-cartoon is much harder to fix than catching it beforehand.
- When working the color sections across rows 8 through 31, carry the unused color loosely along the wrong side of the work for sections of 5 stitches or fewer. For longer single-color spans, drop and rejoin at the color boundary to keep the wrong side tidy. Loose carried yarn across long stretches can pull the face of the fabric and distort the cartoon shape.
- The ribbing panels work up quickly once the back-loop-only rhythm is established, but the attachment step — joining each ribbing row to the armhole or neckline edge with slip stitches — requires a consistent tension. If the ribbing pulls the edge inward, your slip stitches are too tight. If it sits loosely and flares, they are too relaxed. Work a few attachment joins on a scrap edge first to calibrate before starting the actual garment edging.
FAQ
- Can I substitute a different cartoon design instead of the onion? Yes, and this is one of the things that makes this vest so appealing as a template. Any pixelated or grid-based character design can be mapped to the color-change rows using the same half double crochet base. Draft your chosen design on grid paper or in a spreadsheet, map your kaki and white counts to the new design’s color blocks, and follow the same decrease sequence from row 16 onward for the armhole shaping regardless of what the design shows.
- What if my stitch count drifts during the cartoon rows? Count at the end of every row and correct immediately rather than carrying the error forward. A stitch count that is off by one in the cartoon section shifts every color boundary in subsequent rows, and the face begins to skew to one side. Place a stitch marker at the center stitch of each cartoon row so you can check both halves against the chart independently as you work.
- Does the ribbing need to be made before the body panels? Yes. The ribbing is made first as a standalone piece and then the body panel stitches are picked up from its rows. The 71-row ribbing count becomes the 71-stitch width of the body panels, so the two are linked from the beginning. Starting the body without the ribbing in place removes the foundation the first row attaches to.
- Can I make this vest longer? Yes. Add extra plain half double crochet rows between the waist ribbing and the cartoon start rows, or extend the number of rows in Part 4 of the back panel before the neckline shaping. The cartoon placement is fixed relative to the armhole decreases, so extending the body below or above the motif area is the cleanest way to add length.