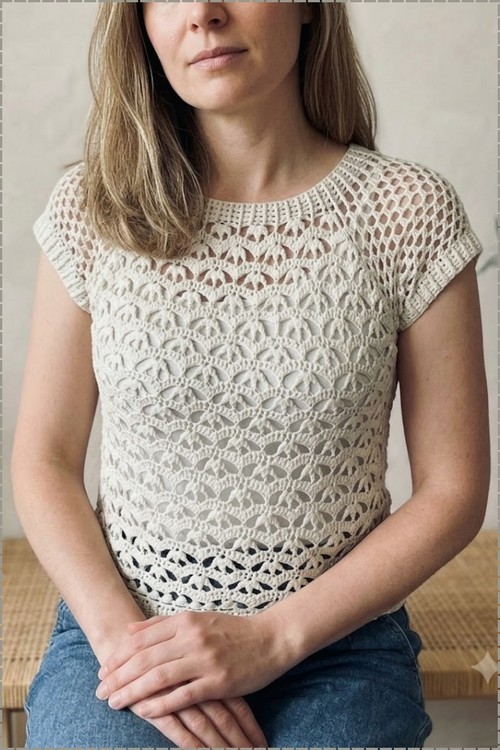
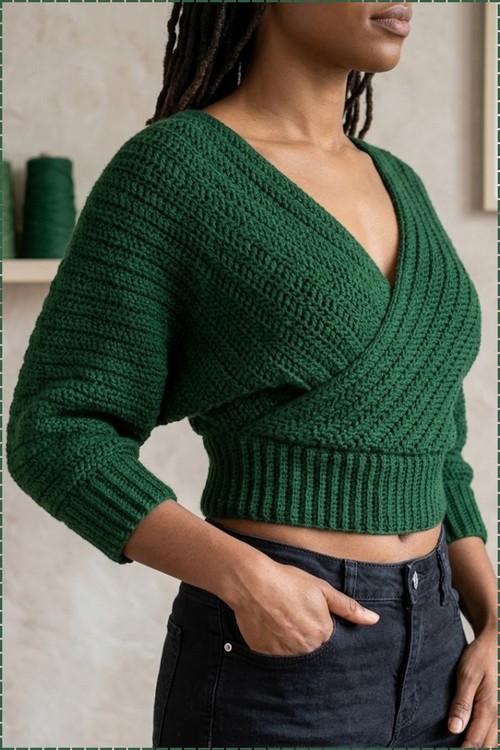
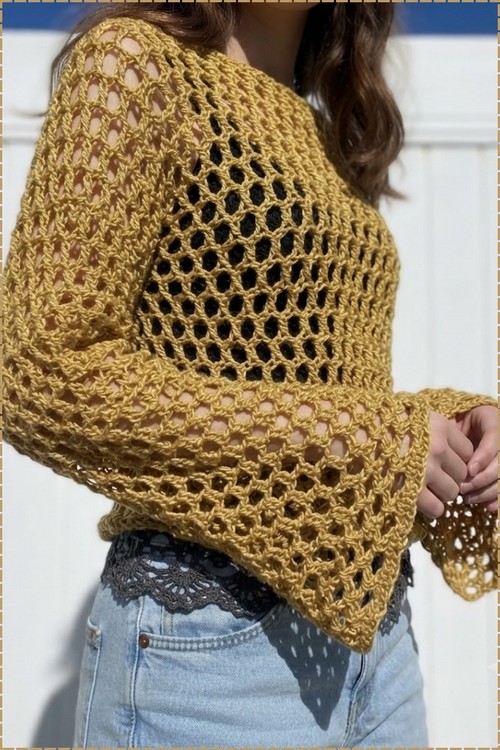
Flat rectangles and a 10 mm hook build this free crochet mesh long sleeve sweater, its wide v-stitch grid ending in lace cuffs that fan out from the forearm. Layer the crochet mesh top over a tank for a breezy summer sweater outfit.
Golden yellow doesn’t read bright in an open mesh, it goes warm instead, which is why this one works as a layer rather than fighting whatever’s underneath it. The v-stitch grid is wide open, so plan on a tank or slip under it. What lifts the whole piece is the cuffs: they fan out from the forearm into a deep lace border that hangs completely differently from a plain hemmed sleeve. Worth blocking those properly or they curl. For a tighter mesh and a simpler sleeve, the mesh top with raglan long sleeves uses the same idea with less drama at the wrist.
Crochet Mesh Long Sleeve Sweater
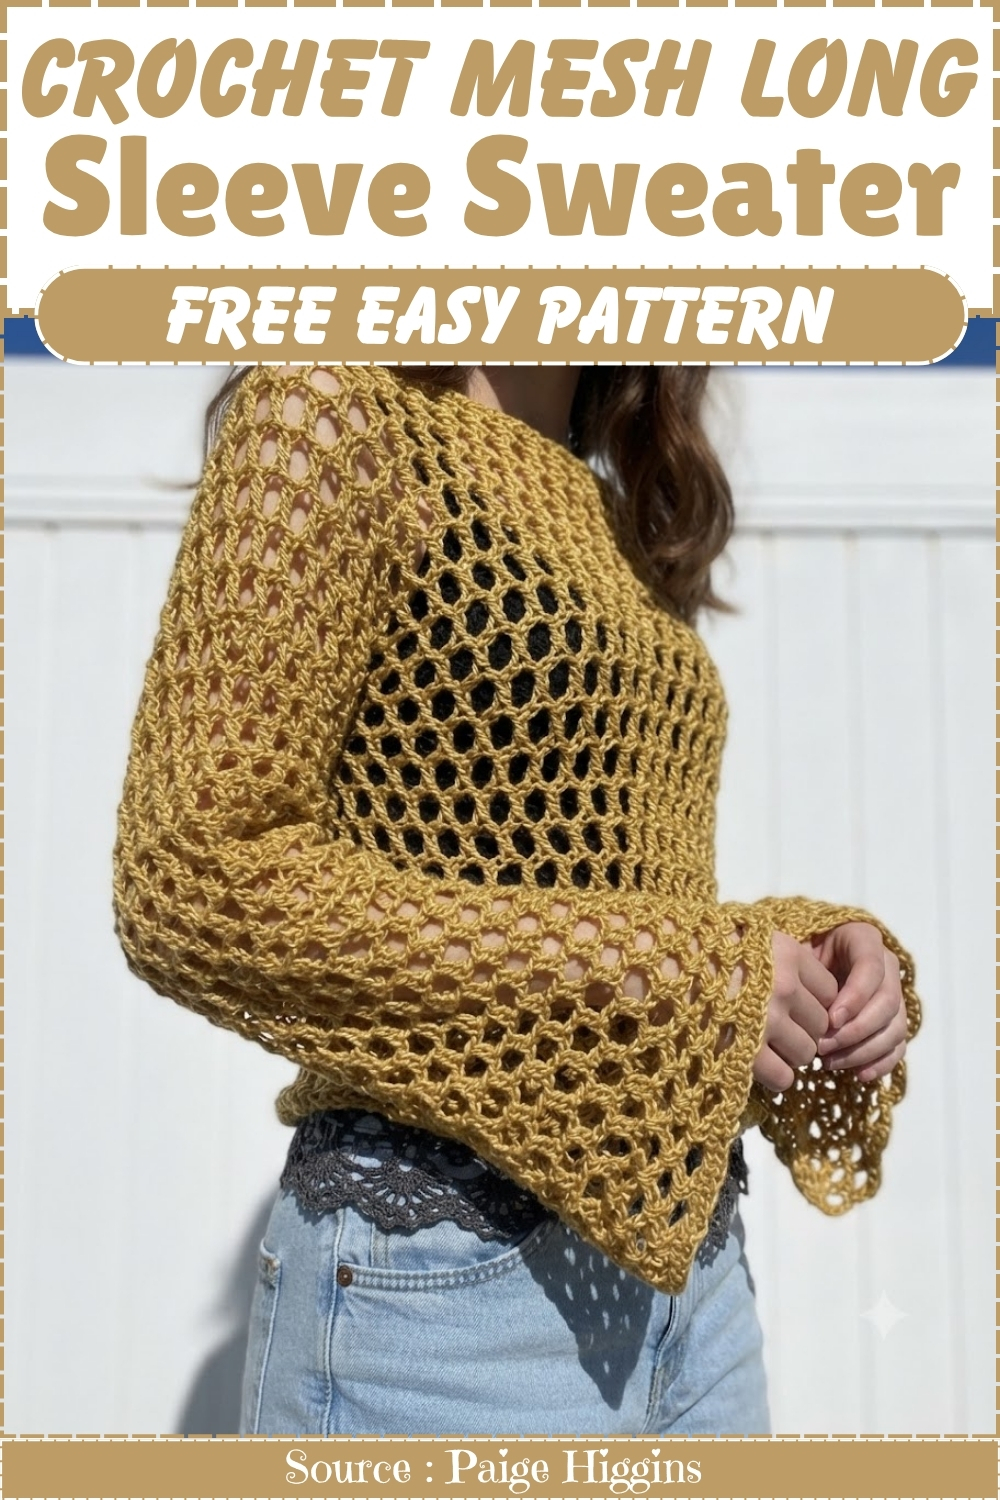
Body and sleeves are both worked as flat rectangles with the v-stitch repeat running straight through, so there is no shaping to follow until the seaming step. The lace border at the hem and cuffs uses a wider fan repeat that transitions out of the v-stitch grid naturally, adding fullness at the edges without any separate picked up row. The sweater is put together by joining the side seams and sleeve seams, then setting the sleeve into the armhole opening.
Materials & Tools
- Category 4 medium/worsted weight acrylic yarn (approximately 1¾ to 2 skeins)
- 10 mm crochet hook (main mesh body and sleeves)
- 6.5 mm crochet hook (seams and optional sleeve edge finishing)
- Stitch markers or bobby pins
- Large towel (for blocking)
- Hangers (for drying)
Abbreviations used in this pattern: ch = chain · dc = double crochet · sc = single crochet · sl st = slip stitch · st(s) = stitch(es) · sp = space · rep = repeat
Chain multiple: Your foundation chain must be a multiple of 4.
Master This Stitch First
Difficulty & Time
Beginner-friendly to easy intermediate. The mesh pattern is a single repeating unit — ch 3, skip 3, dc in the 4th — that you’ll have memorized within the first row. The neckline bridge requires a bit of counting and confidence, but no actual shaping stitches. The sleeves are worked in a continuous spiral, which is slightly different from standard rounds but requires no joining. A fast project overall — the large hook and open mesh make the rows move quickly. Expect a full weekend for both sleeves and blocking.
Beginner Technique Notes
- The chain-3, skip-3, dc-in-4th mesh: This is the entire body stitch pattern. Every repeat skips 3 stitches (or 3 chains in the foundation row) and places one dc in the 4th. The chain-3 in between creates the open “hole” of the mesh. In subsequent rows, the dc goes into the hole of the previous row rather than into a stitch — this is what keeps the mesh open and even.
- Chain 6 at the turn: At the end of each row, the ch-6 turn counts as your first dc plus the ch-3 that bridges to the next hole. So when you turn and begin the new row, you work the first dc into the first open gap — not into the ch-6 itself.
- The neckline bridge: Rather than shaping the neck with decreases, you simply count how many gaps and half-gaps span the neck opening, chain the equivalent number of stitches, and dc into the marker on the far side. The chain sits across the neck hole and becomes part of the mesh on subsequent rows.
- Spiral sleeves: The sleeves are worked in a continuous spiral around the armhole — no joining sl st at the end of each round. This is sometimes called “working in the round without joining.” The key is keeping a stitch marker in the first stitch of the round so you know when you’ve completed a full circuit. Move the marker up every round.
- Blocking open mesh: Wet blocking is essential for this mesh — it opens the holes to their full size, relaxes any tension variation, and makes the drape of the finished piece significantly better. Don’t skip it.
The Pattern
Step 1: Foundation Chain (Front and Back Body — One Rectangle)
- Make a slip knot.
- Chain enough stitches to span the width of your shoulders.
- For a fitted look, add about 2 inches of extra length on each end.
- For an oversized look, add 4–5 inches of extra length on each end.
- Make sure your total chain count is a multiple of 4. (The pattern suggests 80–84 chains for a baggy fit.)
- Place a stitch marker in the very last chain.

Step 2: Row 1 of the Mesh Body
- Ch 6.
- Work 1 dc into the exact stitch where your stitch marker sits. Remove the marker.
- Repeat: Ch 3, skip the next 3 chains, dc into the 4th chain.
- Continue [ch 3, skip 3, dc in 4th] all the way to the end of the row.
New to crochet and not sure how to read a pattern yet? The video tutorial below will guide you through it step by step, you’ve got this!
Step 3: Building the Body Length
- Turning row: Ch 6, turn your work.
- Work 1 dc directly into the first open gap from the previous row.
- Ch 3, then dc into the next gap.
- Repeat [ch 3, dc in next gap] across the entire row.
- Continue repeating this turning row until the body piece reaches from your desired waist length up to the top of your shoulders. (Account for a bit of stretch when the piece is wet-blocked — measure slightly shorter than needed.)
Step 4: Shaping the Neckline
- Hold the body piece up to yourself and place stitch markers where you want the shoulder/neckline boundary to sit on each side.

Working to the neck opening:
- Crochet the mesh pattern as normal until you reach the first stitch marker.
Bridging the neck opening:
- Count the number of full gaps and half-gaps across the neckline area.
- Chain the corresponding number of stitches to skip across the entire head hole.
- Dc into the stitch marker on the far side of the neck opening.
- Finish the rest of the row in the standard [ch 3, dc] mesh pattern.
Mirroring the rows:
- Turn and continue the mesh pattern across.
- Work the exact same number of rows on this side of the neckline as you worked before the neckline bridge, so both shoulder sections match in height.
Step 5: Side Seams (Underarm to Waist)
- Try the top on to identify where you want the underarm and side seam to sit. Place a stitch marker at that point on each side.
- Switch to the 6.5 mm hook.
- Attach yarn and work sc up the side seam from the bottom hem to your stitch marker. (Distribute stitches evenly along the row posts and holes: approximately 2 sc in each hole section and 1 sc at each post.)
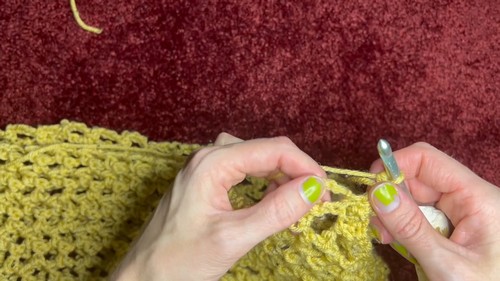
Step 6: Sleeves (Make Two)
- Switch back to the 10 mm hook.
- At the armhole opening, ch 6.
- Work 1 dc into the next gap.
- Continue working [ch 3, dc into the next gap] in a continuous spiral all the way around the armhole opening, without joining at the end of each round.
- Continue spiraling until the sleeve reaches your desired length.
Finishing the sleeve:
- On your final stitch, work a dc, then switch to the 6.5 mm hook and sl st across to the next post area.
- (Optional) Work 1 round of sc all the way around the sleeve cuff for a more finished edge.
- Cut yarn and weave in ends. Repeat for the second sleeve.
Step 7: Weaving Ends and Blocking
Weaving ends:
- Secure all loose yarn tails by weaving them back and forth at least 3 times before trimming.
Wet blocking:
- Wet the body (and sleeves if you want them to stretch too) with water.
- Gently squeeze out excess water, roll the sweater tightly inside a large towel, and press out remaining moisture — stepping on the rolled towel works well.
- Hang the sweater on hangers overnight, supporting the sleeves separately if you don’t want gravity to stretch them longer than intended.
- Leave to dry completely before wearing.

Tips & Troubleshooting
- Count your foundation chain in groups of 4 as you go. At 80+ chains on a large hook, it’s easy to lose count. Place a marker every 20 chains so you only ever need to recount a short section if you lose your place.
- Try the body on before seaming the sides. The mesh has a lot of give — what looks narrow flat can open up significantly on the body. Hold it against yourself first, mark the underarm point with a pin, and confirm you’re happy with the width before sewing any seams.
- Count the gaps carefully before bridging the neckline. The bridge chain must match the number of gaps and half-gaps across the neck opening exactly — too few chains and the neck will be too small; too many and the bridge sags. Count twice before chaining.
- Mark the first stitch of each sleeve round immediately. Because the sleeves are worked in a continuous spiral without joining, there’s no natural end-of-round marker. Place a bobby pin or safety pin in the first dc of Round 1 before you proceed to Round 2, and move it up on every round.
- For the side seam, keep your tension even on the sc stitches. The 6.5 mm hook is smaller than the body hook, which helps prevent the seam from puckering, but uneven tension can still make the seam pull. Work slowly along the mesh edge and check every few stitches that the seam lies flat.
- Block the piece before deciding on sleeve length. The body mesh will open up and lengthen during blocking, which changes where the underarm sits. Block the body first, then start the sleeves from the blocked armhole position.
Yarn Substitution
Worsted weight acrylic is an excellent choice for this mesh — it’s affordable, widely available, holds its shape well after blocking, and washes easily. The large 10 mm hook with a worsted weight yarn produces an intentionally open mesh, which is the whole look. If you substitute a cotton yarn at the same weight, the drape will be heavier and cooler — good for summer wear but the mesh will hang differently. Avoid anything with too much elasticity (like cotton-elastic blends) as it can pull the mesh holes into a tighter grid than intended. Do not go below DK weight or the mesh will become too open to hold its structure.
Customization Ideas
- Adjust the width by adding or subtracting chains in multiples of 4.
- Change the length by working more or fewer body rows above the waist.
- Make it cropped by stopping the body rows much earlier — a crop version sits well with high-waisted jeans.
- Vary the sleeve length — the spiral sleeve can be stopped at any point for cap sleeves, elbow length, or full wrist length.
- Skip the optional sc cuff for a raw, open mesh edge at the wrist, or add 2–3 rounds of sc for a more finished, slightly gathered cuff.
FAQ
1. Why does the chain need to be a multiple of 4? The mesh repeat is ch 3, skip 3, dc in 4th — a unit of 4 stitches. If your chain isn’t divisible by 4, the pattern won’t work out evenly at the ends of the row, and you’ll be left with a partial repeat hanging off one edge. Round up or down to the nearest multiple of 4 before you start.
2. How do I know how many stitches to chain for the neckline bridge? Count the gaps (full holes) across your neckline, then count any half-gaps at the edges. A full gap in the mesh equals ch 3 + dc = 4 chains worth of width. Count carefully, chain to match, and work a dc into the marker on the far side. The bridged chain becomes part of the mesh structure in the following row.
3. Can I make this without the sleeves as a sleeveless top? Yes — simply seam the sides from underarm to bottom hem, work a round of sc around each armhole if you want a neat edge, and you have a finished mesh tank or blouse. The construction up to and including Step 5 is the same.
4. My mesh rows look uneven — some holes are bigger than others. What’s happening? This is nearly always a tension issue in the ch-3 space between dc stitches. If you pull your chains tighter than your dc stitches, the spaces close up; if you leave them looser, they gap more. Try consciously keeping your ch-3 at the same tension as your dc. Blocking will even out minor variation, but significant unevenness needs to be corrected in the working rows.
5. How long should I leave the garment to block? At minimum, overnight — ideally 12–16 hours. The mesh needs the holes to dry in their open position for the blocked shape to set. If you take it off the hanger before it’s fully dry, the mesh will close back up slightly as it relaxes. Feel the thickest sections (around the dc posts) to confirm they’re dry before removing.