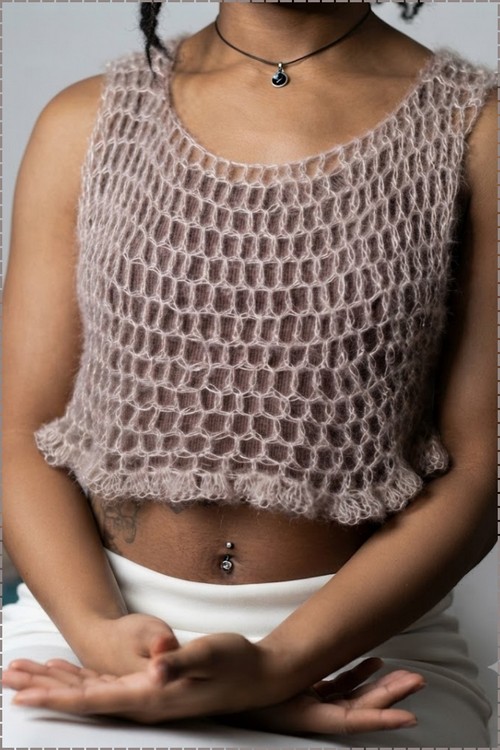
Summer evenings suit a light filet crochet top pattern worked in medium weight yarn on a 5.0 mm hook. One 260-chain foundation in size XS/S runs cuff to cuff, and a chained gap across the middle shapes the neckline before you slip stitch the sleeves closed.
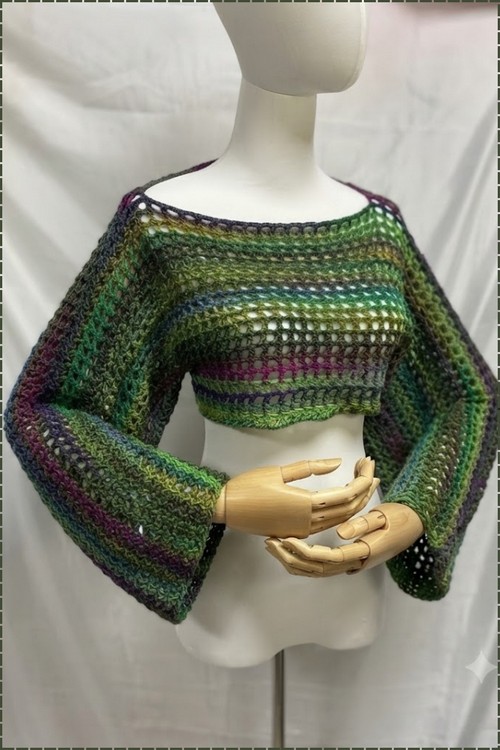
Variegated yarn cycling through green, purple, teal, and pink does all the color work in this filet top without any color changes to manage mid-row. The body alternates between solid and open filet rows to create a striped effect that shifts with however the variegation pools, so every finished piece looks slightly different. Wide bell sleeves give it a dramatic silhouette that sits apart from the more fitted options in the same category, closer in spirit to the open weave top than a standard cropped pullover.
Filet Crochet Boat Neck Top
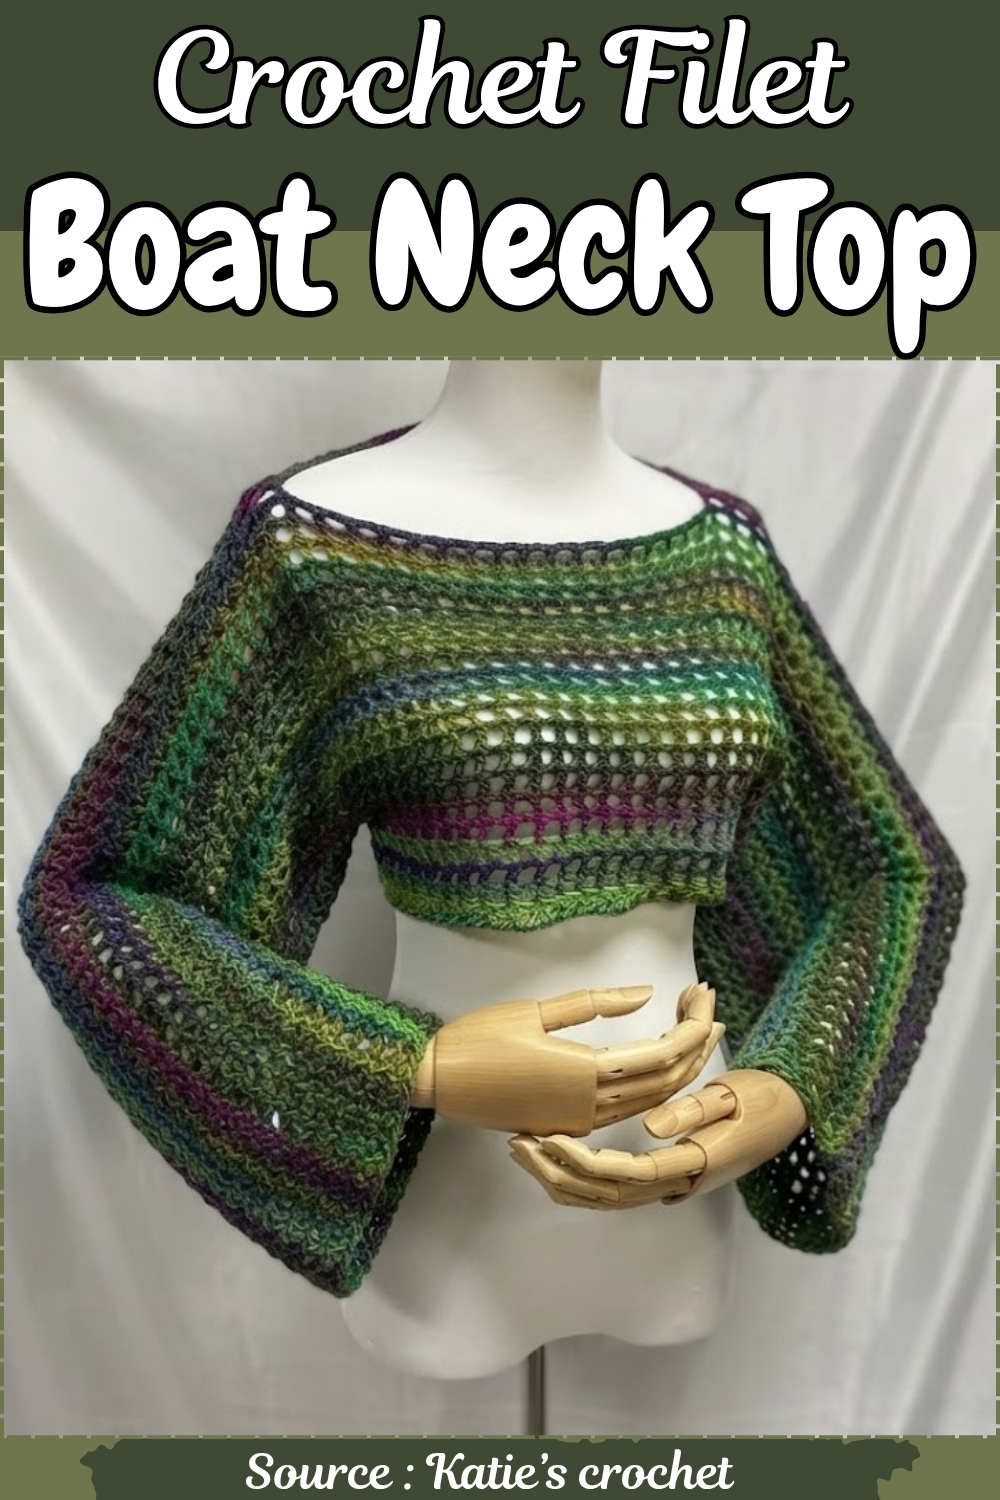
Construction is a single rectangle worked flat and then folded and seamed at the sides and shoulders, which is one of the more beginner friendly builds for a garment with this much visual impact. The boat neckline forms from the fold at the top edge with no extra shaping required. Bell sleeves widen naturally from the side seam rather than requiring any separate sleeve panel.
Materials
- Medium weight (size 4) yarn of your choice
- A 5.0 mm hook (or 4.5 mm if preferred)
- Stitch markers
- Measuring tape
- Tapestry needle
Important Stitch to Learn
The Pattern
The shrug is one flat rectangular panel, worked in mesh from cuff to cuff across the back, with the neckline created by chaining across a marked gap mid-panel. The sleeve seams are slip-stitched closed at the end.
The mesh pattern works on a multiple of 3 plus 5 chains throughout.
Step 1: Foundation Chain
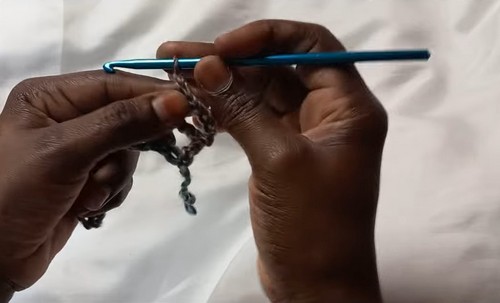
- Chain your required length. This single chain spans both sleeves and the back body at the same time. (Size XS/S: chain 260.)
Step 2: Round 1 — Mesh Pattern
- Yarn over and work 1 double crochet into the 8th chain from the hook. (This creates your first skipped chains, double crochet, and chain-2 space.)
- Chain 2, skip 2 chains, and work 1 double crochet into the next chain. Repeat across the entire row.
- At the end of the row, skip 2 chains and work 1 double crochet into the final stitch.
If you’re still learning how to read crochet patterns, no stress! Follow the video tutorial below and use the written pattern below as you get more comfortable!
Step 3: Rounds 2 and Beyond — Continuing the Mesh
- Chain 5 (counts as a double crochet plus chain 2) and turn.
- Skip the first stitch and chain-2 space, then work 1 double crochet into the next double crochet.
- Chain 2, skip 2, work 1 double crochet into the next stitch. Repeat across.
- End each row by chaining 2, skipping 2 chains, and working a double crochet into the next chain.
- Repeat until you reach your desired width for the shrug. (The creator worked approximately 21 rounds for size XS/S, measuring roughly 24 cm.) End on the right side of your work before moving to the neckline shaping.
Step 4: Shaping the Neckline
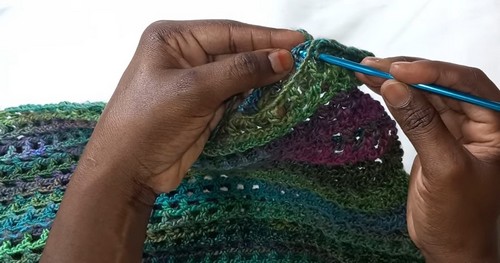
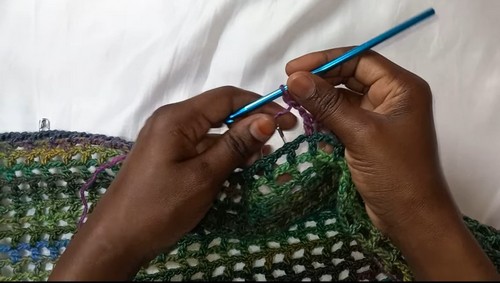
- Use stitch markers to mark the neckline gap. The creator skipped 35 double crochets (including chain spaces) on both sides and placed stitch markers at the opening boundaries.
- Chain 47 (matching the skipped stitches for the neckline gap plus the stitch next to the marker).
- Yarn over and continue working the mesh pattern into the next available double crochet past the marker.
- When you reach the foundation chain section on subsequent rows, work into the back bumps of the foundation chains for a cleaner look.
- Continue repeating the mesh rows until you match the exact round count of the first panel (for example, 21 rounds).
Step 5: Separating the Body and Sleeves
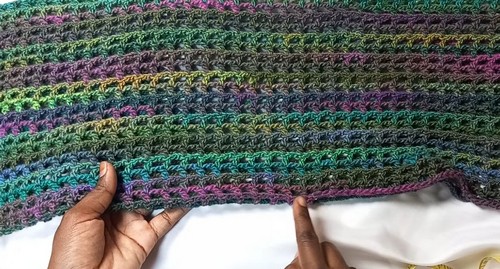
- Lay the finished panel flat and use a measuring tape to find your sleeve dimensions. (Size XS/S: approximately 42 cm total span.)
- Count 5 double crochets in from each edge and place stitch markers to mark where the sleeves will fold and close.
- Fold the panel with the wrong side facing you, lining up the front and back pieces so the sleeve sections align.
Step 6: Seaming the Sleeves
- Attach yarn with a slip stitch at the cuff edge, working on the wrong side.
- Work a slip stitch seam along the top of every stitch to join the sleeve closed from the cuff up to your stitch marker. (Use a slightly smaller hook if needed to make slip-stitching easier.)
- Repeat for the second sleeve.
- Use a tapestry needle to weave in all loose yarn ends on the wrong side. Trim any excess and flip the shrug right-side out.
A Few Tips
- Count the foundation chain carefully. Chain 260 is a long starting chain and an off-count here affects the whole panel. Count twice before starting Row 1.
- End on the right side before the neckline. The neckline chain bridge needs to start from the correct face of the work — ending on the wrong side will flip the mesh direction for the second half of the panel.
- Match both panel halves exactly. The second half (after the neckline bridge) should hit the same round count as the first. Count as you go rather than measuring, since mesh rows can be tricky to read on lacy fabric.
Frequently Asked Questions
1. Why is the pattern worked in a multiple of 3 plus 5? The chain-2 skip-2 mesh repeat needs 3 chains per stitch space (1 stitch plus 2 skipped), and the extra 5 set up the beginning and end of the row correctly. Starting with the correct multiple keeps the mesh aligning cleanly on every row.
2. How does one flat panel become a shrug with sleeves? The long panel spans both sleeve lengths plus the back body width. When folded in half at the center back, the two ends become the cuffs. Slip-stitching the short edges partway up creates the sleeve tubes, and the section left open between the sleeve seams and the back is the armhole.
3. What does “working into the back bumps” of the foundation chain do? When you return to the starting chain section after the neckline bridge, working into the back bumps of the chain (the row of bumps on the underside) makes that edge look the same as the rest of the mesh. Working into the front loops would leave a visible chain edge that doesn’t match.