White crochet with a pop of pink trim is a pairing that reads cottagecore without trying too hard the Suzette stitch bodice gives the top enough texture to hold its own, and the ruffled peplum hem adds the feminine silhouette. Worn over a white skirt it becomes a full soft look. For a peplum top with the same kind of delicate finish but in green lace, the green peplum top takes the peplum concept in a lacier direction.
Crochet Peplum Top White
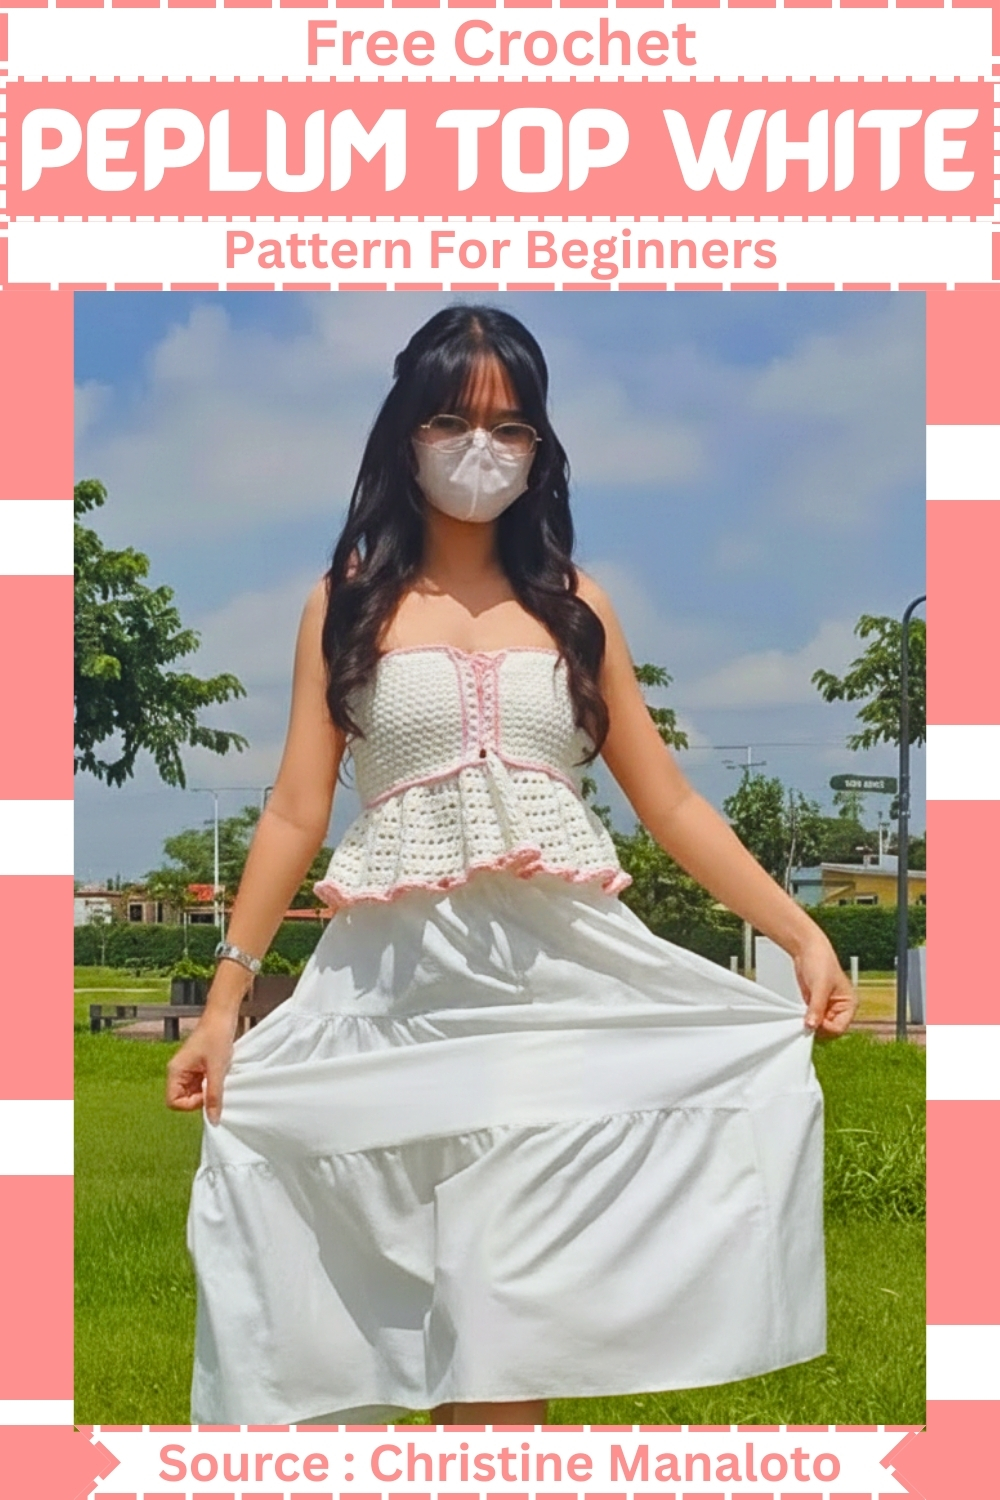
The bodice is worked in Suzette stitch rows alternating single crochet and half double crochet that build a dense, subtly bumpy texture with good structure for a strapless top. The peplum is added as a separate flared section at the waist, and the pink trim is crocheted directly onto the bust edge at the end. Once this is done, the peplum top with sleeves is a natural next step if you want the same silhouette with sleeve coverage.
Materials & Tools
- Yarn: Light worsted or DK weight cotton or cotton-blend yarn in white (plus a small amount of contrast color for the hem and decorative details)
- Hook: Size appropriate to your yarn weight (check your yarn label; typically a 4.0–5.0mm hook works well for DK to light worsted)
- Notions: Stitch markers, yarn needle, scissors
- Optional: Measuring tape, blocking mat and pins for finishing
Yarn note: White cotton is classic here, but a cotton-acrylic blend will give you a little more drape and ease of care. Avoid anything too fuzzy — you want the Suzette stitch texture to read clearly.
Master These Stitches First
Difficulty & Time
Difficulty: Intermediate
Estimated time: 8–15 hours depending on your gauge and size
This pattern uses basic stitches (single crochet, half double crochet, double crochet) but combines them in a repeat that requires a little attention at first. After a few rows, the Suzette stitch becomes second nature. The ruffled skirt section involves increases and mesh rounds, which are straightforward but do require counting.
Beginner Technique Notes
If you’re newer to garment crochet, here are the key techniques used in this pattern:
Suzette Stitch: This is an alternating texture stitch made by pairing a single crochet and a double crochet into the same stitch. It creates a dense, slightly bumpy fabric with a lot of visual interest. The half double crochets at the beginning and end of each row act as edge stabilizers — don’t skip them.
Back Bumps: Working into the back bumps of your foundation chain (the little ridges on the underside of the chain) gives you a neater bottom edge that looks finished from both sides.
Back Loops Only (BLO): When a step says to work in the back loops only, insert your hook into just the back loop of each stitch. This leaves the front loop exposed, which you’ll come back to later for the decorative detail rows.
Double Crochet Clusters: Three double crochets worked into the same stitch create a small cluster or fan. These appear along the side edges and add a subtle textural detail.
Working in Rounds vs. Rows: The chest panel is worked flat in rows. The ruffle skirt transitions to working in rounds — you’ll join with a slip stitch and chain to begin each new round.
Strap Placement: Use stitch markers and try the top on (or hold it up to your body) before committing to strap placement. A small adjustment at this stage makes a big difference in fit.
The Pattern
Chest Panel — Suzette Stitch
Make a slip knot and chain 31.
Foundation row: Single crochet into the back bumps of every chain across.
Row 2 and all pattern rows:
- Chain 1 and turn.
- Work 1 half double crochet in the first stitch.
- Skip 1 stitch.
- Work 1 single crochet and 1 double crochet into the same stitch.
- Repeat this stitch combination (skip 1, then sc + dc in the next stitch) across until 2 stitches remain.
- Work 1 half double crochet in the last stitch.
- Don’t let crochet patterns intimidate you! If you’re a beginner, the video tutorial below makes it super easy to follow along!
Continue repeating the pattern row until the panel wraps comfortably around your chest. Continue adding rows until the desired length is reached.
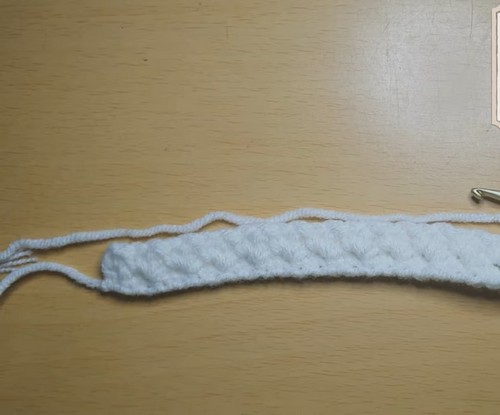
Side edge detailing:
- Add rows of single crochet in the back loops only along both side edges.
- Work a row of double crochet clusters, placing 3 double crochets in every third stitch.
- Finish the side detailing with slip stitches.
Ruffled Skirt
Attach yarn to the bottom edge of the chest panel.
Set-up row: Single crochet evenly into every row along the bottom edge. Chain 1 and turn.
Transition row: Single crochet in the back loops only across. Chain 2 and join to work in rounds.
Increase round:
- Work 1 double crochet in the first stitch.
- Work 2 double crochets in the next stitch.
- Repeat this increase pattern (1 dc, then 2 dc in the next stitch) around.
Mesh round:
- Chain 2 and work 1 double crochet in the same stitch.
- Chain 1, skip 1 stitch.
- Work 1 double crochet in the next stitch.
- Repeat the mesh pattern around.
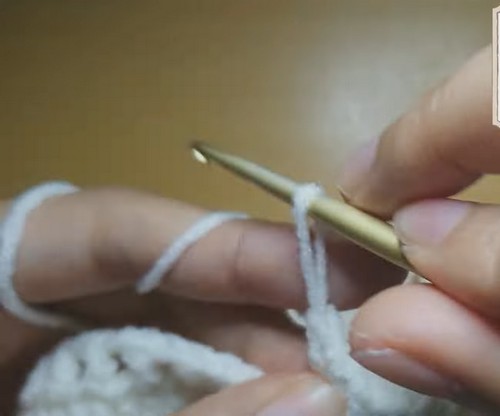
Solid round:
- Work 2 double crochets in every chain space.
- Work 1 double crochet on top of each double crochet from the previous round.
Alternate between mesh rounds and solid rounds until the ruffle reaches the desired length.
Hem: Using a contrasting color, work 2 single crochets in every stitch around to finish the hem with a pop of color and a clean, flared edge.
Additional Details & Straps
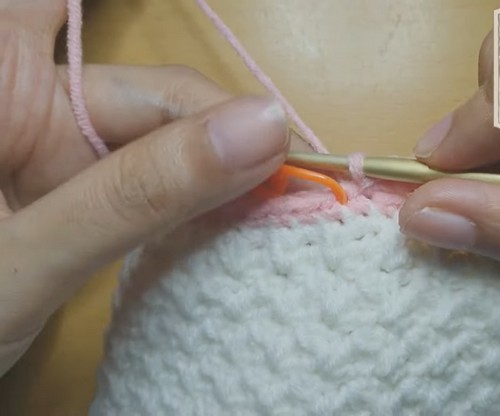
Front loop detail lines: Using the remaining front loops from the chest and bottom sections (left behind from the BLO rows), attach contrast yarn and single crochet into each front loop across. This creates raised decorative lines that add dimension without extra bulk.
Side edge finish: Attach contrast yarn to the side edges of the chest panel and single crochet evenly down each side for a neat, polished finish.
Straps:
- Put on the top or pin it to a dress form and use stitch markers to mark your preferred strap placement at both the front and back.
- Attach yarn at one marked position and chain approximately 100 stitches, or whatever length fits comfortably over your shoulder.
- Slip stitch back down the chain starting from the second chain from the hook to create a neat, firm strap.
- Repeat for all four strap positions.
Tips & Troubleshooting
- Keep your tension consistent in the Suzette stitch. The sc + dc pair in the same stitch can loosen up if you pull too tight on the double crochet. Work both stitches with the same tension you’d use for regular dc rows.
- Count your skirt increases carefully. The ruffle effect depends on a consistent increase rhythm. If you lose count, mark every tenth stitch with a stitch marker before you begin the round.
- The mesh and solid rounds together build the ruffle shape — don’t skip ahead. Two solid rounds back to back won’t create the same flared effect.
- Block the finished top before adding straps. Cotton relaxes beautifully with wet blocking, and you’ll get a much more accurate sense of fit once the fabric has settled. This is the moment to decide on strap length.
- Make the straps last. It sounds obvious, but fitting straps on a blocked, pinned top is always easier than guessing before blocking. Worth the wait.
- For a crisper edge on the slip-stitch straps, try using a hook one size smaller for the strap section. It keeps them firm and prevents stretching.
- If the chest panel feels too wide or narrow after your foundation row, adjust by adding or subtracting chains in pairs (since the Suzette stitch repeat is based on a 2-stitch unit).
Yarn Substitution
White cotton is the obvious choice here — it photographs well, washes easily, and holds the Suzette stitch texture without going limp. That said:
- Cotton-linen blend: A little stiffer and more structured. Great if you want the top to hold its shape rather than drape softly.
- Cotton-acrylic blend: More drape, easier care, slightly more forgiving on gauge. Beginner-friendly choice.
- Bamboo or bamboo-blend: Incredibly soft and lightweight. The sheen it adds to white is lovely, though it can be a touch slippery to work with.
Avoid wool or wool blends for a warm-weather top — you’ll be uncomfortable wearing it in summer, and wool doesn’t respond well to the frequent washing a white top will need.
Customization Ideas
- Color: Swap the white for cream, ivory, or a pale blush for a softer, more vintage feel. The contrast color at the hem can be any shade — a single pop of color there goes a long way.
- Strap style: Instead of the chained slip-stitch straps, try crocheted i-cord for a rounder, more polished look. Or skip straps entirely and add a wide crochet band at the top for a bandeau style.
- Ruffle length: Add more alternating rounds for a longer, more dramatic ruffle — or keep it short (two to three rounds) for a subtle peplum hint rather than a full flare.
- Hem color: The contrasting hem is a finishing detail that adds personality. Try a bold color for a two-tone look, or keep it white for an all-over clean finish.
FAQ
1. What size does this pattern make? The foundation chain and number of rows are adjusted based on your measurements rather than fixed sizes, so this pattern is inherently flexible. Measure your chest circumference and work the panel until it wraps comfortably. The ruffle length is also customizable by adding or subtracting rounds.
2. Can a beginner make this top? With patience, yes — but it’s more suited to someone who’s comfortable with basic stitches and has made at least a few smaller projects. The Suzette stitch has a short learning curve, and the ruffle rounds require consistent counting. If you’ve crocheted scarves or dishcloths, you have enough foundation to tackle this.
3. How do I wash a finished white crochet top? Wash on a gentle cycle in cold water, or hand wash and lay flat to dry. Avoid tumble drying — heat can cause cotton to shrink. For stubborn yellowing over time, a soak in oxygen bleach (not chlorine bleach) will restore brightness without damaging the fibers.
4. The ruffle isn’t flaring out evenly — what did I do wrong? The most common cause is an inconsistent increase rhythm in the first increase round. Check that you alternated 1 dc and 2 dc consistently throughout. Also make sure you’re completing full mesh rounds before switching to solid rounds — partial or skipped rounds will flatten the ruffle on one side.
5. Can I make this longer, like a dress? Absolutely — just extend the ruffle section by continuing to alternate mesh and solid rounds. You may want to add a second increase round partway through to keep the flare proportional to the added length. Use a dress form or try it on frequently to check proportion as you go.