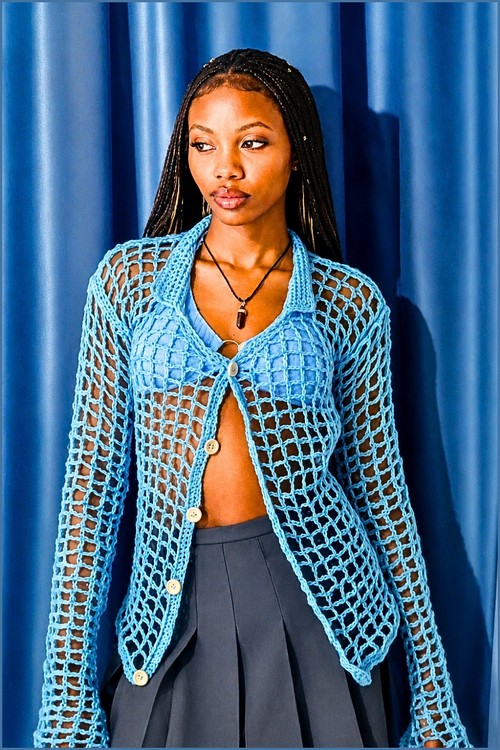
Mesh stitch worked into a long-sleeve top and finished with a V-shaped fringe panel is a straightforward construction that punches well above its effort level at a festival the movement of the fringe and the open grid fabric together create a lot of visual interest from a very simple repeat. The V-fringe drop at the front hem is attached after the body is complete, so you can adjust the length to suit your preference. If you’ve already made this two-color mesh fringe top, this white version shows how the same open grid reads in a single color with a different sleeve and fringe approach.
Crochet Lacy Fringe Top
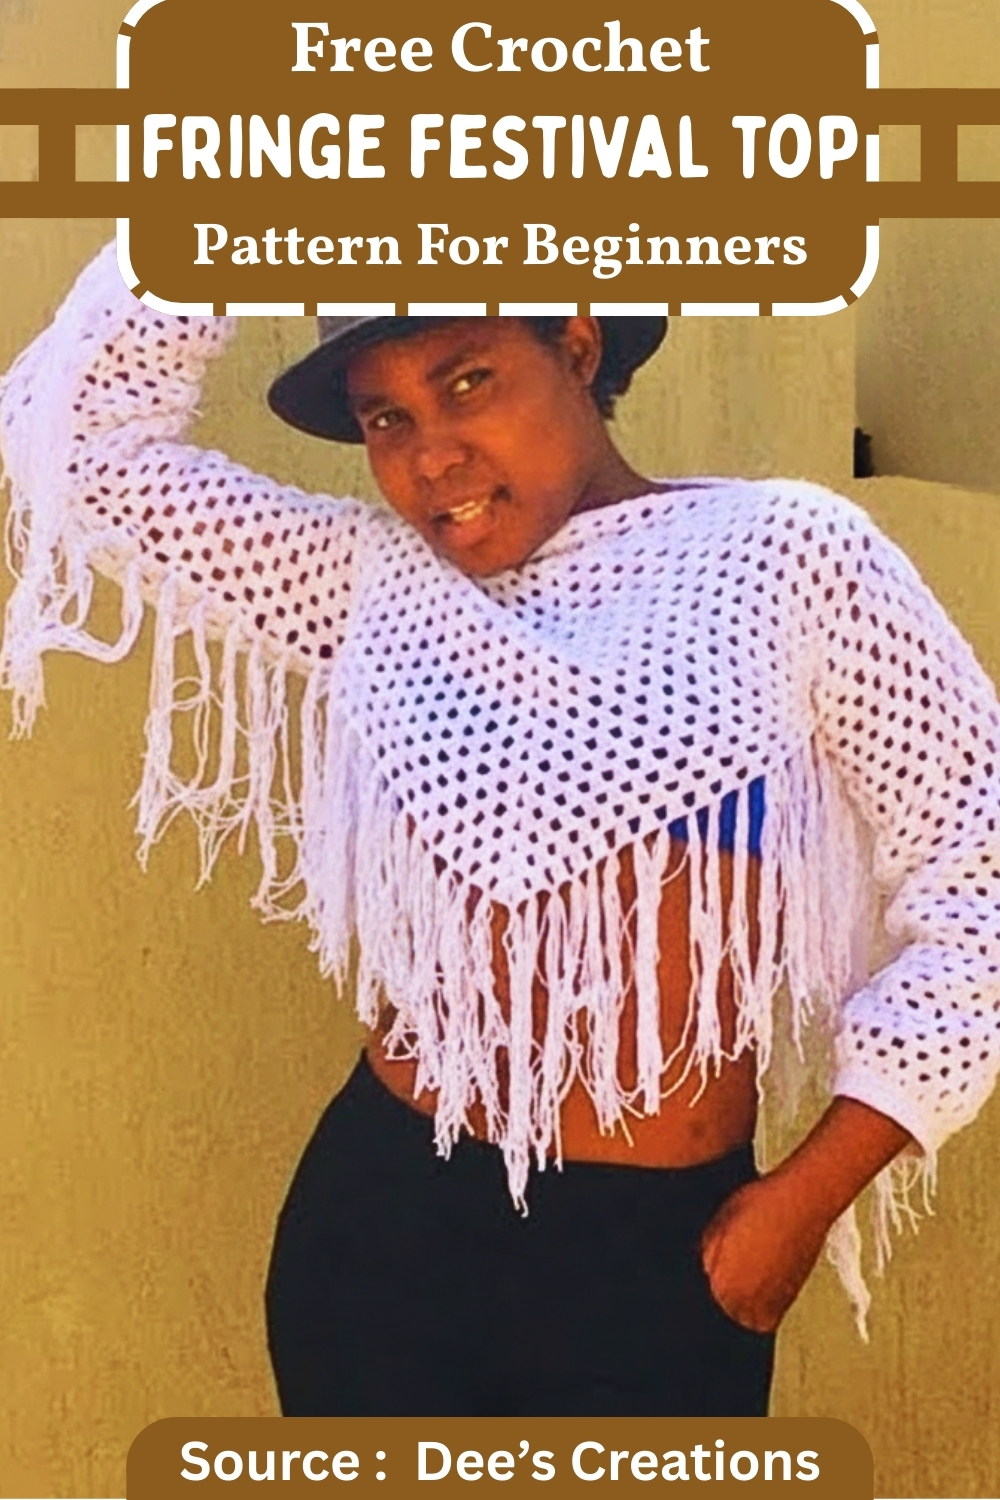
Long sleeves in mesh yarn don’t add bulk the way a solid-stitch sleeve would the open structure keeps the whole garment lightweight and wearable even in warmer weather. A bralette or fitted underlayer works well underneath, as the model here shows with a blue layer beneath the white mesh. For a fringe top that leans into the boho direction with more decorative detail, this beaded fringe halter is worth pairing in the same wardrobe.
What you are making
This design is made in clear stages:
- Main panels (make two): Each panel starts at a magic ring and grows outward with a steady repeat. The “center chain 2 space” acts like the spine of the panel, so it widens evenly.
- Straight top edge section: You switch from the usual turning chain to flatten the top edge so the sleeve opening sits neatly.
- Assembly: Simple seams create the body and armholes, then shoulders are joined while leaving a neckline opening.
- Sleeves: Worked in rounds directly into the armhole spaces.
- Finishing: A neckline round for stability, then fringe along the hem and optionally the sleeves.
Beginner notes before you start
- If your magic ring feels slippery, crochet the first few stitches, pull the ring tight, then hold the tail while you work the next stitches so it stays secure.
- Count your chain spaces, not your stitches. In this style, it’s easier to stay consistent by placing clusters into each chain space.
- Your turning chain matters. You use chain 4 in the main section, then chain 3 for the straightening section. That change is what shifts the edge into a straighter line.
Materials
- Medium weight yarn or doubled thin yarn
- 5 mm crochet hook
- Tape measure
- Scissors
- Darning needle
Crochet Techniques to Know
Pattern
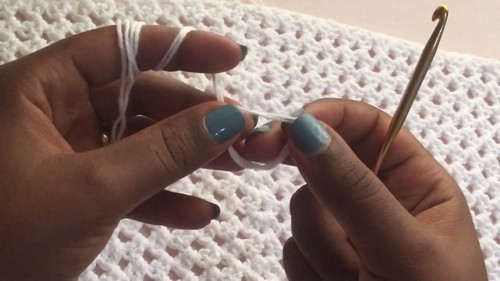
Create the Main Panels Make Two
- Start with a magic ring
- Chain 4 to count as one double crochet and chain 1
- Work 2 double crochets into the ring
- Chain 2
- Work 2 double crochets into the ring
- Chain 1
- Work 1 double crochet into the ring
- Pull the ring tight
- Chain 4 and turn
- Work 2 double crochets into the first chain 1 space
- Chain 1
- In the center chain 2 space work 2 double crochets chain 2 and 2 double crochets
- Chain 1
- In the last chain 1 space work 2 double crochets chain 1 and 1 double crochet
- Chain 4 to start each new row
- Work 2 double crochets into every chain 1 space
- Chain 1 between each cluster
- Always work 2 double crochets chain 2 and 2 double crochets in the center space
- End each row with 2 double crochets chain 1 and 1 double crochet
- Repeat rows until the panel reaches shoulder to shoulder width
- Still getting the hang of reading crochet patterns? That’s completely okay, the video tutorial below breaks everything down in a simple, beginner-friendly way!
Straightening the Top Edge
- Chain 3 and turn instead of chaining 4
- Skip the first space
- Work 2 double crochets into the next chain 1 space
- Continue the established stitch pattern across the row
- Do not chain 1 at the end
- Work 1 double crochet into the final space
- Repeat this row until the straight edge is long enough for the sleeves
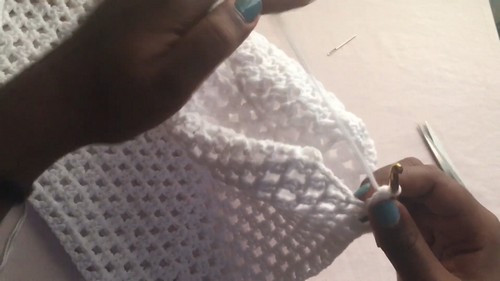
Assembly
- Place both panels together with right sides facing
- Join the sides from the bottom up using slip stitches or single crochet
- Stop joining at the underarm to leave space for armholes
- Join the top edges with single crochet to form the shoulders
- Leave the center section open for the neckline
Sleeves
- Attach yarn at the underarm
- Chain 3 and work 1 double crochet into the same space
- Chain 2
- Work 2 double crochets into each space around the armhole
- Chain 2 between clusters
- Slip stitch to join each round
- Repeat rounds until the sleeve reaches your desired length
- For shaping the cuff reduce the chain spaces gradually
- Finish with several rounds of single crochet
Finishing Touches
- Work one round of single crochet evenly around the neckline
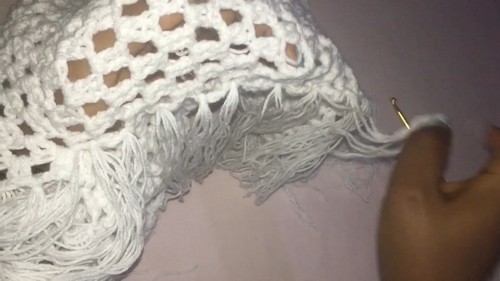
- Cut yarn strands approximately 14 inches long
- Fold each strand in half and attach through spaces along the bottom edge
- Add fringe to the sleeves if desired
- Adjust fringe density by skipping or filling spaces
- Weave in all ends securely

Fit and sizing guidance
Because you’re repeating rows until the panel reaches a specific width, this pattern is naturally adjustable.
Panel width controls fit across the chest and shoulders. The instruction “Repeat rows until the panel reaches shoulder to shoulder width” is your main sizing lever.
- For a closer fit, stop a little before your full shoulder width.
- For a relaxed fit, crochet the panel slightly wider than shoulder width.
- Panel length controls how cropped or long the top feels. Even though your draft focuses on width, you can also keep repeating the main row until you like the length from neckline area down to hem.
- Neckline opening is created during assembly. The more space you leave open at the center of the top edge, the wider the neckline will be.
Simple measuring tip that keeps things accurate:
- Lay the panel flat on a table and measure it without stretching.
- If your fabric is very drapey (especially with doubled thin yarn), measure twice: once relaxed, once lightly smoothed.
Troubleshooting
My panel is getting wavy on the sides
- Most often, this happens when the chain 1 between clusters is accidentally added at the end where the pattern says do not chain 1 at the end (in the straightening section).
- Also check that you are ending each main row exactly with: 2 double crochets chain 1 and 1 double crochet. That ending controls the edge.
My center line is drifting
- Make sure you can clearly identify the center chain 2 space every row.
- If it helps, place a stitch marker in that center space each row so you never accidentally treat a side space like the center.
The sleeve round count looks uneven
- When you “work 2 double crochets into each space around the armhole,” keep your spacing consistent and focus on the spaces created by the panel stitches and seams.
- If you used slip stitch joining on the sides, your seam might feel tighter. Single crochet joining can give a little more flexibility.
Fringe looks too sparse or too thick
- You can control it exactly with the instruction: Adjust fringe density by skipping or filling spaces.
- A balanced look usually comes from placing fringe in a repeating rhythm (for example, every space, or every other space) and keeping it consistent all the way around.
Finishing notes that make it look clean
- The neckline single crochet round does two jobs: it stabilizes the opening and makes it feel comfortable against the skin.
- When adding fringe, cut all strands first so they match, then do a final trim after attaching for an even hemline.
- Weave in ends before fringe if you want the inside to look neat, especially along the side seams and underarm joins where there is the most movement.