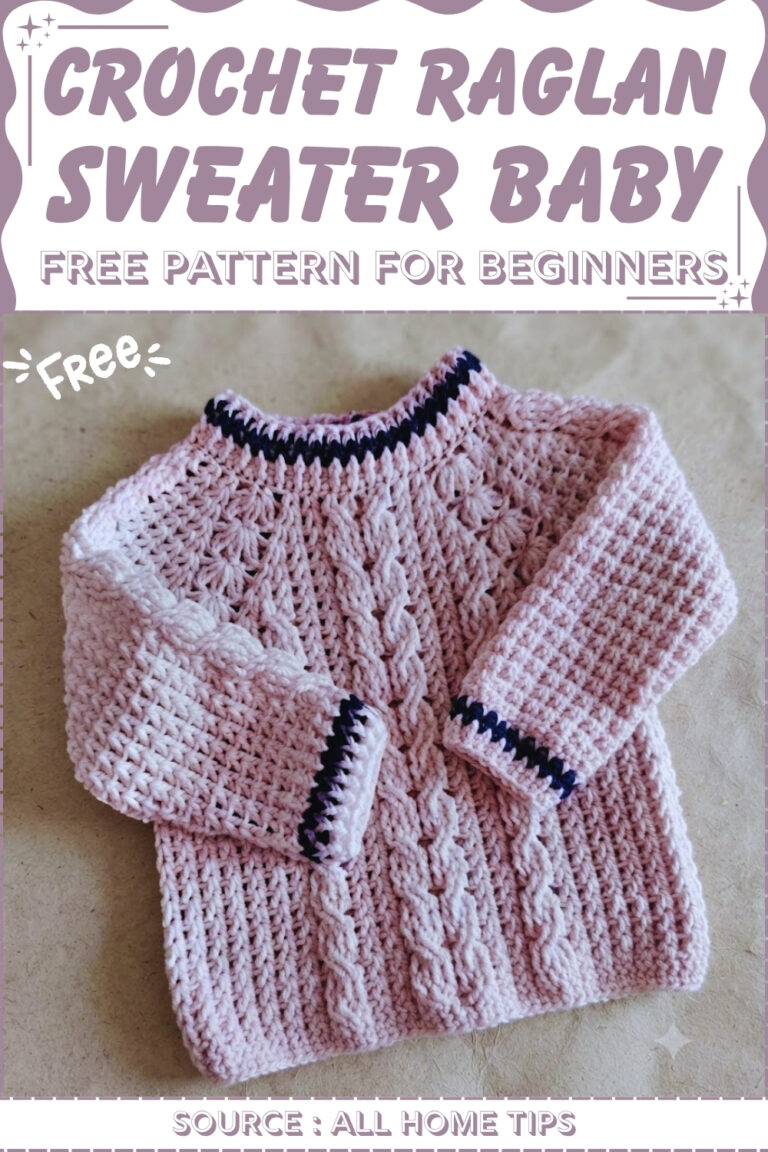
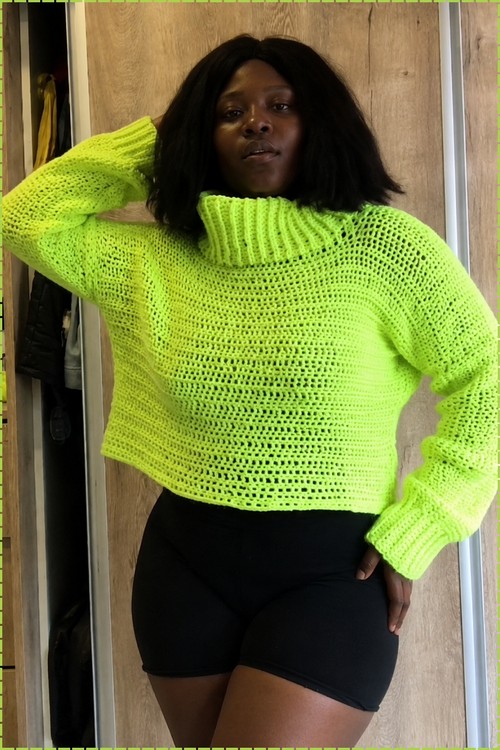
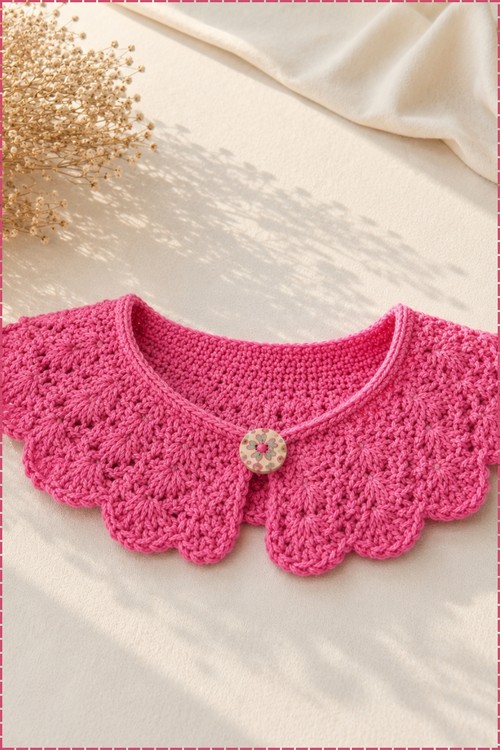
Ccrochet Long Sweater For Girl

This granny square cardigan uses a self-patterning granny square yarn to build all the squares in a single continuous color flow, assembles them into a fitted cardigan layout, and finishes with a post-stitch ribbed border and tapered cuffs. It’s a clean, structured make for anyone who can work a granny square and wants to turn that skill into a full wearable garment. It fits sizes small to large, the squares measure 5¾ inches each, and no separate color changes are needed in the main yarn.
Materials and Tools
- Red Heart All-in-One Granny Square Yarn in Black Amber Moss (or any yarn of your choice — with multiple balls or manual color changes if not using a self-patterning yarn)
- A crochet hook sized to meet gauge for your chosen yarn
- Tapestry needle
- Scissors
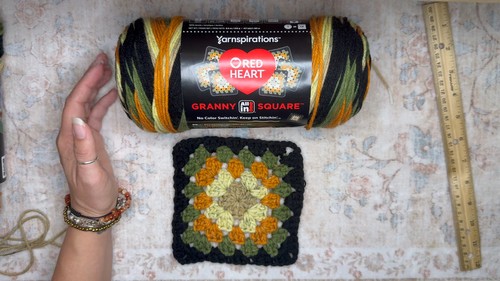
Critical rule if using the self-patterning yarn: Always pull from the center of the skein. Pulling from the outside reverses the color order and breaks the self-striping effect entirely. Tip: mark the center-pull end with a stitch marker before you tuck the skein away, so you always grab the right one.
How the Cardigan Is Assembled
Before you start, it helps to visualize the layout. The cardigan is built from granny squares arranged like this:
[ ARM ] [ PANEL ] [ ARM ]
[ SQUARE] [ SQUARE] [ SQUARE]
[ SQUARE] [ SQUARE] [ SQUARE]
[ SQUARE][ SQUARE][ SQUARE][ SQUARE]
The three columns across the top form the shoulder and arm sections. The single center column below extends the body length. Once all squares are made and joined, the body panel folds at the shoulder line to create the front opening and arm gaps.
The Stitches and Techniques (with tips)
- Magic ring: A tightening loop you work your first round into, which allows you to close the center of the granny square completely. Tip: leave a 6–8 inch tail — you’ll need it for weaving in invisibly.
- Chain-5 opening: At the start of every round, chain 5. This counts as your first double crochet plus a chain-2 corner space. Tip: it’s easy to misidentify this as just chains when you come back around to close the round — the slip stitch goes into the chain-5 space, not into a separate corner.
- Granny square structure: Double crochets come in groups of 3, separated by chain-2 spaces at corners and chain-1 spaces (implicit gaps) on the sides. The pattern repeats the same logic every round: 3 double crochet into every side space, and 3 double crochet, chain 2, 3 double crochet into every corner space.
- Snug final round: On the last round of each square, tighten your stitches slightly. This creates a cleaner 4-inch tail in a matching color, which makes the woven ends nearly invisible. Fasten off and weave in the tail 3 times back and forth.
- Whip stitch BLO seam: Join squares right sides together and seam through the back loops only with a whip stitch. Keep the tension loose so the cardigan retains stretch. Tip: use a yarn tail at least 3 times the length of the side you’re joining.
- Post-stitch ribbing: Front post double crochets worked on top of front post stitches from the row below, and back post double crochets on top of back post stitches — always stacking correctly — creates the stretchy vertical rib texture on the border and cuffs.
The Pattern
The Granny Square (Make as many as needed for your size)
Each finished square should measure 5¾ inches.
Round 1
- Start with a magic ring, leaving a 6–8 inch tail.
- Chain 5 (counts as your first double crochet and chain-2 corner space).
- Work 3 double crochets into the ring, chain 2.
- Work 3 double crochets into the ring, chain 2.
- Work 3 double crochets into the ring, chain 2.
- Work 2 double crochets into the ring.
- Pull the magic ring tight to close the center completely.
- Slip stitch into the initial chain-5 space to finish the round.

Round 2
- Chain 5.
- Work 3 double crochets into that same corner space.
- Move to the next corner space and work 3 double crochets, chain 2, 3 double crochets into it.
- Repeat for the next two corners.
- For the final starting corner, work 2 double crochets into the initial space.
- Slip stitch into the chain-5 space to close.
Don’t let crochet patterns intimidate you! If you’re a beginner, the video tutorial below makes it super easy to follow along!
Rounds 3 to 5 (or until the square is complete)
- Chain 5, then work 3 double crochets into the same corner space.
- Side spaces: work 3 double crochets into every side space across to the next corner.
- Corners: work 3 double crochets, chain 2, 3 double crochets into every corner space.
- Continue this sequence all the way around.
- End the round by working 2 double crochets into the starting corner space, then slip stitch into the chain-5 space.
- On the final round, keep stitches slightly snugger. Fasten off and weave in the tail 3 times back and forth.
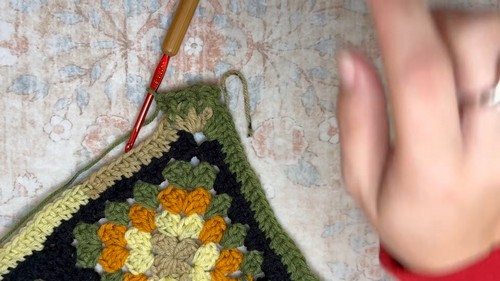
Assembly and Joining
The joining stitch
- Put the squares right sides together (matching facing pieces).
- Thread a tapestry needle with a piece of yarn at least 3 times the length of the side you’re sewing.
- Use a whip stitch through the back loops only of the corresponding stitches. Keep your tension loose to maintain the cardigan’s natural stretch.
Layout and assembly
- Assemble your squares into the layout shown above.
- Fold the main body panel in half at the shoulder line to create the front opening and arm gaps.
- Attach the long side-strips of squares starting under the arm opening, running down the sides, and along the lower edge framework.
The Border and Ribbing
The border runs seamlessly around the entire bottom hem, up both front panel openings, and around the neckline.
Row 1 (foundation)
- Attach your yarn at the bottom left corner space with a slip stitch. Chain 3 (counts as a double crochet).
- Work 4 more double crochets into that corner space (5 double crochets total in the starting corner).
- Work 1 double crochet in the back loop only of every stitch across the bottom.
- Over seams: work 3 double crochets evenly across where squares meet — 1 in the unworked corner chain, 1 directly in the seam join, and 1 in the next square’s corner chain.
- At the opposite lower corner, work 9 double crochets into the corner space to pivot.
- Continue up the front panel, around the neck (spacing stitches evenly across bumpy seams), and back down the other side.
- End by adding 4 more double crochets into the very first starting corner space to complete the 9-double-crochet corner setup, then slip stitch into the top of the initial chain-3.

Rows 2 to 5 (ribbing effect)
- Chain 3.
- Alternate front post double crochet and back post double crochet around the posts of each stitch from the row below.
- Slip stitch to secure when you return to the start.
- Repeat for 5 total rows (or your desired border width), always stacking front post over front post and back post over back post.
Sleeves and Cuffs
The pattern demonstrates a tapered single crochet cuff. (Alternatively, repeat the post-stitch ribbing used on the border for a wide bell sleeve instead.)
- Join your yarn with a slip knot into any stitch around the wrist opening. Chain 1.
- Row 1 (decreases): Working in the back loops only, single crochet two stitches together continuously all the way around the sleeve opening. Slip stitch to the first stitch.
- Row 2 (gradual decreases): Chain 1. Working through both loops, work 1 single crochet decrease, then 1 single crochet into each of the next 2 stitches. Repeat this sequence around and slip stitch to close.
- Row 3 (finishing): Chain 1. Work a regular single crochet into both loops of every stitch around with no more decreases. Slip stitch to finish, fasten off, and weave in all remaining loose ends.
Yarn Substitution
If you’re not using the self-patterning granny square yarn, any yarn that works to your gauge is fine — you’ll just handle the color changes yourself, either by switching balls or by cutting and rejoining. The self-patterning yarn’s main advantage is zero manual color management; the main constraint is that you must pull from the center. For a substitution, choose a smooth DK or worsted that has good stitch definition in double crochets, since the seamed granny square structure depends on the corners being distinct.
Customization Ideas
- Bell sleeves instead of tapered cuffs. Work the post-stitch ribbing used on the border around the sleeve opening instead of the single crochet decreases for a wide, dramatic cuff.
- Adjust the border width. Work more or fewer ribbing rows — 3 rows gives a narrow tidy edge; 7 or 8 gives a bold, chunky border.
- Change the square size. Using a different yarn weight or hook size changes your square measurements, which changes how many squares you need for each size.
- Go solid or multi-color. Using several solid yarns with manual color changes lets you design the color progression across the squares intentionally.

Frequently Asked Questions
1. How does one yarn skein make a whole granny square cardigan? The Red Heart All-in-One Granny Square Yarn is a self-patterning yarn that changes color at regular intervals, timed to produce a complete color rotation across a single 5¾-inch granny square. As long as you pull from the center of the skein and follow the round structure, each square comes out with the same color sequence automatically.
2. Why is the whip stitch worked through the back loops only? Working through the back loops only creates a more flexible, stretchy join than seaming through both loops. The cardigan needs to retain ease and movement at the seams, and the back-loop-only whip stitch also keeps the seam neater from the right side.
3. What’s the difference between the tapered cuff and the bell sleeve option? The tapered cuff uses aggressive decreases in Rows 1 and 2 to pull the wide sleeve opening inward to a fitted wrist. The bell sleeve option skips the decreases entirely and instead works the same post-stitch ribbing rows used on the border — which gives a structured flare that fans out at the wrist rather than pulling in.