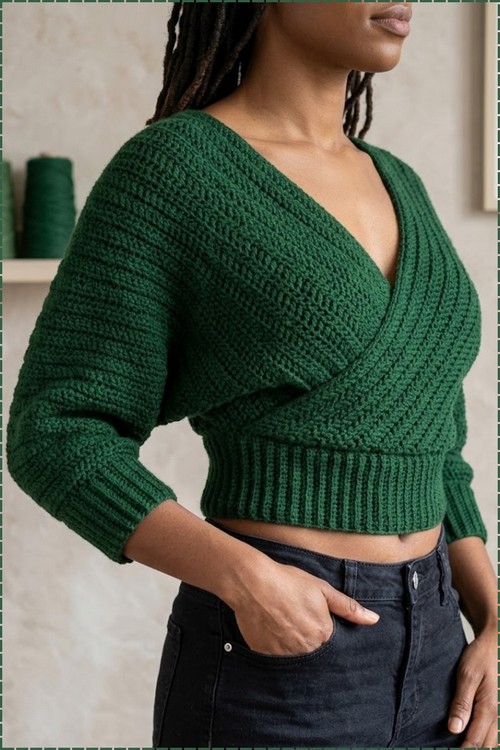
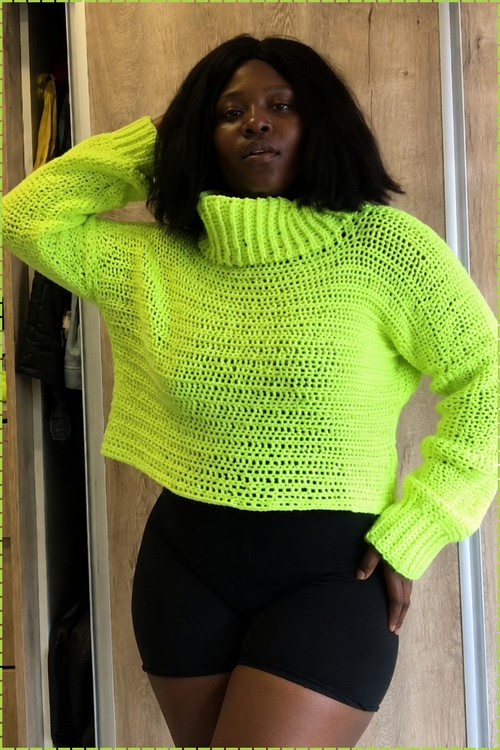
Mesh stitch sweaters like this crochet mock neck one wear straight through spring rather than stopping in March. Open rows use far less yarn than solid fabric, and the collar and cuffs are the only ribbed sections.
Neon is not a color you wear quietly, and that is exactly the point with this one. The body is worked in a wide open mesh so the sweater stays light even in a bold shade, while a chunky ribbed mock neck and matching cuffs give it enough structure to hold its shape. Anyone already comfortable with an open weave top will move through the body rows quickly here.
Crochet Mock Neck Sweater
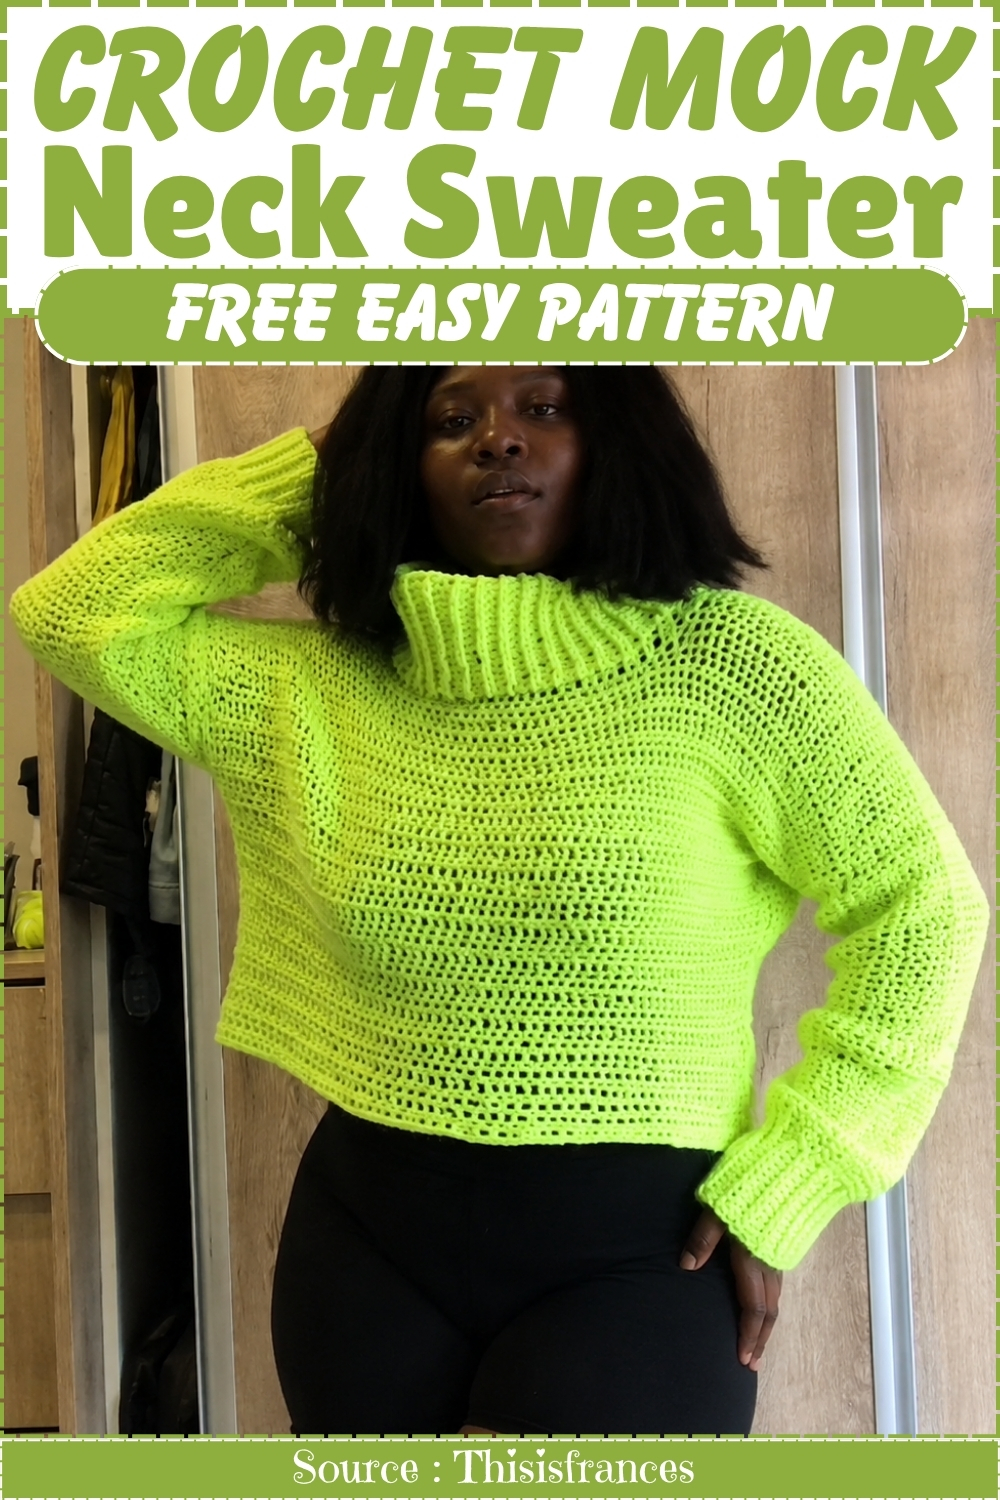
Construction runs flat in two rectangle panels that get joined at the sides and shoulders, keeping the build straightforward at every stage. The mock neck is worked separately and attached last so you can size it to sit as high as you want. A chunky weight yarn keeps the row count low and the finished fabric soft without adding bulk.
Materials and Tools
- Category 3 yarn (the pattern uses it with a chunky 7 mm hook, which creates an open, airy double crochet fabric — the hook size is doing the styling work here)
- A 7 mm crochet hook
- Scissors
- Yarn needle
Handy Crochet Stitch
A note on the hook and yarn combination: Using a 7 mm hook with a Category 3 yarn creates fabric that’s significantly lighter and more draped than you’d get with a standard recommended hook for that yarn weight. This is intentional — it’s what gives the sweater its soft, loose drape. Don’t switch to a smaller hook unless you want a denser, tighter fabric.
Difficulty and Time
This is a beginner-friendly sweater project. Every section is double crochet, and the post-stitch ribbing for the collar and cuffs is the most advanced technique — but it’s not difficult, and it’s explained below. The construction is methodical and grows in a satisfying order. Plan for a few relaxed sessions rather than rushing.
Beginner Technique Notes
Here’s a detailed look at everything this pattern asks you to do. Read these before you start and the pattern will feel much more familiar.
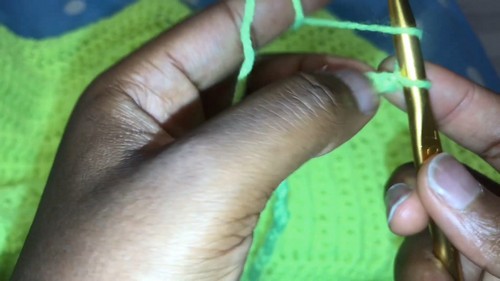
- Chain foundation (foundation row): Instead of a standard starting chain, this pattern uses a chain-based foundation method. Chain 2, insert your hook into the first chain, yarn over and pull through, then continue in a similar way — this creates a more flexible starting edge. Work it until the row is long enough to go around half your waist or torso.
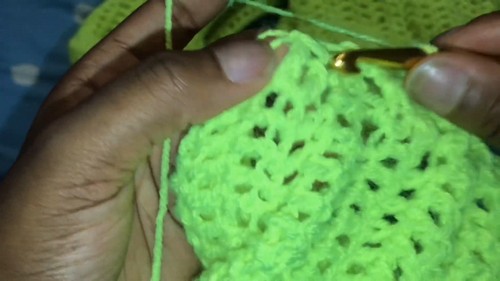
- Double crochet: The main stitch throughout the whole body and sleeves. Yarn over, insert hook, pull up a loop (3 loops on hook), yarn over and pull through 2 loops, yarn over and pull through 2 loops again. That’s it.
- Chain 3 turning chain: At the start of every double crochet row, you chain 3 before turning. This chain counts as your first double crochet of the row, which is why you skip the first stitch — you’ve already “used” it with the chain.
- Increases at row edges: To widen the sweater, you work 2 or 3 double crochets into the very first stitch and again into the very last stitch of the row. This pushes stitches out at both sides simultaneously, growing the fabric width each row.
- Shoulder panels (working part of a row): When you reach the neck area, you only work across 28 stitches for each shoulder rather than the full row. This creates the gap for the neck opening. You’ll work one shoulder, fasten off, skip the center neck stitches, then attach yarn at the other side and work the second shoulder identically.
- Joining shoulders at the top: After the shoulder rows are done, the front and back shoulder panels are joined together at the tops using single crochet — a simple, secure join.
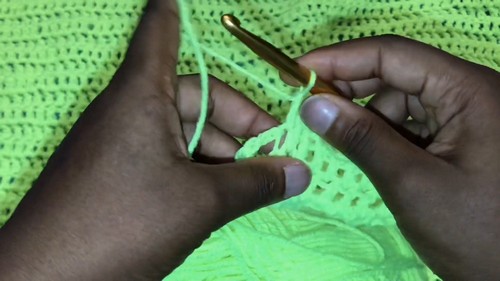
- Front post and back post double crochet: For the collar and cuffs, you alternate front post double crochet (inserting your hook from front to back to front around the post of the stitch below rather than into the top loops) with back post double crochet (the reverse). Alternating these creates the stretchy, ridged ribbing texture. Tip: once you see how the raised ribs build up after a few rows, it’s easy to remember which comes next — the raised ones get a front post stitch, the recessed ones get a back post.
- Decrease round before cuffs: Before the ribbing at the cuff, you work one round of double crochets worked two together to reduce the sleeve opening. This gives the ribbing something snug to grip onto.
- Single crochet seam on sleeves: The sleeves are worked flat and then the two long edges are joined with a single crochet seam — an easy, beginner-friendly way to close a tube without needing to work in the round.
The Pattern
The sweater begins at the waist, grows upward through increase rows, finishes with shoulder panels and a neck gap, then gets a post-stitch ribbed turtleneck collar. Sleeves are made separately and attached.
1. Waistband Foundation and Body Base
- Row 1 (foundation): Using the chain foundation method, chain 2, insert your hook into the first chain, yarn over and pull through — and continue this way until the row is long enough to go around half your waist or torso (this is a cropped sweater in the original).
- Row 2: Chain 3 (counts as your first double crochet), skip the first stitch, and work 1 double crochet in each stitch across the row.
- Row 3: Chain 3, skip the first chain, and work 1 double crochet in each remaining stitch.
2. Body Increases
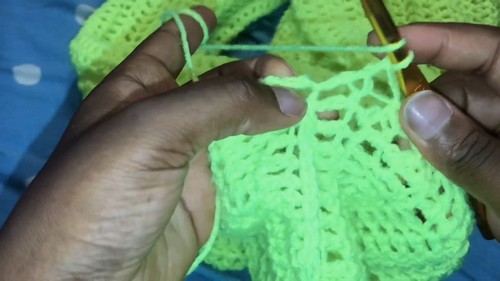
- Row 4 (increase): Chain 3, work 2 double crochets in the first stitch, then 1 double crochet in each remaining stitch, ending with 3 double crochets in the final stitch.
- Row 5: Chain 3, work 3 double crochets in the first stitch, continue across, and end with 3 double crochets in the final stitch.
- Row 6: Chain 3, work 2 double crochets in the first stitch, 1 double crochet in each remaining stitch, and 2 double crochets in the last stitch.
- Continuing increases: Repeat the pattern of chain 3 with 2 double crochets in the first stitch and 2 double crochets in the last stitch. The creator completed 14 rows of increases in total.
Don’t let crochet patterns intimidate you! If you’re a beginner, the video tutorial below makes it super easy to follow along!
3. Straight Body Rows (No Increases)
- Chain 3 and work 1 double crochet in each stitch across — no increases at either edge.
- The creator worked 12 rows without increases.
4. Shoulder Panels and Neck Opening
- First shoulder panel: Chain 3, turn, and work 1 double crochet in the next 28 stitches. Repeat this 28-stitch row for 4 rows total to form one side of the neck and shoulder. Fasten off.
- Skip the center neck gap area. Attach yarn to the other side and repeat the same 4-row process for the second shoulder panel.
- Join the front and back shoulder panels together at the top using single crochets.
5. Turtleneck Collar
- Collar Row 1 (decreases): Fasten off at the neck edge, then work a row of double crochets with decreases incorporated to shape the neckline.
- Collar ribbing (Rows 2–16): Alternate front post double crochet and back post double crochet around the collar to create the rib stitch. Continue for approximately 16 rows — or until the turtleneck is tall enough to fold over comfortably.
6. Sleeves and Cuffs
- Sleeve foundation: Chain 55.
- Sleeve body: Chain 3 and work 1 double crochet in each stitch for the second row. Continue working rows of double crochets until the sleeve is long enough to cover your arm.
- Closing the sleeve: Join the two open long edges of the sleeve tube together using a single crochet seam.
- Sleeve cuff: Work around the sleeve wrist opening with a round of decreases (double crochets worked two together). Follow with 6 to 7 rows of rib stitch (alternating front post and back post double crochet) to create a fitted cuff.
Tips and Troubleshooting
- Check your body width as you increase. The 14 increase rows and 12 straight rows are the original creator’s counts — measure the growing panel against your own body as you work rather than trusting any specific row count. The increases should bring the fabric to half your bust measurement.
- Keep both shoulder panels to the same row count. Work 4 rows on the first, fasten off, then count 4 rows exactly on the second before joining them — mismatched shoulders throw off the whole neck area.
- Work the turtleneck decrease row before the ribbing. The decrease round on Row 1 of the collar tightens the neck opening so the ribbing doesn’t sag or gap. Don’t skip it even if the neck opening already looks narrow.
- Go slowly on post stitches. Front post and back post double crochets feel strange the first time. Work a few rows with deliberate, unhurried insertions and you’ll start to feel the difference between wrapping around the front versus the back of the post.
- Leave the sleeve long enough. Chain 55 gives the original creator the length she needed, but arm length varies. Hold the flat sleeve fabric up against your arm before seaming to check it reaches your wrist.
Customization Ideas
- Adjust the crop length. The straight body section (12 no-increase rows in the original) controls how long the torso sits. Add rows for a hip-length fit or remove them for a shorter crop.
- Change the collar height. More ribbing rows make a taller turtleneck that folds over dramatically; stopping at 8 to 10 rows gives a lower mock neck.
- Widen or narrow the sleeves. More or fewer chains in the sleeve foundation sets the sleeve width.
- Extend the cuff ribbing. More rows on the cuff ribbing gives a wider, more dramatic cuff.
Frequently Asked Questions
1. Is a 7 mm hook really right for Category 3 yarn? Yes, intentionally. The oversized hook relative to the yarn weight creates a loose, open, drapey fabric — which is what gives this sweater its soft, slightly airy look. If you use the yarn’s recommended hook, you’ll get a much tighter, denser fabric that won’t drape the same way.
2. What is a chain foundation row and why not just a regular chain? A chain foundation method builds the foundation and first row of stitches at the same time, which gives a more elastic starting edge. For a waistband that needs to stretch a little, this is preferable to a standard chain followed by a first row, which can sometimes pull tighter.
3. What are front post and back post double crochets and are they hard? They’re worked around the post (the vertical body) of the stitch below rather than into the top loops. Front post means you enter from the front, circle around, and exit at the front. Back post is the reverse. They’re not difficult — they just feel unfamiliar the first few times. After a row or two of ribbing they become quite automatic.
4. Do I work the sleeves in the round or flat? Flat. You chain the foundation, work rows of double crochet back and forth, then seam the two long edges together with a single crochet seam to close the tube. This is simpler than working in the round and the seam sits under the arm where it’s not visible.
5. The turtleneck has a decrease row before the ribbing — what is that for? The neck opening after joining the shoulder panels can be wider than ideal for a fitted collar. The decrease row on Collar Row 1 pulls the opening in slightly so the ribbing rows that follow sit snugly at the neck rather than hanging open. Think of it as a preparation step that makes the collar behave properly.