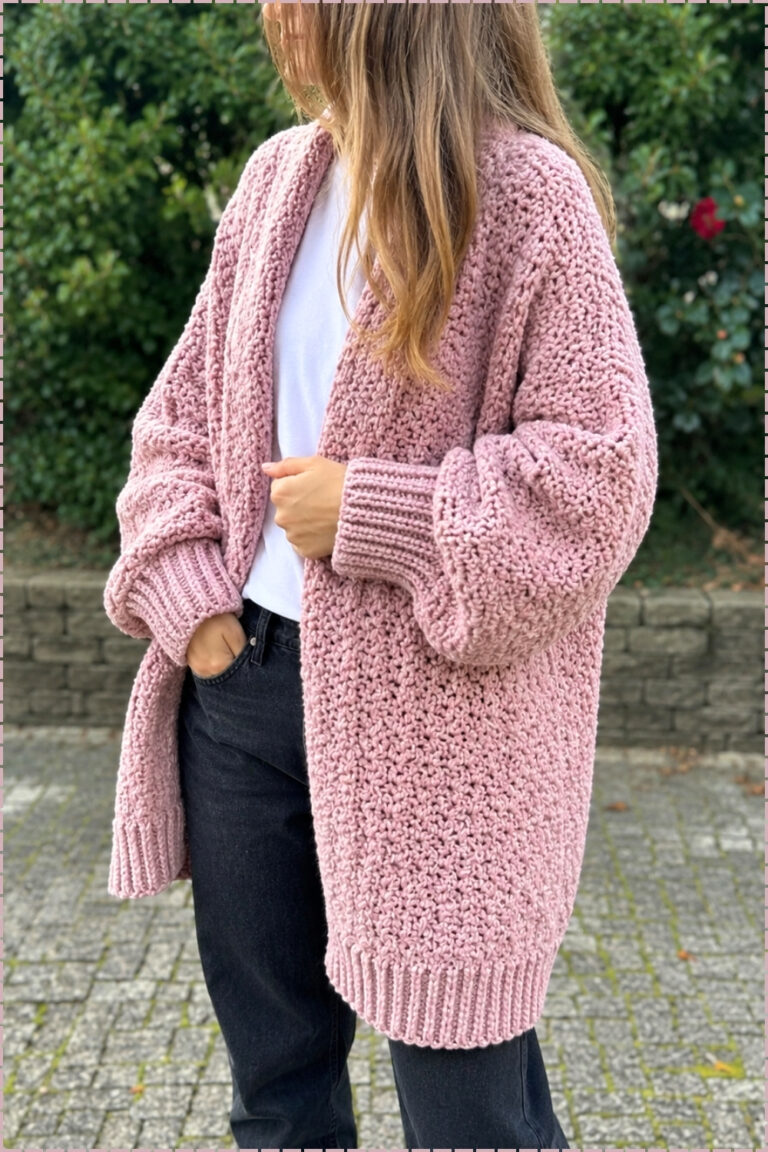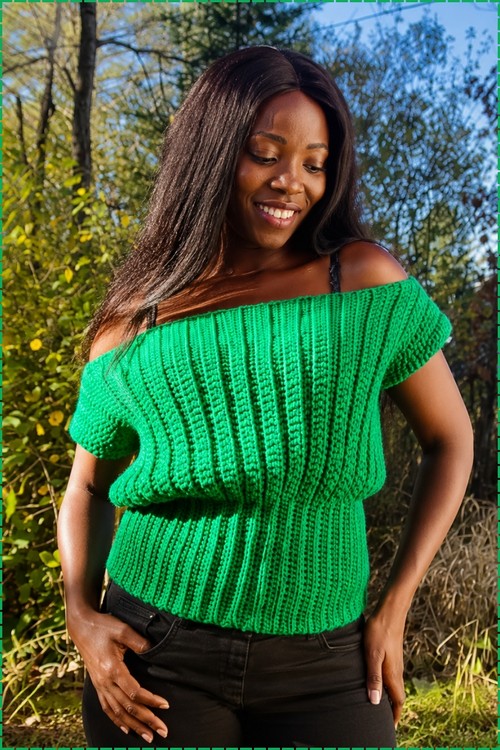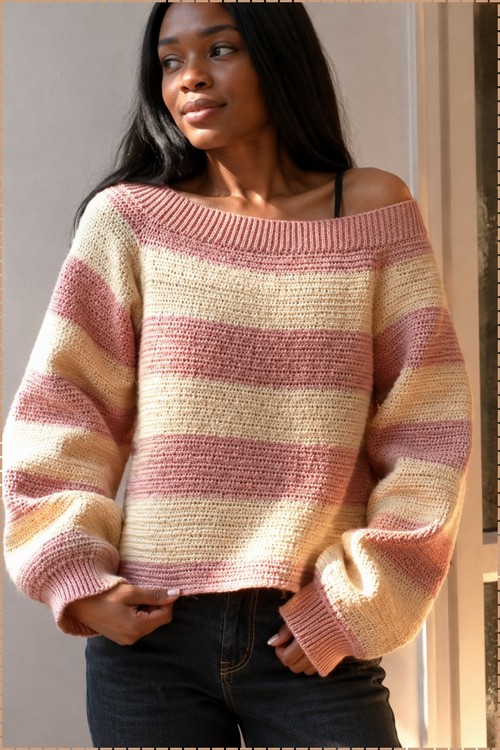
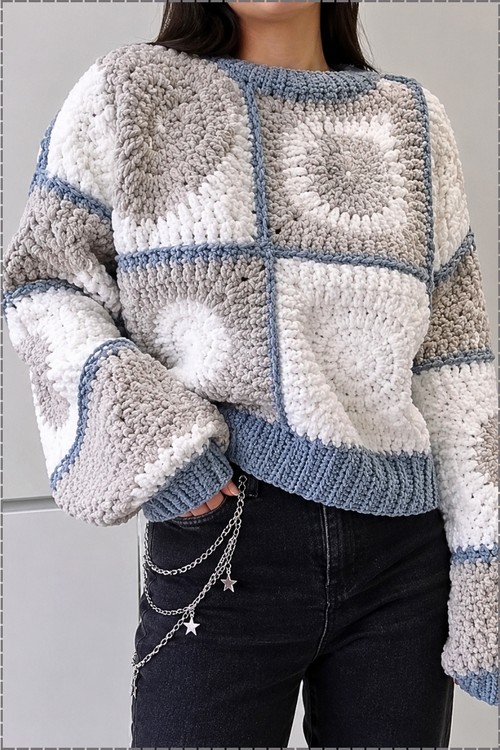
Plush blanket yarn gives the free crochet raglan sweater a velvety finish, with full balloon sleeves and a cropped length that meets high rise jeans. Anyone who loves an oversized fit can style the bulky granny square sweater with black denim and a silver chain for cold city days.
Large circular motifs in white and grey sit inside square borders, and a blue seam runs between every one of them. The scale is what makes this raglan crochet sweater work at bulky weight, since oversized squares in chunky yarn come together fast and the patchwork layout handles all the shaping automatically.
Crochet Raglan Sweater Bulky
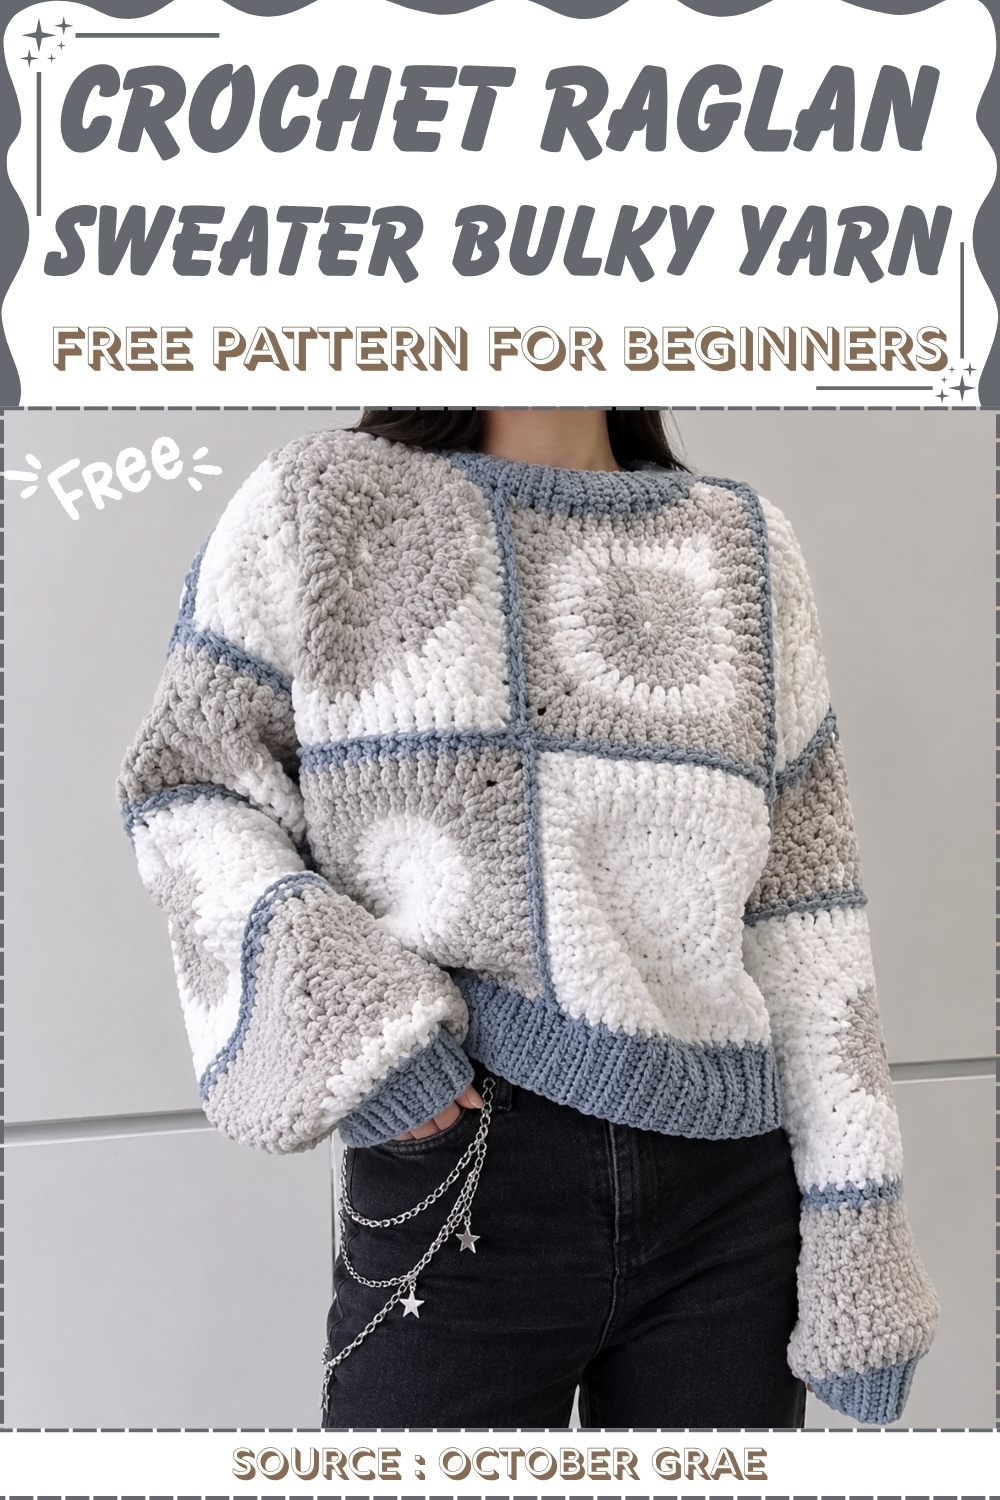
Construction is simpler than it looks. Each square is worked in the round from a centre circle outward, then joined with a flat blue seam that doubles as the visible grid. Four squares across the front, four across the back and two per sleeve give the raglan its shape without any increases or decreases to track. A ribbed hem and cuffs in blue yarn pull the boxy silhouette in at the edges.
Materials and Tools
- Super bulky weight yarn, size 6, in two colors for the body and squares (the original uses Bernat Blanket Yarn in Almond and Pale Gray)
- Size 4 weight gray yarn, used doubled, for the neckline trim only
- A size M, 9 mm crochet hook for the granny squares, joining, and main sweater construction
- A size H, 5 mm crochet hook for all ribbed sections including the cuffs, bottom band, and neckline
- A yarn needle for seaming the shoulder joins and weaving in ends
- Scissors
- Stitch markers to hold the neckline opening while you size it
Get Ready with This Stitch
Difficulty and Time
- Skill level: intermediate, assuming you can work a granny square and have done basic seaming before
- Techniques used: granny square construction, decrease single crochet, back loop only half double crochet ribbing, slip stitch seaming, and single crochet assembly joins
- Two hooks are in use throughout, so keep both close at hand
- Expect a few sessions depending on your pace; the ribbing is the most time-intensive section because it is worked perpendicular to the edge rather than flat across it
Stitch Abbreviations Used
- ch: chain
- sc: single crochet
- hdc: half double crochet
- sl st: slip stitch
- BLO: back loop only
- dec: decrease (closing two stitches together as one)
Technique Notes
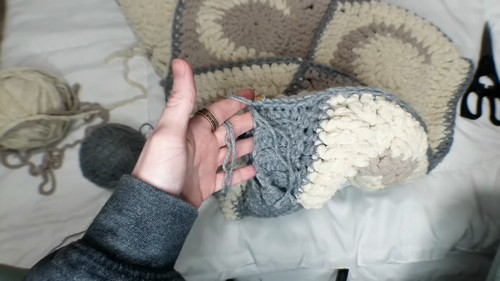
- The ribbing in this pattern is not your standard back-and-forth rows worked along the garment edge. It is built perpendicular to the bottom, starting from a chain and worked inward and outward in short rows that attach to the body on every turn. If you have never done this style of ribbing, work a short practice strip first before joining it to your squares. The key is keeping even tension on the half double crochets in the back loop only: too loose and the ribs look wavy, too tight and the band pulls the fabric up. The tip here is to let the hook sit in the loop without torquing your wrist on the turn.
- The decrease rows that run along the bottom of the squares before the ribbing starts are doing the work of easing extra bulk before the smaller hook takes over. Do not skip them. Granny square edges are inherently uneven from the corner clusters, and those decreases redistribute the stitch count so the ribbing has a clean, consistent base to attach to. Work them with the 9 mm hook before you switch down to the 5 mm, and you will notice immediately how much flatter the transition sits.
- When joining the shoulders, the size of the neckline opening is a judgment call. The pattern leaves room to adjust, and you should try the opening against your own head before closing it. A seamed neckline that is too small is awkward to open back up, so err wide and close it incrementally. The neckline ribbing is also worked in the same perpendicular style as the body ribbing, but the corners get extra decreases to follow the curve. Working into the corners is where most makers lose the line, so mark them with a stitch marker before you start the collar band.
The Pattern
Step 1: Make the Granny Squares and Join the Panels
- Make or source the granny squares for the sweater body (the original uses a crescent moon motif, but any granny square in the same gauge works)
- Join four squares together to form one torso panel
- Make a second set of four squares joined the same way for the second panel
- These two panels become the front and back of the sweater
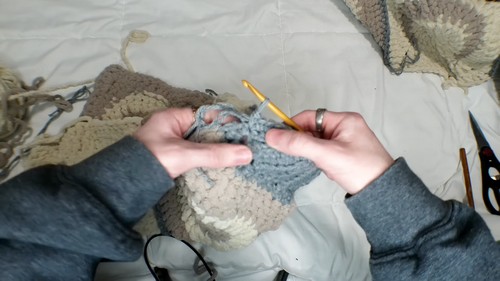
Step 2: Bottom Ribbed Band
- Rejoin the gray super bulky yarn at a bottom corner of the connected torso panel using the 9 mm hook
- Work a foundation row of single crochets evenly across the full bottom edge
- Ch 1 and turn
- Work a decrease on the first stitch, then work 2 sc, then a decrease on the third stitch
- Repeat that sequence of 2 sc and a decrease across the entire row, ending on a decrease
- Switch to the 5 mm hook
- Turn and use a slip stitch to decrease the first stitch
- Ch 7
- Work half double crochets down the chain [6 hdc]
- Slip stitch into the base stitch where you started the chain
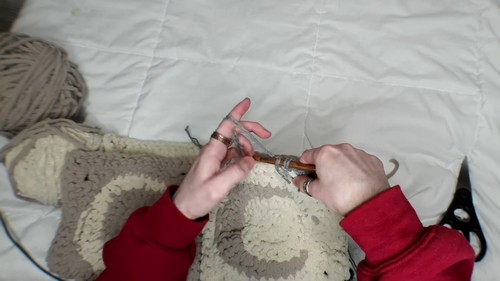
- Slip stitch the next two stitches together to decrease
- Turn without chaining, skip the two slip stitch joining stitches, and work half double crochets in the BLO back up the strip
- At the top of the strip, ch 1, turn, and work hdc BLO back down
- Slip stitch into the base stitch, slip stitch the next two stitches together to decrease, turn, and repeat from the beginning of the ribbing strip
- Continue working this perpendicular ribbing strip across the full bottom edge
- End with a decrease and cut the yarn
- Repeat this entire ribbing process for the bottom of the second torso panel and on the lower edges of both sleeves
Reading crochet patterns can be tricky when you’re just starting out, feel free to follow the video tutorial below instead!
Step 3: Shoulder Seams and Neckline
- Place the front and back panels with right sides together
- Use gray yarn and a yarn needle to seam the shoulder edges closed, leaving an opening in the center for the neckline
- Try the opening over your head and adjust the seam width until it fits comfortably before you close it fully
- Switch to size 4 gray yarn held double for the neckline section
- Using the 5 mm hook, work one full round of single crochets all the way around the neckline opening
- Slip stitch the first two stitches together, ch 4, and begin the perpendicular hdc ribbing pattern using the same technique as the bottom band
- Work the collar ribbing with decreases at the bottom of the strip on every fifth row rather than every row
- Add two decreases at each corner of the neckline to keep the collar band following the curve without buckling
- Once the collar band is long enough to meet, close it by joining the edges together with half double crochets in the back loops only
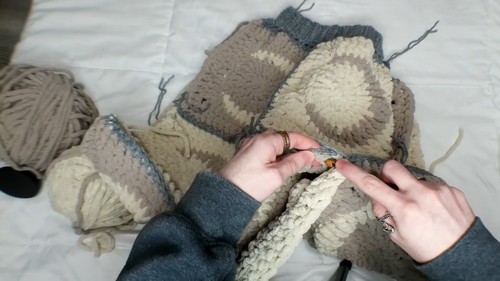
Step 4: Sleeves and Final Assembly
- Work both sleeves using the same square and ribbing construction from Step 2
- With the 9 mm hook and the sweater right side up, begin at the sleeve cuff and single crochet the cuff seam closed
- Continue single crocheting the sleeve along the armhole opening of the torso, positioning the seam toward the lower square
- Work single crochets around the full armhole opening to secure the sleeve to both the front and back panels
- Close the remaining side gaps along the torso body with single crochets down to the bottom ribbing band
- Repeat the sleeve attachment for the second sleeve
- Weave in all loose ends
Yarn Substitution
Bernat Blanket Yarn is a dependable choice here because it is soft, consistent, and widely available, which matters when you are buying multiple skeins across two colors and need the weight to be identical. Any other size 6 super bulky with a soft hand will work, but check that the drape is similar. Stiffer yarns will make the granny square panels feel board-like rather than wearable. The size 4 gray used doubled for the neckline is worth matching closely too: the doubled-up thinner yarn gives the collar enough body to hold its shape while staying softer and more flexible than the main bulky would at that size.
Customization Ideas
- Use any granny square motif you like in the same gauge, from classic to modern geometric
- Reverse the color placement so the squares are in the lighter shade and the ribbing is in the darker one
- Add a third accent color as an edging on the granny squares before joining them
- Work additional rows of squares to lengthen the body for a tunic silhouette
- Make the collar band taller for a higher, chunkier neck
- Use a single color throughout for a tone-on-tone texture piece rather than a two-color build
Frequently Asked Questions
- Do I have to use the moon motif granny square, or can I substitute any square? Any granny square that works to the same gauge and gives you a firm, flat surface will work. The construction is based on the square dimensions and how they join, not the motif itself.
- The ribbing is pulling my hem in too tight. What do I do? Check your hook size first: the 5 mm ribbing should be noticeably smaller than the 9 mm body. If you are already using the right hook, your back loop tension may be too firm. Consciously release your grip on the turn and let the stitch sit slightly looser in the back loop before pulling through.
- How do I know when the neckline opening is the right size before I seam it? Put the joined panels over your head as if it were already a sweater, holding the shoulder seam closed with your hand. If you can get it on without forcing it, the opening is large enough. Seam it gradually and check again after every few stitches.