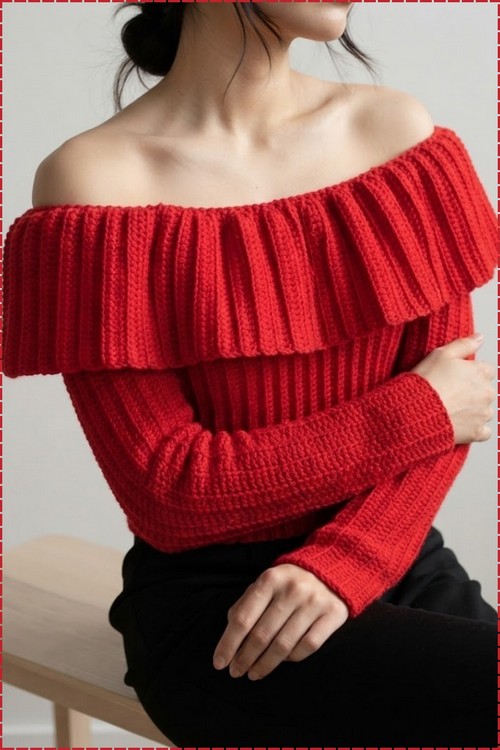
Crochet this free boat neck sweater pattern in size small using front and back post ribbing from cuff to collar. You work each panel sideways in one flat piece, then seam the sides so the ribbed cuffs and fold over neckline match the body.
Every part of this sweater uses the same stitch repeat, which is what makes the ribbed ruffle neckline look intentional rather than decorative. The fold over collar is just an extended section of the body ribbing that drapes when worn off shoulder, so there is no separate construction step and no risk of it sitting differently than the rest of the fabric. If you want a similar off shoulder look with less structure, this slouchy off shoulder sweater uses a lighter drape for comparison.
Boat Neck Crochet Sweater
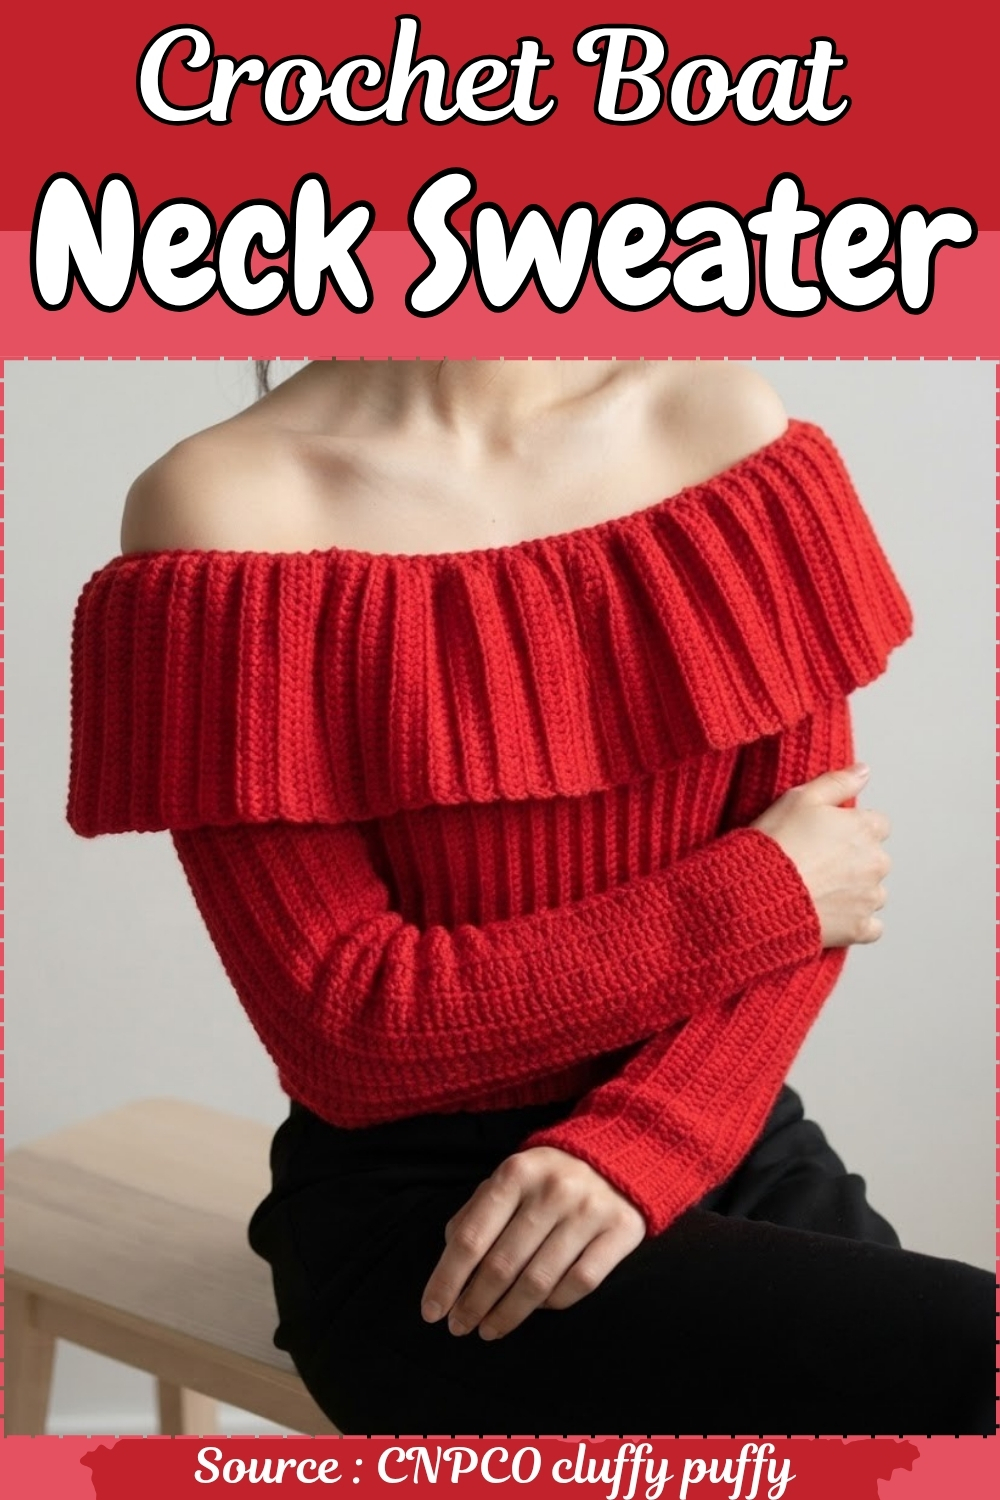
Sleeves taper at the wrist with ribbing that matches the body, which keeps the proportions consistent from cuff to collar. Working entirely in ribbing means gauge swatching is worth the time here since post stitches have more stretch than flat rows and the finished measurements depend on how firmly you tension the yarn.
Materials and Tools
- 3-ply red milk cotton yarn (amount based on your measurements)
- A 3.5 mm crochet hook
- Scissors
- Measuring tape
Common Stitch to Know
How the Pattern Works (with tips throughout)
This pattern is worked sideways in one flat piece: sleeve first, then the body section extends from the same panel with extra chains. The boat neck gap is built into the foundation chain from the very start.
- The foundation chain breakdown: The total foundation chain is 126 stitches for a size small, made up of 101 chains for the sleeve length plus 25 extra chains for the boat neck allowance. Tip: measure your own sleeve length before chaining — if it differs from the small, adjust the sleeve chain count accordingly.
- The 5-stitch slip stitch border: At the shoulder end of the panel (the end that becomes the boat neck edge), every alternate row ends or begins with 5 slip stitches rather than single crochets. These slip stitches are shorter and tighter, which naturally creates the shaped boat neck edge without any shaping rows. Tip: keep the slip stitches very loose — tight slip stitches pull the edge in and distort the neckline.
- Back loop only (BLO) throughout: From Row 2 onward, every stitch is worked into the back loop only. This creates the ridged, slightly stretchy fabric texture across the whole panel.
- The three-stitch mix: The bust and waist section uses three different stitches (slip stitch, single crochet, and half double crochet) to create different heights across the width of the panel. Single crochets always land on single crochets on the next row; half double crochets on half double crochets; slip stitches on slip stitches. Tip: use a stitch marker at the slip stitch / single crochet boundary and the single crochet / half double crochet boundary until the pattern is memorized — the stitch alignment is what shapes the panel.
- Waist chain extension: Before the body section rows begin, you chain a set of extra stitches to extend the panel width to your bust and waist. (The example uses 51 extra chains.) This becomes the waist section when rows are worked across it.
The Pattern
Two identical panels are worked flat (sideways) and seamed at the sleeve edges and body sides. A shoulder chain string secures the boat neck structure at the end.
If you’re new to reading crochet patterns, don’t worry, just follow along with the video tutorial below and use the written pattern as a reference!
Foundation Chain and Sleeve Section (Front Panel)
- Measurements: Measure your shoulder length and your underarm-to-wrist length.
- Foundation chain: Chain 101 (sleeve length chains) plus 25 (boat neck extra chains) for a total of 126 chains (size small).
- Row 1: Skip 1 chain and work single crochet into the second chain all the way across to the last 5 stitches. For the final 5 stitches, work 5 slip stitches.
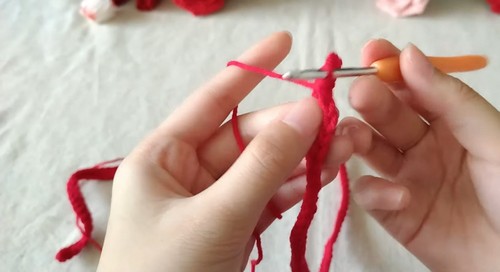
- Row 2: Chain 1 and turn. Work 5 slip stitches in the back loop only for the first 5 stitches, then continue with single crochet in the back loops only to the end of the row.
- Row 3: Chain 1 and turn. Work single crochet in the back loops only across the row, then work 5 slip stitches in the back loops only for the last 5 stitches.
- Sleeve width rows: Repeat Rows 2 and 3 until the panel reaches half your shoulder width. (Example: approximately 4 inches for an 8-inch shoulder width.) Fasten off to end this section.
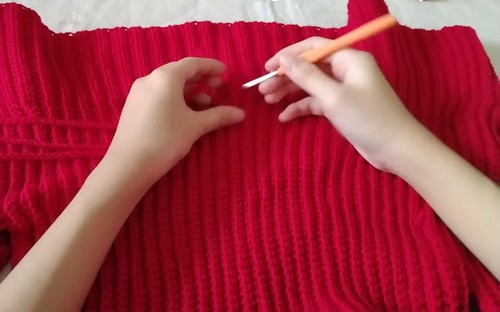
Bust and Waist Section
- Re-attach yarn at the beginning of the sleeve section, chain 1, and turn.
- Half double crochet section: Work 25 half double crochet in the back loops only.
- Underarm section: Measure the length from your shoulder to the underarm and work 20 single crochet in the back loops only.
- Waist chain extension: Chain extra stitches to reach your desired bust and waist length. (The small size uses 51 chains.)
- Waist row breakdown: Skip 1 chain and work 10 slip stitches. Then work single crochets into every remaining chain and stitch. Work half double crochets into the half double crochet stitches. Maintain the stitch alignment on every row: single crochet on single crochet, half double crochet on half double crochet, slip stitch on slip stitch.
- Panel rows: Continue working rows until you match your bust width. (The small size requires 59 rows for the front panel.)
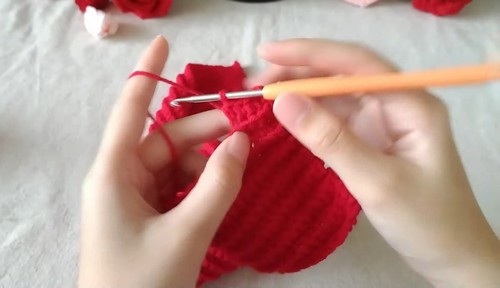
Completing the Panels and Seaming
- Back panel: Repeat the exact same steps — Steps 1 and 2 — to create a second identical panel.
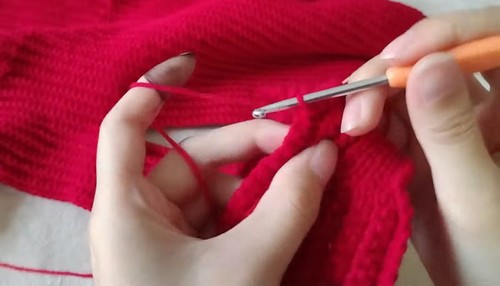
- Seaming: Seam the two sleeve sides together. Then seam the bust and waist sections together on both sides.
- Shoulder and neck string: Measure your shoulder length and crochet a chain string matching that measurement. Attach it underneath the bottom of the neck opening to secure the boat neck structure.
Customization Ideas
- Resize by adjusting the sleeve chain count. The 101-chain sleeve section is for a size small based on the maker’s sleeve length — measure your own underarm-to-wrist length and chain to that measurement instead.
- Adjust the waist extension. The 51-chain waist extension sets the body width. A larger size needs more chains; a smaller size needs fewer.
- Change the yarn color. The construction works in any color — the slip stitch edging and stitch-mix body will look equally clean in any shade of cotton.
- Adjust the boat neck width. The 25 extra chains for the boat neck allowance can be increased for a wider, more off-the-shoulder effect.
Frequently Asked Questions
1. Why is the foundation chain so long when it includes the sleeve? This sweater is worked sideways — the foundation chain runs the full length of the sleeve from wrist to neck, plus the extra 25 chains for the boat neck allowance. The panel then grows in width (row by row) until it covers the shoulder and body. Both sleeve and neck shape come from the starting chain, not from shaping rows.
2. Why does the row alternate between ending and beginning with 5 slip stitches? The 5 slip stitches at the shoulder edge create the boat neck curve. Because slip stitches are shorter than single crochets, that end of the panel naturally sits lower than the sleeve end — which is what gives the neckline its wide, flat boat neck shape without any decreasing.
3. Why are three different stitch heights used in the bust and waist section? Slip stitches, single crochets, and half double crochets all have different heights. Using all three in the same row creates a graduated contour across the panel — higher at the bust (half double crochet) and lower at the waist edges (slip stitch) — which helps the finished sweater fit the body’s curves more naturally.