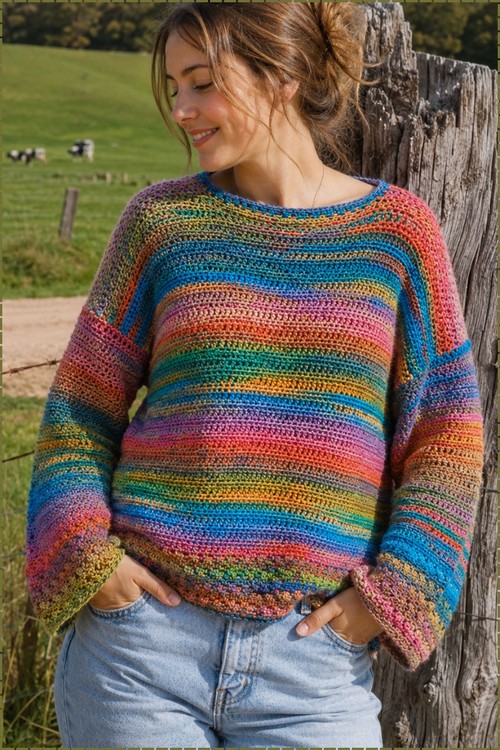
Nobody needs to match colours for a crew neck crochet sweater when one variegated yarn does it. The round neck needs no collar shaping at all, and a textured band is the only stitch change in the whole piece.
Variegated yarn does the color work here so the stitch pattern can stay simple and the rainbow effect builds on its own row by row without any yarn management or carry decisions to make. The crew neckline sits close without being tight, which makes this the kind of sweater that works over a t shirt as easily as it works alone. This relaxed fit mixed stitch top takes a similar low intervention approach to color, letting the yarn carry the visual interest.
Crew Neck Crochet Sweater
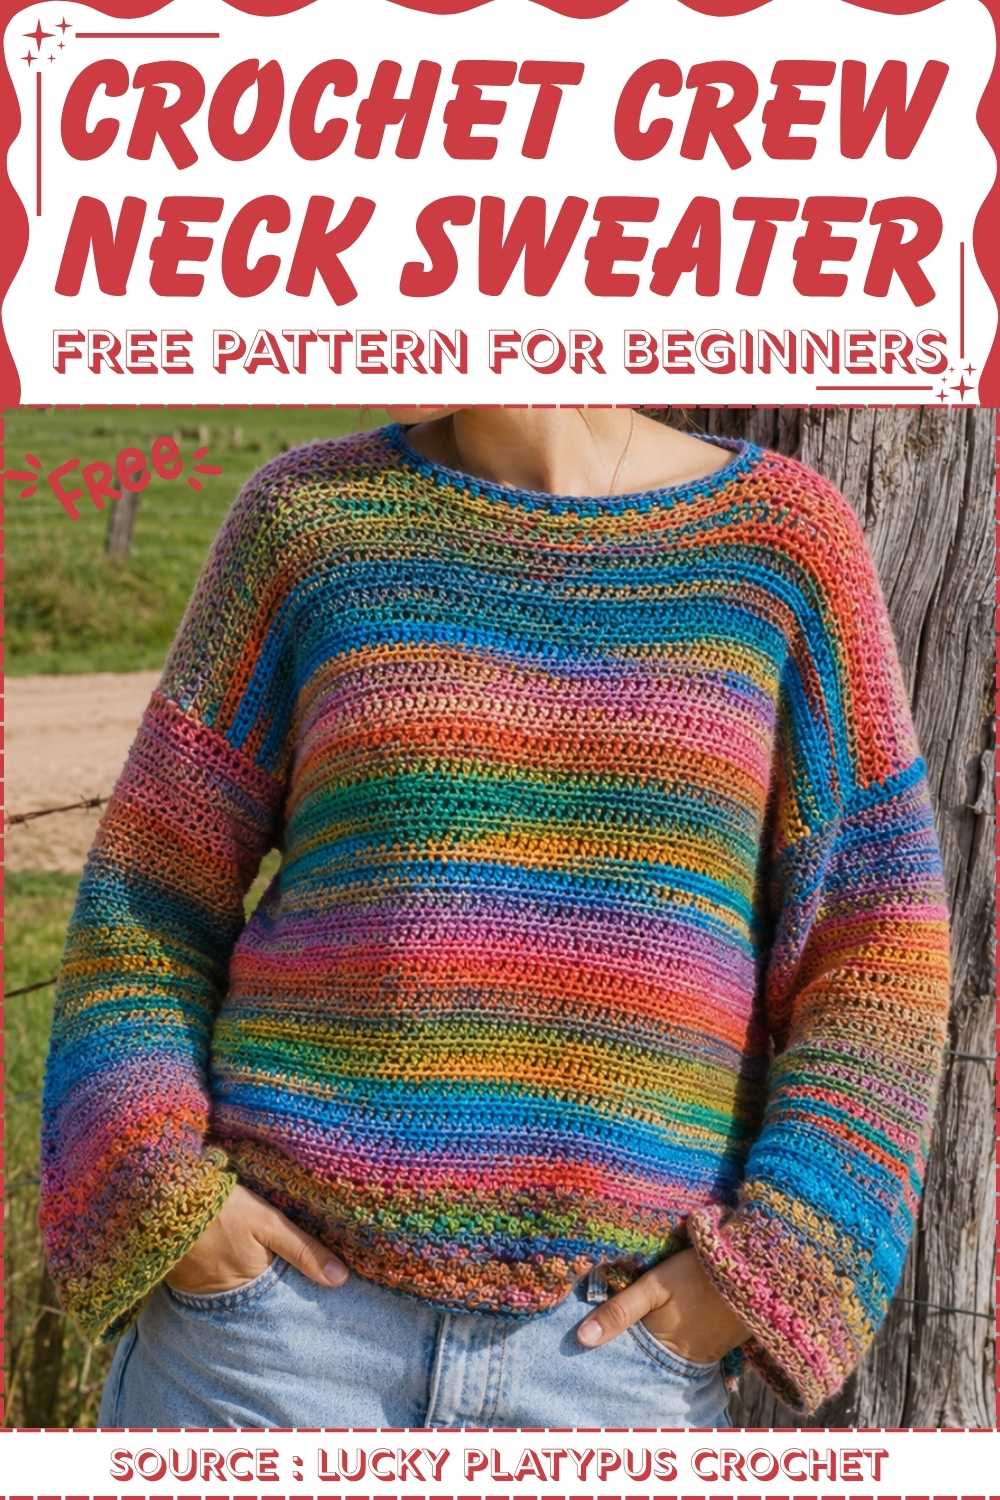
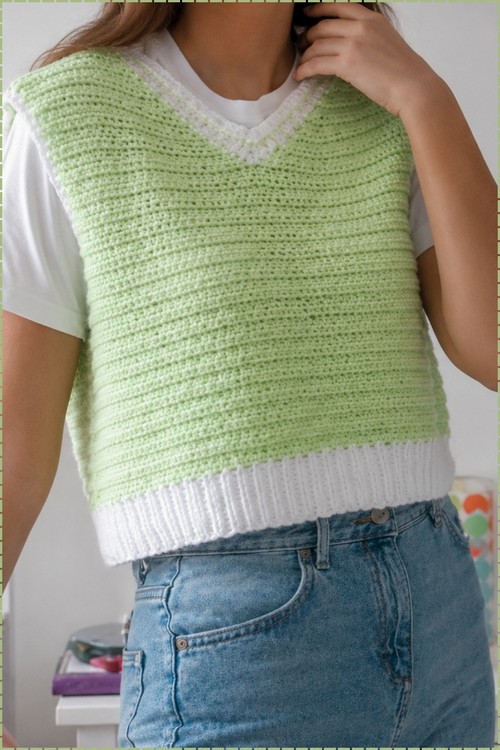
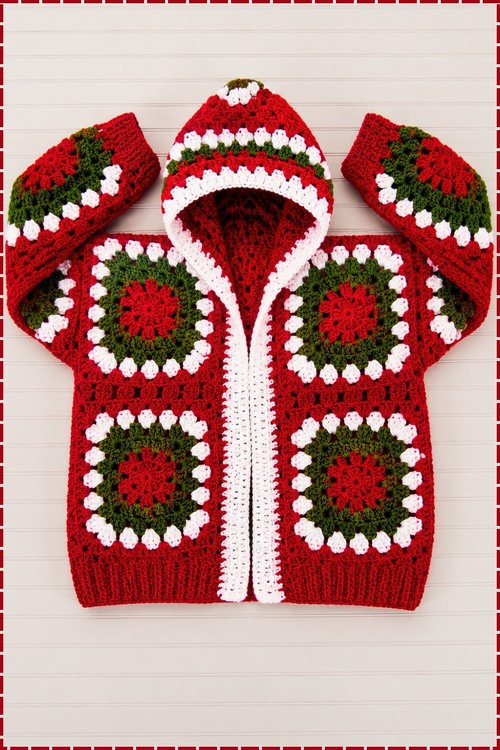
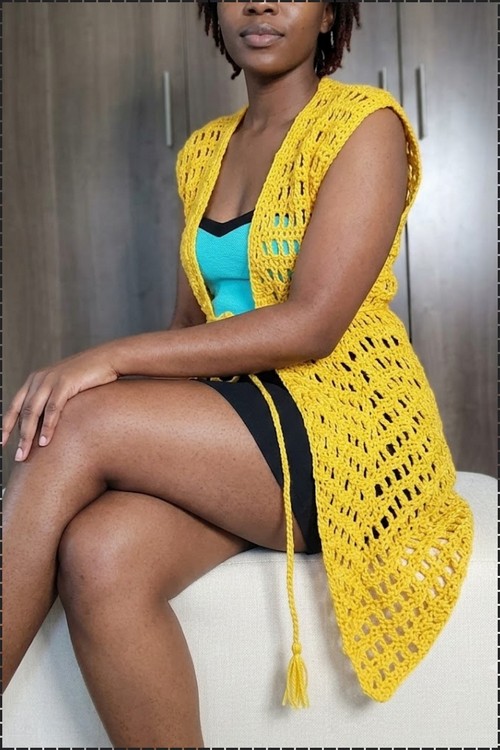
Raglan shaping in images 2 and 3 confirms this is worked top down in the round, which means the sweater grows outward from the neckline and the sleeves separate naturally at the underarm without any seaming. Stitch markers track the four raglan increase points through the yoke, and once those are set the body and sleeves finish as straightforward rows of the same stitch. The finished length hits at the hip in both images 1 and 6, making it a full pullover rather than a cropped piece despite the tutorial title referencing a crop jumper.
Why I love this one: the back-to-front panel method with a chained neck bridge means no counting stitches around a neckline in the round — the whole jumper is worked flat and the neck simply resolves itself.
Materials and Tools
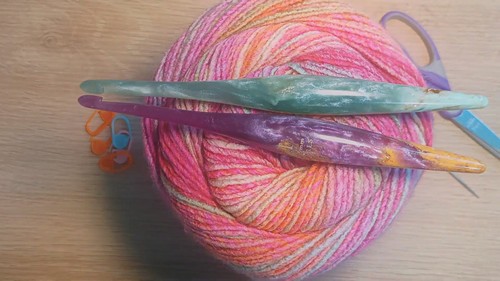
- 100% acrylic yarn (the original uses Mondial Valley in color Palm, 150 gram balls, or any yarn of your choice)
- A 6.5 mm hook for the foundation chains (keeping them loose and elastic)
- A 5.5 mm hook for the body and sleeves
- Scissors
- Yarn needle
- Stitch markers (you’ll use a lot of them)
Learn This Stitch
Difficulty and Time
This is an easy-to-intermediate jumper. The stitch work is almost entirely half double crochet — calm, rhythmic, and forgiving — with a straightforward griddle stitch border for the hem and cuffs. The neck construction requires patience on first read but is actually very logical once you work through it. Budget several relaxed sessions: back panel, front panel, assembly, then borders and sleeves.
The Pattern
The jumper starts with the back panel, adds a neck bridge and grows into the front panel as one continuous piece, gets seamed at the sides, then sleeves are worked directly onto the armholes.
Step 1: The Back Panel
- Chain foundation: Using the larger 6.5 mm hook, leave a long tail and make a slip knot. Chain 70 stitches. (This is for a size 14–16; adjust by plus or minus 5 stitches per size.)
- Row 1: Switch to the 5.5 mm hook and chain 1 extra. Turn the chain to the back and work into the back bumps for a clean edge. Work half double crochet all the way down — 70 stitches total.
- Rows 2 to 45: Chain 1, turn, and work half double crochet across each stitch. Complete 45 rows total.
Step 2: Shaping the Neckline and Shoulders
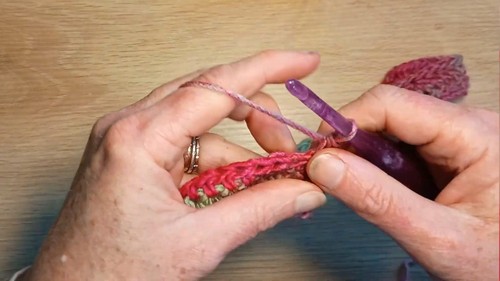
- Marking the neck opening: Place stitch markers across the top edge to leave approximately 19 cm for the head opening. (The original uses 25 stitches on the left shoulder, 20 stitches across the center for the neck gap, and 25 stitches on the right shoulder.)
- First shoulder (4 rows): Working only over the first 25 stitches, chain 1, turn, and work half double crochet back and forth for 4 rows. Secure the corner with a stitch marker and fasten off.
- Second shoulder (4 rows): Attach yarn at the inside neck edge of the second shoulder and work outward — toward the outer edge — to keep the pattern direction consistent. Work 4 rows of half double crochet over the 25 shoulder stitches, finishing at the inside neck edge. Fasten off.
- Bridging the neck gap: Reattach to the first shoulder. Chain 1, turn, and work across the 25 stitches. Chain 20 across the neck gap to bridge to the second shoulder and slip stitch securely to join. Continue half double crochet across the remaining shoulder stitches to the end of the row.
If you’re new to reading crochet patterns, don’t worry, just follow along with the video tutorial below and use the written pattern as a reference!
Step 3: The Front Panel
- Row 1: Chain 1 and turn. Work half double crochet up to the neck chain, then work half double crochet into the back bumps of the 20-chain neck bridge, and finish with half double crochet to the end of the row. Place a stitch marker in Row 1.
- Rows 2 to 40: Chain 1, turn, and work half double crochet across. Complete 40 rows total — 5 rows fewer than the back, which gives a better-fitting front length.
- Leave a long tail on the final row edge for sewing.
Step 4: Assembly and Sewing
- Fold the jumper in half with the inside out, keeping all tails on one side.
- Measure 22 cm down from the shoulder fold on both sides and place stitch markers to mark the armholes.
- Sew up the side seams flat from the bottom hem up to each armhole stitch marker. Leave one tail active in case sleeve counts need adjusting later.
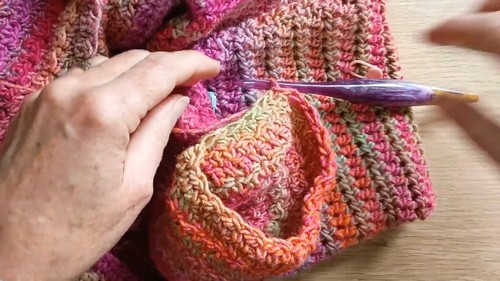
- Turn the jumper right side out.
Step 5: Neckline Tidy-Up Row
- Attach yarn at a shoulder seam on the collar.
- Work 1 round of half double crochet evenly around the entire neck opening.
- Slip stitch to join and weave in the ends.
Step 6: Bottom Border (Griddle Stitch)
- Foundation row: Attach yarn at the bottom hem seam. Work 1 round alternating 1 single crochet and 1 double crochet all the way around. Slip stitch to join.
- Rows 2 to 10: Chain 1, turn, and continue the griddle stitch pattern — single crochet over single crochet, double crochet over double crochet — for 10 rows total. Fasten off and weave in ends.
Step 7: The Sleeves (Make 2)
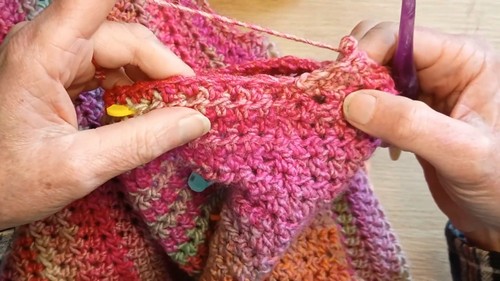
- Foundation round: Attach yarn at the underarm seam. Work an even foundation round of half double crochet around the armhole opening (note your exact stitch count so both sleeves match). Slip stitch to join, chain 1, and turn.
- Sleeve body (30 rows with decreases): Work 4 standard rows of half double crochet without decreases. On the 5th row, work a half double crochet decrease to drop 1 stitch: yarn over, pull through, insert into the next stitch, pull through, yarn over and pull through all loops. Repeat this 4-normal-rows, 1-decrease-row cycle 6 times total — 30 rows in all.
- Sleeve cuff: Finish with 10 rows of griddle stitch (alternating single crochet and double crochet) just like the bottom border.
- Fasten off, sew in ends, and repeat the entire sleeve process for the second arm.
Tips and Troubleshooting
- Use the larger hook only for the starting chains. The foundation chains need to be looser than the body rows — switching back to the 5.5 mm hook for Row 1 onward is what keeps the edge even and elastic rather than pulling.
- Attach the second shoulder from the inside edge outward. This keeps the pattern direction matching the first shoulder so the jumper looks symmetrical. Starting from the wrong end gives a visible mismatch at the neck.
- Note your stitch count on the first sleeve before starting the second. Write it down the moment you’ve completed the foundation round. Matching both sleeves to the same count is the easiest way to avoid one sleeve ending up longer than the other.
- Try on before closing the neck. After Step 2, when both shoulders are done and the bridge chain is in place, hold the work up against your shoulders before moving to the front panel. This is the easiest point to add or remove a stitch from the neck opening if it looks slightly off.
Customization Ideas
- Resize by 5 stitches per size. The original is a size 14–16. Add 5 stitches for each size up, subtract 5 for each size down, keeping everything else proportionally the same.
- Change the border style. The griddle stitch hem and cuffs can be replaced with ribbing, a simple single crochet edging, or post-stitch ribbing for a different finish.
- Adjust the sleeve taper. More or fewer decrease rounds before the cuff changes how fitted or relaxed the wrist sits.
- Try the neck with a turtleneck extension. After the neckline tidy-up round, continue working BLO single crochet rounds on the neck for 10 to 20 more rows for a simple turtleneck variation.
- Go longer or shorter on the body. More or fewer rows on the body panels adjusts the length without affecting the sleeves..
Frequently Asked Questions
1. Why is the back panel 5 rows longer than the front? The extra rows on the back create a longer back hem, which gives the jumper a better fit when worn — the back naturally needs more length to cover the body when sitting and moving. It’s a small detail that makes a real difference to how it hangs.
2. How does chaining across the neck gap work? After completing both shoulder sections, you reattach at one shoulder, work across it, then chain exactly as many stitches as the neck opening requires (20 chains in the original), and join to the opposite shoulder. On the following row, you work half double crochet into the back bumps of those chains, which incorporates them cleanly into the fabric. The chain becomes an invisible bridge across the neck.
3. What is the griddle stitch and why use it for the border? The griddle stitch alternates a single crochet and a double crochet in every stitch, then stacks single crochet over single crochet on the following rows. It creates a dense, slightly textured border that is more substantial than a plain single crochet edge and doesn’t require the post-stitch technique needed for ribbing. It’s also quick and rhythmic once the pattern is established.
4. Can I replace the armhole pickup with a set-in sleeve instead? This construction uses the simpler approach of picking up stitches directly around the armhole — which works well and is much easier than a set-in sleeve. If you prefer a set-in look, you’d need to modify the assembly to leave an armhole shaped for it, which goes beyond this pattern.