Crochet this free off the shoulder pink sweater with an open stitch yoke and a deep ribbed waist band that shapes the fit. You size both body panels from six of your own measurements, then finish the sleeves with ribbed cuffs that match the hot pink waist.
Upper body of this sweater is worked in an open repeating stitch that keeps the fabric light and slightly sheer, while a deep ribbed waist band below it pulls everything in and gives the silhouette a defined shape. The one shoulder drape is built into the construction rather than added as a styling trick, so it sits there on its own. If you have worked through a v-stitch top before, the row rhythm in the upper body will feel familiar right away.
Crochet Off The Shoulder Sweater Pink
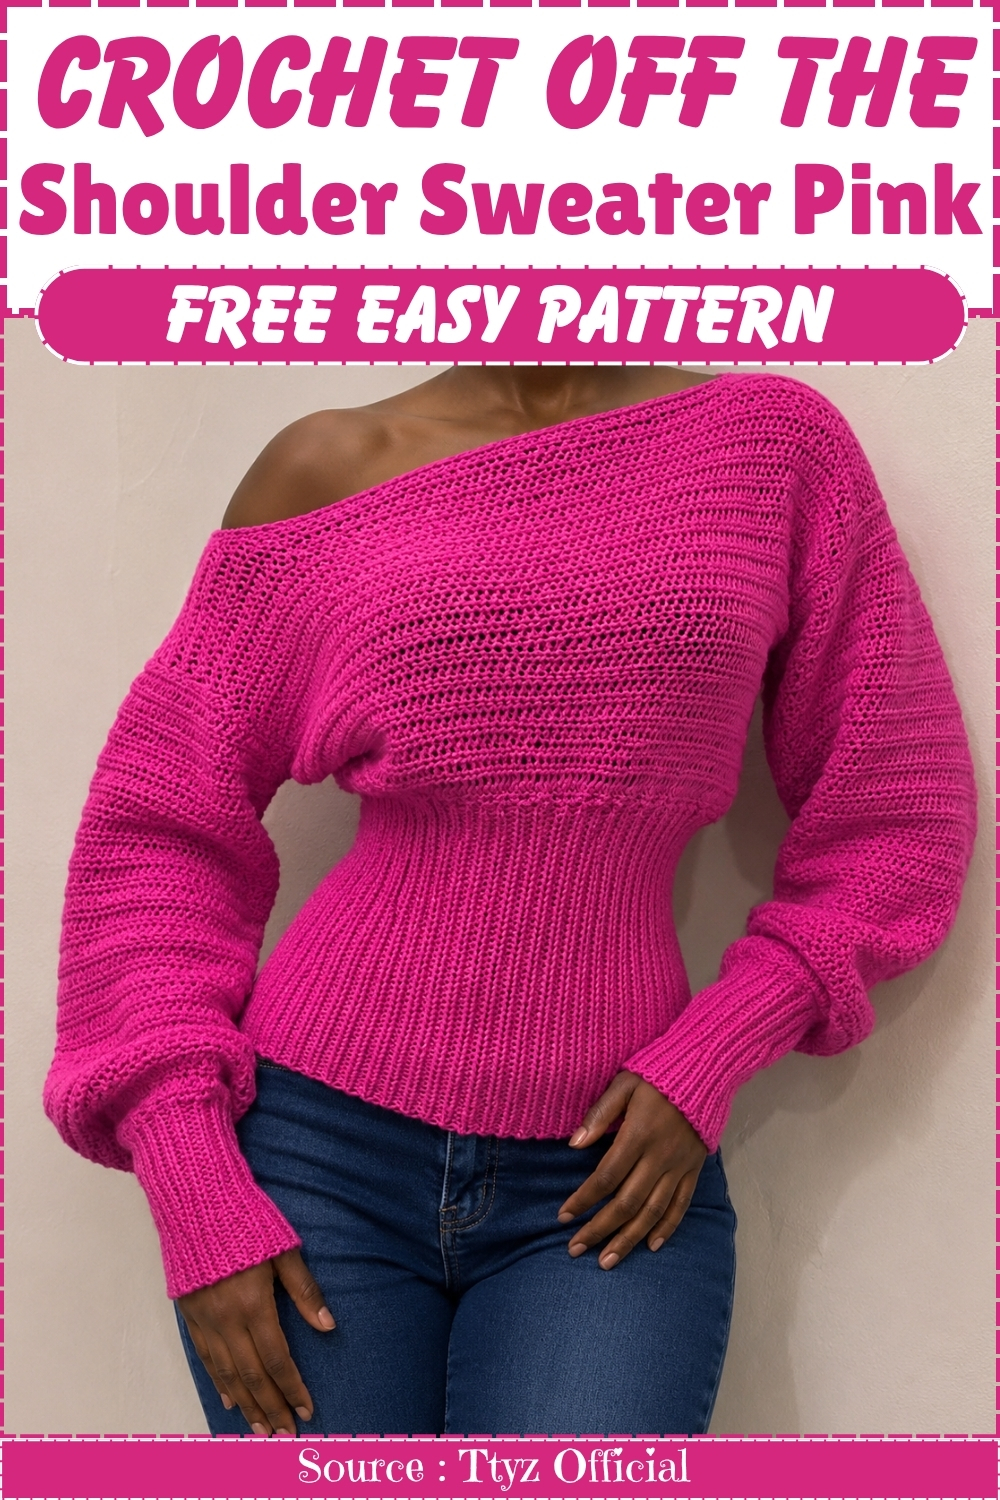
Hot pink is the colorway used in the tutorial and it photographs well against the open stitch gaps in the yoke. The ribbed section at the waist is longer than a standard hem band, covering several inches of the torso so the sweater reads more structured than slouchy. A beginner who is comfortable with two distinct stitch types in one garment will be able to follow this one without issues.
Materials and Tools
- Your choice of yarn
- A 4.0 mm hook for the main panels and sleeves
- A 4.5 mm hook for all ribbing and cuffs
- Measuring tape
- 2 stitch markers
- Tapestry needle
- Scissors
Common Stitch to Know
Difficulty and Time
This is a beginner-friendly sweater project. The stitches are only half double crochet and slip stitch — both among the simplest in crochet. The measurements and shoulder calculation are the parts that need the most focus, but they’re explained step by step and the math is basic. The construction is methodical and grows logically. Budget a few relaxed sessions.
Beginner Technique Notes
Here’s a detailed walkthrough of everything you need to know before you start.
The six measurements and what they do
This pattern is fully customized to your body using six measurements. Take them all before you begin, write them down, and keep the paper nearby.
- Outbust measurement: Measure around the fullest part of your chest. Add 6 inches to this number, then divide the total by 2. This gives you the width of each body panel.
- Shoulder measurement: Measure straight across from one shoulder point to the other. This tells you how wide the neck opening will be after the shoulders are shaped.
- First length measurement: Measure from the top of your shoulders straight down to your underbust. This sets how tall the main body is before the shoulder shaping begins.
- Second length measurement: Measure from your underbust down to where you want the sweater to end, then add 5 inches. This added 5 inches becomes the slip-stitch ribbing band that hangs below the body.
- Arm length: Measure from your shoulder down to halfway across your hand, then subtract 6 inches. The 6 inches that are subtracted become your cuff, so the sleeve body gives you the right total arm coverage.
- Cuff length: Measure the length you want for each cuff.
Shoulder width calculation
- Before you start the shoulder rows, you’ll need to do one simple calculation: take your outbust panel measurement and subtract your shoulder measurement. Divide the result by 2. That’s how far in from each outer edge you’ll place your stitch markers — this is the section that gets worked into a stepped shoulder shape while the center is left open for the neck.
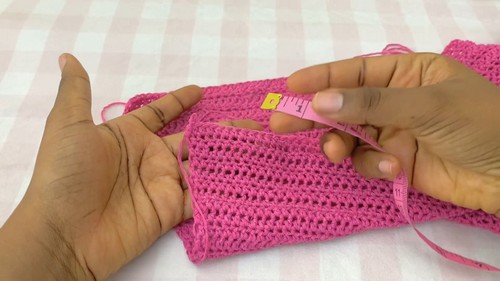
Half double crochet (hdc)
- The main stitch for the body and sleeves. Yarn over, insert hook into the stitch, pull up a loop (3 loops on hook), yarn over and pull through all 3 loops. You chain 1 to turn at the end of each row — this chain does not count as a stitch.
Working into back bumps on Row 1
- The very first row of each body panel is worked into the back bumps of the foundation chain (the little loops on the underside) rather than the front loops. Flip the chain over and look for the bumps. This gives a neater, more even starting edge on both sides of the panel.
Slip stitch ribbing (for the hem and cuffs)
- The ribbing is made as a separate strip worked back and forth, with one end anchoring to the sweater edge as you go. You chain the length of your ribbing measurement, then work slip stitches into the back loops only — very loose at the beginning and end of every row, to prevent the edges from pulling in. This creates the stretchy vertical rib texture. Tip: slip stitches want to be tight; make a deliberate effort to loosen every stitch.
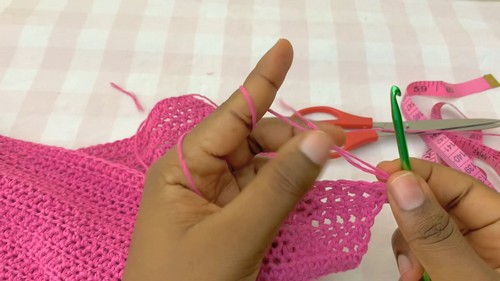
How the ribbing attaches as you go
- For the hem ribbing: alternate connecting with 3 slip stitches into the sweater edge on one row and 2 slip stitches on the next row as you work around.
- For the sleeve cuffs: connect consistently with 3 slip stitches into the sleeve edge on every row.
The sleeve row technique
The sleeves are worked in joined rows (turning each time) rather than continuous rounds. Skip the tiny first stitch at the start of each row, work half double crochet across, and slip stitch into the initial turning chain (not the first half double crochet) to close the round. This keeps the seam point clean and consistent.
New to crochet and not sure how to read a pattern yet? The video tutorial below will guide you through it step by step, you’ve got this!
The Pattern
Take Your Measurements First
Before starting, write down all six measurements as described in the technique notes above: outbust panel width (chest + 6 inches, divided by 2), shoulder width, first length, second length (plus 5 inches), arm length (shoulder to halfway across hand, minus 6 inches), and cuff length.
The Main Body Panels (Make 2 — Front and Back)
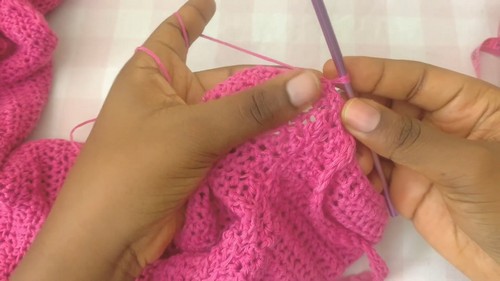
- Foundation chain: Using the 4.0 mm hook, make a chain as long as your outbust measurement.
- Row 1: Skip the first back bump of the chain and work half double crochet into each back loop all the way to the end. Chain 1 and turn.
- Body rows: Continue working rows of half double crochet until the panel measures approximately 1 inch short of your first length measurement.
- Shoulder shaping: Calculate the shoulder width. Measure that distance inward from each outer edge of the panel and place a stitch marker on each side.
- Chain 1, turn, and work half double crochet only up to the first stitch marker. Remove the marker, chain 1, turn, and complete one final row of half double crochet for that shoulder section. Fasten off.
- Repeat for the other shoulder by attaching yarn to the opposite outer edge and working toward the marker.
Joining the Body Panels
- Place the front and back panels together so they align evenly.
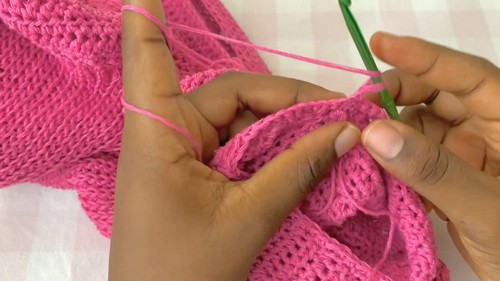
- Using a tapestry needle and a long strand of yarn, sew the shoulder sections together on both sides using an overcast or whip stitch.
- Side seams: Join the lower sides of the panels together, leaving enough armhole space so the sleeves remain loose and oversized. (Approximately 10 to 12 rows joined at the bottom of each side, leaving the rest open.)
Bottom Ribbing
- Base border: Switch to the 4.5 mm hook. Attach yarn near a side seam, chain 1, and work a round of single crochet evenly all around the bottom edge. Slip stitch to join.
- Ribbing band: Make a chain equivalent to your second length measurement plus 1 extra turning chain, keeping tension loose. Work slip stitches into the back loops only — keeping the very first and very last stitches of each row extra loose to prevent accidental decreases. As you work around the bottom edge, alternate connecting with 3 slip stitches on one row and 2 slip stitches on the next. Once the ribbing goes all the way around, sew the two short ends together to close the circle.
The Sleeves (Make 2)
- Armhole base: Switch back to the 4.0 mm hook. Attach yarn at the underarm, chain 1, and work a round of single crochet evenly around the armhole opening. Note your total stitch count to match the second sleeve exactly. Slip stitch to join.
- Sleeve body: Chain 1 and turn. Skip the tiny first stitch, then work half double crochet across. Slip stitch into the initial turning chain to close the round. Continue in this way — always skipping the first tiny stitch and slip stitching into the turning chain — until the sleeve reaches your arm length measurement. (The original creator worked approximately 42 rows.)
- Sleeve cuffs: Switch to the 4.5 mm hook. Chain 1 and work one round of single crochet around the end of the sleeve. Chain the length required for your cuff measurement plus 1 turning chain, keeping tension loose. Work slip stitch ribbing into the back loops, connecting to the sleeve edge with 3 slip stitches consistently at the top of every row. Once complete around the cuff, sew the two ends of the cuff ribbing together.
- Repeat the entire sleeve process to create the second sleeve.
- Weave in all loose ends securely.

Tips and Troubleshooting
- Write all six measurements down before you chain a single stitch. The whole pattern runs from these numbers — trying to refer to tape measure mid-project invites mistakes. Keep the sheet of measurements at your workspace throughout.
- Keep your ribbing stitches genuinely loose. Slip stitch ribbing is notorious for pulling in. Work every stitch looser than you think you need to — the ribbing should be stretchy, not stiff.
- Note your armhole stitch count immediately after the first sleeve base round. Write the number down before you start the sleeve rows. Matching that count exactly on the second sleeve is the easiest way to get both sleeves the same length.
- Count your shoulder stitches on both sides before shaping. The shoulder on each side of the panel should have an equal number of stitches between the outer edge and the stitch marker. If they don’t match, recount and move the marker before starting the shoulder rows.
- Slip stitch into the turning chain, not the first HDC, to close sleeve rounds. This keeps the seam point consistent and prevents a visible jog from building up over 42 rounds.
Frequently Asked Questions
1. Why does the outbust measurement get 6 inches added before dividing? The 6 extra inches create “positive ease” — built-in room that makes the sweater comfortable to move in and gives it the oversized look. Without that ease, a sweater worked to your exact measurement would feel tight across the chest when worn.
2. Why subtract 6 inches from the arm length for the sleeve? The 6 inches you subtract from the arm measurement become your cuff. So if your full shoulder-to-hand measurement is 24 inches, you work 18 inches of sleeve body and add a 6-inch cuff — totaling 24 inches when worn. Subtracting first keeps the total arm coverage correct.
3. Why add 5 inches to the second length measurement? Those 5 inches are for the slip stitch ribbing band at the hem. The main body panels stop at the underbust, and the ribbing extends downward to wherever you want the sweater to end. Measuring that extension and adding it to the ribbing chain gives you the right hem length.
4. What does “skip the tiny first stitch” mean on the sleeve rows? After you join a sleeve round and chain 1 to turn, there’s a tiny stitch right at the base of the chain. Inserting your hook there would add an extra stitch and gradually widen the sleeve. Skipping it keeps your stitch count consistent round after round.
5. Can I make the shoulders meet closer to the center for less off-shoulder effect? Yes. The shoulder width is determined by your shoulder measurement, which you can adjust. Using your actual measured shoulder width will give a more on-the-shoulder silhouette. Using a narrower number gives more off-shoulder drape. The math stays the same — you’re just changing the input.