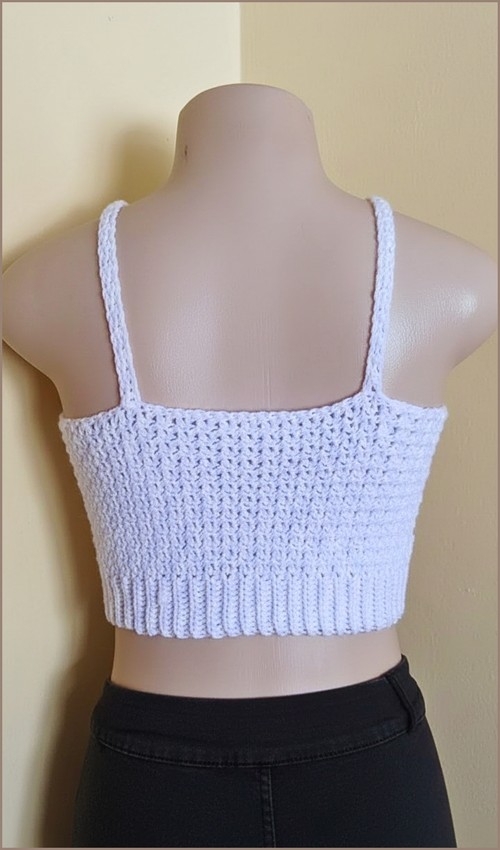
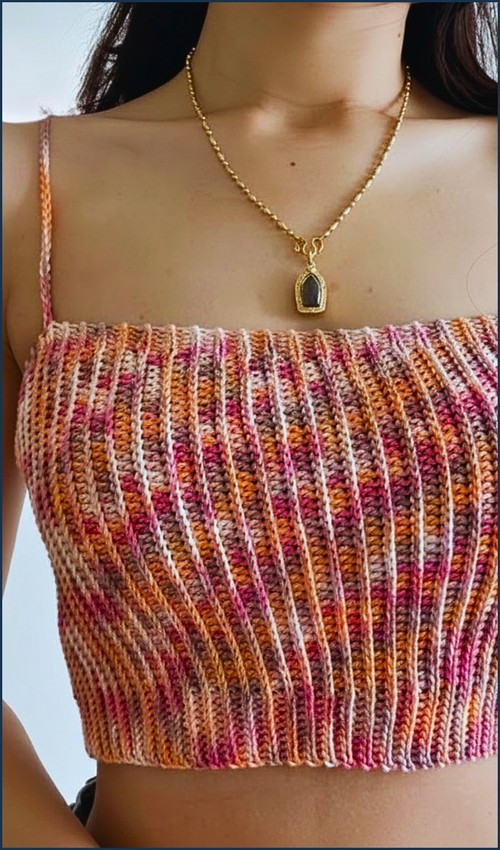
Deep vertical ribbing and a neat orange-edged heart make this purple tank read like a fitted knit, structured, snug, and finished with a playful cut-out. For the same heart-opening idea worked into a short-sleeve shell, the cut-out heart top takes a softer, looser approach.
Crochet Cut-Out Tank Top
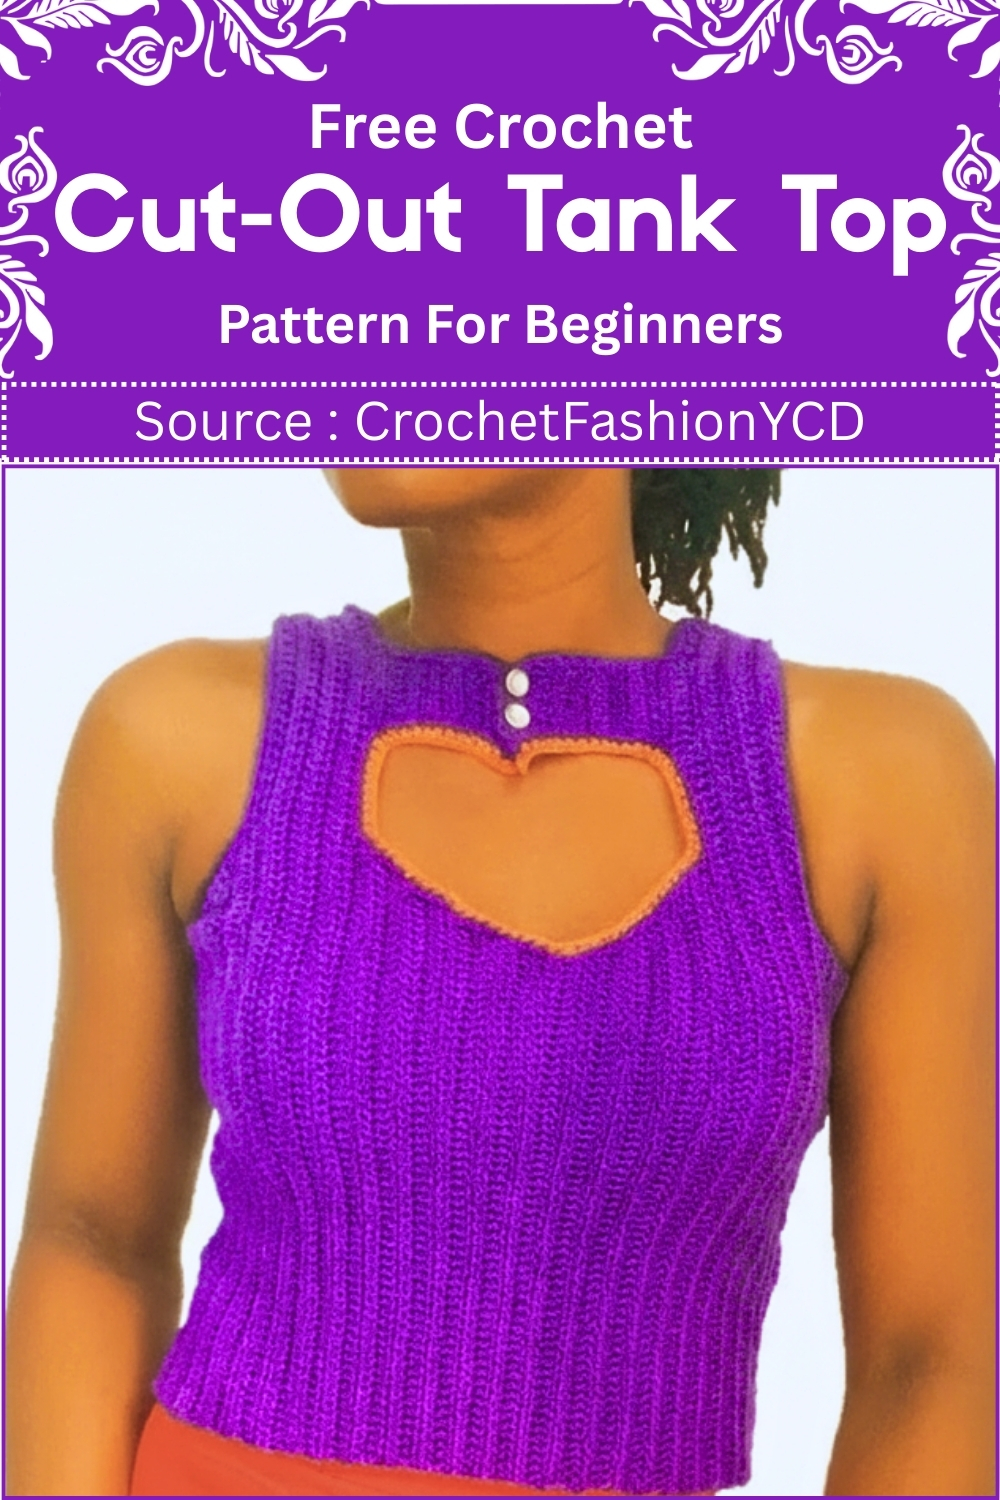
The ribbing gives the tank its close fit and vertical stretch, so it hugs without needing much shaping. If you like the ribbed tank silhouette without the cut-out, the ribbed tube top uses the same fabric in a strapless format.
- Skill level: Intermediate
- Estimated time: A weekend project (8–12 hours)
- Construction: Two flat panels seamed together, with a heart-shaped buttoned cut-out detail
- Key stitches: Half double crochet, double crochet, single crochet, increases & decreases
- Sizing Adjustable: Based on your underarm-to-underarm measurement
Materials & Tools
- Yarn suited to half double crochet texture (a smooth DK or worsted with good stitch definition)
- A crochet hook to match your yarn weight
- Stitch markers
- Scissors
- Yarn needle
- Buttons (for the heart cut-out flaps)
Essential Crochet Skills
Customization Ideas (Before You Begin)
- A little inspiration to think through before you make your first chain — these are easiest to plan up front rather than retrofit:
- Contrast heart. The pattern invites a contrasting color for the heart edging, and it’s worth committing to early. A red heart on a cream body, or a bold heart on a neutral tank, turns the detail into the centerpiece. Decide before you finish so your edging yarn is ready.
- Button personality. The buttons are functional and decorative. Mismatched vintage buttons, heart-shaped buttons, or a tonal set that disappears into the fabric all read completely differently. This is a low-effort way to make the top feel like yours.
- Strap width and length. The straps are built from a 27-chain foundation worked over seven rows. Keep them as written for a medium strap, or rework over fewer or more rows for thinner or wider shoulder coverage.
- Cropped or longer. The body length follows your shaping, so you can keep it cropped or add rows for more coverage before the neckline shaping begins.
- Heart placement. The pattern centers the heart, but nudging it higher or lower (by adjusting where you mark from center) shifts the whole mood of the piece.
The Pattern

Phase 1: The Main Body Panel
You’ll make two identical panels.
- Make a slip knot and chain 61, adjusting this count for your underarm-to-underarm measurement. Skip the first chain and work half double crochet in each stitch across.
- Chain 1, turn, and work half double crochet in the back loop only across — repeat this for the next two rows.
- Underarm increases: Work half double crochet in the back loop only across the row, then place two half double crochets into the final stitch of the row. Chain 1, turn, and work half double crochet in the back loop only across.
- Continue shaping by working one half double crochet and one double crochet into the final stitch of each row for the next five rows.
- First strap: At the end of the final increase row, chain 27. Skip the first chain and work half double crochet back down the chain and across the row. Repeat for a total of seven rows to complete the first strap.
- Neckline and center shaping: Count 26 stitches from the top of the strap and place a stitch marker. For the next nine rows, decrease at the neckline edge by working three stitches together.
- Continue until you reach the center point — approximately seven inches from the underarm. Then begin increasing for the next nine rows, placing two to three stitches into the same stitch to mirror the first side.
- Second strap and finish: Chain 27 for the second strap and work half double crochet for seven rows. Decrease for nine rows to complete the second underarm shaping.
- If you’re a beginner and crochet patterns feel confusing, start with the video tutorial below, it’s the easiest way to learn as you go!
Phase 2: Assembly

- Place the two panels together with right sides facing. Join the sides and the tops of the straps using single crochet stitches.
Phase 3: The Heart Cut-Out Detail

- Base of the heart: Count ten stitches from the center and place a marker. Work half double crochet through both loops for nine stitches.
- Shaping the heart curve: Work half double crochet in the back loop only for seven rows. On the final shaping rows, decrease in the first three stitches and increase in the last three stitches to form the rounded heart shape.
- Buttonholes: On the second side of the heart, chain one and skip one stitch to create the buttonholes.
- Edging and finishing: Work a single crochet edging around the entire heart shape and the armholes. Use a contrasting color here if you’d like to highlight the heart detail.

- Sew buttons onto the main body to align with the buttonholes on the heart flaps.

Tips & Troubleshooting
- Make your two panels match. Because the body is two identical panels, keep your tension consistent between them — and count your rows on the first panel so the second matches exactly. Jot the numbers down as you go; you’ll thank yourself during assembly.
- Mark your shaping points before you start decreasing. The neckline shaping (nine rows of three-stitches-together) is much easier to keep even when you’ve marked the starting stitch first. The same goes for the center point at roughly seven inches.
- Test your buttonhole spacing against your buttons. Before committing to the chain-one, skip-one buttonholes all the way down, work one and check it against your actual button. Buttonhole size depends on both your gauge and your button diameter, so a quick test saves you from holes that gape or won’t fasten.
Yarn Substitution Notes
The pattern asks for a yarn “suitable for half double crochet texture,” which points you toward smooth, well-defined yarns rather than anything fuzzy or heavily textured. Half double crochet has a subtle horizontal bump that gets lost in busy yarns.
- Cotton or cotton blends are ideal for a structured, breathable summer tank with crisp stitch definition.
- DK or worsted weight is the sweet spot — enough body to hold the heart shape and buttons, without being so heavy it droops.
- Avoid loosely plied or single-ply yarns for the strap and buttonhole areas, where they can split and weaken under the stress of buttoning and unbuttoning.
Match your hook to whichever yarn you choose, and swatch in half double crochet back-loop-only to confirm you like the fabric before committing.
FAQ
How do I make sure both panels are the same size? Count and note every row on your first panel — total rows, where the increases and decreases fall, and the row counts for the straps and neckline. Then follow your own notes for the second panel. Consistent tension matters too, so try to crochet both in similar sittings if you can.
The heart cut-out seems complicated — is it really a cut-out? It’s a decorative heart panel with buttoned flaps rather than a hole cut into the fabric. The heart shape is worked with its own shaping rows, edged (often in a contrast color), and then fastened to the body with buttons — so the “cut-out” effect comes from the contrast and the flap detail rather than an actual opening.
What size buttons should I use? Choose buttons that comfortably fit through a chain-one, skip-one buttonhole at your gauge. Work one test buttonhole first and match your button to it. Medium buttons (around half an inch) tend to work well, but your gauge is the real guide.
Can I adjust this to fit a larger or smaller frame? Yes. The starting chain of 61 is explicitly meant to be adjusted to your underarm-to-underarm measurement, and the body shaping follows your own proportions. Measure against your body as you work, especially before the neckline shaping and at the seven-inch center point.