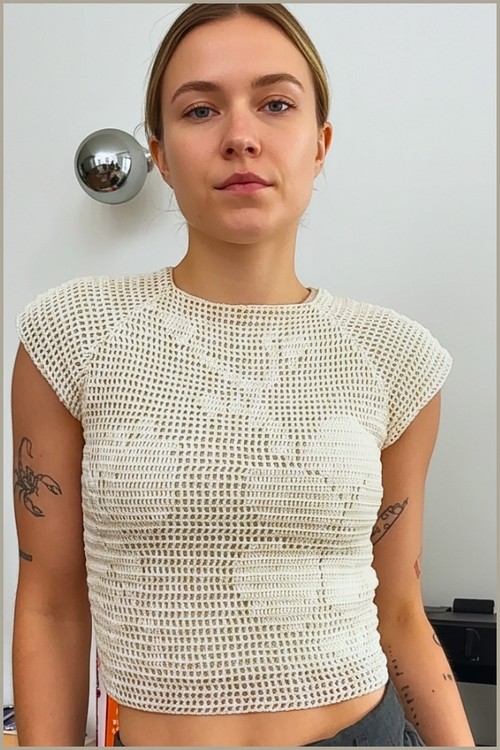
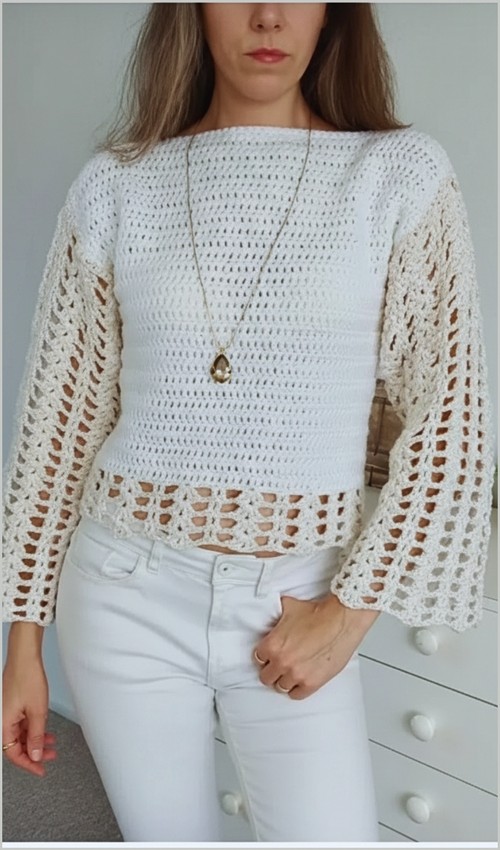
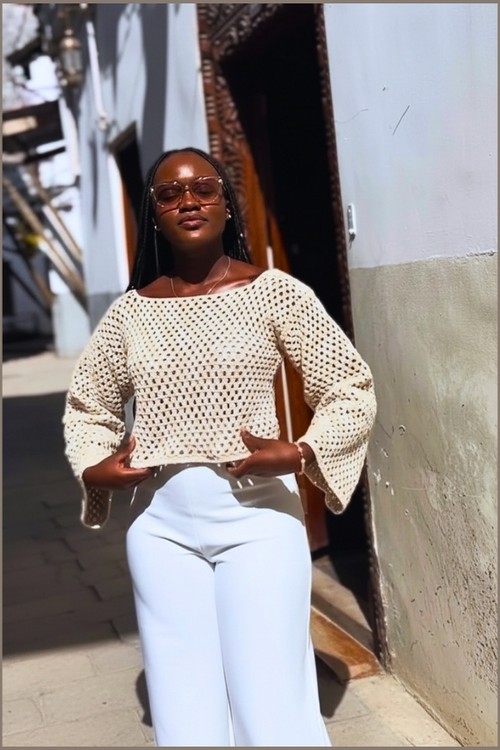
Purple yarn and a single hook, this bralette comes together faster than you’d expect, and the crossover straps give it a polished, adjustable fit that works across sizes. If you’ve been eyeing the free crochet bralette cup pattern for your next make, this lace-up version is a natural next step with its own distinct silhouette.
Crochet Bralette Outfit
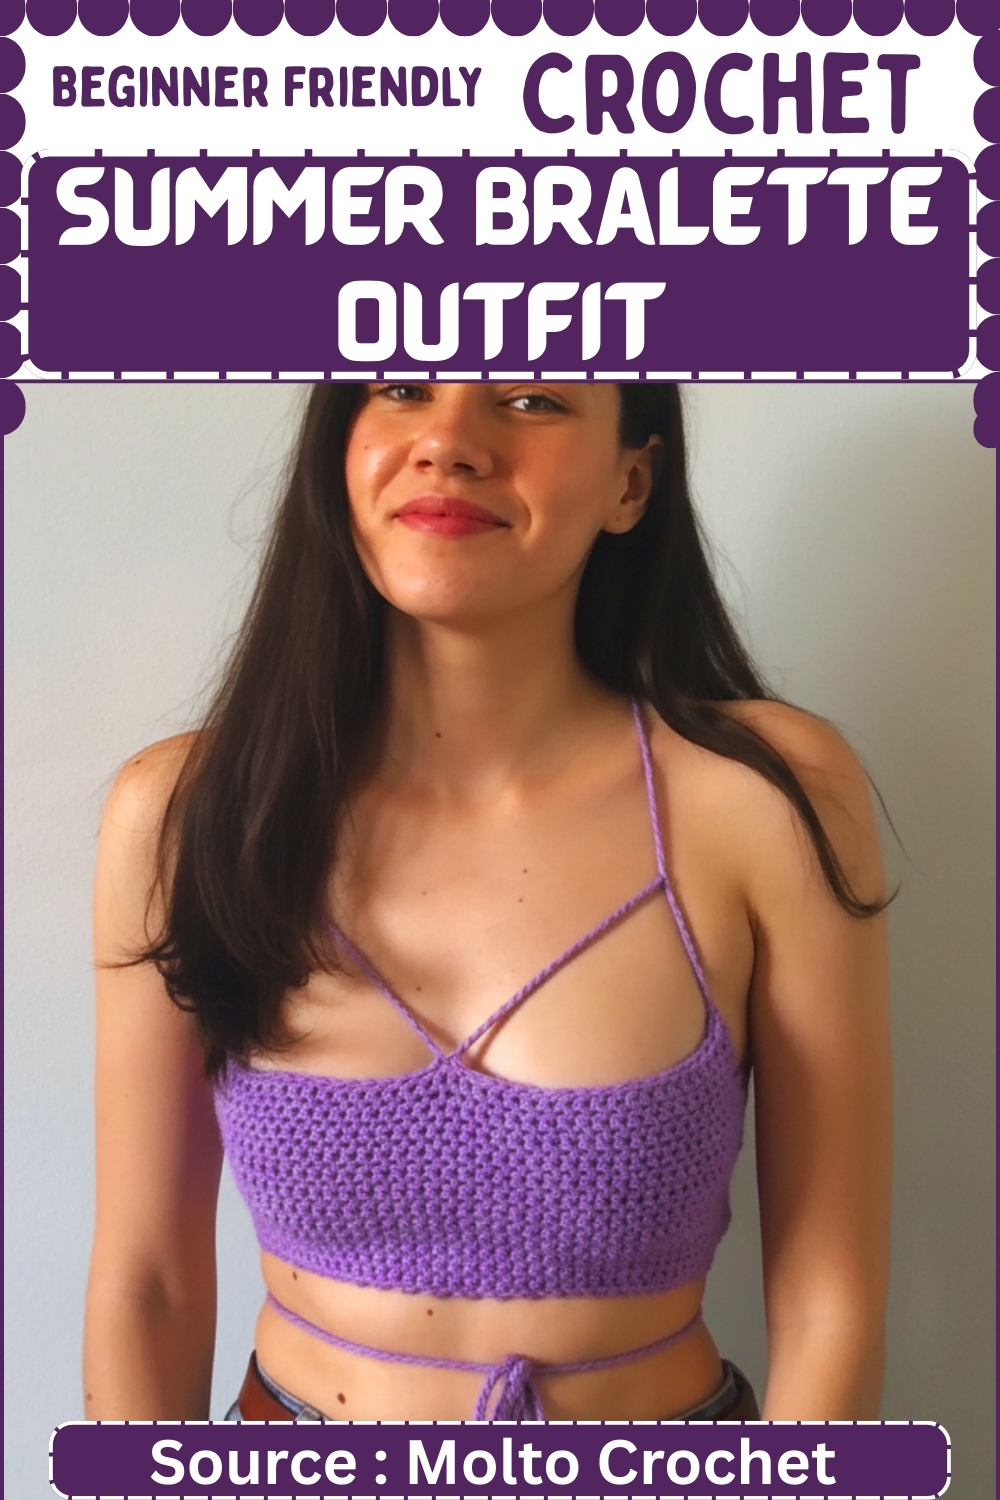
The waist ties wrap and knot at the front, so fit is fully customizable without any sewing just crochet, finish, and wear. For another beginner-friendly top that works up in a similar tight, solid stitch, the free crochet racerback bralette pattern is worth bookmarking alongside this one.
Materials
- Yarn acrylic cotton or bamboo approximately 100 meters
- Crochet hook 2.0 mm or size suitable for your yarn
- Measuring tape
- Scissors
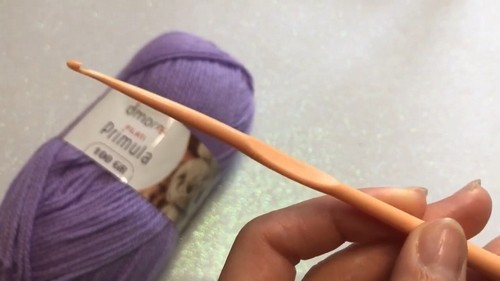
Measurement and Foundation Chain
- Measure across the chest from the center of one breast to the center of the other
- Make a slip knot
- Chain until the stretched length matches your measurement
Example measurement 32 cm uses approximately 40 chains
Measurement Guidance
- This measurement determines the total width of the top across the front.
- Measuring from center to center creates a balanced fit that sits correctly without pulling outward at the sides.
- When checking the chain length, always stretch it slightly.
- Cotton, bamboo, and acrylic blends relax with wear, so a gently stretched chain gives a more accurate final size.
Main Body
- Chain 2 to begin the first row
- Work one half double crochet into the fifth chain from the hook
- Continue half double crochet in each stitch across the row
- Chain 2 turn and work half double crochet into the second stitch and every stitch across
- Repeat rows until the piece reaches your desired height
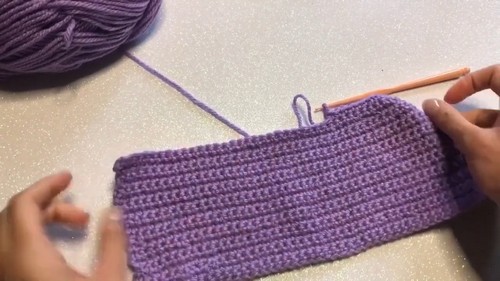
Example height is about 12 cm or 24 rows
Stitch and Row Clarity
- The chain 2 at the start of each row acts as turning height rather than a counted stitch.
- Working into the second stitch keeps the edges straight and prevents unwanted gaps.
- Half double crochet is used here because it creates a smooth, flexible fabric that drapes well without becoming stiff.
- Row count will vary depending on yarn, hook size, and tension.
- Always prioritize the physical height measurement over the number of rows.
Decorative Edging and Lacing Loops
- Along the first side chain 3 and attach to the edge with a slip stitch about 1 cm apart
- Continue the same chain 3 loop pattern down the entire side
- Along the bottom edge chain 3 and attach to every second stitch
- Repeat the side loop pattern on the opposite side
- Don’t let crochet patterns intimidate you! If you’re a beginner, the video tutorial below makes it super easy to follow along!
Why the Loop Placement Matters
- Spacing the side loops about 1 cm apart gives enough structure for lacing without causing the edges to flare.
- Attaching loops to every second stitch along the bottom creates a lighter edge that curves gently instead of pulling tight.
- If your fabric curls slightly at the edges, this loop round helps stabilize the shape.
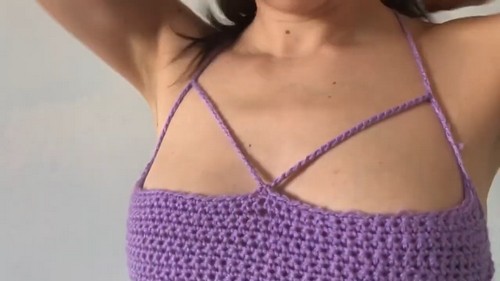
Straps and Finishing
- At one top corner chain a long strap approximately 230 cm
- Repeat at the opposite top corner
- Find the center of the top edge
- Attach yarn at the center and chain a length that reaches the side strap when stretched
- Attach this chain to the main strap about 2 cm away from the center
- Cut yarn and weave in all ends
Lace the long straps through the side loops to secure and adjust the fit
Strap and Fit Notes
- The long straps serve both as shoulder support and side closure.
- Keeping them extra long allows flexible tying styles and makes the top adjustable for different body shapes.
- The small center connector helps stabilize the neckline and prevents the top from slipping outward when worn.
- When lacing, start from the bottom and work upward evenly on both sides to keep tension balanced.
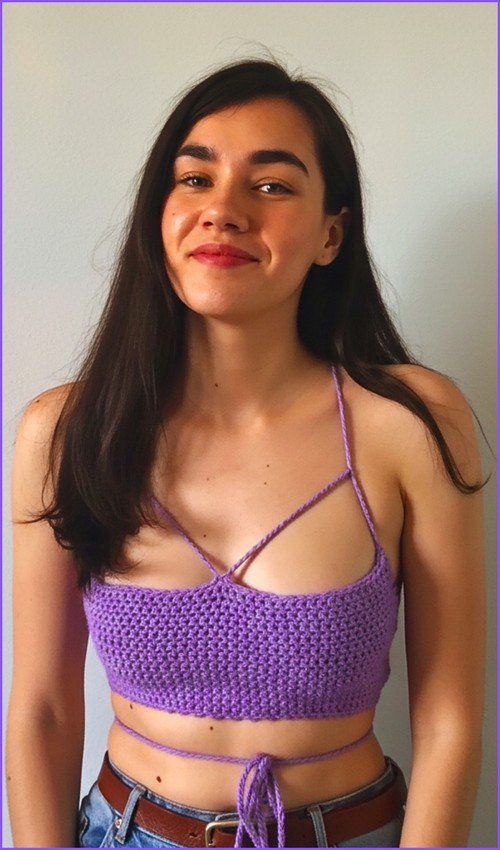
Fit and Sizing Guidance
This design is fully adjustable through measurement, row count, and lacing tension.
- For more coverage, add rows to the height.
- For a tighter fit, lace more firmly and tie higher on the back or neck.
- For a relaxed fit, loosen the lacing slightly and tie lower.
Because the fabric is worked flat, resizing is simple and does not require recalculating stitches.
Beginner Notes
- Half double crochet provides a forgiving structure, making this project suitable for confident beginners.
- If your edges look uneven, focus on placing the first stitch correctly after the turning chain.
- Counting stitches every few rows helps maintain straight sides.
Troubleshooting
- If the fabric feels too stiff, switch to a slightly larger hook
- If the top pulls at the sides, add one or two chains to the foundation
- If the neckline gaps, shorten the center chain connector slightly
Finishing Notes
Weave in ends securely, especially at strap attachment points, since these areas carry the most tension. Light steam blocking can help smooth the fabric, but avoid stretching the loops too much.