Crochet Tank Top

Because the chevron comes from working out to mitered corners, the whole top grows from a small center and points itself into that flattering V — no complicated stitchwork, just steady rows and well-timed color swaps. Keep all four shades in the same weight so the stripes stack evenly. Craving more of that laid-back, festival mood? This simplest boho top for beginners is an easy next make. A smooth cotton keeps each color crisp and the chevron sharp.
What This Pattern Creates In Short
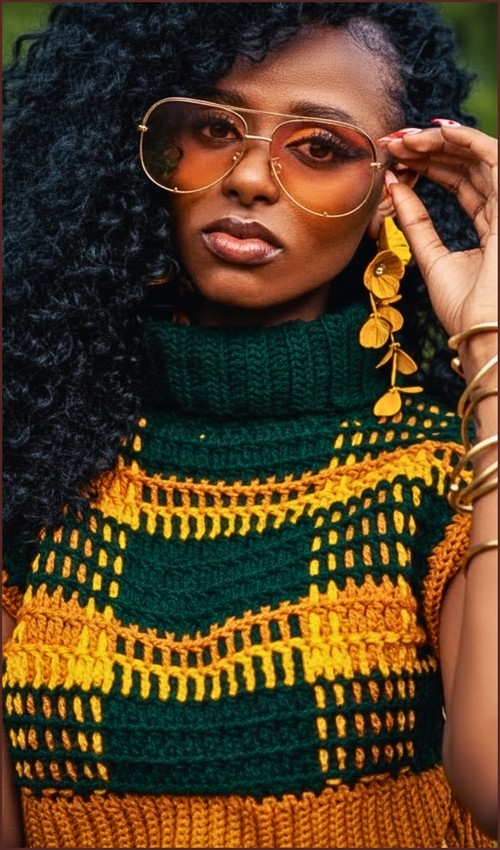
- This pattern forms a halter-style crochet top with a structured center, textured body, and adjustable ties at the neck and back.
- The spike stitches act as a decorative feature rather than structural shaping, so the fit is controlled mainly by row count and neckline tapering.
- The use of multiple colors adds contrast while keeping the construction straightforward.
Materials
- Medium weight yarn size 4 in four colors
- 3.75 mm crochet hook
- Scissors
- Yarn needle

Basic Crochet Stitches You’ll Use
Foundation And First Rows
- Start with a slip knot and chain 4
- Work 6 double crochets into the first chain to form 7 double crochets total
- Chain 3 and turn
- Work 1 double crochet into the first stitch
- Work 1 double crochet into each of the next two stitches
- Work 5 double crochets into the midpoint stitch
- Work 1 double crochet into each of the next two stitches
- Work 2 double crochets into the last stitch
- Repeat the same increase pattern for the next two rows
- Increase by 6 stitches on each row

Understanding the Early Shaping
- These first rows establish a triangular base.
- The midpoint stitch is the anchor of the entire piece, and consistently placing five double crochets there allows the fabric to fan outward evenly.
- The increases at the edges prevent curling and help the sides grow at the same rate as the center.
- Keeping your stitch count accurate here is important.
- If the triangle begins to skew, it usually means the midpoint increases were missed or shifted by one stitch.
- Just starting out with crochet? The video tutorial below is a great place to begin, or challenge yourself with the written pattern below!
Spike Stitch Pattern
- Chain 3 and turn
- Work 2 double crochets into the first stitch
- Alternate between a spike double crochet and a regular double crochet across the row
- Insert the spike stitch into the stitch from two rows below
- Always work 5 regular double crochets into the midpoint stitch
Work the next row entirely in regular double crochets

Spike Stitch Clarity
- The spike stitch is decorative and should not be pulled tight.
- Insert your hook cleanly into the stitch two rows below, yarn over, and draw up the loop to the height of your current row before completing the double crochet.
- This keeps the fabric flexible and prevents puckering.
- Working five regular double crochets at the midpoint, even on spike rows, maintains the triangular shape and keeps the center flat.
Step 3 Body And Color Sequence
- Alternate between spike stitch rows and regular double crochet rows
- Follow the color sequence A then B then C and repeat
- Work one spike row followed by three regular rows
- Use the fourth accent color on the designated feature row
Continue working until a total of 20 rows are completed
Color and Row Planning Notes
- This section is where the top gains its visual rhythm.
- The spike rows act as highlights, while the regular rows allow the fabric to rest and stretch naturally.
- Changing colors on full rows rather than mid-row keeps edges clean and makes weaving in ends easier later.
If you want a longer or shorter top, adjust the total row count while keeping the same spike-to-regular ratio.
Shaping The Neckline
- Work double crochets until reaching the center neckline stitches
- Transition to single crochets and then slip stitches across the center to flatten the neckline
- Resume double crochets on the opposite side
- Work each side separately for the next rows
- Use slip stitches along the neckline edge to taper and shape the halter straps

Neckline Shaping Guidance
- Switching to single crochet and slip stitches reduces height gradually without creating a sharp dip.
- This is what keeps the neckline smooth rather than pointed.
- Working each side separately allows controlled tapering so the halter straps sit comfortably at the neck instead of twisting.
- Take time here and try the piece on if possible.
- Small adjustments in stitch choice can noticeably change how the top sits.
Finishing Trim And Straps
- Attach the accent color and half double crochet evenly around the bottom and sides
- Work 4 half double crochets into corner stitches to turn cleanly
- Cut five long yarn strands and attach them to each top corner
- Braid the strands to form neck ties and secure with knots
- Cut nine long strands for the back strap
- Braid them together and lace through the back stitches
- Tie securely to close the top

Fit and Adjustability Notes
- The braided ties make this top highly adjustable.
- Longer braids allow for more wrapping and a looser fit, while shorter braids keep the top secure and lifted.
- When attaching strands, space them evenly so the braids pull straight and do not distort the fabric.
Beginner Notes
- If spike stitches are new to you, practice a few on a swatch before starting the body.
- Consistent tension matters more than speed.
- Counting stitches at the end of each row will help you catch shaping issues early.
Troubleshooting
- If the center bulges, check that spike stitches are not worked into the midpoint.
- If the neckline feels stiff, reduce the number of slip stitches slightly.
- If the sides flare, verify that edge increases are only placed where instructed.
Final Step
- Weave in all loose ends
- Try on and enjoy your textured spike stitch halter top