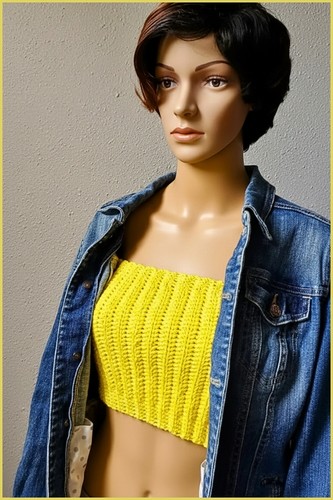
That pointed hem is the whole personality of this one. It takes a simple halter and gives it a bandana drape that lands somewhere between western and festival folded down over high-waisted jeans, it just works. Best part: under all that attitude it’s a beginner make, worked in plain rows with steady decreases pulling it down to the point. If a tied-at-the-neck shape is what you’re after, this boho halter top is cut from the same easygoing cloth.
Crochet Top For Women

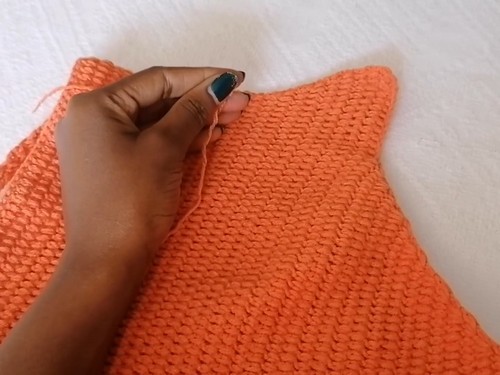
The fabric is dense and smooth, which is what keeps the triangle holding its shape instead of curling — so a snug, even tension matters more here than any fancy stitchwork. One bold color does the talking, and the neck ties let you set the fit exactly where you want it. Want a little more skin in the design? The breezy cotton cut-out halter takes the same halter idea somewhere airier. Pick a yarn with good stitch definition and that clean orange face stays crisp.
Materials
- Medium weight yarn approximately 1.5 balls
- 3.0 mm crochet hook
- Tape measure
- Scissors
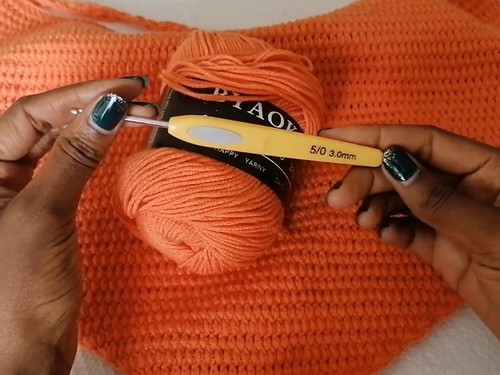
Essential Stitches Used in This Pattern
Initial Triangle Bottom Point
- Create a slip knot and chain 4
- In the first chain, work 2 double crochets so you have 3 double crochets total
- Chain 2 and turn, work 3 double crochets in the first space and 3 double crochets in the next gap
- Chain 2 and turn, work 3 double crochets in the first gap, 1 double crochet in each stitch across, and 3 double crochets in the last stitch
- Repeat the increase row, adding 4 stitches per row, until the triangle reaches your navel or desired height
What is happening here
- This section forms the entire foundation of the top.
- The increases on both sides create a balanced triangle that grows evenly outward and upward.
- The repeated chain-2 turns act as the edge of the triangle and keep the sides straight instead of curving inward.
- Stopping at the navel is a good reference point, but the real goal is coverage.
- Try holding the triangle against your body as you work.
- The height determines how much of the bust and midriff the top will cover later.
Common mistakes to watch for
- If your triangle starts to curve or lean, double-check that you are adding the 3 double crochets at both edges every increase row.
- Missing one side will throw off the shape.
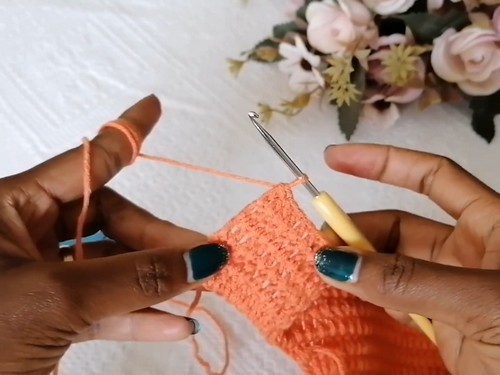
Adding the Side Extensions
- Chain 1 and cut the yarn
- Create a slip knot and chain enough stitches to add about 1.5 inches to the width
- Attach the chain to the wrong side of the triangle and work 3 double crochets in the first space, 1 double crochet across, and 3 double crochets in the last stitch
- At the end of the row, chain the same number of stitches plus 1 for turning
- Turn and work 1 double crochet into every chain and stitch across
Why this step matters
- The side extensions are what transform the triangle from a narrow bandana shape into a wearable top.
- Instead of continuing to increase the triangle, you are adding width only where it is needed around the body.
- Attaching on the wrong side keeps the seam subtle and less visible once worn.
- The second row over the chains stabilizes the extension so it behaves like the rest of the fabric instead of stretching too much.
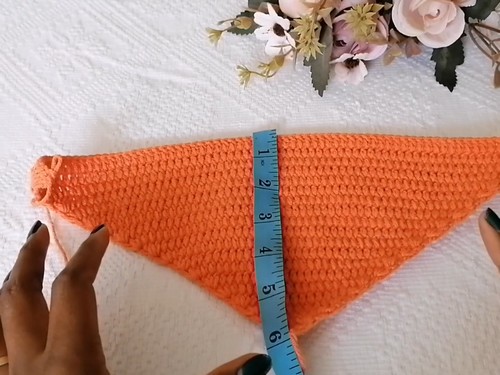
Fit guidance
That 1.5 inches is a guideline, not a rule. If you prefer more side coverage or are working a larger size, you can chain slightly more. Always measure against your body before committing.
Straight Rows and Shaping
- Work 4 straight rows with 1 double crochet in every stitch
- Chain 2 and turn, decrease over the first two stitches, work double crochets across, and decrease over the last two stitches
- Repeat the decrease row until you reach your desired top width
Understanding the shaping
- The straight rows give the fabric a moment to rest and sit flat before narrowing. The decreases at both ends gently taper the top so it fits the upper bust and chest without flaring out.
- Because the decreases happen symmetrically, the top keeps its balance and does not twist.

Troubleshooting
- If the top feels too tight too quickly, add an extra straight row between decrease rows.
- If it feels too wide near the neckline, decrease more frequently. Small adjustments here make a big difference in comfort.
Neck and Straps
- Work several straight rows with no decreases to build height for the neck area
- At each top corner, chain 2 and work 3 double crochets across to form a narrow strap
- Continue the strap until it is long enough to tie behind the neck
- Repeat the strap on the other side
Strap tips
These straps are intentionally narrow so they tie comfortably without bulk. As you crochet them, periodically check the length by tying loosely behind your neck. It is better to check early than to unravel later.
Finishing
- Attach yarn to the lower side corners and create small chain loops for back lacing
- Weave in all loose ends securely
Finishing notes
- The chain loops at the back allow adjustability, which is especially helpful for fit and comfort. Keep the loops small and even so lacing looks neat and intentional.
- When weaving in ends, follow the direction of the stitches rather than pulling straight across. This keeps the fabric smooth and prevents stiff spots.
Beginner Notes and Final Checks
- Even though this top uses only basic double crochet stitches, the shaping may feel advanced if you are new to crochet.
- Take your time, count stitches at the edges, and try the piece on as you go.
- The pattern is forgiving, and small fit adjustments are part of what makes handmade garments feel personal and well-made.
- Once finished, gently block or steam the top if your yarn allows.
- This helps the stitches relax and shows the true shape of the design.