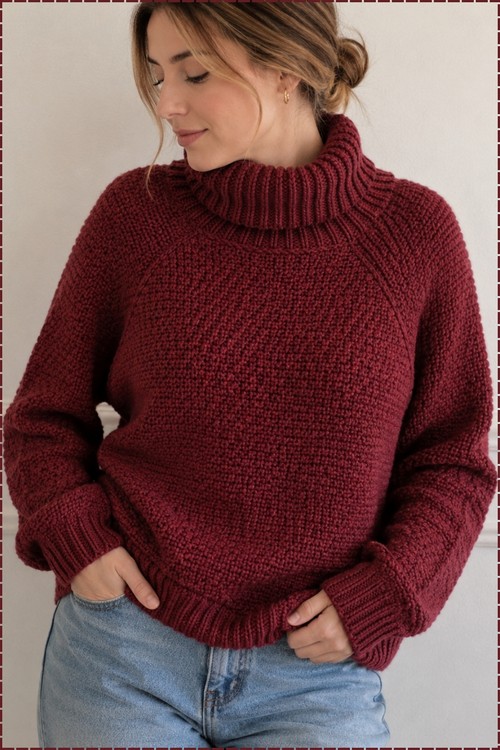
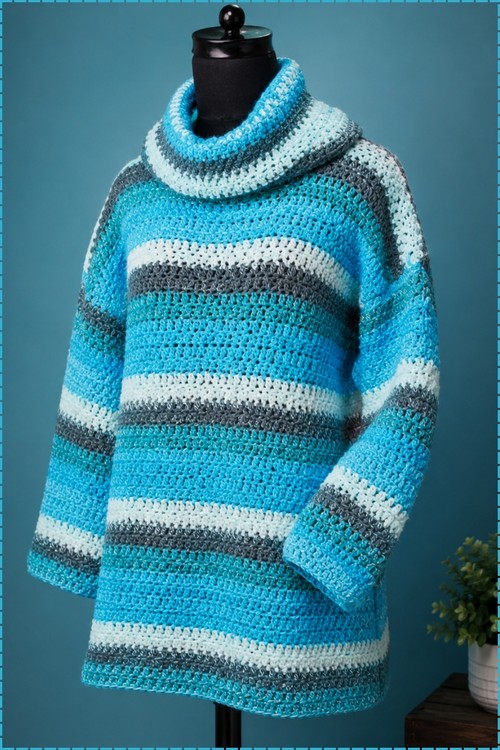
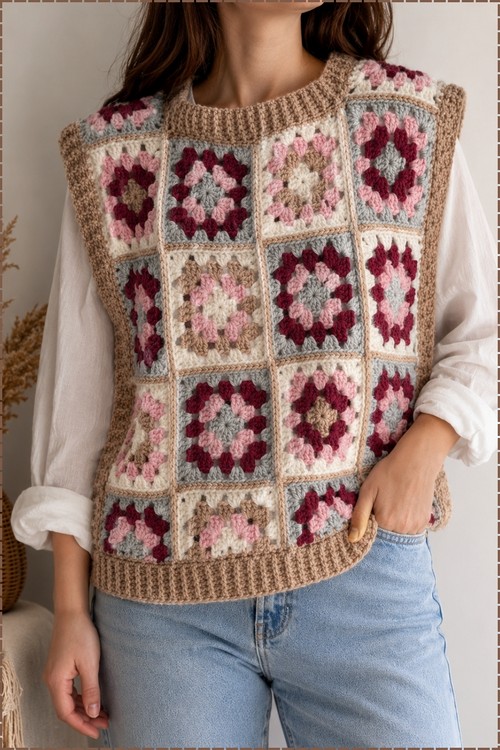
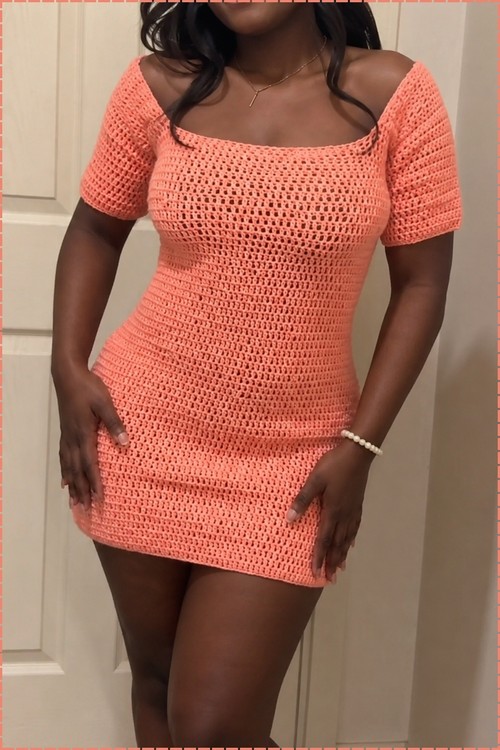
An airy coral crochet mesh sweater features an open, slightly stretchy grid, a wide square neckline, and short sleeves with firm cuffs. This measurement-based pattern starts at the hips, then shapes the body panels and sleeves for an adjustable fit.
Every stitch in the body of this design is worked into a simple repeating mesh grid that leaves the fabric open and slightly stretchy across the whole length of the garment. The square neckline sits wide enough to slide off one shoulder without any extra shaping worked in, and the short sleeves end in a firmer ribbed cuff that keeps them from losing their shape. Anyone who has worked the mesh stitch on its own will recognise exactly how each row builds here.
Crochet Off Shoulder Sweater

Coral colorway shows off the open grid well because the gaps read cleanly against a single solid tone. Construction moves from the body panels to the sleeves separately before everything is seamed at the shoulder, which makes sizing adjustments straightforward at each stage. The pattern is listed as beginner friendly and the stitch repeat is short enough that the rhythm sets in quickly.
Materials
- A 4.0 mm crochet hook
- Yarn in your chosen weight (amount based on your size)
- Measuring tape
- Stitch markers
Stitch to Master
The Pattern
All stitch counts are based on your own body measurements — the numbers given are the original creator’s example only.
Foundation Chain and Skirt Base
- Measure your hips: Your hip measurement determines the foundation chain length. It needs to be stretchy enough to pass over your hips.
- Chain: Create a foundation chain to match your hip measurement. (The creator used 180 chains.)
- Join the round: Join the two ends of the chain together.
- Round 1: Chain 1, then work 1 double crochet into the first stitch and continue with 1 double crochet in each stitch around. Slip stitch to close the round.
- Body length: Continue working in rounds of 1 double crochet in each stitch until you reach just underneath your armhole. If your waist is significantly narrower than your hips, you can work decreases on both sides around the waist area before continuing straight up. (The creator completed 56 rows for the body section.)
Dividing for the Back and Front Panels
- Once you reach under the armhole, stop working in the round and switch to working flat rows.
- Use a stitch marker to mark one end of the tube, dividing it evenly into two halves — front and back panels.
If you’re still learning how to read crochet patterns, no stress! Follow the video tutorial below and use the written pattern below as you get more comfortable!
The Back Panel
- From your current working point, chain 1 and work 1 double crochet in each stitch until you reach the stitch marker.
- Chain 1, turn, and continue working back and forth in rows of 1 double crochet until you reach your desired shoulder depth. (The creator worked 12 rows for the back panel.)

The Front Panels (Shoulder Straps)
- To shape the front neckline, skip a gap of stitches between straps to leave the neckline open. Attach your yarn leaving a space of skipped stitches.
- Chain 1 and work 1 double crochet into the first stitch, then continue across a designated number of stitches to form the shoulder strap. (The creator used 10 stitches for the strap width.)
- Chain 1, turn, and work back and forth in rows of double crochet for the same number of rows as the back panel (12 rows).
- Repeat for the second shoulder strap on the other side, then join the front and back shoulder seams together using single crochet.
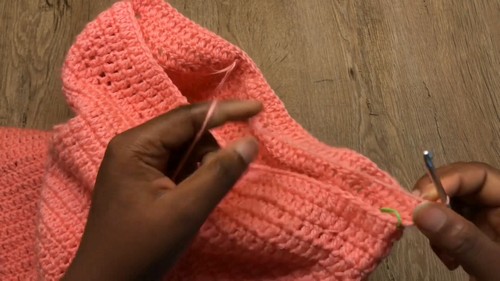
The Sleeves
- Base round: Attach yarn and work 1 single crochet in each stitch all the way around the armhole opening. Slip stitch to close the round.
- Sleeve rounds: Chain 1, then work 1 double crochet in each stitch around. Slip stitch at the end of each round, chain 1, and repeat. Continue in rounds of double crochet until the sleeve reaches your desired length. (The creator worked 12 rows.)
- Clean up: Finish the sleeve edge with one final row of single crochet.
- Repeat the entire sleeve process for the second armhole.
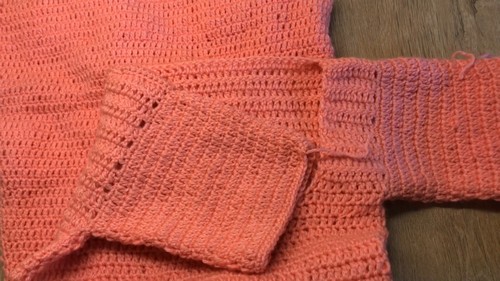
Finishing
- Optionally, work a final row of single crochet around the neckline to give it a clean edge.

A Few Tips
- Measure before you chain. The foundation chain must clear your hips — crochet the chain, join it into a loop, and try it over your hips before building the body. Adjusting at the chain stage costs you nothing; adjusting 40 rows in costs a lot.
- Mark the front-back divide clearly. The stitch marker placed when you split the tube is what keeps both panels the same width. Don’t skip this step.
- Match your row counts. The back panel, both front straps, and both sleeves should all be worked to the same number of rows so the finished top sits evenly on the shoulders.
Frequently Asked Questions
1. Can I make this as a dress instead of a top? Yes — just work more body rounds before splitting for the panels. The entire construction is the same; only the body length changes.
2. How wide should I make the shoulder straps? That’s your design choice. The creator used 10 stitches per strap. Wider straps (15 to 20 stitches) give more coverage; narrower straps (5 to 8 stitches) are more delicate. The total stitch count of both straps plus the neck gap should equal the full front panel width.
3. The body flares out more than I want — what can I do? The pattern notes an optional waist decrease. If the tube is too wide at the waist, work 2-stitch decreases at each side seam every few rounds in the waist area, then work straight again until the armhole.