Jeans and a crochet turtleneck sweater cover most of autumn without much thought. Worked top down in one piece, so the only seaming happens under the arms and you can stop to check the fit as you go.
Mustard yellow is one of those autumn shades that works whether you are pairing it with dark jeans or layering it under a coat, and the deep ribbing throughout this sweater gives it the kind of texture that photographs as well as it wears. The raglan yoke grows from the turtleneck down so the whole garment is one connected piece with no panels to join afterward. Anyone who worked through the high neck sweater will find the construction logic here familiar, just with a fuller silhouette and deeper sleeve shaping.
Crochet Raglan Turtleneck Sweater
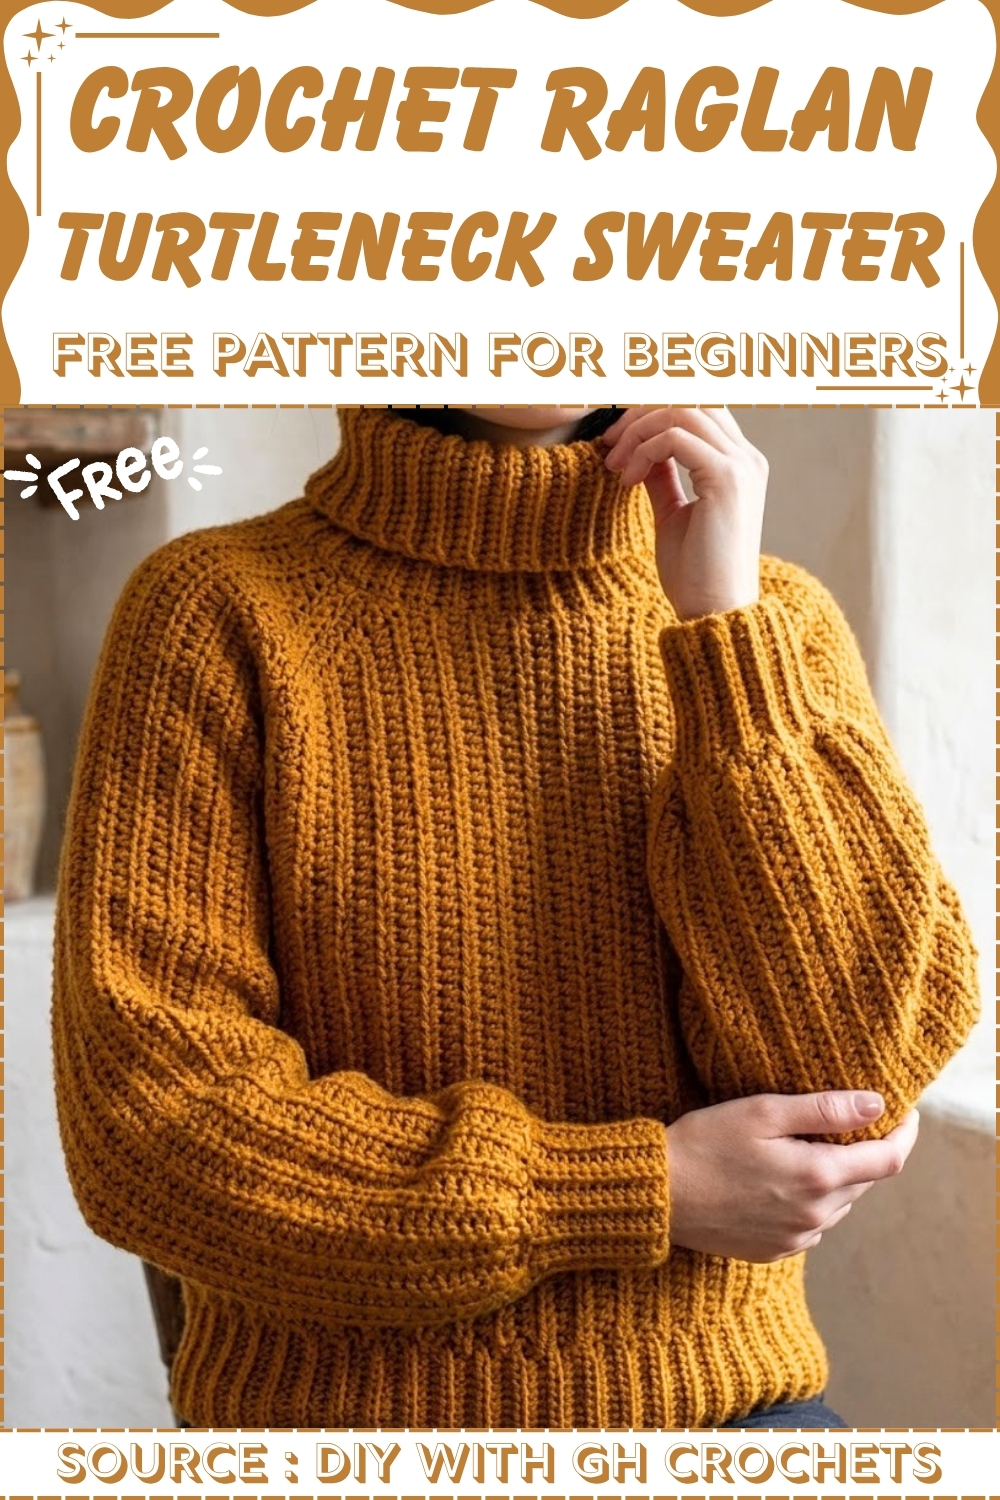
Ribbing runs from the collar all the way through the sleeves and body, which is what gives the finished piece that dense, cozy hand feel without adding any extra stitch variety to learn. The turtleneck folds over naturally and can be left tall or scrunched down depending on preference. Puffed sleeves taper into fitted ribbed cuffs at the wrist for a shape that stays polished rather than boxy.
Why I love this one: the shaped panels and ribbed details make it genuinely more fitted and finished than most crochet sweaters, without requiring any stitch complexity beyond half double crochet and single crochet.
Materials and Tools
- Acrylic yarn, held double throughout (the creator works with two strands together for extra weight and body)
- A 4.5 mm crochet hook
- Stitch markers
- Yarn needle
- Measuring tape
Useful Stitch to Learn
Difficulty and Time
This is an intermediate project. The stitch work is simple — half double crochet and single crochet throughout — but the construction has real structure: shaped body panels with increase and decrease sections, separate shaped sleeves, and four separate ribbed bands (two cuffs, one waistband, one turtleneck) worked and attached individually. Expect a multi-session project. The ribbed bands alone take time, but they’re the detail that makes the finished sweater look polished.
The Pattern
The sweater is built from two shaped body panels, two shaped sleeves, and four separately-worked ribbed bands — all assembled and seamed together. Hold two yarn strands together throughout.
Step 1: Main Body Panels (Make 2)
Foundation chain
- Chain 25, plus 2 turning chains.
Row 1
- Skip the first 2 loops and work a half double crochet in the 3rd loop. Continue half double crochet across the entire chain.
Rows 2–17 (Increases)
- Chain 2 and turn. Work 2 half double crochet in the very first loop to increase. Then half double crochet across to the end.
- On alternating rows, work the increase at the end of the row instead (2 half double crochet in the final loop) to keep the base flat.
- Repeat until you have completed 17 rows total.
Rows 18–27 (Straight Section)
- Chain 2, turn, and work a half double crochet in the very first loop.
- Work 10 rows of regular half double crochet with no increases and no decreases.
- Place a stitch marker at both ends to keep track.
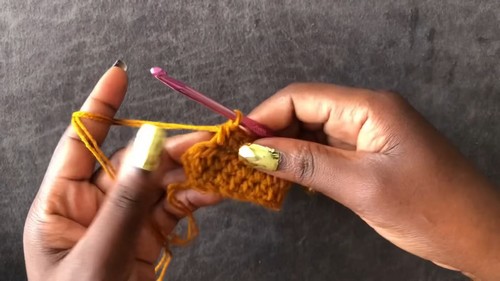
If you’re new to reading crochet patterns, don’t worry, just follow along with the video tutorial below and use the written pattern as a reference!
Rows 28–44 (Decreases)
- Chain 2 and turn.
- Work a decrease at the beginning of the row: pull up a loop in the first stitch, pull up a loop in the next stitch, and pull through all loops.
- Continue half double crochet across. On alternating rows, work the decrease at the end of the row instead.
- Continue decreasing until you have completed 17 rows total to mirror the increase section.
Step 2: Cleanup Border for Body Panels
- Attach your yarn at the stitch marker on the inside edge of the piece.
- Chain 1, then work single crochets evenly across the top edge.
- Work 4 rows of single crochet cleanup on both the front and back panels.
Step 3: Sleeves (Make 2)
Foundation chain
- Chain 60, plus 2 turning chains.
Row 1
- Skip the first 2 chains, work a half double crochet in the 3rd chain, and half double crochet across.
Rows 2–17 (Increases)
- Chain 2, turn, and work an increase (2 half double crochet) in the first loop.
- Continue half double crochet across for 17 total rows of increases, keeping the bottom flat.
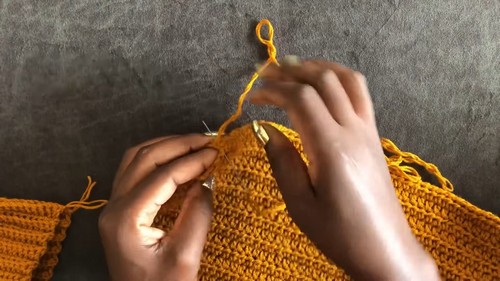
Rows 18–20 (Straight Section)
- Work 3 rows of regular half double crochet with no increases and no decreases.
Rows 21–37 (Decreases)
- Work 17 rows of decreases, mirroring the increase side — decreasing at the end or beginning of alternating rows to match the body panel shape.
Step 4: Sleeve Cuffs (Make 2)
Foundation chain
- Chain 15, plus 2 turning chains.
Row 1
- Skip the first 2 chains and work a single crochet down the chain.
Ribbing rows
- Chain 1, turn, and work single crochet exclusively in the back loops only.
- Continue for 28 rows total.
- Stitch the cuff closed into a loop and attach it to the end of the sleeve. Repeat for the second sleeve.
Step 5: Assembly and Stitching
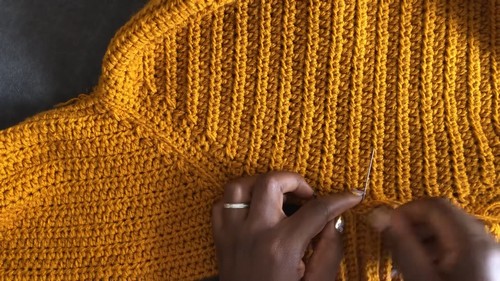
- Attach sleeves to body: Align the 17 rows of the sleeve with the 17-row increase and decrease section of the front and back panels. Use a yarn needle to stitch them securely together.
- Seam the sides: Fold the sweater and stitch down the side seams and underarms.
Step 6: Lower Waistband (Ribbing)
Foundation chain
- Chain 12, plus 2 turning chains.
Ribbing rows
- Work single crochet in the back loops only for approximately 80 to 85 rows — or custom fit the length to your own waist measurement.
- Stitch the ends of the waistband together to form a loop, then sew it onto the bottom edge of the sweater body.
Step 7: Turtleneck Collar
Foundation chain
- Chain 30, plus 2 turning chains.
Collar rows
- Skip the first 2 loops and work a single crochet across.
- Chain 1, turn, and work single crochet in the back loops only for 38 rows total.
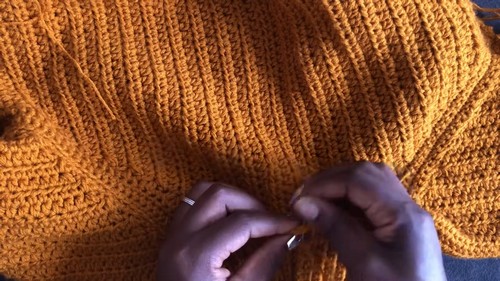
- Stitch the short ends of the collar band together to form a tube.
- Find the center point of the neckline, align the collar evenly around the neck opening, and stitch it securely onto the top of the sweater.
Tips and Troubleshooting
- Match your panel shapes precisely before assembly. The sleeves are designed to align with the 17-row increase and decrease sections on the body panels — if both sides aren’t the same row count, the seam won’t line up cleanly. Count and compare before you start joining.
- Custom fit the waistband. The 80 to 85 row range for the waistband is a starting point. Wrap the growing ribbed strip around your waist as you work and stop when it fits rather than when you hit a specific number.
- Centre the collar before stitching. Finding the centre point of the neckline before attaching the collar keeps the turtleneck sitting evenly rather than skewing to one side. A stitch marker at the centre back and centre front of the neck opening makes alignment straightforward.
- Work the cleanup border before assembly. The 4-row single crochet border on the body panels tidies the shaped edges and gives you a clean, even surface to align with the sleeves. Don’t skip it or attach the sleeves directly to raw edges.
Customization Ideas
- Adjust the waistband length. Measuring the band against your own body gives a fully custom waist fit regardless of your size.
- Change the turtleneck height. More rows on the collar band give a taller, fold-over turtleneck; fewer rows create a lower mock neck.
- Skip the waistband. The sweater works without it for a straighter, more relaxed silhouette — just leave the bottom edge as-is or add a simple single crochet border.
- Change the cuff depth. More or fewer ribbing rows on the cuff adjusts its width for a shorter or taller wrist band.
- Use a single strand for a lighter version. Doubling the yarn gives weight and warmth; a single strand on the same hook gives a lighter, more drapey summer or layering version.

Frequently Asked Questions
1. Why does this use half double crochet for the body but single crochet for the ribbing? The half double crochet gives the body a softer, slightly open fabric that holds its shaped structure well. The single crochet in back loops only gives the ribbed bands (cuffs, waistband, collar) their dense, stretchy texture that can hug the body. The two stitches together give you the best of both — structure in the body and stretch at the edges.
2. What does “hold two strands together” actually mean in practice? You pull a strand from two separate balls of yarn simultaneously and work them as though they were one strand. Both strands go onto the hook and through each stitch together. The result is a heavier, thicker fabric than either strand alone.
3. How do I know how many rows to work on the waistband? Wrap the growing ribbed strip around your waist after every 10 or so rows and check the fit. Stop when the ends meet comfortably — not stretched tight, but with a slight ease. This gives a custom fit regardless of whether your measurement falls within 80 or 85 rows or outside that range.
4. Why are the ribbed bands made separately and sewn on rather than worked directly onto the sweater? Working the ribbing as separate strips and attaching them gives you much more control over the length and fit of each band before committing to the join. It also means you can adjust or redo a band if it’s too short or too long without touching the main sweater body.