Office workers layer crochet V neck sweater vests over crisp collared shirts all through autumn. Skip the shirt underneath and the vest from this free V neck crochet vest pattern wears as a sleeveless top on warm days.
Shirt underneath vest combination has been consistent for a few seasons now, and this grey V neck is built exactly for that layering moment. The V is deep enough that a collar sits cleanly inside it, and the cropped length means it hits at the waist rather than swamping a tucked shirt. Anyone who has already made the slouchy sweater vest will notice this one is trimmer through the body and more structured at the shoulders.
Crochet Sweater Vest
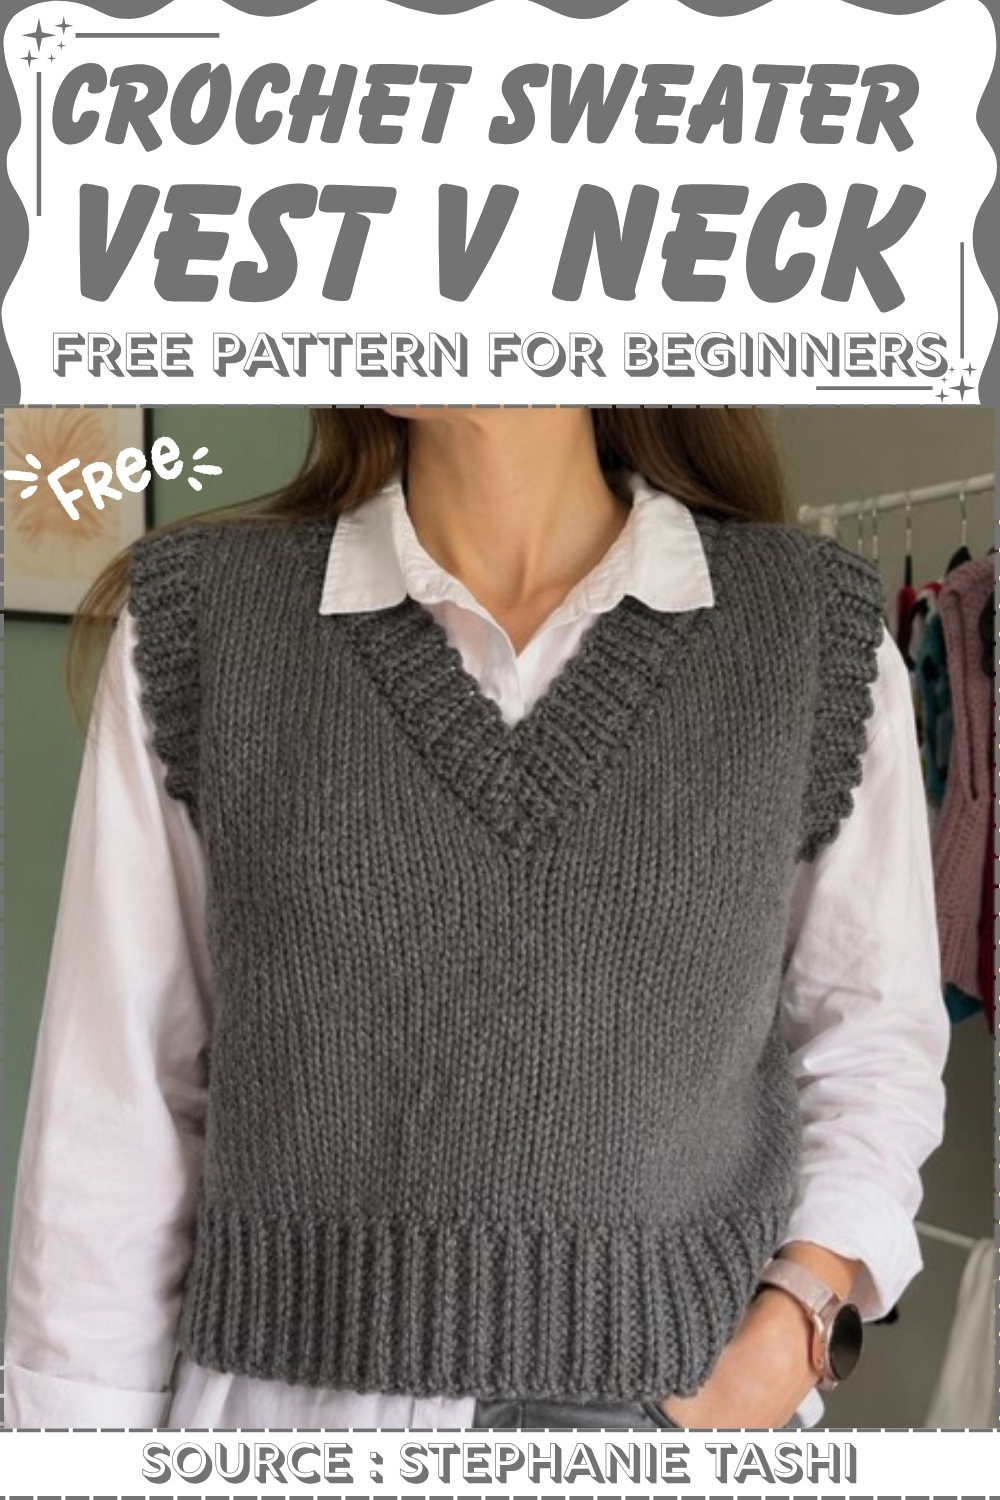
Body is worked in smooth horizontal rows that give the fabric a dense, even weight without any open texture. Ribbed edging at the hem and armholes pulls those edges in and keeps the shape from spreading after blocking. The V neck shaping is worked by decreasing down both front panels simultaneously, which keeps the angle symmetrical without any tricky counting.
Materials and Tools
- Approximately 450 grams of medium weight (Category 4 / worsted) yarn for a size small
- A 6 mm hook for the main body
- A 5 mm hook for all trims (the smaller hook tightens the trim edges naturally)
- Stitch markers
- Scissors
- Darning needle
Master This Stitch First
Difficulty and Time
This is an achievable project for anyone comfortable with basic slip stitches who is willing to go slowly through the first panel. The technique itself is simple — slip stitch in the back loop, turn, repeat — but the shaped panels require row-by-row attention and accurate counting. The multi-size row counts mean you also need to know your target size before you start. The trims are worked separately and sewn on, which is more forgiving than building them in.
Technique Notes for Beginners
Here’s a careful walkthrough of every technique in this pattern.
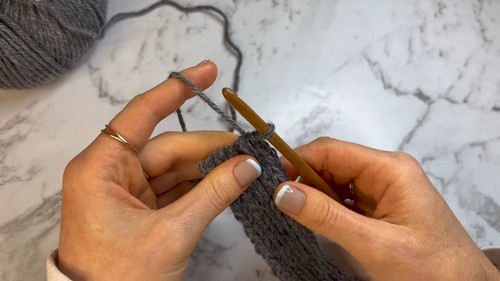
- Back-loop-only slip stitch (BLOSST): A regular slip stitch goes into both loops at the top of the stitch. This one goes into the back loop only — the loop farther from you. Insert your hook under just that one loop, yarn over, and pull through both loops on your hook. The front loop left behind creates the raised horizontal ridge that reads as knitting. Tip: before every stitch, pause and confirm you’re only seeing your hook under one loop, not two. The most common beginner error in this pattern is accidentally catching both loops.
- Standard row: Chain 1, turn, then work back-loop-only slip stitches across all stitches to the end. The chain-1 does not count as a stitch. Tip: don’t pull the chain-1 too tight — a too-tight turning chain makes the edge curl.
- Increase (Inc): Work 2 back-loop-only slip stitches into the exact same stitch. This adds 1 stitch to your total. Used on one edge only to grow the piece toward the shoulder.
- Decrease (Dec): Insert hook into the back loop of the first stitch, yarn over and pull up a loop. Insert hook into the back loop of the second stitch, yarn over and pull up a loop (3 loops on hook). Pull the first loop completely through the remaining two loops. This removes 1 stitch.
- Sideways construction: The panels are worked in rows that run from waist to shoulder (not from bottom hem to neckline). When you finish and fold the piece correctly, your rows become the vertical ribbing columns. This is the only reason the fabric looks knit — the direction is everything.
- The 5 mm trim hook: Switching to a smaller hook for all trims — armhole, neckline, and waistband — tightens the fabric slightly so the edges grip cleanly without being stiff.
- Mitered armhole trim: The armhole trim is built with slanted ends (a custom V-shape) so the corners sit flat in the armpit. You increase on one side only to build the angle, work a straight section, then mirror the decrease. Tip: sew the slanted ends together into a closed loop before attaching to the vest — it’s much easier to sew while flat.
The Pattern
Section 1: Front Panel
Step 1 — First underarm section (straight ribs)
- Foundation: Chain 24.
- Row 1: Skip the first chain. Slip stitch into the 2nd chain from the hook and each chain across. (23 stitches.)
- Rows 2–6: Chain 1 and turn. Back-loop-only slip stitch across. (23 stitches.)
- Sizing: S = 6 rows, M = 8 rows, L = 10 rows, XL = 12 rows.
Step 2 — Underarm to shoulder slant (increases)
Increase at the top edge of the vest on every other row to grow the piece up toward the shoulder.
- Row 7 (odd row): Back-loop-only slip stitch across until 1 stitch remains. Work 2 back-loop-only slip stitches into the last stitch (increase). (24 stitches.)
- Row 8 (even row): Chain 1 and turn. Back-loop-only slip stitch across with no increases. (24 stitches.)
- Rows 9–16: Repeat this alternating pattern — increase at the end of every odd row, work straight on even rows.
- Sizing: S = 10 rows total (bringing the count to Row 16, with 5 increases / 28 stitches). M = 12 rows, L = 14 rows, XL = 16 rows.
Step 3 — First shoulder section and armhole extension
- Row 17: Work a regular back-loop-only slip stitch row up to the top edge. At the very end, chain 31 to create the shoulder height extension.
- Row 18: Skip the first chain. Work a back-loop-only slip stitch into the remaining 30 chains, then continue working back-loop-only slip stitches down into the main body stitches to the bottom waist. (58 stitches total.)
- Rows 19–24: Chain 1 and turn. Back-loop-only slip stitch across with no increases or decreases.
- Sizing: S = 8 rows total for this section. M = 10 rows, L = 12 rows, XL = 14 rows.
Step 4 — V-neck shaping (decreases)
Decrease at the top edge to create the V-neck slope down toward the center of the chest.
- When working up to the neckline, stop when 2 stitches remain and work a decrease.
- Chain 1 and turn. Immediately start the next row with a decrease, then work straight down to the waist.
- Repeat this decrease pattern until you reach the center point of the V-neck.
- Sizing: S = 34 rows, M = 38 rows, L = 42 rows, XL = 46 rows.
Still getting the hang of reading crochet patterns? That’s completely okay, the video tutorial below breaks everything down in a simple, beginner-friendly way!
Step 5 — Center pivot rows
- Work 2 straight rows across all remaining stitches with no increases or decreases. This marks the exact center of the V-neck.
Step 6 — V-neck shaping (increases)
Mirror the neckline back up to the shoulder height.
- Work an increase at the end of every odd row (top edge). Chain 1 and turn. Work an increase into the very first stitch of every even row.
- Match the exact number of rows you worked for the decreases. (S = 34 rows.)
Step 7 — Second shoulder section
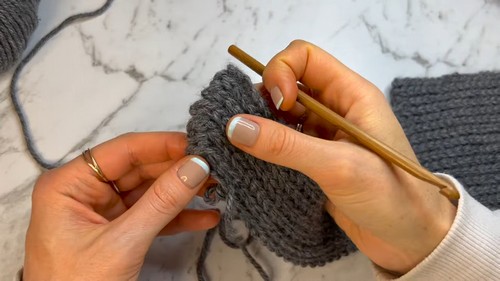
- Work straight rows across all 58 stitches with no modifications to replicate the first shoulder. (S = 8 rows total.)
Step 8 — Second underarm slant (decreases)
- Row 1: From the bottom waist, work 28 back-loop-only slip stitches up the row. Chain 1 and turn. (Leaving the rest of the shoulder stitches unworked to drop the armhole back down.)
- Remaining rows: Alternate — decrease at the start of even rows (inner edge) and work straight on odd rows to match the first underarm slant. (S = 10 rows total.)
Step 9 — Final underarm section (straight ribs)
- Work straight back-loop-only slip stitch rows across the remaining 23 stitches. (S = 6 rows total.) Fasten off.
Section 2: Back Panel
The back panel follows the exact same construction as the front panel for all underarm and shoulder sections. The only difference is a shallower neckline.
- Follow Front Panel Steps 1, 2, and 3 completely.
- Neckline drop: Instead of the long V-neck section, work 4 rows of decreases at the top edge (4 decreases total).
- Straight back section: Work straight rows with no modifications. Sizing: S = 54 rows, M = 58 rows, L = 62 rows, XL = 66 rows.
- Neckline return: Work 4 rows of increases at the top edge to bring the stitch count back up.
- Follow Front Panel Steps 7, 8, and 9 completely to finish the back panel. Fasten off.
Section 3: Assembly and Trims
Switch to the 5 mm hook for all trims.
Seaming the panels
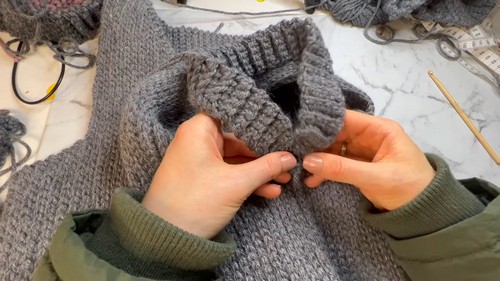
- Lay the back panel flat with the right side facing up. Place the front panel on top with the right side facing down. Sew the panels together along the shoulder seams and the lower side seams under the armpits using a darning needle or crochet hook.
Armhole trims (make 2)
Using the 5 mm hook:
- Foundation: Chain 2. Skip the first chain, work 1 single crochet into the 2nd chain. Chain 1 and turn.
- Increase phase (back loop only throughout):
- Row 2: Work 2 back-loop-only single crochets into the single stitch. Chain 1 and turn. (2 stitches.)
- Row 3: Work 2 back-loop-only single crochets into the first stitch, 1 in the next. Chain 1 and turn. (3 stitches.)
- Row 4: Work 1 back-loop-only single crochet in the first 2 stitches, 2 in the last. Chain 1 and turn. (4 stitches.)
- Row 5: Work 2 back-loop-only single crochets into the first stitch, 1 in each remaining stitch. Chain 1 and turn. (5 stitches.)
- Straight body phase: Work straight rows of 5 back-loop-only single crochets until the band is long enough to wrap around the armhole opening. Sizing total rows including increases: S = 55, M = 61, L = 67, XL = 73.
- Decrease phase: Mirror the start by decreasing on the same slanted side, one row at a time, until 1 stitch remains. Fasten off, leaving a long tail for sewing.
V-neckline trim
- Follow the same armhole trim method, but increase until you have 6 stitches wide instead of 5 (for a slightly thicker collar).
- Straight body row lengths: S = 76 rows, M = 84 rows, L = 92 rows, XL = 100 rows total.
- Mirror the decreases at the end down to 1 stitch. Fasten off.
Waistband trim
- Foundation: Chain 11.
- Work 10 single crochets across (skip the first chain). Work back and forth in back-loop-only single crochet, 10 stitches per row.
- Work until the trim matches the circumference of the vest bottom. A slightly shorter trim cinches the waist; matching the circumference gives a straight edge.
- Sizing rows: S = 108, M = 118, L = 128, XL = 138. Fasten off.
Attaching the trims
- Arm and neck trims: Sew the slanted mitered ends together first to form closed loops. Pin evenly around the armholes and neckline using stitch markers, stretching the neckband slightly across the back panel so it sits flat. Whipstitch securely to the raw vest edges.
- Waistband: Sew the short ends together, pin around the bottom perimeter, and sew in place.
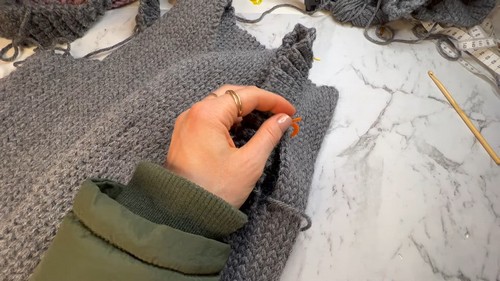
- Weave in all remaining loose yarn tails inside the vest and turn it right-side out.
Tips and Troubleshooting
- Count your stitches after every increase and decrease row. With back-loop-only slip stitches, it’s easy to misjudge where a stitch ended and where the next began. A quick count after shaping rows catches errors while they’re still one row deep.
- Work the chain-31 shoulder extension loosely. A tight chain creates a tight shoulder edge — work with relaxed tension here since this chain becomes the top of the shoulder and needs to sit flat once sewn.
- Mark the center pivot rows on the V-neck. Those 2 straight rows at the center are your reference point for the second half of the V. Put a marker there so you know where the mirror starts.
- Sew armhole trims into a loop before attaching. Joining the mitered ends while the trim is flat (not yet pinned to the vest) is much easier than trying to close the loop after it’s already sewn around a curved armhole.
- Try the vest on before attaching the waistband. The waistband row count is a guide — checking the actual circumference against your body before you start sewing saves you from a band that’s slightly off.

Yarn Substitution
The pattern uses approximately 450 grams of worsted (Category 4) yarn for a size small. Any smooth worsted will work on the same hooks — a smooth yarn shows the back-loop ribbing most clearly, while a softly textured yarn blurs it slightly. Avoid very fuzzy or hairy fibers since they fill in the loop gaps and reduce the knit-look effect. If you swap yarns, the stitch gauge may change slightly, so measure a swatch of the back-loop-only slip stitch and check that your ribbing is as dense and even as the photos show.
Frequently Asked Questions
- 1. Is this pattern actually beginner-friendly even though it has so many rows? The stitch itself — back-loop-only slip stitch — is genuinely simple. The row count is high because slip stitches are short and the sideways construction needs many rows to build width. But each row is the same, and the shaping rows only change one thing at a time. Take it section by section rather than looking at the total.
- 2. What does “worked sideways” mean and why does it matter here? Instead of starting at the hem and building toward the neckline, you start at the side seam and build toward the other side seam. Each row runs from waist to shoulder. When you’re done and fold the piece correctly, those rows become the vertical ribs you see — that’s the only reason the fabric reads as knit rather than crochet.
- 3. My slip stitches look too tight and the fabric won’t lie flat — how do I fix it? Loosen your tension. Back-loop-only slip stitches naturally want to be tight, and forcing them produces a stiff, curling fabric. Work each stitch with a slightly longer pull-through than feels comfortable — the fabric should feel flexible and drape when you hold it up. If it still curls, try going up half a hook size on the body.
- 4. The sizing chart has row counts for S, M, L, and XL — how do I know which to use? Decide before you start and stick to the numbers for your target size throughout. The row counts build on each other — using Small numbers for some sections and Medium for others will produce a misshapen panel. If you’re between sizes, swatch first and choose the count that gives you the width and length you need.
- 5. Can I make this longer as a regular vest instead of a cropped one? Yes — add extra rows to the shoulder section and the straight back section to lengthen the vest. The foundation chain (chain 24) controls the waist-to-shoulder height, so you may also want to start with a longer foundation chain if you want more body length.