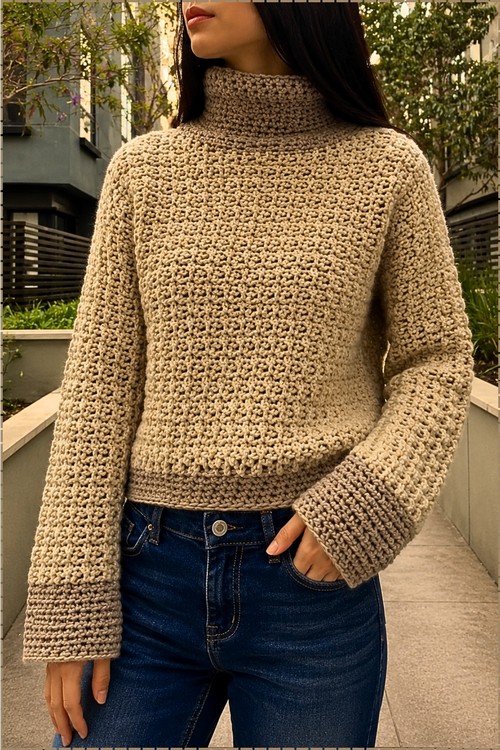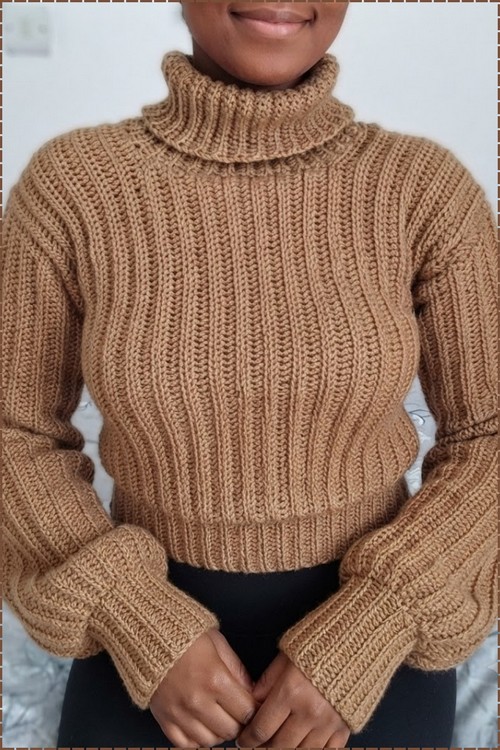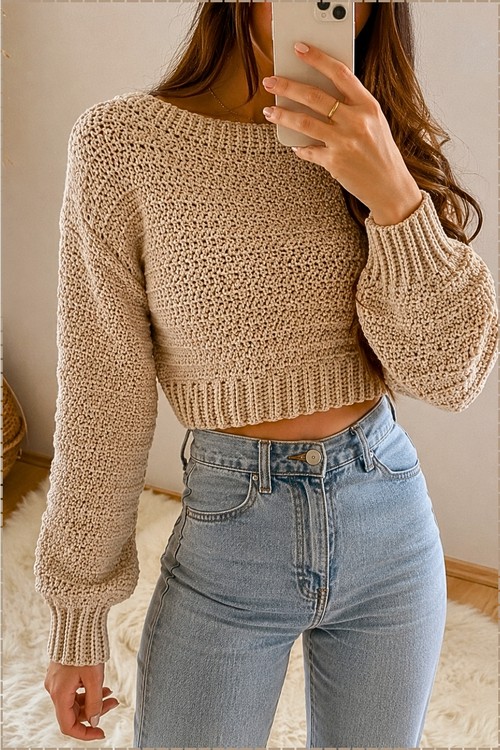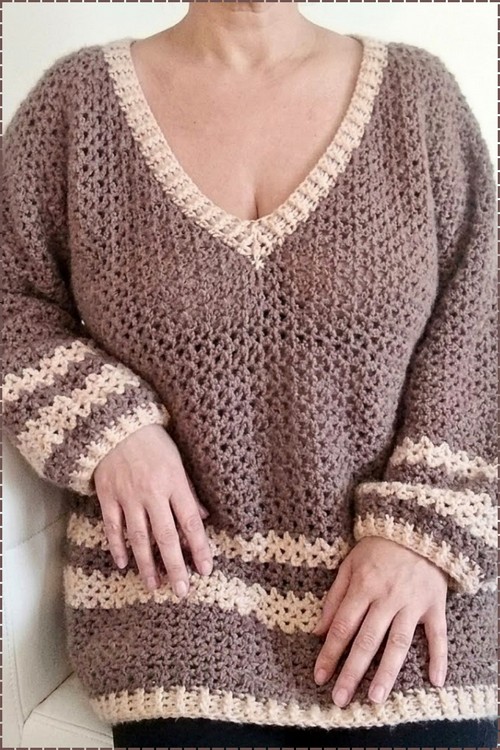
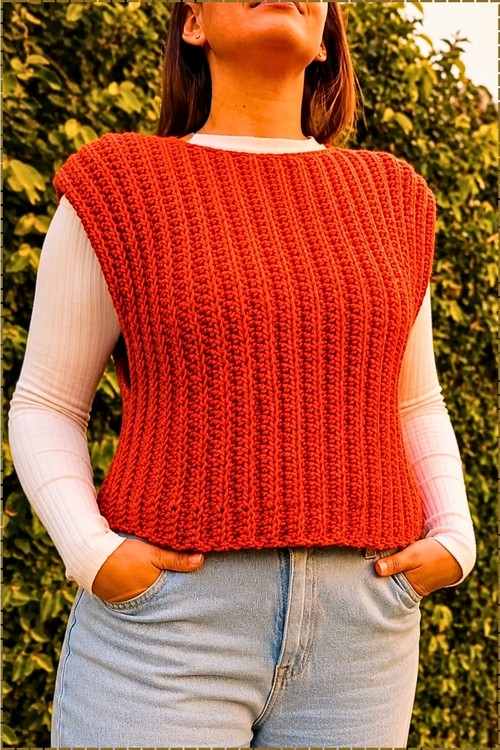
Cool autumn mornings call for a bulky crochet sweater vest with boxy cap shoulders and a straight hem that lands right at the hip, just above light wash jeans. Sizes S through XL let the free bulky yarn crochet pattern fit you, a sister, or a friend who lives in chunky pullovers.
Rust orange and a dense vertical rib that runs straight from shoulder to hem without breaking. This bulky crochet sweater is a vest, worked in two flat panels and seamed at the sides, and layered over a white long sleeve top it sits closer to a sweater vest than anything slouchy despite needing only one stitch throughout.
Bulky Crochet Sweater
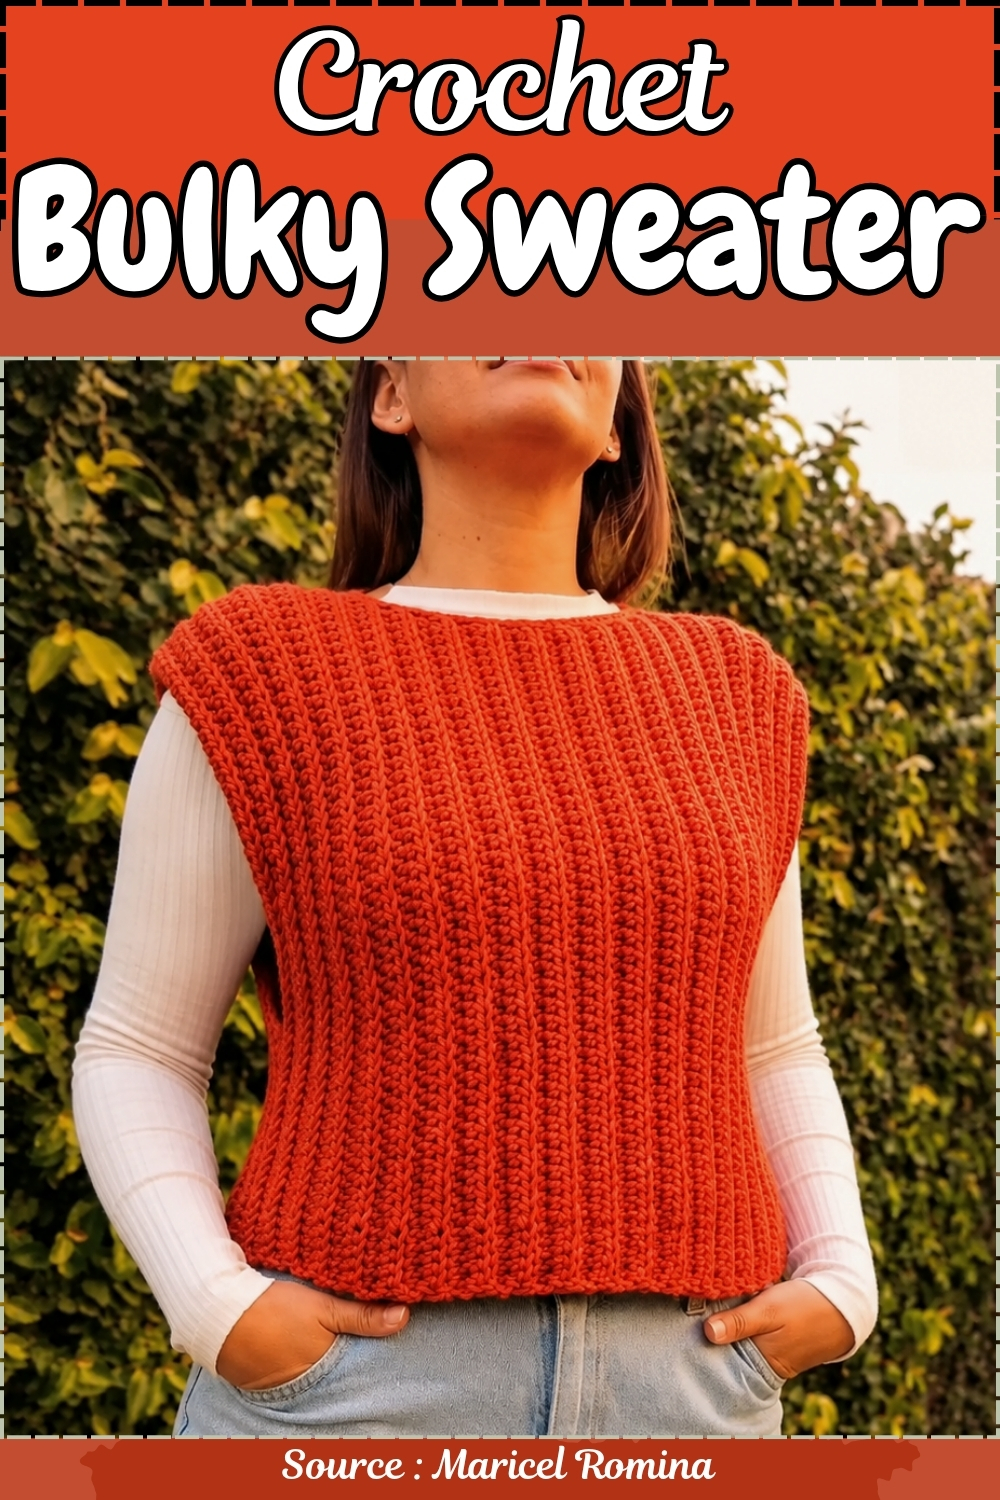
The whole effect comes from working into the back loop only on every row. That single adjustment turns a plain stitch into a raised vertical column that runs the full length of the panel, giving the fabric a knit rib look without any post stitches or direction changes. Two panels, one seam at each side and a wide open neckline left unshaped are all the construction this one needs.
I love this one because the back loop ribbing does something a flat stitch never quite manages — it makes the fabric feel like it was meant to be worn rather than displayed.
Materials and Tools
- Semi-thick yarn at approximately 2 mm thickness (any smooth, firm yarn with good stitch definition will show the ribbing clearly)
- A 7 mm crochet hook for the main fabric (a 6 mm hook works too and gives a slightly smaller, tighter result)
- Stitch markers, at least two, to track the bottom band section on every row
- A yarn needle for seaming the side and shoulder joins
- A measuring tape, used consistently throughout for sizing
Stitch Abbreviations Used
- ch: chain
- sc: single crochet
- hdc: half double crochet
- sl st: slip stitch
- BLO: back loop only
- FP: front post
Know This Stitch First
Sizing
Three widths are given and you choose by measuring the back panel as you go rather than by row count. Work without stretching the ribbing when you measure, since the fabric has natural stretch built in.
- Size S to M: work until the panel measures approximately 18 cm wide
- Size M to L: work until approximately 20 cm wide
- Size L to XL: work until approximately 22 cm wide
The length of both panels is controlled by your foundation chain: the chain runs from shoulder to waist, so adjust it to your own body before you begin.
The Pattern
Step 1: Foundation Chain for the Back Panel
- Make a slip knot and work a foundation chain measured from your shoulder to your waist
- Keep this initial chain loose throughout; tension here affects the entire first row
- The example in the original uses 50 chains for a short vest ending at the waist [50 ch]
- Add 3 turning chains to account for the height of the first row [53 ch total]
Step 2: First Row and Establishing the Ribbed Structure
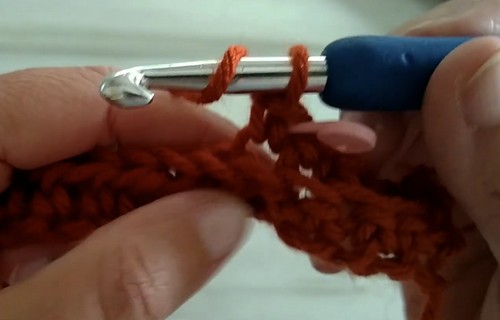
- Count back from the hook, skip the first 3 chains, and work a half double crochet into the 3rd chain from the hook
- Continue working half double crochets almost to the end of the chain
- When you are a few stitches from the edge, count 5 stitches from the end and place a stitch marker in the 5th stitch
- Work half double crochets up to the marker
- At the marker, switch to single crochet for the last 5 stitches to the end of the row [5 sc]
- Ch 1 and turn
Just starting out with crochet? The video tutorial below is a great place to begin, or challenge yourself with the written pattern below!
Step 3: Ribbed Rows (Repeat for the Full Panel Width)
- Work every stitch of every row in the back loop only throughout this section — this is what creates the ribbed texture
- Work the first 5 stitches as single crochets in the BLO [5 sc BLO]
- Place a stitch marker in this section so you can identify it easily on every row going forward
- Work the rest of the row as half double crochets in the BLO
- At the very end of the row, work the final stitch through both loops of the edge chain for extra reinforcement
- Ch 2 and turn
- Repeat this row structure, working 5 sc BLO at the bottom band and hdc BLO across the body, on every row from here forward
Step 4: Work to Your Size Width
- Continue the ribbed rows, measuring the panel width as you go without stretching the fabric
- Stop when the panel reaches the correct width for your size: approximately 18 cm for S to M, 20 cm for M to L, or 22 cm for L to XL
- Make a note of exactly how many rows you completed; the front panel must match this count exactly
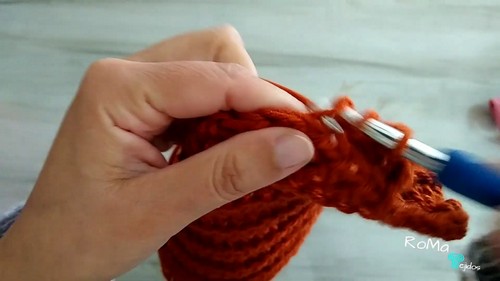
Step 5: Neckline Division — First Shoulder
- At the neckline edge, leave 6 stitches unworked to create the neck opening
- Work your row up to those 6 stitches, secure the edge stitch through both loops, ch 1, and turn
- Continue working rows back and forth on this first shoulder section only
- Work until this shoulder section measures between 18 cm and 20 cm in length
- Cut the yarn and fasten off
Step 6: Second Shoulder Construction
- Locate the start of the second shoulder section on the opposite side of the neck gap
- Attach your yarn at that point
- Chain the same number of stitches as the neck gap you left open [7 ch in the example]
- Turn the chain to face the right side, skip 1 chain, and work half double crochets into the remaining chains
- Continue working rows in the established pattern, matching the exact same number of rows as the first shoulder section
- This completes the front panel
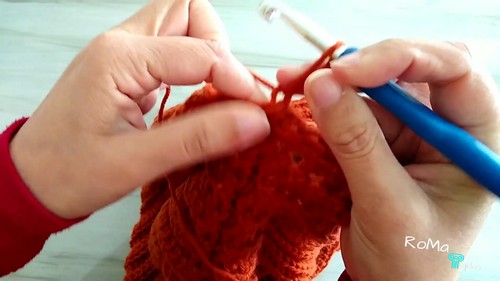
Step 7: Make the Back Panel
- Work the back panel exactly as the front, following Steps 1 through 4
- The back panel does not have the neckline division: work it as a single uninterrupted piece to the same width as the front
Step 8: Seaming the Sides
- Lay the front and back panels with right sides facing together
- Attach yarn at one bottom lateral edge and sl st the side seam closed, working loosely so the seam stays stretchy
- Take one loop from each panel and slip stitch through both, keeping the yarn relaxed rather than pulling it taut
- Leave a large enough armhole opening at the top of each side seam, at least 25 cm, before fastening off
- Repeat on the second side seam
Step 9: Seaming the Shoulders
- Align the shoulder edges with right sides together
- Attach yarn at a shoulder corner and sl st the shoulder seam closed using loose slip stitches
- Fasten off and repeat for the second shoulder
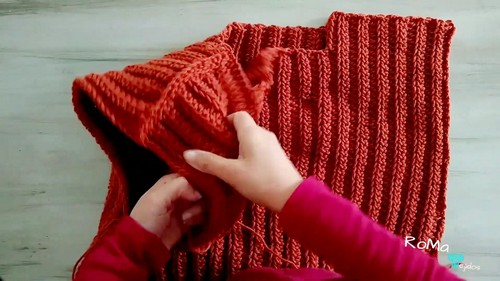
Step 10: Collar Finishing
- Turn the garment to the wrong side and attach yarn at the neckline
- Work a full round of single crochets all the way around the collar opening
- Turn the work to the right side and ch 1
- Work a decorative front post edging round by inserting the hook from front to back around each stitch and working a single crochet all the way around the collar
- To finish, work the final stitch, pull the working yarn through, insert the hook into the very first stitch of the round, pull the tail to the back, secure with a knot, and weave in the end
Tips and Troubleshooting
- Make sure your foundation chain is genuinely loose before you start the first row. Ribbed panels that pull at the bottom almost always trace back to a tight foundation chain, and it is the one thing you cannot fix later without restarting.
- Measure the panel width by laying it flat and measuring across the body, not along the length. The ribbing direction runs vertically, so width grows with every new row you add, not with the length of each row. If you are losing track of which measurement is which, mark the row edges with a scrap of yarn and measure between them.
- When you slip stitch the seams, err loose every time. Seams on stretchy ribbed fabric that are worked too tight will create rigid lines that interrupt the drape of the whole vest. A relaxed slip stitch seam disappears into the fabric; a tight one bunches and shows.
Yarn Substitution
The pattern calls for semi-thick yarn at around 2 mm thickness, which places it at the firmer end of a DK weight. What matters most here is stitch definition: the back loop ribbing needs a yarn that holds a clear V so the BLO technique has something to grip. Soft, loosely spun yarns will blur the rib and the fabric will look more like a textured mesh than a clean ridged column. A smooth cotton or cotton blend gives excellent definition and works well in warmer months. Wool or acrylic with a smooth ply works too. Avoid anything too fuzzy or halo-heavy unless you are comfortable with the ribbing reading as soft texture rather than structure.
Customization Ideas
- Lengthen the foundation chain to bring the vest to hip length or midi length
- Shorten it to a crop that lands above the waist for a warmer season layer
- Work the front and back panels in different colors for a color block effect
- Add an extra two to three inches to the armhole opening measurement for a more relaxed, oversized fit
- Work one or two extra rows of the front post collar edging for a chunkier, more defined neck finish
- Use a contrast color for the collar and seaming yarn to frame the garment visually
Frequently Asked Questions
- The item says bulky sweater but the yarn is described as semi-thick. What weight should I actually use? The original uses approximately 2 mm yarn, which sits at the DK to light worsted range. The 7 mm hook is what makes this feel like a bulky, fast project: the large hook opens up the fabric and creates substantial structure even from a lighter yarn. Using a true bulky yarn with the same hook will give a very different gauge, so match the hook size to the yarn weight and swatch before committing to the full panel.
- How do I know when my armhole opening is large enough? The pattern gives a minimum of 25 cm, but try it on the body if you can. Hold the vest up so the shoulder seams sit at your shoulders and check where the armhole opening falls under your arm. You want at least a few centimeters of ease so the vest sits comfortably without cutting into the armpit.
- Can I make this longer into a full sweater with sleeves? Not without significant additional construction. The vest is designed around a panel build with seamed armholes. To add sleeves you would need to pick up stitches around each armhole and work them in the round or flat, which is a separate project structure. This pattern as written is best used as the vest it is.
- My ribbing looks flat instead of ridged. What is going wrong? You are almost certainly working through both loops instead of the back loop only. Stop the row, look closely at the top of the last stitch, and find the back strand of the V shape. That is the only loop the hook should enter. It can feel awkward at first since the back loop sits slightly away from you, but once your hands find the angle the rhythm comes quickly.