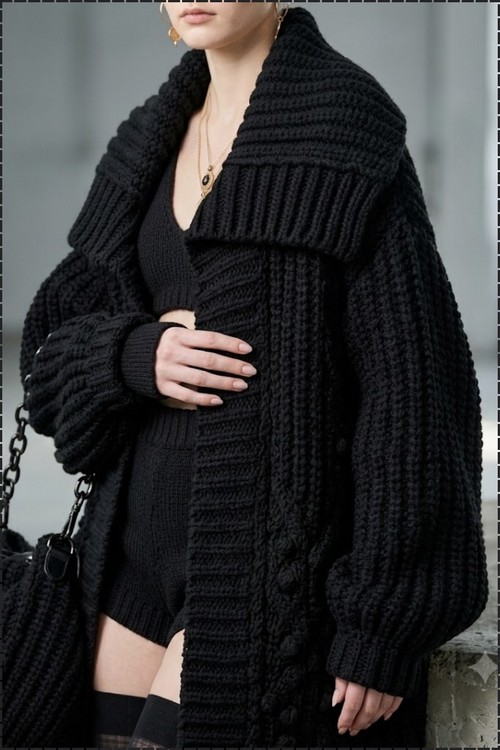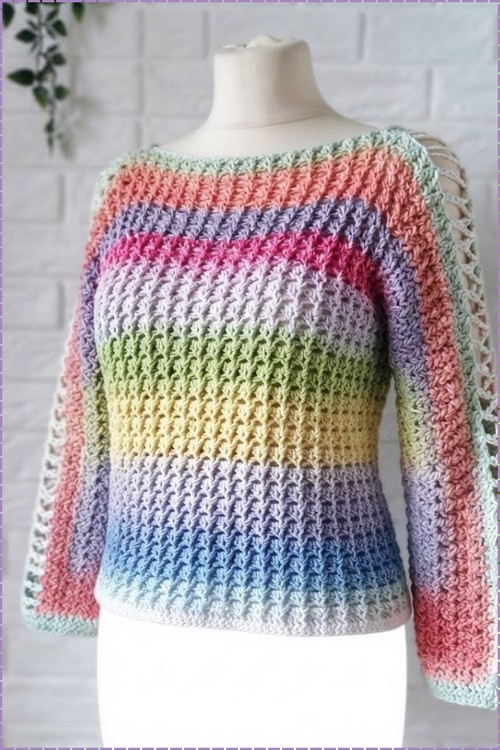
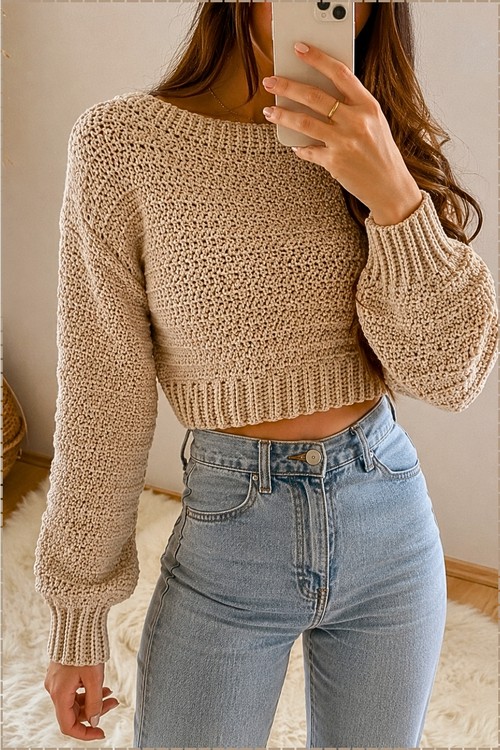
Light wash mom jeans complete the chunky wool crochet sweater, and its wide scoop neckline leaves room for a favorite necklace. Winter wardrobes gain an easy neutral from the free chunky yarn sweater crochet pattern, as soft beige wool suits denim, leggings or a pleated skirt.
Oatmeal beige, a body that stops right at the waistband and sleeves that puff out before pulling into a deep ribbed cuff. This chunky wool sweater keeps every edge finished with the same ribbing so nothing rolls, and the fabric between those edges is one repeat worked straight through. It has the same easy shape as a cropped sweater but with far more weight behind it.
Chunky Wool Sweater Crochet
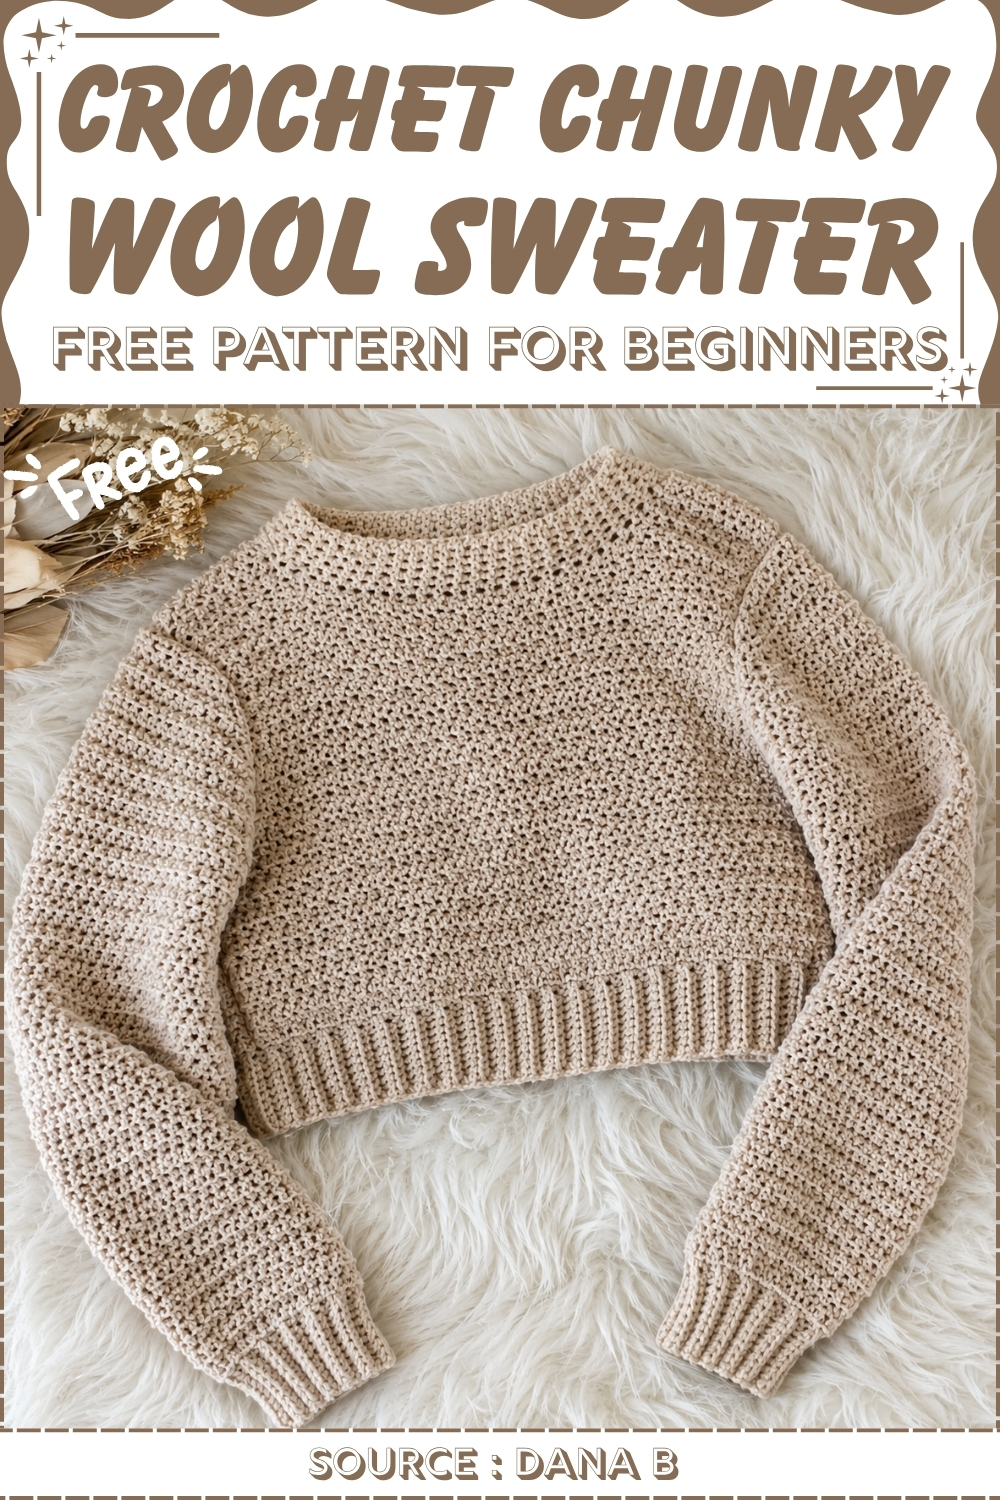
Two fabrics are doing separate jobs. The body and sleeves are a dense pebbled texture that gives the piece its thickness without stiffening it, while the hem, cuffs and neckline switch to a vertical rib worked separately and joined on. Panels are flat and seamed at the shoulders and sides, so the only real shaping is where the sleeve meets the body.
Materials and Tools
- Bernat Maker Home Decor yarn, weight 5 bulky, jersey-knit construction (approximately 4 balls of about 300 yards each for a size small; 5 balls if you want extra length or a lined collar)
- A 6.5 mm crochet hook
- Scissors and a yarn needle for seaming and finishing
The Pattern
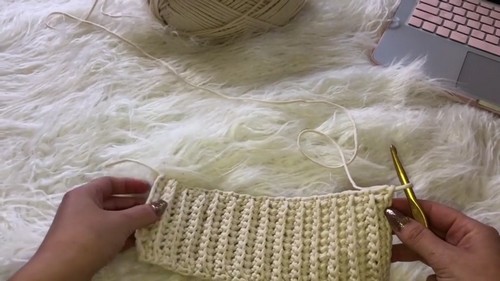
Sleeve Cuff Ribbing (Make Two)
- Chain 13 [13 ch]
- Row 1 (right side): sc into the second chain from the hook, then sc in every chain to the end [12 sc]
- Row 2 onward: ch 1, turn, and sc in the back loop only across every stitch
- Repeat the BLO single crochet row until the ribbing wraps comfortably around your wrist, ending on a right-side row (approximately 27 rows for a size small) [approx. 27 rows]
Sleeve Body and Increases
- Without cutting, ch 1 and work 33 stitches evenly spaced along the long edge of the cuff [33 sts]
- Ch 3 to begin (counts as a dc, ignoring the attached chain), sc into the next chain, dc into the following, and continue alternating sc and dc to the end of the row
- On designated right-side rows, increase by placing one extra matching stitch at both the very first and very last stitch of the row
- Alternate increase rows with plain rows as you build length toward the elbow
If you’re new to reading crochet patterns, don’t worry, just follow along with the video tutorial below and use the written pattern as a reference!
Elbow Cutout Section
- Row 1: ch 2, place one hdc into the attached chain, work one hdc in every stitch across, finish with 2 hdc in the final stitch
- Rows 2 through 10: ch 2, skip the first stitch, and work hdc across with no increases
- Row 11: ch 2, increase in the first stitch, work across, and increase in the last stitch
- Rows 12 and 13: work hdc across with no increases
- Return to the alternating sc and dc pattern and work 10 to 15 more rows until the sleeve reaches your desired length and ease under the armpit
- Set aside and make a second identical sleeve
Body Panels (Make Two — Front and Back Are Identical)
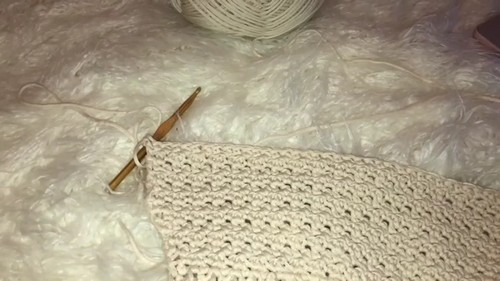
- Work the waistband ribbing using the same BLO single crochet method as the cuffs, working approximately 43 rows for a size small, stretched slightly to fit the waist [approx. 43 rows]
- Ch 1 and work 63 sc evenly spaced across the top long edge of the ribbing band [63 sc]
- Ch 3, skip the first stitch, and begin the alternating sc and dc pattern across
- Continue the alternating pattern for 19 rows, or until the panel reaches just below the armpit [19 rows]
- Armhole cutout: sl st across the first 7 stitches, ch 1, sc, and continue the alternating pattern while stopping 7 stitches short of the end [worked over center stitches only]
- Work this shortened row configuration for 5 rows to form the armhole opening [5 rows]
- Fold the panel to locate and mark the shoulder section
- Work the alternating pattern upward on the shoulder section for approximately 7 to 8 rows, then cut and fasten off [7 to 8 rows]
Assembly and Neckline
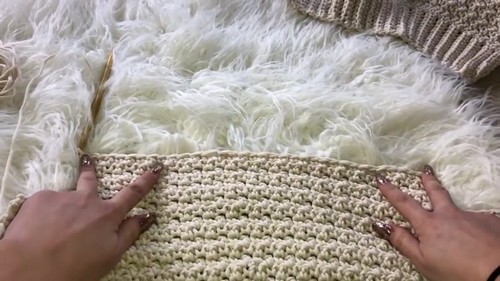
- Seam the shoulder sections of the front and back panels together first
- Sew the side seams from the bottom hem upward to the armhole openings on each side
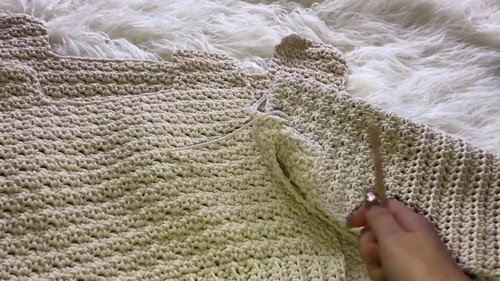
- Set the sleeves into the armhole cutouts and seam them in place
- Keep all slip stitches loose throughout seaming so the fabric retains its stretch
- Work 5 to 6 rounds of single crochet in a continuous spiral around the collar opening to tidy the neckline and draw it in to the shape you want [5 to 6 rounds]
A Note on Yarn
The yarn choice here genuinely matters. Bernat Maker Home Decor is a jersey-knit tube yarn, which gives this sweater its specific drape and the slight sheen that reads as polished rather than craft-project. A standard bulky acrylic will work structurally, but the hand and drape will be noticeably different — stiffer, with less natural movement. If you substitute, reach for another jersey-style or ribbon yarn in the same weight, or a soft chunky merino with real drape. Avoid anything too springy or lofty; the elbow cutout relies on fabric that hangs rather than bounces.
Tips
- Keep your seaming tension deliberately loose. This yarn has jersey stretch built in, and a tight seam will create a rigid band across an otherwise fluid piece. Work each slip stitch with a slightly open hand and check as you go that the seam line can still give when pulled.
- Mark your increase rows on the sleeve before you start rather than tracking them in your head. The alternating increase and plain row rhythm is easy to lose track of by the time you reach the elbow section, and an extra increase at the wrong point will widen the sleeve faster than intended.
- When you work the single crochet collar rounds in a spiral, pull in the tension gradually rather than aggressively on the first round. The neck opening can close faster than it looks, and a few rounds of firm sc will cinch it more than you expect.
FAQ
- What weight is Bernat Maker Home Decor and can I find it at most craft stores? It is a weight 5 bulky yarn, widely available at major craft retailers in North America and online. The jersey-knit construction is what makes it distinct from other bulky yarns, so look for the specific texture rather than just the weight if you are trying to match the original look.
- How do I know when the sleeve is long enough before starting the elbow section? Work the alternating sc and dc rows until the sleeve reaches from your wrist to just below your elbow when laid flat. The elbow cutout section adds length on its own, so stop the main sleeve pattern a little before the actual elbow point rather than at it.
- Do the front and back body panels need to be exactly identical, or is there any difference? They are identical in this pattern. Both panels use the same ribbing band, the same stitch count, the same alternating pattern, and the same armhole and shoulder construction. Work one, set it aside, and repeat exactly for the second.