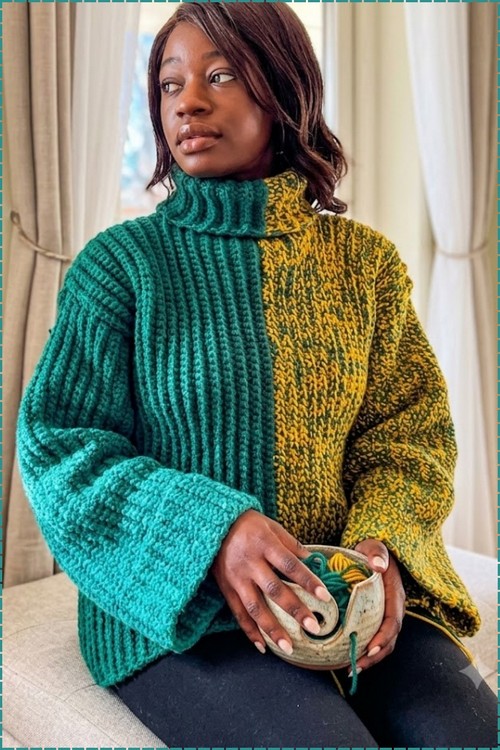
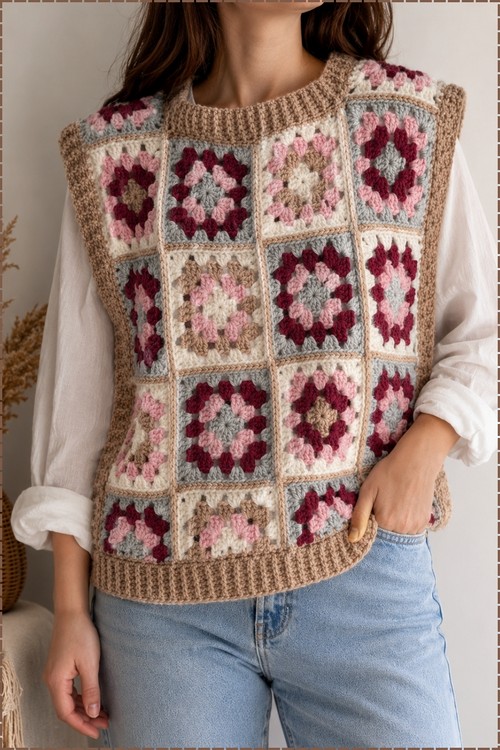
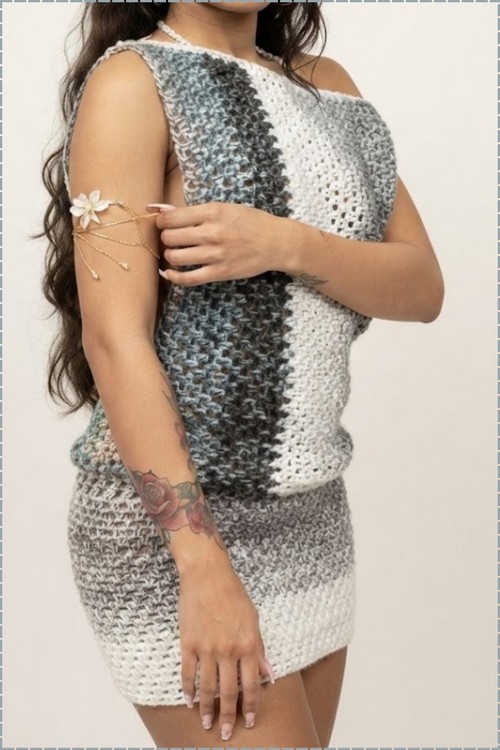
Make this free crochet off shoulder sweater pattern as a two color one shoulder top with a matching hip fitting skirt. You join two granny stitch panels down the center and finish the cold shoulder neckline with a simple border that holds the drape.
Vertical stripe here is not stranded or intarsia, it is two separate panels in different yarns that get joined down the center, which keeps color management simple and removes any need to carry yarn across the back. The open cluster repeat gives the fabric enough drape to sit off one shoulder without pulling, and the asymmetric neckline is a natural result of the construction rather than a separate design step. For a coordinated two piece in a single yarn, this granny square top and skirt set shows a different approach to matching pieces.
Crochet Cold Shoulder Sweater
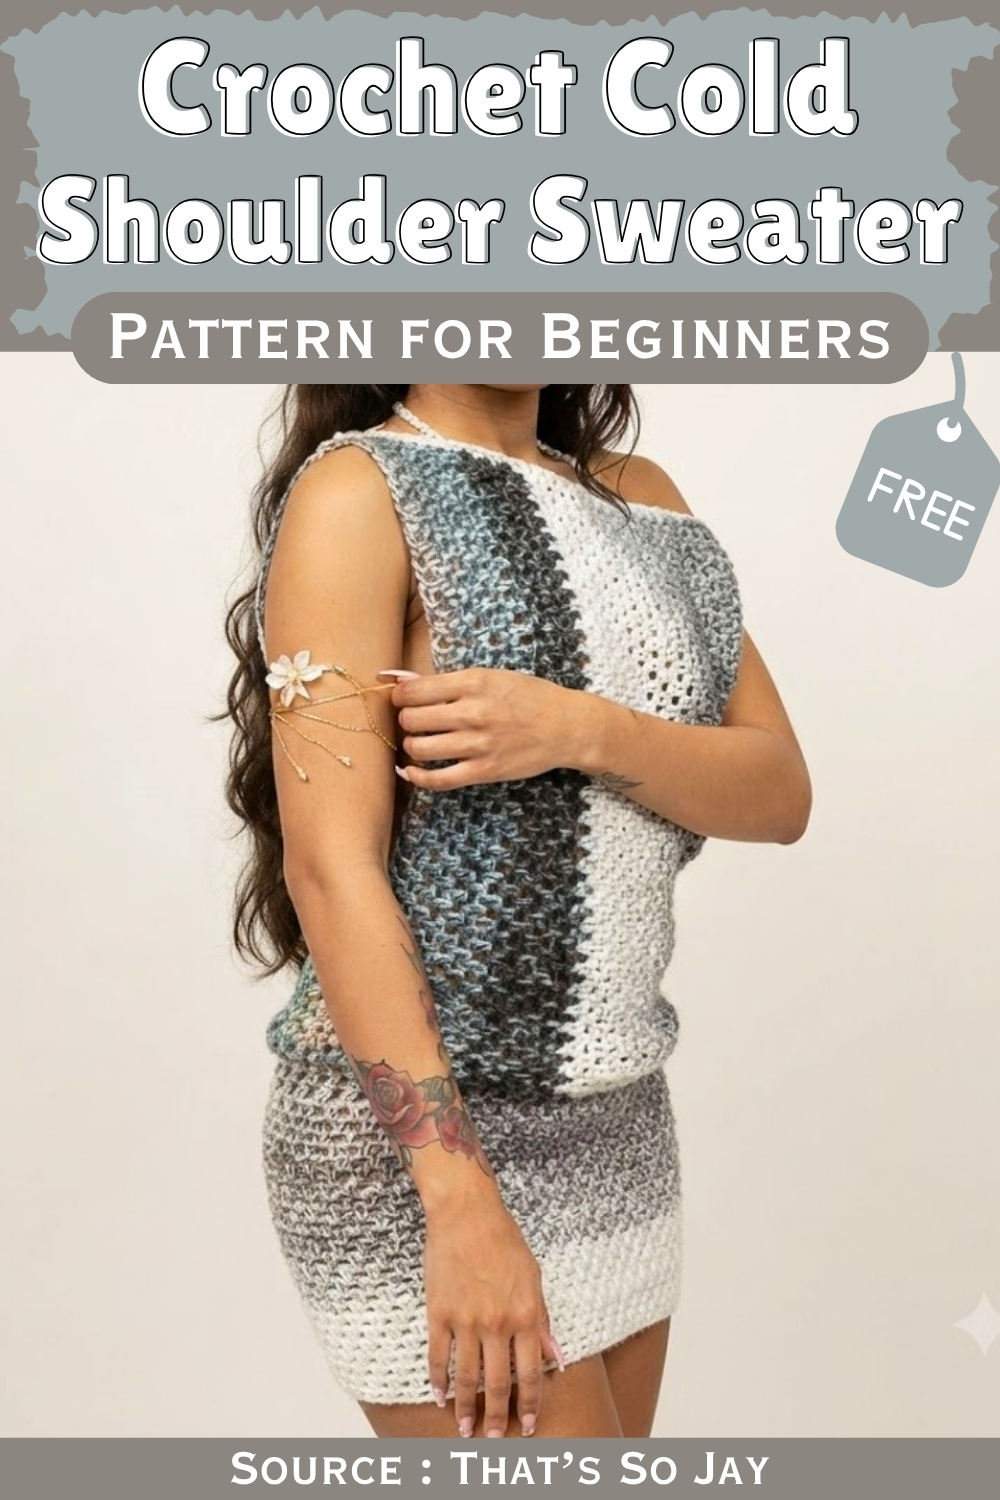
Skirt uses the same stitch and color blocking logic as the top, so once you have the panel construction down you are essentially repeating the same workflow for the bottom half of the outfit. Both pieces adjust by changing panel width rather than adding shaping rows, which keeps the pattern genuinely beginner accessible despite the two color effect.
Materials & Tools
- Lion Brand yarn (about 720 yards total, depending on size and tension)
- Crochet hook suited to your yarn
- Scissors
- Tapestry needle
- Stitch markers
Stitch You Should Know
Difficulty & Time
Advanced beginner. The whole dress runs on one easy cluster stitch repeated over many rows, so the challenge is length and seaming rather than technique. Set aside several relaxed evenings.
The Pattern
Upper Torso Panels (Make 2 Identical Rectangles)
The upper portion is made from two matching long rectangles, meant to sit slightly loose and flowy.
- Begin with a slip knot and chain the length of your torso — measured from shoulder down to hip. Keep the chain loose, not taut, so the top drapes nicely.
- Row 1: Skip the first two chains and make a half double crochet into the third chain. Continue with a half double crochet into each stitch down the chain. Optional: work into the back bumps of the chain rather than the top V, which gives a clean edge on both sides and makes seaming easier later.
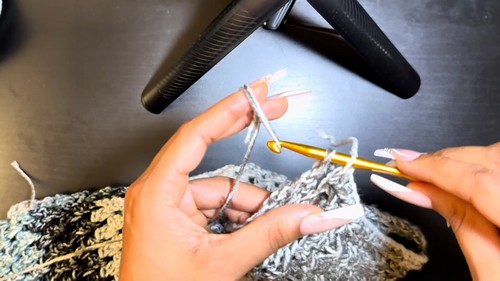
- Row 2: Chain 3 and turn. Skip 2 stitches, then work 2 double crochets into the 3rd stitch to form a cluster. Repeat across — skip 1 stitch, 2 double crochets into the next. At the end of the row, finish with 1 double crochet in the very last stitch to keep the edges even.
- Row 3: Chain 3 and turn. Work 1 double crochet in the space between the first double crochet and the cluster. Work a cluster of 2 double crochets between each cluster from the previous row. Finish by making a double crochet between the last cluster and the starting chain-3, plus one final double crochet on top of the chain-3.
- Rows 4 through 34: Repeat Rows 2 and 3 for a total of 34 rows. Adjust the row count to your own shoulder-to-hip length and desired ease — aim for about 2 to 5 inches wider than your shoulder width for a relaxed fit.
- Second panel: Make a second panel identical to the first, 34 rows total.
If you’re a beginner and crochet patterns feel confusing, start with the video tutorial below, it’s the easiest way to learn as you go!
Seaming the Upper Torso
- Lay both panels together, deciding which sides face in and out (the seams get flipped inside later to hide them).
- Shoulder seams: Line up the top corners. Attach your yarn at the edge and slip stitch the top panels together for a few inches on each side to form the shoulder straps and neck opening. Keep your slip stitch tension loose.
- Side seams: Turn to the side edges. Reattach your yarn at the side corners and slip stitch the sides together, working upward from the bottom of the top panel for about 6 inches (or your desired coverage). Work through the back loops only with a loose tension for a clean, seamless look.
- Flip the upper portion right-side out when done.
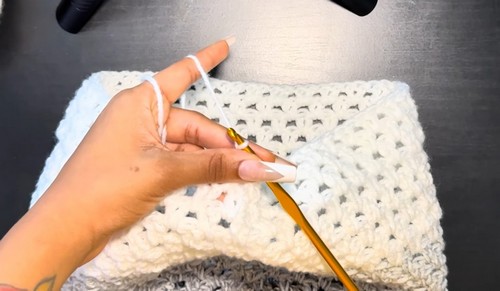
The Bottom Portion (Hip-Fitting Section)
Unlike the top, the bottom section is fitted around the hips.
- Create a slip knot and chain the circumference of the widest part of your hips. Pull this chain a bit snugger so the bottom stays fitted.
- Row 1: Skip 2 chains from the hook and half double crochet into the 3rd stitch. Continue half double crochet down the entire chain, then slip stitch into the first half double crochet to join and close the round.
- Rows 2 and beyond: Chain 3, skip 2 stitches, and work 2 double crochets into the next stitch. Repeat around — skip 1 stitch, 2 double crochets into the next. Slip stitch into the top of the chain-3 to close the round. Chain 3, turn, and repeat the cluster pattern for as many rows as needed to cover your hips comfortably. Fasten off.
Attaching Upper and Lower Portions
- Turn your upper portion inside out.
- Slip the bottom hip portion inside the bottom of the upper dress so the raw edges align.
- Secure and align the pieces with stitch markers.
- Attach your yarn and single crochet the panels together loosely all the way around.
- Since the top may be slightly wider than the bottom, evenly skip a few stitches on the top layer while keeping the bottom stitches close, to balance out the width. Go through single loops to keep the seam hidden. Fasten off.

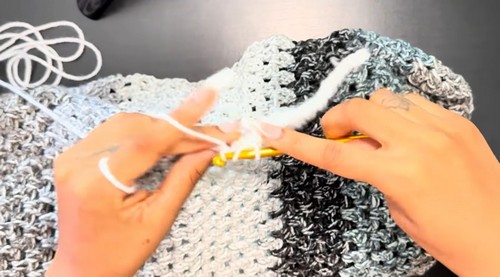
Neckline Border & Finishing
- Attach your yarn to the neckline edge, chain 2, and work a half double crochet into the same spot.
- Work two half double crochets into the edge of each row all the way around the neckline.
- Slip stitch into the first chain-2 to join, chain 1, and fasten off.
- Try the dress on to check the fit, weave in any remaining ends, and you’re done.
Tips & Troubleshooting
- Mind your two tensions. The top chain should be loose for drape; the hip chain snug for a fitted bottom. That single difference shapes the whole silhouette.
- Balance the join. When the top is wider than the hip band, skip a few top stitches evenly as you seam so the fabric eases in smoothly instead of bunching at one spot.
- Keep seams loose and in the back loops. Loose slip stitches through back loops only give a flat, near-invisible seam that won’t tug at the drape.
FAQ
How do I adjust the size? The top is sized by your shoulder-to-hip chain length and how many rows you work (34 is the sample), aiming for 2 to 5 inches of ease over your shoulders. The bottom is sized by your hip circumference chain. Adjust both to your own measurements.
Why is the top loose but the bottom fitted? That contrast is the whole look — a flowy, breezy upper over a snug hip section. It’s created simply by keeping the top’s foundation chain loose and the hip chain snug.
Can I make it longer into a full dress or shorter into a top? Yes. Add or remove cluster rows on the hip section for length, and adjust the panel length for the top. It works equally well as a tunic, top, or longer dress.