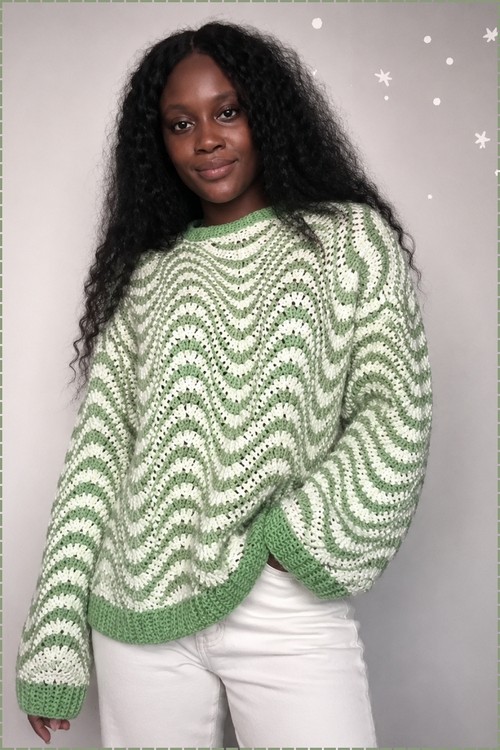
Green and cream rippling stripes give this oversized crew-neck crochet sweater a lively chevron texture. The roomy body and sleeves are worked as flat panels, shaped at the edges, and seamed together, then finished with matching ribbed cuffs, hem, and neckline for a defined fit.
Wavy pattern across this sweater is worked by alternating increases and decreases in the same row, which pulls the fabric into repeating peaks and valleys that run horizontally from cuff to cuff. Two colors swap every few rows so the chevron reads as a stripe at a distance and as a textured wave up close. If you have already worked through a chevron ripple swatch, you will recognise the decrease and increase placement as soon as the first few rows are done.
Oversized Crew Neck Sweater Crochet
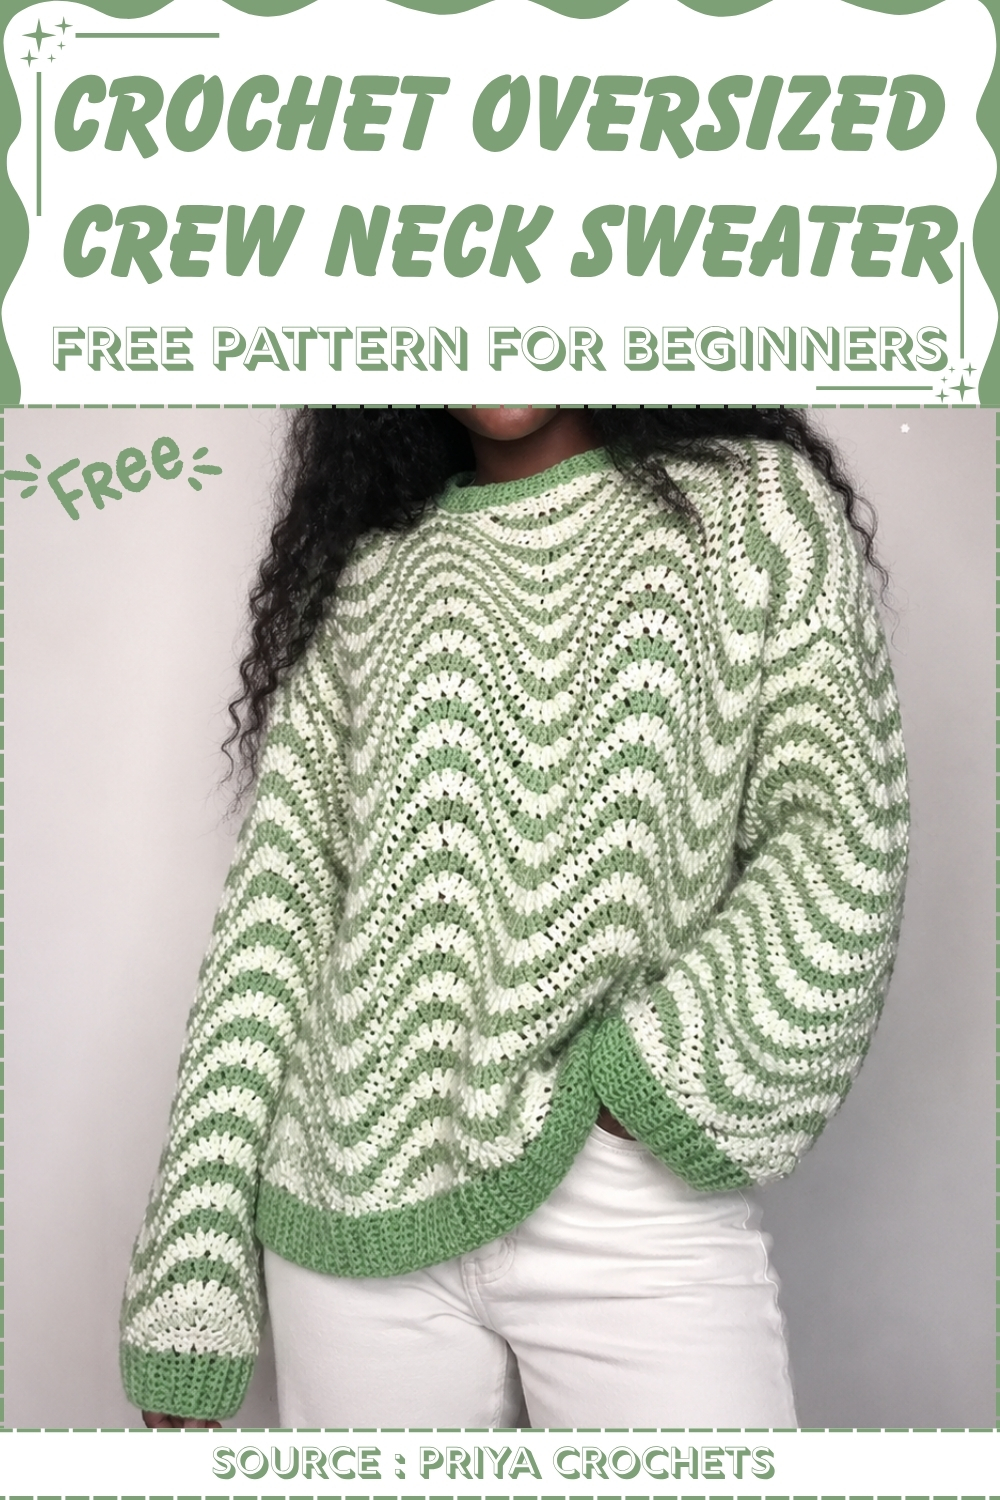
The crew neck sits high and close with a narrow ribbed band that keeps the neckline from stretching out over time. The same ribbing appears at the hem and cuffs, which pulls the silhouette in slightly at each edge and stops the oversized body reading shapeless. Panels are worked flat and seamed rather than worked in the round, which makes the sleeve attachment straightforward to size.
Materials and Tools
- Two different colors of 5-ply milk cotton yarn (medium weight)
- A 5 mm hook (adjust up for a looser, oversized fit or down for a snugger one)
- Tapestry needle
- Measuring tape
- Stitch markers
Fit customization note: Use a 6 mm or 7 mm hook — or chunky yarn — for an oversized result. Use a 3.5 mm hook for a more fitted fit. The construction stays the same.
Essential Stitch to Know
Stitches and Construction (with tips woven in)
- The wavy stitch pattern mixes single crochet, half double crochet, double crochet, and double-crochet-two-together decreases in a sequence that creates a repeating wave across each row. It sounds complex but becomes rhythmic once you’ve worked a few rows. Tip: read the full wavy sequence slowly before starting your first row and mark the repeat points with stitch markers until the pattern is memorized.
- Color changes happen on every row to create the stripes. Pull the new color through on the final loop of the last stitch of the outgoing row rather than at the beginning of the new one. Tip: carry the unused color up the edge rather than cutting every row — it significantly reduces the number of ends to weave in.
- The top edges of the wavy panels are uneven by design, so shaping them into usable shoulder and neckline surfaces requires filling the dips with short rows and adding separately-crocheted semicircle inserts. This is the most involved part of the construction. Tip: work slowly on the dip-filling rows and compare your panel to a flat edge after each section — you’re working toward a clean, even line, not a specific stitch count.
- The sleeve panels are worked identically to the body panels, just from a longer foundation chain, and shaped the same way at the edges before assembly.
- The ribbing at the neckline, hem, and cuffs is a separately-worked BLO single crochet strip that attaches row-by-row to the base edge — the same technique used in many of the garment patterns in this batch.
Taking Measurements
Before you start:
- Measure from your shoulder blades down to where you want the sweater to end. This determines your foundation chain length (the example uses 25 inches).
- For the sleeves, chain 71 plus 1 for the foundation.
The Pattern
1. Main Body Front Panel
Foundation
- Make a slip knot and chain a length that matches your body measurement plus one extra chain.
Row 1 — Wavy Pattern Foundation
- Skip the first chain.
- Work 2 single crochet in the next chain.
- Work 1 single crochet in each of the next 2 chains.
- Work 2 single crochet (an increase) in the next chain.
- Work 1 half double crochet in each of the next 3 chains.
- Work 2 double crochet together (a decrease), repeated 3 times.
- Work 1 half double crochet in each of the next 3 chains.
- Work 1 single crochet in each of the next 3 chains.
- Work 1 half double crochet in each of the next 3 chains.
- Work 2 double crochet (an increase) in each of the next 3 chains.
- Repeat the sequence from the first decrease down to the end of the repeat until 7 chains remain.
- In the remaining 7 chains: work 1 half double crochet in the next 3 chains, 1 single crochet in the next 3 chains, and 2 single crochet in the very last chain.
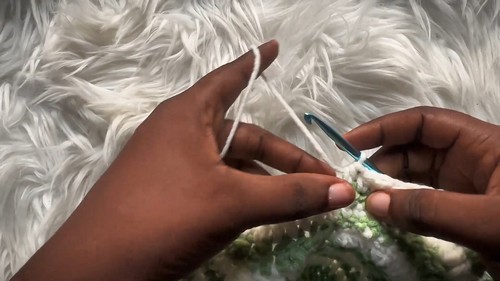
Row 2 and Onward
- Switch colors every row to create the stripe pattern.
- Repeat the wavy pattern sequence, adjusting the starts and ends with increases and decreases as you go.
- Complete 31 rows for the front panel (or until your desired length is reached).
Never read a crochet pattern before? No problem! The video tutorial below is perfect for beginners, or give the written pattern below a try!
2. Shaping the Neckline and Top Edges
Because the wavy stitch creates an uneven top edge, shaping is needed to create clean shoulder lines and a workable neckline.
- Filling the dips: Work short rows across the top dips and sides using strategic skips and a mix of single crochet, half double crochet, and double crochet to flatten and shape the top edge into a clean line.
- Neckline semicircles: Crochet separate semicircle pieces for the neckline curves by chaining 10 and working single crochet, half double crochet, and double crochet increases.
- Shoulder panels: Crochet separate shoulder pieces using the main wavy pattern, starting with a foundation chain of 25 plus 1.
- Sew the semicircle neckline inserts and shoulder panels onto the main body panel using a tapestry needle.
- Repeat the entire process to create a matching back panel.
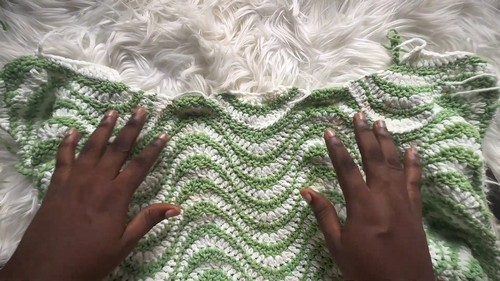
3. Making the Sleeves
- Foundation chain: Chain 71 plus 1.
- Work the wavy pattern for 27 total rows (approximately 18.5 inches).
- Fill in the dips on the sleeve edges and attach semicircles at the cuff and underarm base following the same shaping method used on the main body.
4. Final Assembly
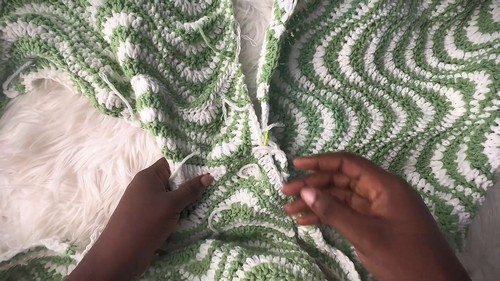
- Shoulder seams: Sew the front and back shoulder sections together at the top.
- Attaching sleeves: Find the midpoint of each sleeve and align it with the shoulder seam. Use stitch markers to pin the sleeve evenly into the armhole opening. Sew the sleeves to the body panels.
- Side seams: Sew down the sides from the underarm all the way to the bottom hem.
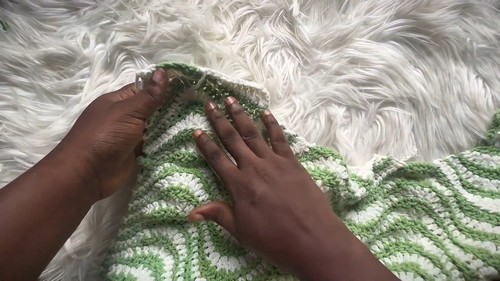
5. Borders and Ribbed Cuffs
- Base single crochet round: Attach yarn to the neckline, bottom hem, and sleeve cuffs. Work a round of single crochet around each edge. Add a decrease round if needed to tighten the fit.
- Ribbed band: Chain 6 plus 1. Work rows of single crochet in the back loops only, slip stitching into the base edge every two rows. Work the ribbing all the way around the neckline, hem, and cuffs.
- Sew the ends of the ribbing together and weave in all loose yarn ends.
Customization Ideas
- Adjust the fit. Hook size is the main control: go up for more drape, down for more structure. Milk cotton has good drape regardless, so a lighter hook in a similar yarn gives a refined, fitted version of the same sweater.
- Change the stripe rhythm. Swapping colors every 2 or 3 rows instead of every row gives a chunkier stripe. A single solid color skips the stripe entirely.
- Adjust the length. Your foundation chain sets the body length — chain more or less and adjust the row count to suit a longer tunic or shorter crop.
- Widen the cuffs. More rows on the ribbing strip before closing it gives a taller, wider cuff band.
Frequently Asked Questions
1. How difficult is the wavy stitch really? The sequence has several different stitch types but repeats in a predictable rhythm once you’ve worked through the first row slowly. Most crocheters find it easy to memorize after 2 to 3 rows. Use stitch markers at the repeat points on the first row and count after each complete wave until it feels natural.
2. Why are the neckline curves worked as separate semicircles rather than shaped into the panel? The wavy stitch pattern creates inherently uneven top edges. Rather than fighting the stitch to produce a curved neckline from within the panel itself, making the curve as a separate piece and sewing it in gives you much more control over the shape. It also means mistakes on the insert don’t affect the main panel.
3. Can I simplify this for a first sweater project? Honestly, this isn’t a first-sweater pattern — the wavy repeat, shaped edges, semicircle inserts, and multiple-piece assembly make it genuinely advanced. If you love the look, consider working the wavy stitch as a swatch first to build fluency before committing to the full sweater. A simpler panel-based sweater first would make this project go more smoothly.