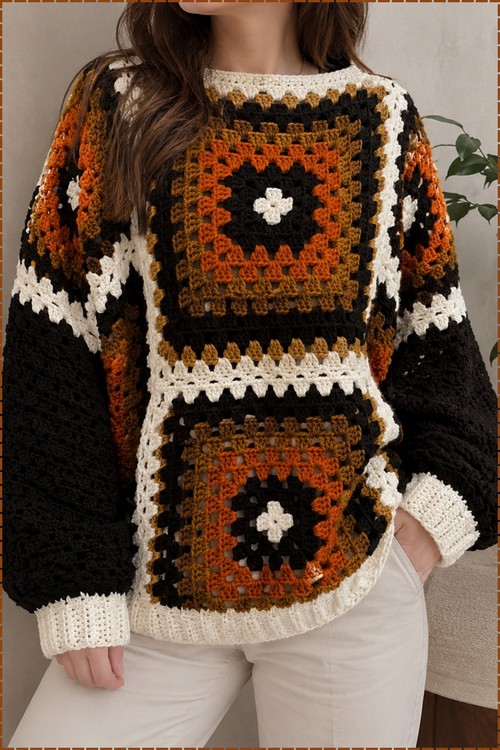
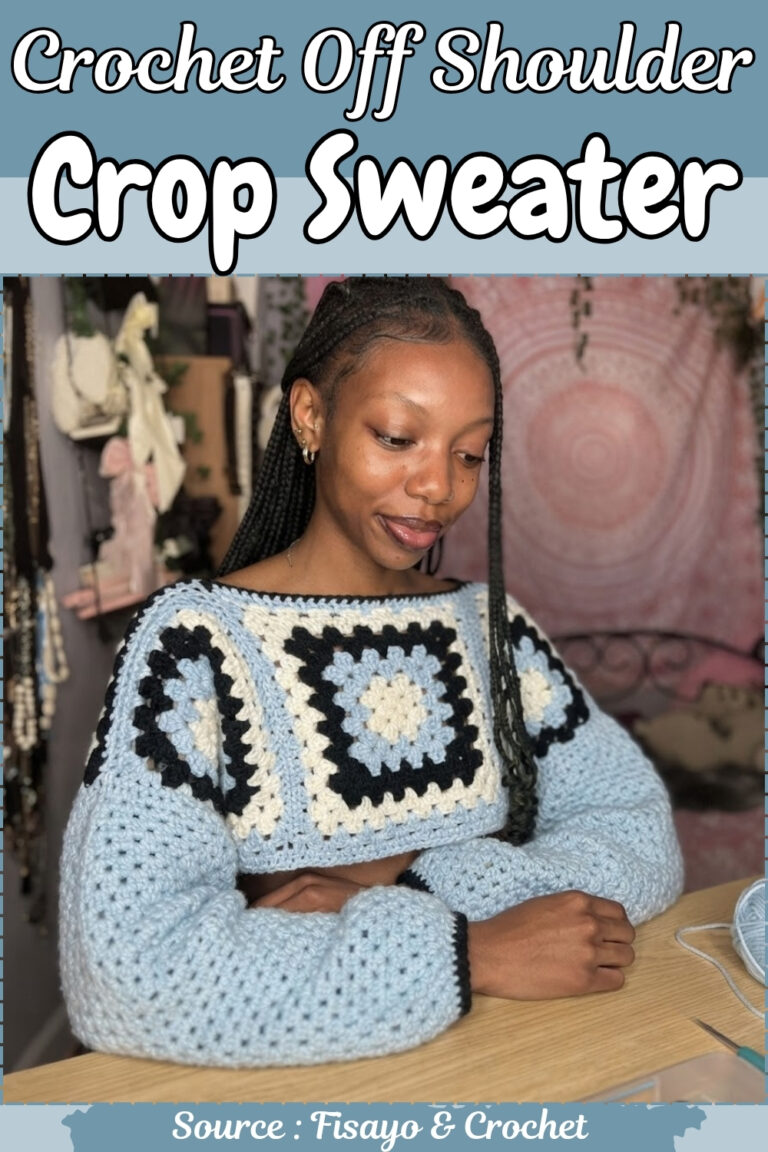
Preschoolers wear crochet kids Christmas jumpers to every December party, carol concert and family photo. Grandparents and aunts can gift it as a handmade kids sweater from a free pattern, so the only cost is the yarn.
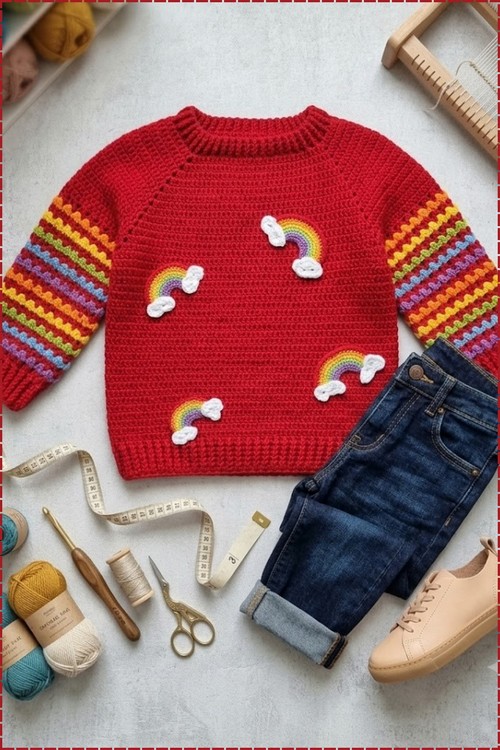
Rainbow appliques scattered across a red body with chevron stripe sleeves is the kind of combination that makes a children’s jumper worth the extra finishing time. The body and sleeves are worked separately and joined at the yoke, so the colour work on the sleeves stays manageable without carrying multiple yarns across the body rows. Anyone who has already made the peplum top for kids will find this one has more construction steps but a similar beginner friendly stitch base.
Crochet Kids Christmas Jumper

The rainbow appliques are crocheted flat in concentric colour rows and sewn on after the sweater is assembled, which means the placement is flexible and you can add as many or as few as you like. Ribbed cuffs and a ribbed neckband frame the chevron sleeves cleanly and keep those edges from stretching out with wear.
Materials and Tools
- Red yarn in 3-ply acrylic wool (main color)
- Orange, yellow, green, blue, and purple yarn in 3-ply (rainbow colors for the sleeves). If a color is only available in 2-ply, double the strand to match the 3-ply thickness
- White yarn for the cloud embellishment
- A 3.0 mm hook for the main body and sleeves
- A 2.5 mm hook for the ribbing (neckline, waistband, and cuffs)
- Stitch markers
- Tapestry needle for weaving ends and sewing the badge
Know the Stitch First
Difficulty and Time
This is an approachable beginner project once you understand the raglan yoke logic. The two trickiest parts are Round 1 of the yoke (which sets up the sections and corners with precise stitch counts) and the sleeve colour-switch system (which alternates red V-stitches and coloured granny clusters). Both are explained in detail below. Plan for several sessions — the yoke and body are satisfying and steady, the sleeves introduce a new stitch rhythm, and the badge is a little creative project on its own.
Beginner Technique Notes
Here’s a careful walkthrough of every concept this pattern uses.
- Top-down raglan construction: You start at the neckline and work downward, growing the yoke outward using corner increases. The front, back, and two sleeves are all established in Round 1, and they expand simultaneously on every round until the yoke is deep enough to reach your underarms. No separate panels, no seaming the body.
- Chain-4 turning chain at round starts: On many rounds of this pattern, you chain 4 at the start. The first 3 chains count as a double crochet; the 4th chain counts as the chain-1 corner space. So chain-4 = first double crochet + first corner space — don’t add an additional corner stitch.
- Corner increases: On every yoke round after Round 1, the four corners are marked by chain-1 spaces. To increase, you work 1 double crochet into the corner space from below, chain 1, then 1 double crochet again. This adds 1 stitch to the section on each side of the corner per round — which is what gradually expands the yoke.
- Splitting for the sleeves: When the yoke is deep enough, you bridge across the shoulder sections with a chain-4, skipping all the sleeve stitches. Those stitches sit unworked and become your sleeve openings. The body continues around the front and back only.
- Front post double crochet (FPdc) and back post double crochet (BPdc): These are used for all ribbing. A front post double crochet wraps around the vertical post of the stitch from the front; a back post double crochet wraps from the back. Alternating them creates the stretchy 1×1 ribbing at the neckline, waistband, and cuffs. Always match FPdc over FPdc and BPdc over BPdc on each ribbing round so the ribs stack correctly.
- V-stitch: In the sleeves, the red rows use V-stitches — 1 double crochet, chain 1, 1 double crochet all in the same stitch. The chain-1 space between the two double crochets is where the next granny cluster round works into.
- Granny cluster: Each coloured sleeve round works 3 double crochets into every V-stitch space from the round below — no chains between the clusters, just one cluster per space, all the way around.
- The alternating sleeve system: Red V-stitch rounds and coloured granny cluster rounds take turns down the sleeve. The V-stitches set the grid; the granny clusters fill it in colour. The red yarn is never cut — you carry it along and pick it back up after each coloured round.
- The cloud and rainbow badge: Made separately and sewn on. The rainbow arc builds from a short chain base, worked in rows of single crochets with colour changes for each stripe and increases at the curve. The cloud is worked from a magic ring or short chain with clusters of half-double and double crochets to create the bumpy cloud shape. Both are sewn together and then onto the front of the finished sweater.
The Pattern
Part 1: The Yoke (Top-Down Raglan)
Using the 3.0 mm hook and red yarn:
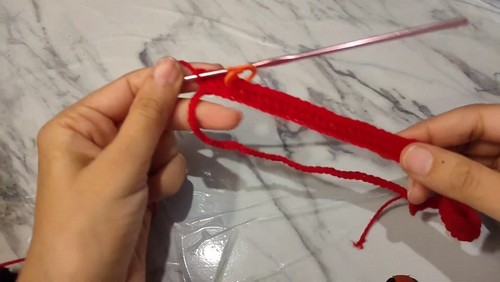
Foundation chain
- Make a foundation chain of 98. Ensure the chain is completely straight and untwisted, then join the ends with a slip stitch into the first chain to form a large ring.
Round 1 — Setting up the corners
- Chain 4 (the first 3 chains count as the first double crochet for the back section; the 4th chain is the corner chain-1 space).
- First shoulder: In the next stitch, work a double crochet. Then work 19 double crochets across the next stitches. Place a stitch marker in the last stitch.
- Front section: Chain 1 (the next corner space), then work 29 double crochets across the front. Place a stitch marker.
- Second shoulder: Chain 1, then work 19 double crochets across. Place a stitch marker.
- Back section: Chain 1, then work 28 double crochets across the final section. (The initial chain-3 from the starting chain-4 acts as the 29th stitch.) Join to the 3rd chain of the starting chain with a slip stitch. (If you end up with a couple of extra or missing stitches by the end, increase or decrease slightly to hit exactly 28 before joining.)
Rounds 2 to 14 and beyond — Growing the yoke
- Start each round: Chain 4 (counts as double crochet plus chain-1 space). Work 1 double crochet directly into the same corner space.
- Sides: Work 1 double crochet into every stitch across until you reach the next chain-1 corner space.
- Corners: In each corner space, work 1 double crochet, chain 1, 1 double crochet.
- Repeat all the way around and slip stitch to join.
- Repeat these rounds until the raglan diagonal line measures exactly 6 inches deep.
Part 2: Separating the Body and Sleeves
Using the 3.0 mm hook:
Splitting for the sleeves
- Slip stitch into the next chain-1 corner space.
- Chain 2 and work a double crochet into the same corner space.
- Chain 4. Skip the entire shoulder section (all stitches between this corner and the next).
- Insert hook into the next corner space and work 1 double crochet. (First armhole complete.)
Never read a crochet pattern before? No problem! The video tutorial below is perfect for beginners, or give the written pattern below a try!
Crocheting across the body
- Work 1 double crochet in each stitch across the front body panel until you reach the next corner space.
- Place 1 double crochet in that corner space, chain 4, skip the entire second shoulder section, and work 1 double crochet into the final corner space.
- Work 1 double crochet in each remaining stitch across the back panel. Join with a slip stitch to the top of the first stitch.
Growing the body length
- Chain 2, then work 1 double crochet into every stitch around the body, including 1 double crochet into each of the 4 underarm chains created during the split.
- Continue working standard double crochet rounds until the body length reaches approximately 13 inches from the top shoulder line.
Part 3: The Ribbing (Waistband and Neckline)
Switch to the 2.5 mm hook:
- Round 1: Work alternating front post double crochet and back post double crochet all the way around the bottom edge.
- Rounds 2–6: Continue the established pattern — front post over front post, back post over back post. Work 6 total rounds for the waistband ribbing. Fasten off.
- Neckline ribbing: Attach red yarn to the collar with the 2.5 mm hook. Work the same front post / back post alternating ribbing for 3 rounds to finish the collar.
Part 4: The Rainbow Sleeves
Switch back to the 3.0 mm hook. The sleeves alternate between red V-stitch rounds and coloured granny cluster rounds.
Sleeve setup round (red yarn)
- Attach red yarn under the armhole. Work double crochets evenly all the way around the sleeve opening, aiming for 55 total (50 around the main armhole plus 5 across the underarm chain area). Join with a slip stitch.

Sleeve Round 2 — Red V-stitches
- Chain 4 (counts as double crochet plus chain-1), then work 1 double crochet in the same stitch. (First V-stitch complete.)
- Skip 2 stitches, then in the 3rd stitch work a V-stitch: 1 double crochet, chain 1, 1 double crochet. Repeat all the way around.
- Slip stitch to the 3rd chain of the starting chain to close. Do not cut the red yarn — leave it attached.
Sleeve Round 3 — Orange granny clusters
- Pull orange yarn through the first red V-stitch space with a slip stitch.
- Chain 3 (counts as a double crochet) and work 2 more double crochets into that same V-stitch space. (3 double crochets into the space.)
- Without chaining, move to the next V-stitch space and work a granny cluster of 3 double crochets inside it.
- Repeat around, working 3 double crochets inside every V-stitch space. Join with a slip stitch and fasten off the orange yarn.
Sleeve Round 4 — Red V-stitches again
- Pick up the red yarn. Slip stitch into the center stitch of any orange granny cluster.
- Chain 4, then work 1 double crochet in the same stitch. (V-stitch.)
- Skip 2 stitches to reach the middle double crochet of the next cluster, then work a V-stitch. Repeat all the way around and close.
Sleeve continuation — Full rainbow sequence
Continue alternating a red V-stitch round followed by a coloured granny cluster round. Change the granny cluster colour each time in this order:
- Red V-stitch / Orange granny
- Red V-stitch / Yellow granny
- Red V-stitch / Green granny
- Red V-stitch / Blue granny
- Red V-stitch / Purple granny
Repeat this full colour sequence a second time down the arm until the sleeve is near full length.

Sleeve cuffs
- Pre-rib round: Work 1 standard double crochet into every open space and 1 double crochet into every V-stitch center around the wrist to smoothly compress the sleeve fabric.
- Wrist ribbing: Switch to the 2.5 mm hook. Work alternating front post and back post double crochet for 5 to 6 rounds. Fasten off and weave in all tails. Repeat the entire sleeve process on the second arm.
Part 5: The Rainbow and Cloud Badge
The rainbow arc
- Create a short chain foundation of approximately 10 chains using red yarn.
- Work rows of single crochets, changing colour for each stripe row following the rainbow order.
- Expand the arc by working 2 single crochet increases consistently at the curve apexes as you go.
The cloud
- Using white yarn, create a magic ring or short chain base.
- Work varying cluster stitches — half double crochets mixed with double crochets in the same stitch base — to form a puffy, bumpy cloud shape.

Assembly
- Use a tapestry needle to sew the cloud onto the corner of the rainbow arc. Then sew the complete badge assembly securely onto the front center panel of the finished sweater.
Tips and Troubleshooting
- Mark every corner space in Round 1 immediately. The four corner chain-1 spaces are your reference points for every subsequent yoke round. Put a marker in each one as soon as you finish Round 1 — moving them up each round is much faster than trying to find the corners by eye.
- Don’t cut the red yarn between rainbow sleeve rounds. The red yarn is used every other round throughout the sleeves. Carrying it up inside rather than cutting and rejoining keeps the interior neat and halves your finishing time.
- Work the pre-rib round before the cuff ribbing. The sleeve ends in V-stitches and clusters, which leave uneven spaces at the wrist. The single-crochet compression round smooths this out so the cuff ribbing sits evenly and looks intentional.
- Use stitch markers on the body split row. When you chain-4 to bridge the armholes, mark the beginning and end of each bridge. These markers make it easy to count 4 double crochets into the chains on the next body round without accidentally working into the wrong stitches.
- The badge doesn’t have to be perfect. The cloud and rainbow are decorative — worked freely in rough shapes and sewn on. A slightly wobbly cloud or an imperfect arc just adds to the handmade charm.
Customization Ideas
- Change the main color. Red is the palette anchor, but any bold solid color works with rainbow stripes.
- Adjust the sleeve length. Work the rainbow sequence once instead of twice for shorter sleeves, or add another full sequence for extra-long arms.
- Skip the badge. The sweater is complete and wearable without the embellishment — the rainbow sleeves are the star on their own.
- Resize. The starting chain and yoke row counts can be adjusted proportionally for a larger or smaller child.
Frequently Asked Questions
1. What does “top-down raglan” mean and why is it good for a kids’ sweater? Top-down raglan means you start at the neck and grow the entire sweater outward and downward in one piece. The body, sleeves, and yoke all expand simultaneously from the same piece of crochet. For a kids’ sweater, this is ideal because you can hold it up to the child as you go and stop when it fits — no measuring against a chart.
2. How does the chain-4 at the start of each round work? Chains 1, 2, and 3 together act as your first double crochet of the round. Chain 4 (the extra one) acts as the chain-1 corner space. So the very first corner of each round is already made by that chain-4 — you don’t need to work an additional corner stitch into the first corner of the round.
3. Why do I carry the red yarn between sleeve rounds instead of cutting it? The red yarn is used on every other sleeve round throughout the entire sleeve. Cutting it after each red round means you’d have dozens of ends to weave in. Carrying it loosely up the inside of the sleeve (dropping it while you work the coloured round, then picking it back up) keeps the interior cleaner and saves a significant amount of finishing time.
4. I lost track of which front-post or back-post stitch I’m on in the ribbing — how do I fix it? Look at the stitch below: a front post double crochet has a raised ridge on the right side; a back post double crochet has a raised ridge on the wrong side. Match what you see — if there’s a raised bar facing you, work a front post stitch; if the raised bar is on the back, work a back post stitch. Once you can read the ribs visually, you’ll never lose your place again.
5. Can I make this for an older child? Yes. The starting chain sets the neck circumference and the yoke row count sets the shoulder width. Increase both proportionally — more starting chains and more yoke rounds before the armhole split — for a larger size. The sleeve and body row counts also extend as the measurements grow.