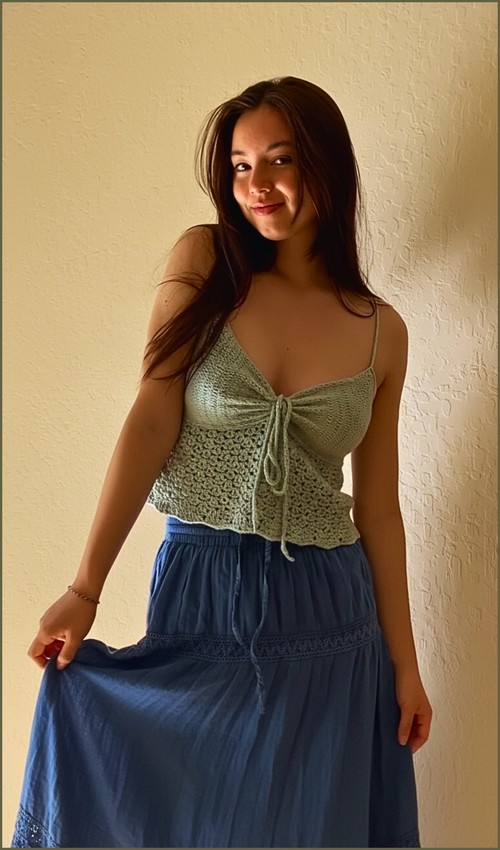
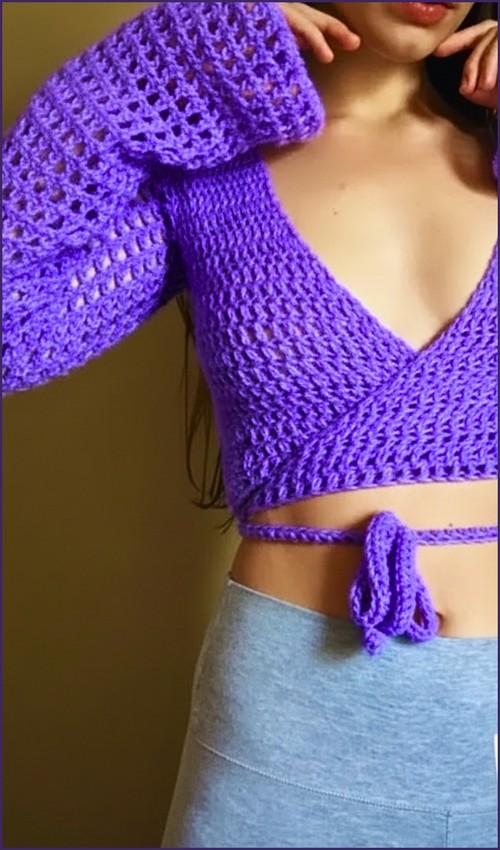
Triangle cups, an open underbust band, and adjustable halter ties this bralette is more structured than it looks, and the contrast between the solid cup fabric and the airy mesh trim is what makes the finished piece feel intentional rather than basic. It pairs naturally with the free crochet bralette outfit pattern if you want a lace-up front variation to make alongside it.
Crochet Bralette Top Pattern Free
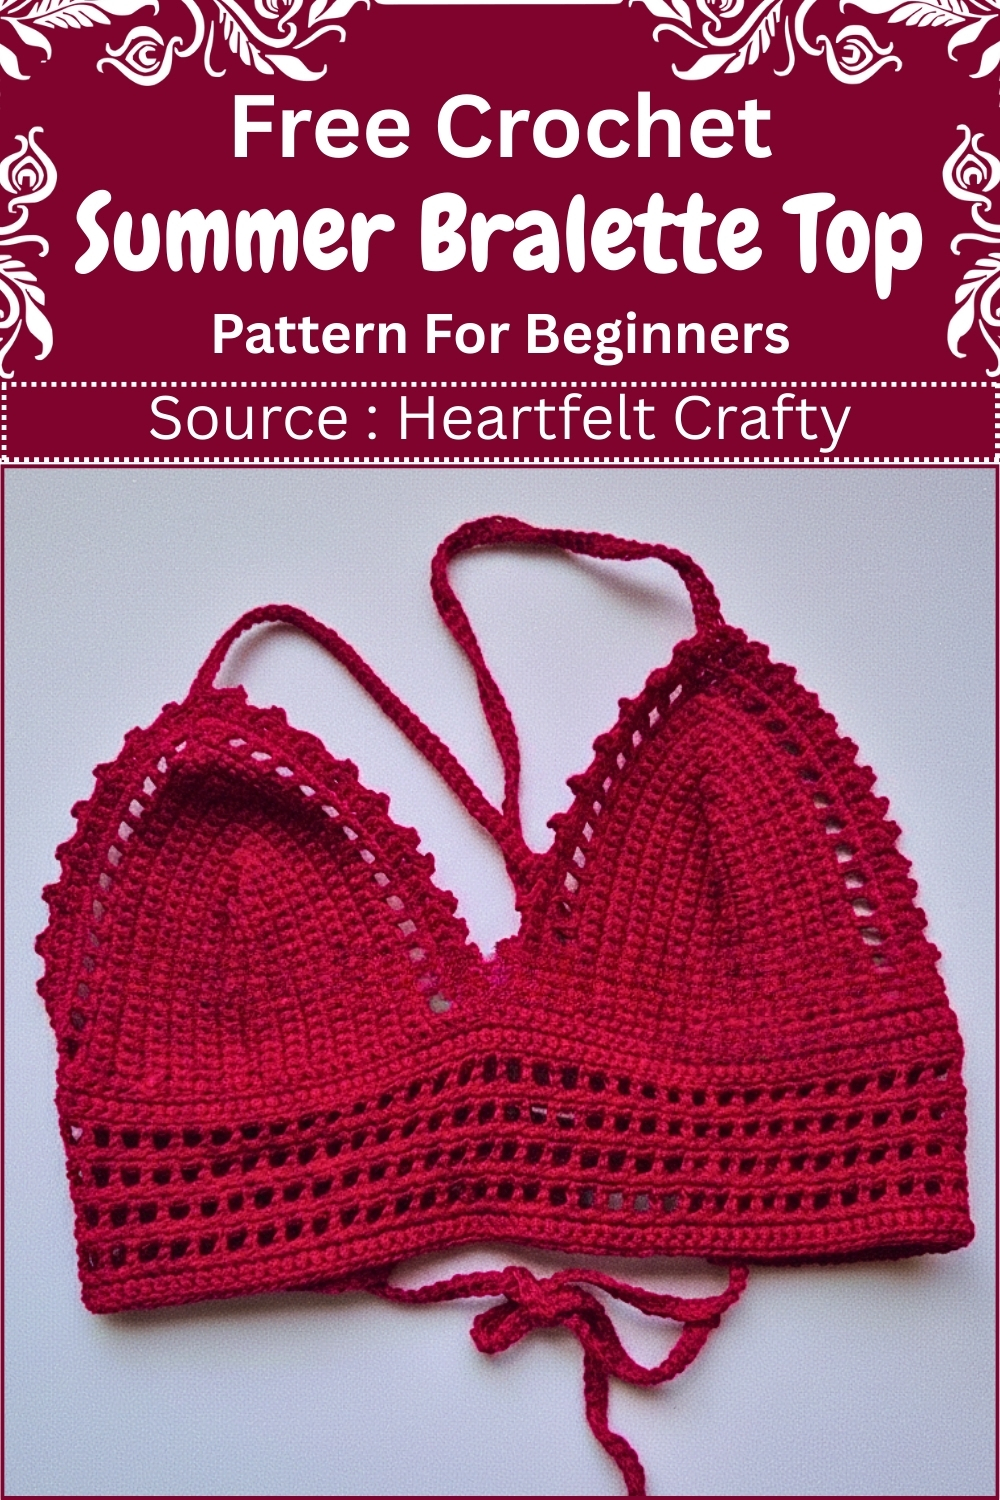
The front tie closure means no hooks or hardware just yarn, and the fit adjusts as you tie. For a bralette that takes the cup construction in a different direction, the free crochet bralette cup pattern with center increase is a good companion make with its own shaping logic.
Materials and setup
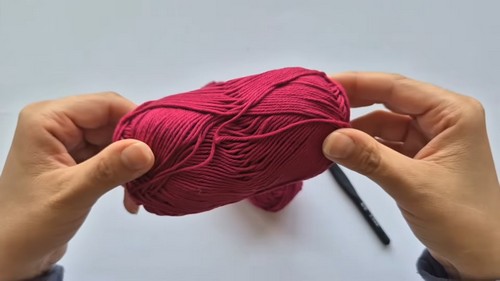
Use your preferred yarn and hook for bralettes. Cotton and cotton blends are common because they hold shape and feel comfortable against the skin.
Crochet Methods You’ll Use
Have these ready:
- Stitch marker (very helpful for the cup peak)
- Measuring tape
- Yarn needle for weaving in ends
Measurements and sizing
Cup height measurement
You will measure exactly as written in your draft:
- Measure from the bottom of your breast to the top of your nipple to determine cup height.
That measurement determines your starting chain. The chain should match the cup height you want before you begin widening.
Starting chain guide
Follow your draft:
- Chain the required length based on your measurement, for size small or medium chain 17.
If you are between sizes, it usually works better to start with the cup height you truly need, because the later rows add width and coverage.
Foundations and Cup Construction
You are creating a cup by crocheting along both sides of the foundation chain, then turning at the top with a 3-sc corner. Think of it like an oval that is pulled into a triangle because one end is always “sharpened” with the corner turn.
Copy your steps exactly, with guidance on what to watch for:
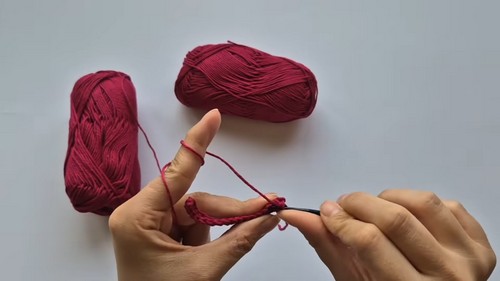
Cup foundation and first pass
- Measure from the bottom of your breast to the top of your nipple to determine cup height
- Chain the required length based on your measurement, for size small or medium chain 17
- Single crochet into each chain back to the start
Clarity note: This first row sets the firmness of your cup edge. If you tend to crochet tightly, pause here and make sure the strip is not curling.
Turning and building the cup shape
- Chain 1, turn, and single crochet back up the row
- At the top stitch, work 3 single crochets into the same stitch to turn the corner
- Continue single crocheting down the other side of the foundation chain
What this does: The “3 single crochets” creates the peak and gives you enough stitches to bend around without puckering. That is the shaping point for every row.
Helpful habit: Place a stitch marker in the center stitch of the 3 single crochets at the top. That makes it easy to spot the peak stitch on the next row so your cups stay symmetrical.
Repeating rows
- Repeat rows in this way, always placing 3 single crochets at the top center stitch
- Continue until desired cup coverage is reached, approximately 7 rows for small or medium
- Make two identical cups
- Still getting the hang of reading crochet patterns? That’s completely okay, the video tutorial below breaks everything down in a simple, beginner-friendly way!
Keeping cups identical: Count your rows and keep the same tension. If one cup looks slightly taller, add or remove a row so the coverage matches.
Adding the Trim and Straps
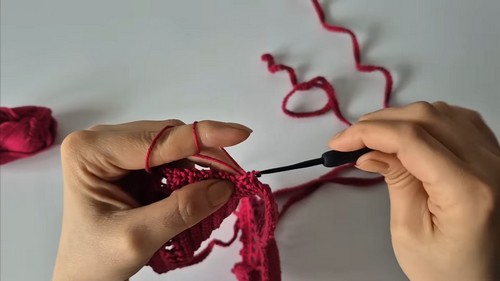
This section adds structure and decoration in layers: mesh border, a stabilizing single crochet round, then picots, then the long strap.
Mesh border setup
- Chain 3, turn, and work a half double crochet to begin the mesh border
- Chain 1, skip one stitch, and half double crochet into the next stitch
- Repeat the mesh pattern across the edge
Stitch clarity: Your mesh is a repeating pattern of ch 1, skip 1, hdc. The “holes” are what later act as clean spaces for your edging.
Handling the peak
- At the top peak, work 3 half double crochets in adjacent stitches without skipping
Why this matters: Skipping at the peak can flatten the cup and make the top look dented. The three adjacent half double crochets reinforce that point and keep it rounded and centered.
Stabilizing round in single crochet
- Single crochet evenly around the entire cup edge
- Place one single crochet into each stitch and one single crochet into each mesh space
- Work 3 single crochets at the top peak to maintain shape
Common confusion: When you reach the mesh spaces, treat each space like its own “stitch home” and put one single crochet into it. This prevents the edge from stretching out or looking uneven.
Picot edging
- Create a picot stitch by chaining 3, inserting the hook into the first chain, and slip stitching into the next base stitch
- Continue picot stitches along the edge
Picot placement tip: Try to keep your picots consistent by working them at the same rhythm, especially around curves. If they start to flare, it usually means your base edge stitches are too loose.
Strap at the peak
- At the top peak, chain for the strap length, 150 for extra small, 180 for small or medium, or 200 or more for large or extra large
- Single crochet back down the strap chain
- Secure the strap with a slip stitch and continue the picot trim
Comfort note: A single crochet strap is sturdy. If you want a softer feel without changing the structure, focus on even tension so it does not feel rope-like.
Assembly and Bottom Band
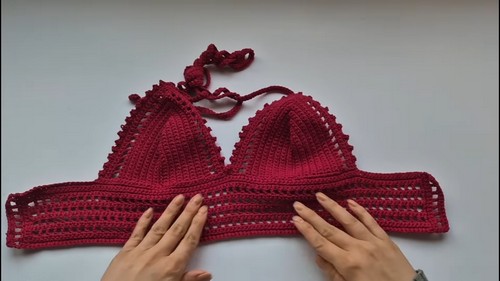
You will join the cups first, then build a band that extends to each side.
Joining the cups
- Attach the two cups by pulling the loop of the second cup through the corner stitch of the first
- Single crochet across the bottom edge of both cups
Shape check: Lay the cups flat before you continue. The peaks should mirror each other and the bottom edges should line up.
Side extensions
- Chain 18 or desired length on each side to form side extensions
- Work rows alternating between single crochet and mesh stitch
- Continue until the bottom band reaches the desired width
Fit guidance: The band controls how snug the bralette feels. Crochet it long enough to reach around your ribcage to the back with a little negative ease so it stays supported.
Finishing the Back Corset Style
The back uses eyelets and your long top straps for lacing.
Creating eyelets
- On the short ends of the side extensions, work a half double crochet mesh row to create eyelets
What to aim for: Even spacing matters more than the exact number of holes. You want both sides to have matching eyelet rows so the lacing sits straight.
Lacing and tying
- Use the long top straps to lace through the mesh eyelets
- Cross the straps in an X shape across the back
- Adjust tension and tie securely to finish the bralette
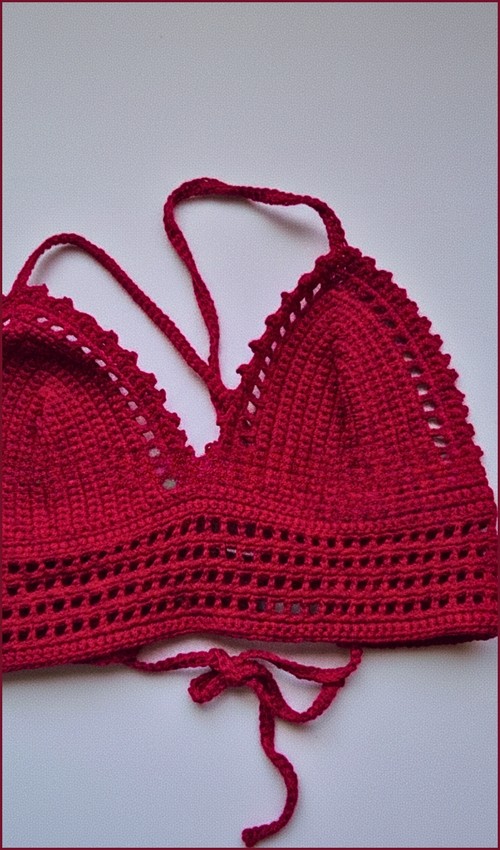
Wear check: Put it on and adjust the lace tension gradually. The goal is supportive and comfortable, not overly tight at one set of eyelets.
Beginner notes that prevent mistakes
- Mark the cup peak early so you always place shaping stitches correctly.
- Count rows for each cup and match them exactly.
- When crocheting into mesh spaces, be consistent: one single crochet per space, not two.
- If the cup edge ripples, your stitches are too many or too loose along that section. If it pulls inward, you are too tight or missing stitches.
Troubleshooting
My cup peak looks rounded instead of pointed
Make sure you are placing 3 single crochets into the same top stitch every row and working them at the true center peak.
The cup is curling at the start
This is usually tight tension in the first row. Keep the foundation chain relaxed and the first single crochet row even.
The mesh border looks uneven
Double check that you are consistently doing chain 1, skip one stitch, half double crochet into the next stitch across, and that you are not accidentally skipping extra stitches near the curves.
The picots flare outward
This often happens if the base edge is loose. Try to keep the single crochet edging firm and even before adding picots.
Finishing notes
- Weave in ends neatly along the single crochet edging and along the bottom band rows so they do not show through the mesh.
- Before wearing, lightly steam-block if your yarn allows it, focusing on flattening the cups and smoothing the band without stretching the straps.