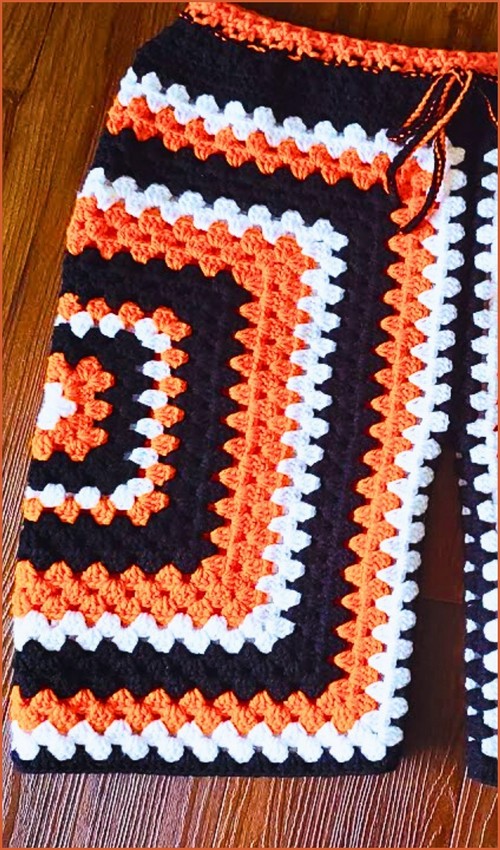
Crochet Shorts For Summer

These crochet shorts are worked in one continuous piece from the waist down, then divided to form the legs. Understanding this construction makes the pattern feel much simpler: you are essentially creating a fitted tube for the hips, adding length, then bridging the center to separate the legs. Once that logic clicks, every step has a clear purpose and the project becomes easy to adjust for comfort and fit.
Materials
- Yarn: 100% acrylic yarn approximately 50 g
- Hook: 4.0 mm crochet hook
- Tools: scissors, stitch marker, darning needle, tape measure
Waist and Body Foundation
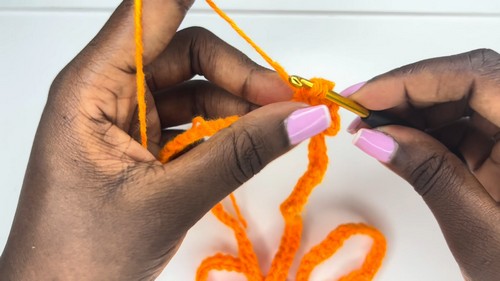
- Make a slip knot and chain until the length matches your hip measurement, stretching the chain slightly while measuring
- Join the chain into a circle with a slip stitch, making sure it is not twisted
- Chain 1 and work single crochet in every stitch around
- Chain 2 and work double crochet in every stitch around
- Repeat another full round of double crochet
Why this section matters
- The foundation is built around your hips, not your waist.
- This allows the shorts to pull on comfortably and sit naturally once the drawstring is added later.
- Stretching the chain slightly while measuring is important because chains tend to tighten once stitches are worked into them.
- If the foundation is too tight, the entire garment will feel restrictive.
- The initial single crochet round stabilizes the edge and prevents stretching, while the following double crochet rounds add height quickly and establish the fabric structure.
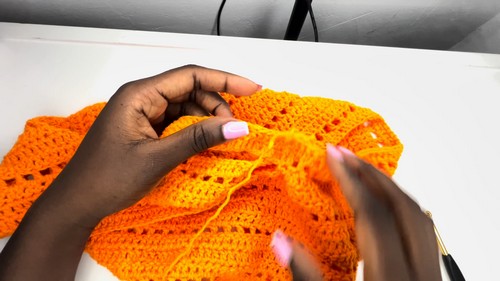
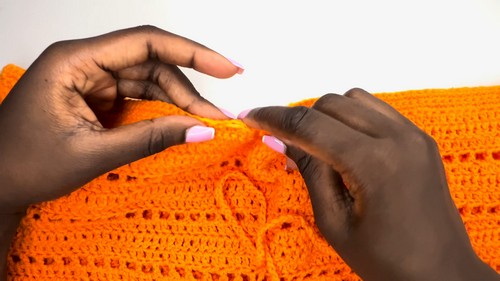
Main Mesh Pattern
- Work the pattern sequence of one mesh row followed by three double crochet rows
- For the mesh row, chain 2, skip one stitch, double crochet in the next stitch, chain 1, skip one stitch, and repeat around
- For the next row, work one double crochet into each chain space and one double crochet on top of each double crochet
- Work two additional rows of double crochet in every stitch
- Repeat this sequence until the body measures about 6 inches or reaches your desired length
Stitch and shaping clarity
- The mesh row introduces airflow and flexibility, which is ideal for summer shorts.
- Placing three solid double crochet rows between mesh rows keeps the fabric from becoming too open and helps the shorts hold their shape.
- When working into the mesh row, pay attention to placing stitches cleanly into both the chain spaces and the tops of the double crochets.
- This keeps the pattern aligned and prevents drifting stitches.
- Measure the length from the top edge down toward the crotch. Stop when the fabric reaches a comfortable depth for you.
- This is a personal fit point, so trust your measurement more than the example length.
Creating the Crotch Area
- Find the midpoint opposite the joining seam and place a stitch marker
- From the seam, chain across to the marked stitch to form the crotch bridge
- Use approximately 15 chains for XS, 20 for S, 25 for M, 30 for L, or 35 for XL
- Slip stitch to the marked stitch to divide the work into two leg openings
Why the crotch bridge works
- This chain bridge is what transforms the tube into wearable shorts.
- The number of chains controls both comfort and mobility.
- Too few chains will feel tight when sitting, while too many can cause sagging.
- The stitch marker helps ensure the legs are balanced.
- Always double-check that the bridge connects directly opposite the seam so both leg openings are even.
Legs
- Attach yarn to one leg opening and continue working the same mesh and double crochet pattern
- Keep the crotch bridge area worked only in double crochet without mesh for strength
- Continue until the leg reaches your preferred length
- For the ribbed edging, work one single crochet in a space, then in the next space work single crochet, chain 3, and three double crochet, skipping to the next space and repeating around
- Fasten off and repeat the same steps for the second leg
Fit and wear notes
- Working solid double crochet across the crotch area adds durability where friction is highest.
- This small adjustment significantly improves comfort and longevity.
- Try the shorts on as you work the legs.
- Because crochet stretches with wear, stopping slightly shorter than your ideal length often gives the best result.
- The ribbed edging adds gentle structure without tightening the leg opening, helping the shorts drape naturally.

Finishing The Waist
- Reattach yarn at the top edge and work four rounds of single crochet around the waist
- Create a long chain for a drawstring and weave it through the top single crochet row using a darning needle
Finishing notes
- Multiple rounds of single crochet firm up the waist and create a clean channel for the drawstring. Keep your tension even so the waistband stays comfortable and flexible.
- When weaving in the drawstring, skip every other stitch to help it slide smoothly. Tie the ends securely or add small knots to prevent the chain from pulling out during wear.
Beginner Notes
• Count stitches regularly during the mesh row to avoid accidental increases or decreases
• Always measure while wearing or holding the piece against your body for accuracy
• Acrylic yarn has limited breathability, so lighter stitches and mesh spacing are important
Troubleshooting
- Shorts feel tight at the hips: The foundation chain may be too small. The shorts rely on hip ease, not stretch alone.
- Leg openings look uneven: Recheck the crotch midpoint placement and ensure both legs use the same stitch counts.
- Mesh rows look messy: Focus on consistent stitch placement into chain spaces and stitch tops. Even tension matters more than speed here.
Final Thoughts
- This pattern balances structure and breathability, making it well-suited for warm weather.
- Once you understand the construction, it becomes easy to customize length, fit, and even yarn choice.
- Take your time with measurements, try the shorts on as you go, and let the fabric guide your decisions.