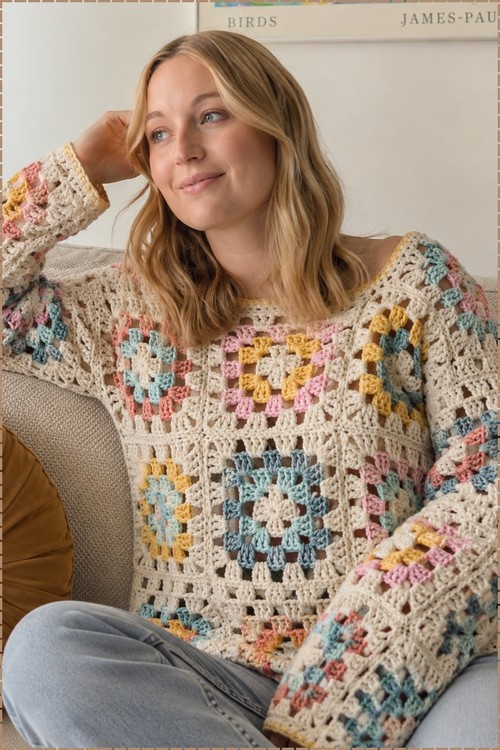
From a single magic ring, each body panel grows like an oversized granny square until Row 14 sets up the boat neckline. Self-striping size 3 cake yarn on a 4 mm hook supplies the color shifts, so you work the whole toddler sweater without stopping for stripe changes.
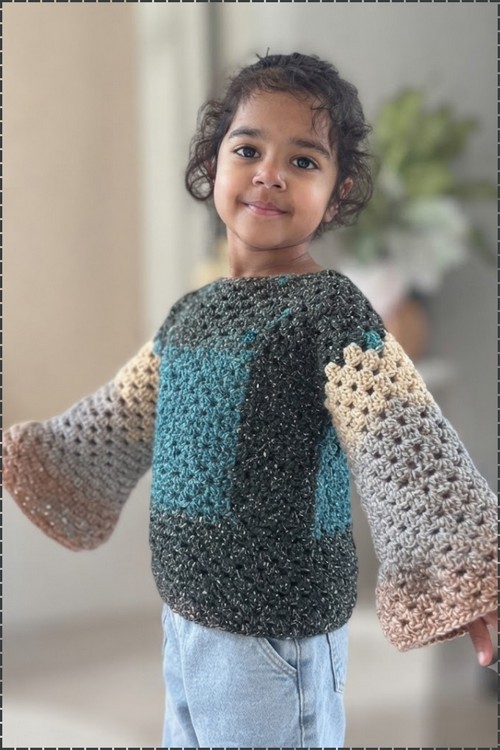
The body and sleeves of this sweater pull in opposite directions visually in the best possible way. The body is dense and sparkly in a dark yarn, while the sleeves flare out in an open granny stitch gradient that shifts from teal through warm grey to sandy beige at the cuff. The sleeve increases happen at every seventh chain space rather than at the edges, which spreads the flare evenly across the whole sleeve width. For a similar granny construction in an adult size, the granny square off shoulder crop sweater shows how the same stitch scales up.
Bell Sleeve Sweater Crochet
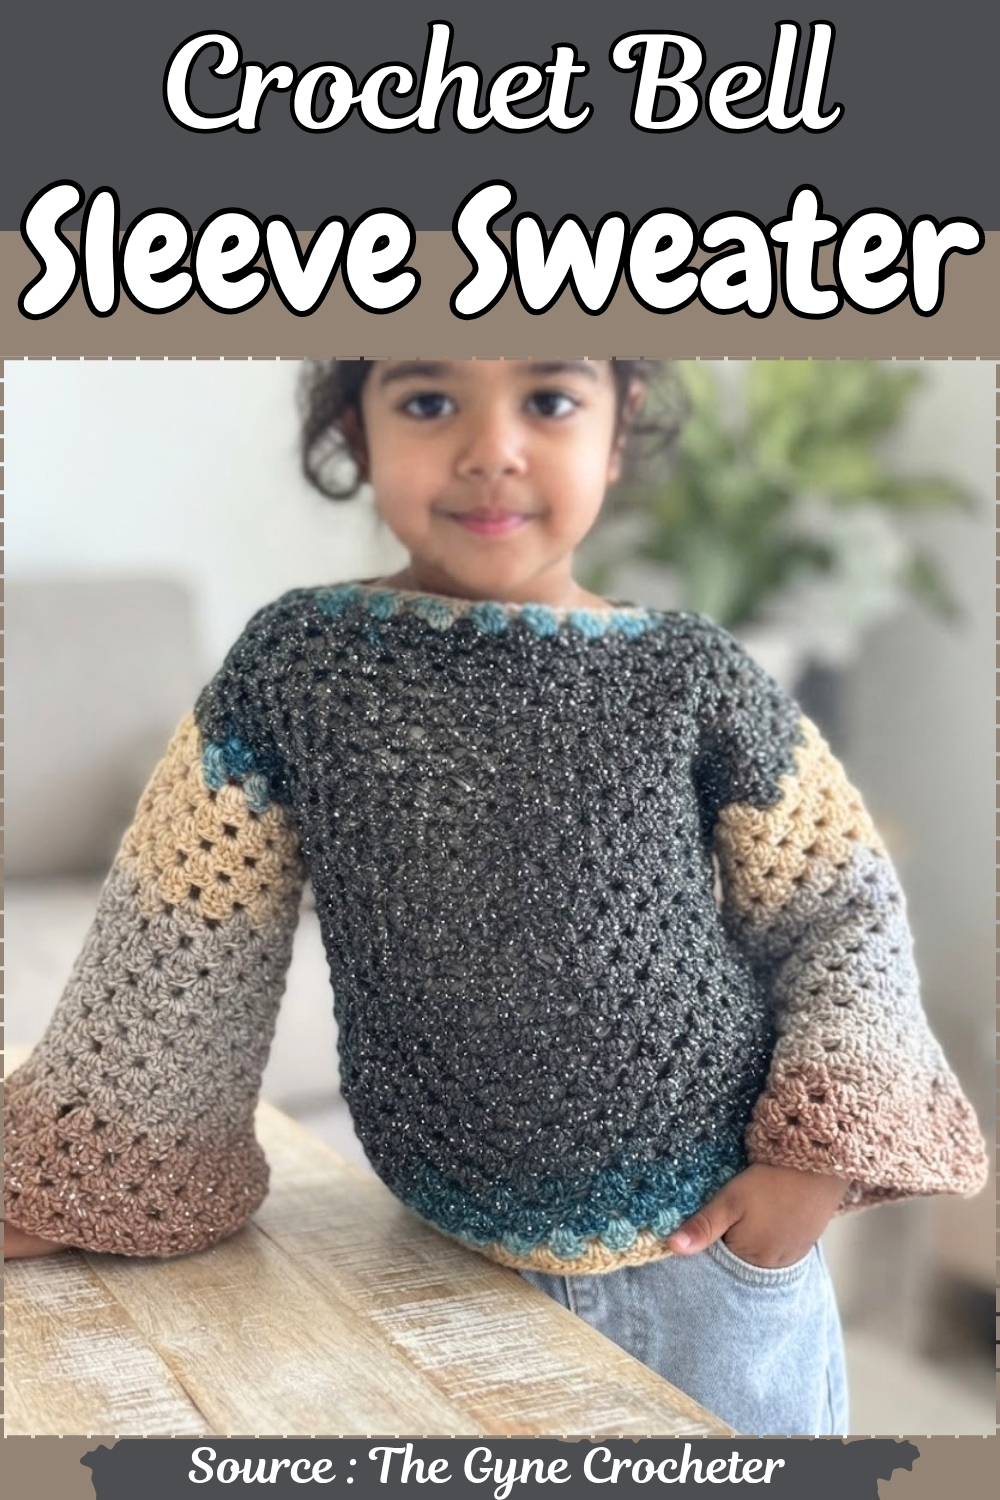
Sizing is for a toddler based on the photos, and the proportions suit roughly two to four years. The construction appears to be a flat body panel with sleeves worked separately and seamed at the armhole, with a simple slip stitch or single crochet edging at the neckline in the contrast teal color.
Why I love this one: the whole structure is granny squares — a stitch most of us already know — but the finished piece looks genuinely polished and special.
Materials & Tools
- Multicolor lightweight size 3 yarn (an acrylic/polyester blend works well; a self-striping cake yarn gives beautiful color variation with zero effort)
- 4 mm crochet hook
- Stitch markers
- Yarn needle
Abbreviations used in this pattern: ch = chain · dc = double crochet · sc = single crochet · sl st = slip stitch · sp = space · rep = repeat · st(s) = stitch(es)
Useful Crochet Stitch
Difficulty & Time
Easy-intermediate. If you’ve made a granny square before, you already know the main stitch structure. The neckline shaping and the gradual bell flare on the sleeves add a little extra thought, but neither is technically demanding. A relaxed weekend project — perhaps three or four sessions spread over a few days.
The Pattern
Part 1: Front and Back Panels (Make Two Identical Granny Squares)
You’ll make two squares — one for the front, one for the back. Each row is turned at the end.
Foundation:
- Start with a magic ring.
Row 1:
- Make a modified dc (or starting chain) and work 2 more dc into the magic ring — 3 dc total.
- Ch 2 to define the first corner.
- Work [3 dc, ch 2] 3 more times into the ring — 4 sets of 3 dc with 4 corner ch-2 spaces total.
- Pull the magic ring tight to close the center hole.
- Sl st to the top of the first dc and turn.
Row 2:
- Into the first ch-2 corner sp, work 3 dc (using the modified start for the first st), ch 2, and 3 more dc in the same sp — first corner made.
- Ch 1, then move to the next ch-2 corner sp and work 3 dc, ch 2, 3 dc.
- Continue around: ch 1 between corners, ch 2 inside each corner sp.
- Sl st to join and turn.
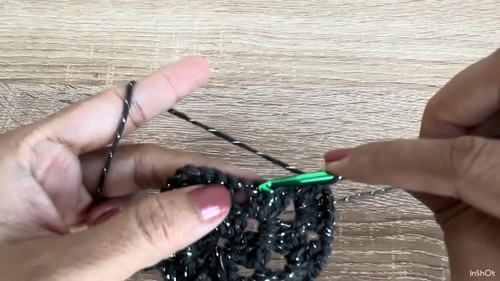
Rows 3–13 (or until desired size):
- Continue the established granny square pattern: work [3 dc, ch 2, 3 dc] in every corner sp.
- Work 3 dc in every side ch-1 sp, separating each group with ch 1.
- Turn at the end of every row.
- Work until the square measures approximately 29 cm (about 13 rows) before shaping the neckline on the front panel.
Still getting the hang of reading crochet patterns? That’s completely okay, the video tutorial below breaks everything down in a simple, beginner-friendly way!
Part 2: Neckline Shaping (Front Panel Only)
Row 14 — Setting Up the Boat Neck:
- Work your standard granny pattern across the first shoulder to the neckline section.
- Across the center neckline stitches, switch to sc — working sc into both stitches and ch sps to reduce the height and create the boat neck dip. Work 21 sc across the center.
- Continue standard stitches on the second shoulder side and turn.
Row 15 — Neckline Finishing:
- Work standard stitches across the first shoulder to the neckline edge.
- Transition into sc, then work 21 sl sts across the center neckline edge to create a neat, finished border.
- Complete the row with standard stitches on the remaining shoulder.
- Fasten off and secure the tail.
(Leave the back panel’s neckline unworked — it stays straight across.)
Part 3: Assembly
Shoulder Seams:
- Place the front and back panels right sides together.
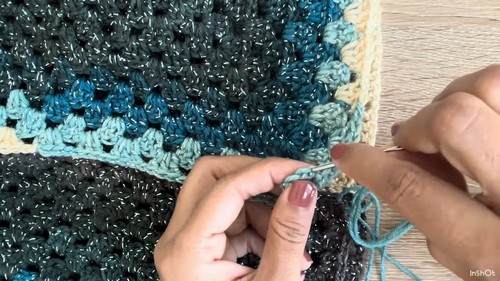
- Whip stitch or mattress stitch the outer shoulder edges together on both sides, leaving the center neckline open.
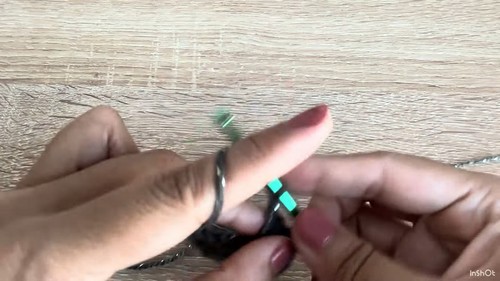
Side Seams:
- Align the front and back panels along the sides.
- Leave an armhole opening of approximately 13–14 cm at the top.
- Sew from the bottom hem up to the armhole marker on each side and secure the yarn.
Part 4: Bell Sleeves (Worked in the Round — Make Two)
Row 1:
- Attach yarn into any corner ch sp of the armhole opening.
- Ch 2 (counts as 1 dc), work 2 more dc in the same sp.
- Ch 1, then work 3 dc in each ch sp around the armhole opening.
- Sl st to join and turn.
Rows 2–10:
- Continue working the circular granny pattern in the round: 3 dc per sp, ch 1 between each group.
- No increases in these rows — just building the straight sleeve tube.
- Turn after each row.
Row 11 (First Increase Row):
- Work an increase — [3 dc, ch 1, 3 dc] in a single sp — after every 4 sets of 3-dc blocks.
- Sl st to join and turn.
Row 12:
- Work evenly with no increases.
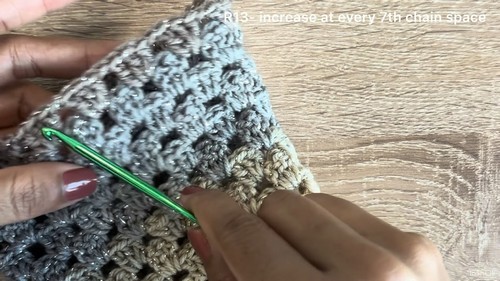
Row 13 (Second Increase Row):
- Increase at every 7th sp.
- Sl st to join and turn.
Row 14:
- Work evenly with no increases.
Row 15 (Third Increase Row):
- Increase at the 9th sp. Optionally add one bonus increase near the end for extra flare.
- Sl st to join and turn.
Row 16:
- Work evenly with no increases.
Row 17 (Fourth Increase Row):
- Increase at the 11th sp.
- Sl st to join and turn.
Row 18:
- Work evenly with no increases. The sleeve should reach approximately 24–25 cm total length.
Row 19 — Cuff Edge:
- Ch 1 and work one final round of sl sts into every st and ch sp around the cuff for a clean, slightly elevated edge.
- Fasten off and weave in all tails.
Repeat the full sleeve for the second arm.
Tips & Troubleshooting
- The granny square rows are turned after each round, not joined and continued the same direction — this is what gives the fabric its tighter, more fabric-like drape rather than the open, lacy look of a traditional flat granny. Don’t skip the turn.
- For the neckline, the shift from dc to sc is what gently lowers the center without needing any actual decreases. Work the sc with a slightly looser tension than the rest of the row so the neckline lies flat rather than pulling.
- The bell sleeve increases are deliberately spaced out — every other row — so the flare grows gradually rather than all at once. If the sleeve is flaring too fast for a smaller size, you can skip one of the increase rows; if you want more drama, add an extra increase row before the cuff.
- If you’re sizing up for an older child, simply work more rows on the main squares before shaping the neckline, and lengthen the armhole opening proportionally.
FAQ
- 1. Can I make this in a solid color instead of a cake yarn? Yes. A solid yarn works beautifully — you’ll just need to think about whether you want the squares and sleeves to match or to contrast. A solid body with a contrasting sleeve color is a lovely variation.
- 2. How do I know when my armhole is the right size? Approximately 13–14 cm is given for a 3-year-old. A helpful check: hold the seamed vest against your child’s shoulder and make sure the armhole opening sits comfortably at the top without pulling. Adjust the side seam length before sewing if needed.
- 3. The sl stitch cuff edge feels very tight — is that normal? It can be, especially if you work sl sts into every single stitch. Try working into every other st or loosening your tension on the sl sts. The goal is a slightly defined edge, not a constricting band.
- 4. Do the two granny squares need to be exactly the same size? They should be close. Block both squares lightly if one has grown slightly larger — a quick pin and spray block evens things out before you sew the seams.