
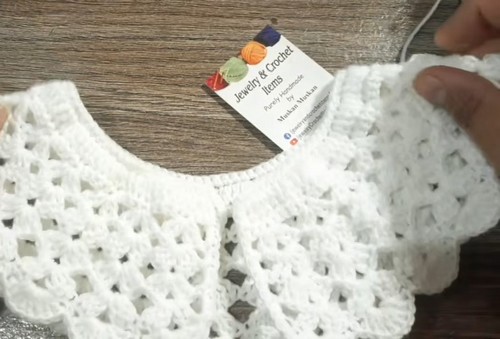
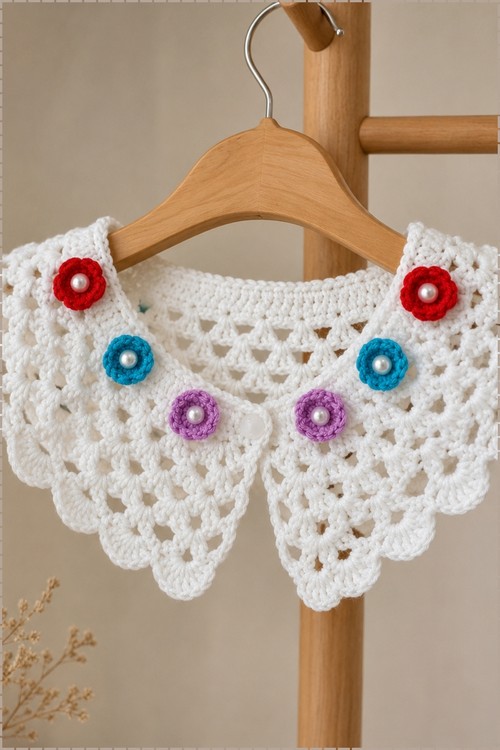
Crocheters can dress up a plain knit with this crochet collar for sweater necklines: fan lace forms the Peter Pan body, while tiny magic ring flowers and sewn pearls finish the scalloped edge. Measure your neckline first and adjust the foundation chain to match.
A crochet collar can completely change the feel of a plain sweater, and this peter pan style does it with a lightness that heavier collars never quite manage. The fan lace body opens up beautifully without adding bulk, and the small flower accents give it a finished, handmade charm that reads as intentional rather than fussy. If you enjoy adding decorative touches to knitwear, the crochet tops in the pattern library pair just as well with accent pieces like this.
Crochet Collar On Sweater
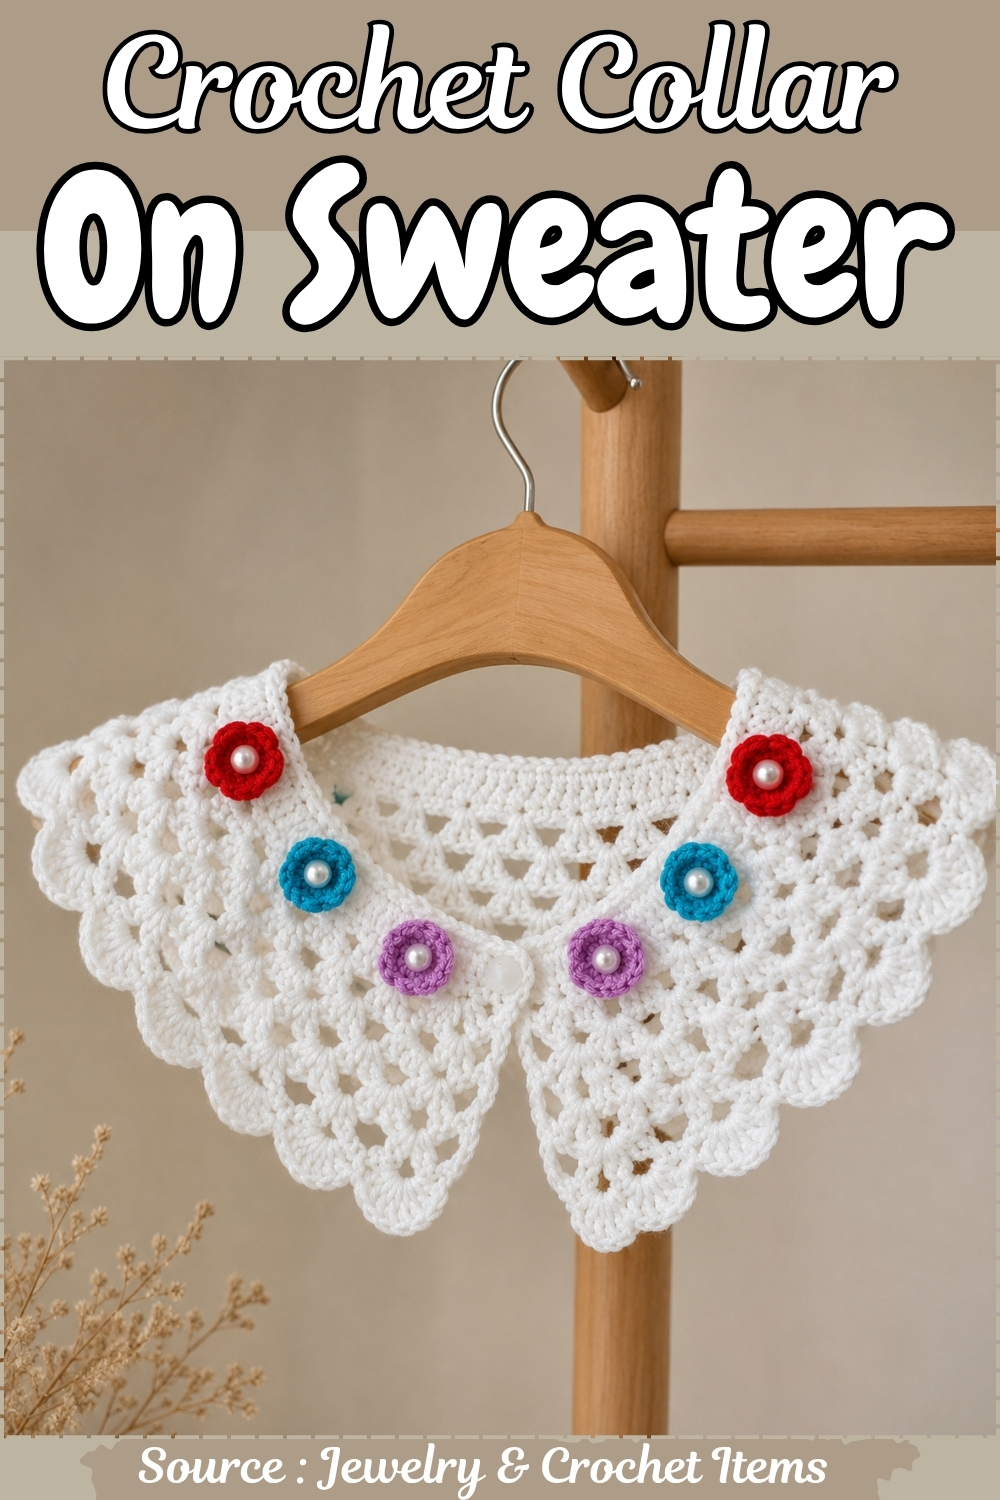
White cotton yarn keeps this collar versatile enough to layer over almost anything in your wardrobe. The scalloped edge works up naturally as part of the fan repeat, so there is no separate finishing round to worry about, and the small crochet flowers are worked flat and sewn on once the collar is complete.
Materials and Tools
- Yarn: Fine or lightweight yarn — cotton or mercerized cotton works best for the clean drape and crispness this collar needs. White or cream gives a classic result, but soft blush, navy, or black all work well depending on your end use.
- Hook: 2.0 mm to 3.5 mm depending on your yarn weight. Check the yarn label and swatch a small section of shell stitch to confirm your tension before starting.
- Notions: Tapestry needle for weaving ends, small pearls or beads, a sewing needle and thread for attaching embellishments, and a small button or ribbon for the neckline closure
Handy Crochet Stitch
Difficulty and Time
Level: Beginner to confident beginner (double crochet and basic counting required) Estimated time: 3–6 hours depending on collar width and embellishment detail
The Pattern
Step 1 — Foundation Chain
- Measure the neckline circumference you are working to, or use a standard collar length as your guide.
- Make a slip knot and work a foundation chain long enough to span the neckline comfortably. Before starting, confirm your chain length is the correct multiple for the shell stitch repeat you are working — adjust by adding or removing one or two chains as needed so the pattern sits evenly across the full length.
Tip: Lay the chain against the neckline before continuing to row 1. It is much easier to adjust the length at this stage than after the first row is worked.
Step 2 — Foundation Row
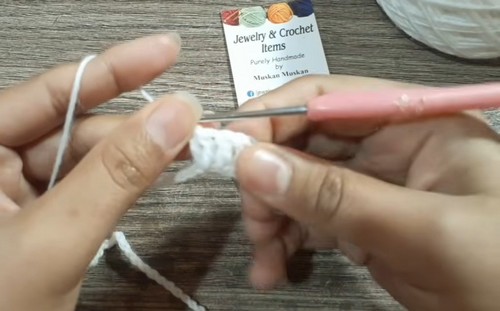
- Work a row of single crochet or double crochet evenly across the entire foundation chain from one end to the other.
- This row creates the collar’s neckband — the straight, stable edge that will sit against the skin and give the collar structure.
- Turn your work.
Tip: Keep your tension even across this row. The neckband needs to lie flat without pulling or bowing. If it cups or curls, loosen your tension slightly.
Just starting out with crochet? The video tutorial below is a great place to begin, or challenge yourself with the written pattern below!
Step 3 — Shell Stitch Base Row
- Chain up at the beginning of the row (chain 3 counts as your first double crochet here).
- Begin building the shell stitch sequence. Skip a set number of stitches, then work a shell — a group of double crochets all worked into the same stitch or space — to form the first scallop.
- After each shell, skip the same number of stitches and secure the spacing with a single crochet or the continuation of your repeat sequence as your pattern dictates.
- Continue this shell and skip sequence across the full row to establish the wavy, scalloped foundation of the collar.
- Turn your work.
Tip: Count your shells at the end of this row. Each shell should be evenly spaced with the same number of skipped stitches between them. If one shell looks wider or tighter than the rest, the spacing has shifted — better to catch it here before the collar widens.
Step 4 — Expanding the Collar Outward
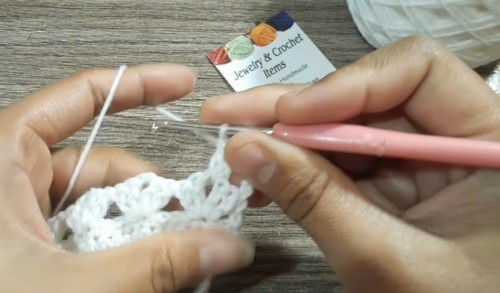
- On the next row and each subsequent row, work shells into the centre of the shells from the row below.
- Separate each shell from its neighbours with chains or single crochets to maintain the openwork, lacy texture between the scallops.
- Each row fans the collar outward slightly, building the curved, flared shape naturally without any special increases.
- Continue working outward row by row until the collar reaches your desired depth and width.
- Fasten off securely and weave in the end.
Tip: Hold the work up against yourself or a dress form every few rows to check the width. Shell stitch grows quickly and it is easy to go one or two rows further than intended.
Step 5 — Edging and Border
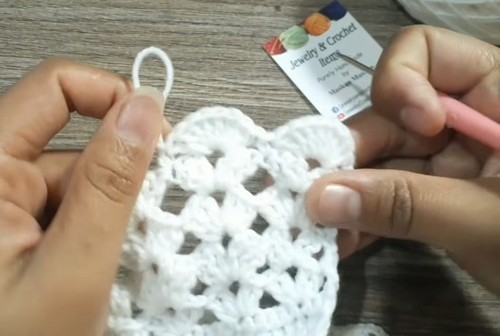
- Rejoin yarn at the inner neckline edge or along any raw outer edge that needs finishing.
- Work a delicate border all the way around the collar — a picot edge (chain 3, slip stitch back into the same stitch) works beautifully here, or a simple single crochet border for a clean, minimal finish.
- Weave in all remaining ends neatly using a tapestry needle.
Step 6 — Embellishments
- Crochet flowers (optional): Using a magic ring, work small petals with single crochets and double crochets to form miniature flowers. Fasten off each one, leaving a tail for sewing.
- Attaching flowers: Sew the finished flowers neatly along the collar edge or spaced across the shell rows, using matching thread and a sewing needle.
- Pearls and beads: Sew a small pearl or bead into the centre of each flower and scatter additional pearls evenly along the shell pattern for an elegant, finished look.
- Closure: At each end of the neckline, add a small button loop on one side and sew a button on the other — or attach a ribbon tie at both ends — to fasten the collar securely around the neck.
Yarn Substitution
Cotton or mercerized cotton is strongly recommended for this collar. It holds the shell stitch shape crisp and flat, which is what gives the collar its structured, boutique appearance. Acrylic yarn in a fine weight can work but tends to give a softer, slightly droopier result — fine for a casual collar, less suitable for an elegant or formal one. Linen blend yarn is an excellent alternative to cotton and gives beautiful drape with a slightly relaxed texture.
Customisation Ideas
- Collar width: Stop after fewer rows for a narrow, understated collar or continue further for a wide, dramatic vintage shape.
- Embellishment level: The flowers and pearls are fully optional. The shell stitch collar is polished and complete without them — the beading is simply an additional layer of detail.
- Colour: Cream or white is classic, but a collar in a jewel tone — deep teal, burgundy, or forest green — makes a striking contrast against a plain sweater.
- Closure style: A single vintage-style button feels more intentional than a ribbon; a satin ribbon tie gives a softer, more romantic finish. Both work with this construction.
FAQ
1. Can I attach this collar directly to a sweater instead of making it detachable? Yes — once the collar is finished, you can seam the neckband edge directly to the neckline of a sweater or top using a mattress stitch or whipstitch. Detachable is more flexible since the collar can move between garments, but a sewn-in finish looks very clean and secure.
2. My shells are not lining up neatly from row to row. What is going wrong? This almost always comes from the shells in the second row not being worked into the centre stitch of the shell below. The centre stitch of a shell is the middle double crochet — for a 5-dc shell, that is the third one. Work your next shell directly into that stitch every time and your shells will stack cleanly above each other.
3. Can I make this collar wider or narrower than shown? Completely. Fewer outer rows give you a narrow, subtle collar that works well on crew necks or round necks. More rows create a wide, flared vintage collar suited to lower necklines or statement styling. The shell stitch scales naturally in either direction without needing to adjust the neckband at all.


One Comment